FIX: QuickBooks could not save your form as a PDF file
QuickBooks is an accounting software that can be used by small businesses to create invoices and manage budgets etc. If you are an avid user, you will know that the software can sometimes have problems relating to its PDF functionalities like invoicing. One such problem comes when you update to Windows 10 and ask QuickBooks to generate PDFs for you; it fails giving you the error message, “QuickBooks could not save your form as a PDF file”.
The error shouldn’t dishearten you though because yes, you can still create PDF files in Windows 10. What happens is that when you upgrade or install Windows 10, a new Microsoft XPS document writer device is added to the system configuration and it attaches itself to a default port named PORTPROMPT which eventually creates some conflicts and hence the printing request fails.
In order to fix the issue, follow these steps:
Hold the Windows Key and Press R. Type “Printmanagement.msc” and Click OK.
Now on the left side of the window, find the “Print servers” section and expand it. Click your PC’s name and expand it. Click Printers.
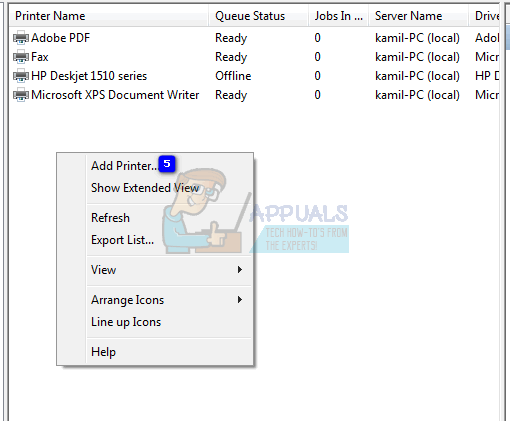
Once you do, you will see a list of printers appear on the right hand side of the window.
Right click on Microsoft XPS document writer and select “Delete” to delete it.

Now before we proceed with the installation of a new printer, we have to download a driver. Go to this link to download the driver. Extract the .zip file and save the folder to your desktop or any other location.
Come back to the print management window and right click on the empty white space present on the right hand side of the window. Select “Add printer”.
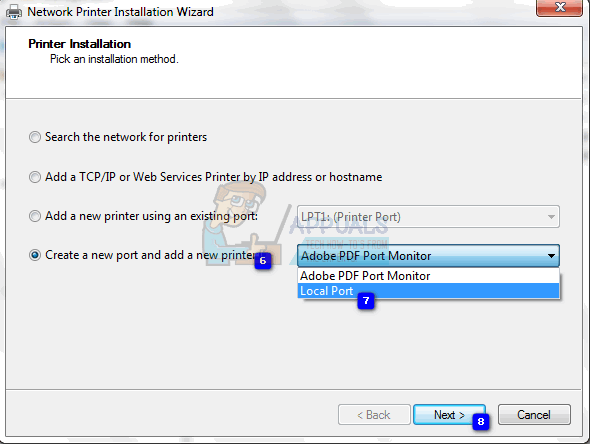
From the available radio buttons, choose “Create a new port and add a new printer”.
From the dropdown select Local port.
Now name the port “XPS”. Hit
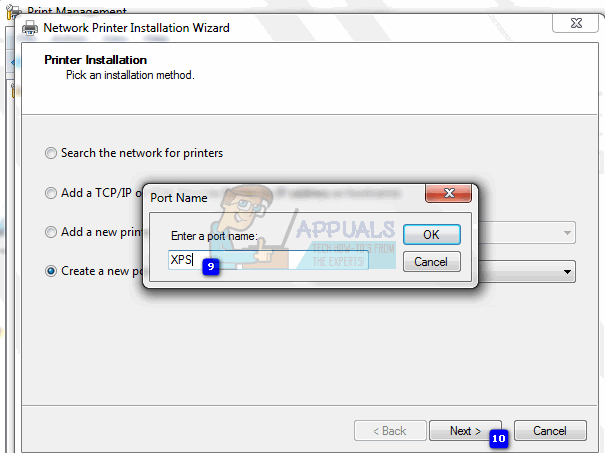
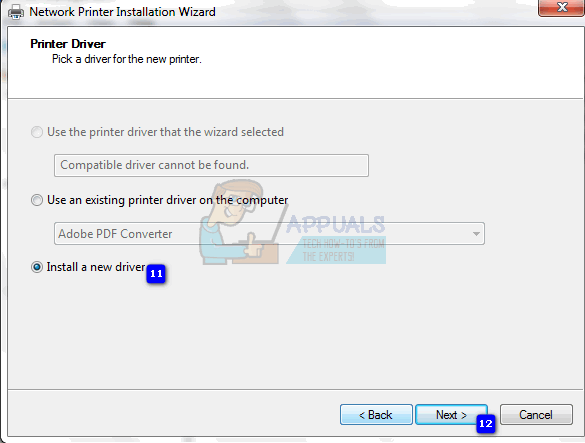
Select “Install a new driver”.
Now navigate to the directory where we saved the downloaded driver and from the folder, select the file “prnms001”. Click on open.

When asked to enter the name of the printer, make sure you enter precisely “Microsoft XPS Document Writer” without the quotation marks.

Click on next and the printer should get added.
Restart your computer and try printing PDFs again; you should now be able to do so! If however this doesn’t work for you, then we recommend buying the latest version of QuickBooks.
Just wanted to let you know this article was a lifesaver. Thank you so much my man!