Fix: Quick Assist Connection Error: Minimum Security Standards Not Met
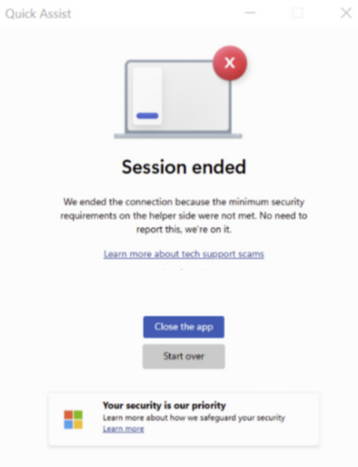
When Quick Assist displays the error “We ended the connection because the minimum security requirements were not met“ (also logged as “Quick Assist session ended – minimum security requirements not met”), it typically indicates that the connection attempt failed due to a network or system configuration that does not meet Microsoft’s current security standards.
 One of the primary causes of this issue is the use of a VPN or proxy that interferes with Quick Assist’s ability to establish a secure connection—especially if the VPN routes traffic in a way that violates Microsoft’s updated requirements.
Additionally, system-level issues—such as legacy policies that disable TLS 1.2 or TLS 1.3, enforce insecure TLS 1.0/1.1, restrictive Group Policy or Intune settings, or corrupted configuration files—can also trigger this error.
To fix this error, follow the solutions listed below. These address common and advanced causes, including network settings, system policies, and encryption protocol support.
Check Microsoft Service Health & Basic Requirements
Before changing local settings, confirm that Quick Assist isn’t affected by a Microsoft service outage. Open the Windows Release Health dashboard or your Microsoft 365 Service Health page. If all Remote Assistance services show green, verify:
- Your PC clock is correct (±5 minutes) and set to the right time zone. Open Settings > Time & language > Date & time, then toggle Set time automatically off and on to resync.
https://remoteassistance.support.services.microsoft.comis reachable over port 443. Use PowerShell and run this command:Test-NetConnection -ComputerName remoteassistance.support.services.microsoft.com -Port 443
1. Repair Quick Assist via Windows Settings
Repairing the app allows Windows to scan for corrupted or missing files and fix configuration issues. This can help resolve problems that prevent Quick Assist from launching or functioning correctly.
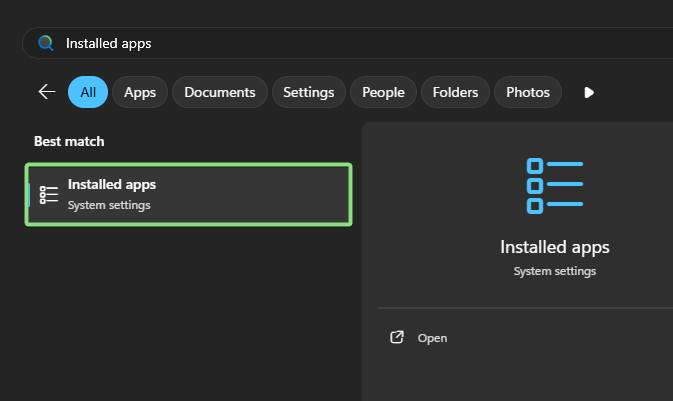
- Search for Installed Apps in the Windows search bar and open it.
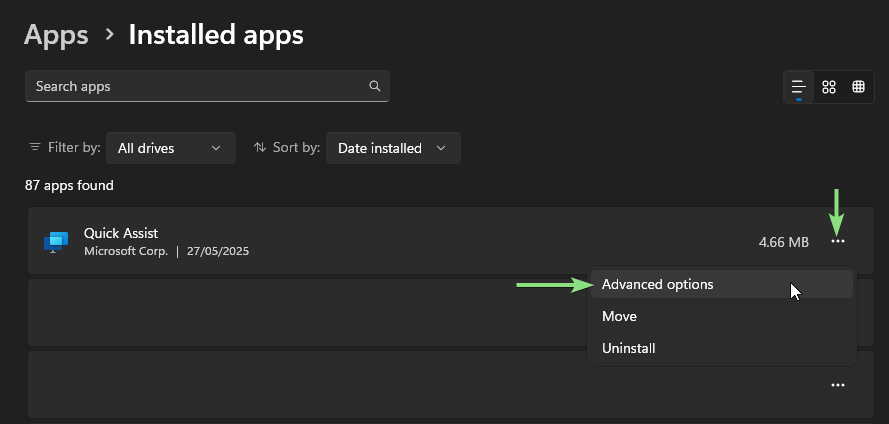
- Scroll through the list and find Quick Assist.
- Click the three dots next to Quick Assist and select Advanced Options.
- Scroll down to the Reset and Repair section.
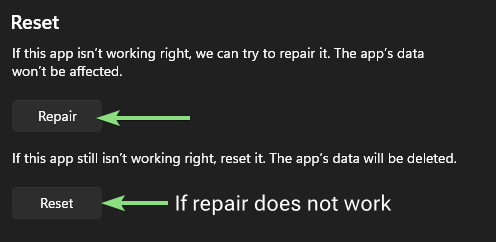
- Click Repair and wait for the process to complete.
- Once done, launch Quick Assist to see if the issue is resolved.
If the app still doesn’t work, try the Reset option.
Caution: Resetting will clear your Quick Assist connection history and any saved contacts.
This will return the app to its default state.
- In the same Advanced Options menu, click Reset (located below the Repair button).
- After the reset completes, reopen Quick Assist and check if the error persists.
2. Disable or Split-Tunnel Your VPN
If you’re using a VPN while launching Quick Assist, it may prevent the app from establishing a secure connection. Microsoft has updated its security requirements, and some VPNs or proxies may block or reroute traffic in ways that cause this error. To avoid this, disable any VPN and launch Quick Assist using your default internet connection.
Note: If your organization requires VPN usage, ask your IT department to enable split-tunneling or whitelist remoteassistance.support.services.microsoft.com on port 443.
- Disable any active VPN or proxy service running on your system.
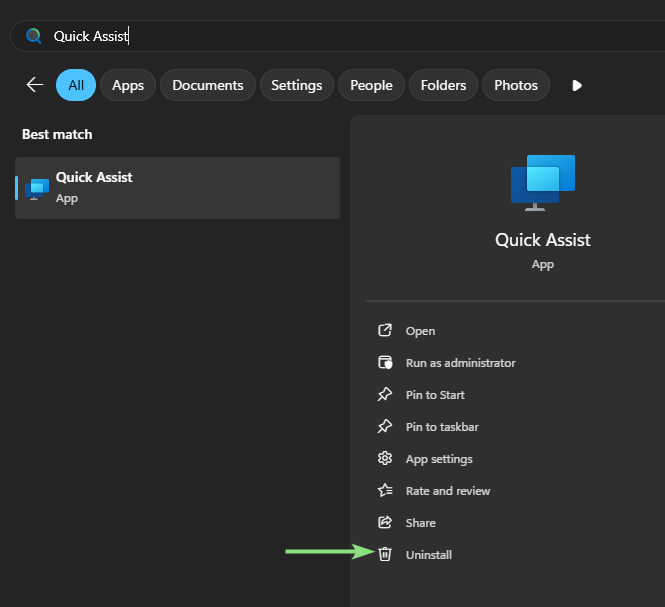
- Locate the Quick Assist app in the Start Menu or by searching for it, then right-click on it.
- Select Run as administrator (this allows Quick Assist to access system-level proxy and TLS settings).

- Check if Quick Assist launches successfully without showing the security error.
3. Reinstall Quick Assist (Store Edition)
If Quick Assist still shows errors, reinstalling it can resolve any conflicting settings or corrupted files. This ensures all components are freshly restored. Reinstall it directly from the Microsoft Store by following these steps:
- Uninstall Quick Assist from your system.
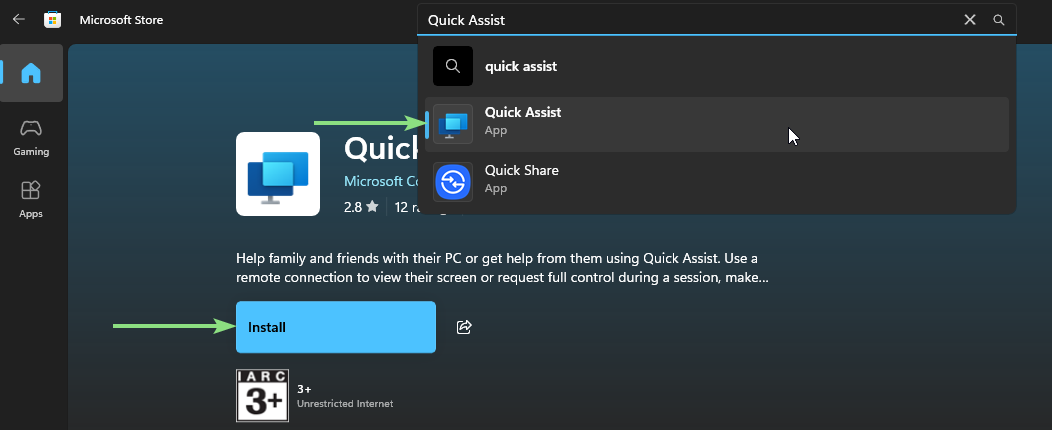
- Open the Microsoft Store on your PC.
- In the search bar, type Quick Assist and locate the version published by Microsoft Corporation.
- Click Install and wait for the installation to finish.
- Once installed, sign in if prompted, and launch the app to verify if the error has been resolved.
- Windows 10 LTSC or Server: Quick Assist is an inbox feature. Uninstall/reinstall it using PowerShell:
Get-AppxPackage MicrosoftCorporationII.QuickAssist -AllUsers | Remove-AppxPackage
then reinstall it via the Microsoft Store or with
Add-AppxPackage.
If the issue persists after reinstalling, contact Microsoft Support and share the exact error message. This allows the support team to provide a solution tailored to your specific system configuration.


