How to Fix Quick Access Menu Missing in Windows 11?
If the Quick Access menu is missing from your Windows 11 or doesn’t allow you to pin any new items, you’re not alone. This has been a major issue affecting a lot of Windows 11 users on both retail and insider build versions. Fortunately, there are a couple of fixes you can try.
Update: Quick Access in the left navigation pane has been removed as a separate folder in the most recent version of Windows 11. Quick Access can now be accessed by clicking the Home option in the navigation pane if you wish to see the most recently used files and folders.
However, there are also several scenarios where an inconsistency breaks the intended behavior of the Quick Access menu.
Here’s a list of confirmed methods other Windows 11 users have used to fix the behavior of the Quick Access menu:
1. Update to the Latest Windows Version
A bad Windows Update is the most common scenario that might have changed the expected behavior of the Quick Access menu.
You’d think this occurrence is rare, but Microsoft has managed to effectively break the functionality of the quick access menu on Windows 11 a few times before.
Note: You know this too well if you are part of the insider preview channel.
But the good news is that Microsoft was quick to fix it each time by putting out a hotfix update to mitigate the issue and restore the original behavior.
If you started experiencing this issue after installing a long-awaited update, a bad Windows update should be the #1 culprit.
In this case, start troubleshooting by checking if Microsoft has already put out a hotfix for this problem on the WU deployment channels you use:
Here’s a quick way to check for a hotfix and install it on your computer:
Note: Both Windows 10 and Windows 11 can use the instructions below.
- Use the keyboard shortcut Windows key + R to access the Run dialog box.
- Enter “ms-settings:” and press Enter to open the Settings menu on your Windows computer.

Open the Open the Microsoft Settings menu Note: If User Account Control asks you, click “Yes” to give admin access.
- On the Settings screen, look for Windows Update and choose it from the menu on the left.
- Look at the next screen to see if there are any updates you need to install by clicking on Check for Updates.
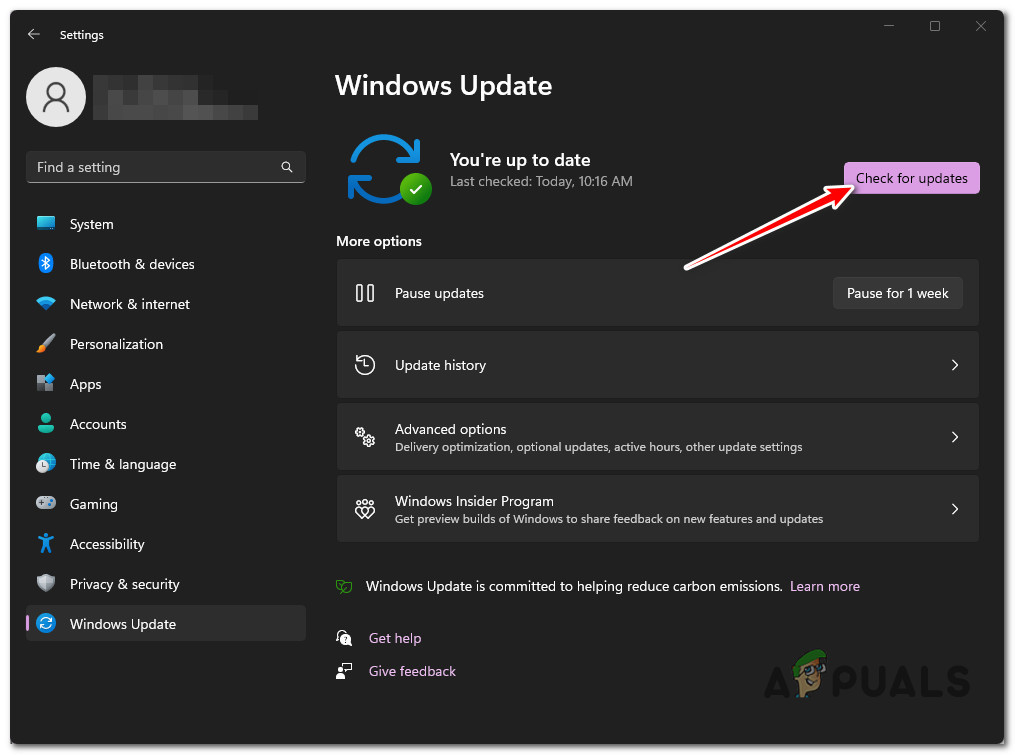
Checking for Updates - If the driver is ready to install, click the Download & Install all button.
- Have patience and wait until all updates that need to be installed are complete. For the changes to take effect, you may need to restart your computer.
- Restart your PC and see if the Quick Access menu starts working again.
2. Clear File Explorer History
File Explorer accumulates many cache data as you use your Windows 11 computer. In some cases, this cache data (particularly history data) can cause your quick access menu to load extremely slowly or become unresponsive.
In this case, you should be able to fix the problem by accessing the Folder Options menu and clearing the File Explorer history (under Privacy).
Here’s a quick guide on how to do this:
- Press the Windows key + E to open up File Explorer.
- Inside File Explorer, click on the action button, then click on Options.

Open the Options menu - Under File Options, select the General tab, then go under Privacy and click on the Clear button (associated with Clean File Explorer history)

Clear the File Explorer history cache - Wait for the operation to complete.
Note: When every history File Explorer item is cleared, you will see the app refreshing. - See if the Quick Access issue has been fixed.
3. Enable All Options under Navigation Pane
On Windows 11, the Navigation Pane became highly customizable to the point where you can hide every folder and library or even disable the ‘expand to open’ functionality. However, these are all settings that might affect the quick-access menu.
If you previously modified the Navigation Pane settings under Folder Options, that’s probably why you are experiencing this problem.
Here’s a quick guide on making sure these settings are not causing the issue:
- Press the Windows key + R keys on your keyboard to open a Run dialog box.
- Next, type ‘control.exe folders’ inside the dialog box and press Ctrl + Shift + Enter to open up the Folders Options menu.
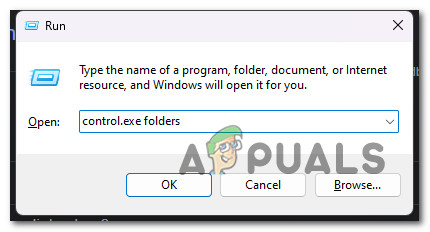
Open the Folders menu - At the User Account Control (UAC), click Yes to grant admin access.
- Next, go to the View tab and scroll down to Navigation pane.
- Enable every item under Navigation pane and click Apply to save the changes before restarting your PC.
4. Re-pin all Quick Access items
Since Windows 11 ver 22h2, Microsoft redefined a few key aspects of File Explorer. The easiest to spot change is the Home icon on the left is now effectively the Quick Access menu while the actual Quick access menu is removed.
However, it’s also possible that the Quick Access link has become corrupt. To fix it, you must delete all the content from quick access, and then re-pin all items.
Here’s what you need to do:
- Press the Windows key + R to open up a Run dialog box.
- Next, type ‘cmd’ inside the text box, then press Ctrl + Shift + Enter to open a Command Prompt with admin access.
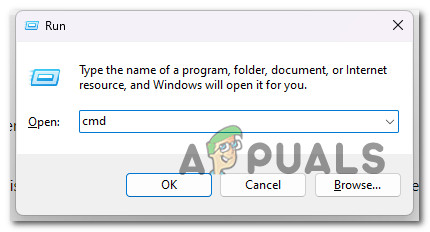
Open an elevated Command Prompt window - Click Yes to grant admin access at the User Account Control (UAC).
- Inside CMD, type the following commands in the same order and press Enter after each one to delete the Recent, Automatic Destinations, and Custom Destinations folders within the Quick Access menu:
del /F /Q %APPDATA%\Microsoft\Windows\Recent\*

del /F /Q %APPDATA%\Microsoft\Windows\Recent\AutomaticDestinations\*

del /F /Q %APPDATA%\Microsoft\Windows\Recent\CustomDestinations\
- Once every command is processed successfully, reboot your PC and check if the problem is now fixed.
5. Perform an in-Place repair
If none of the methods featured so far has fixed the Quick Access menu issue, the only realistic solution at this point is to replace potentially compromised system files with a fresh install.
You can either perform a selective repair install (in-place repair) or a clean install to remove everything and start from scratch.
Remember that a repair installing method will only affect the OS files, leaving the rest untouched. This is the optimal method for resolving this issue without losing any sensitive data currently stored on the same drive as your operating system.


Thanks a lot! Repinning QA items work perfectly for me. I suspect that my antivirus’ optimisation algorithm might have been the culprit.