[FIX] Projector Duplicate not Working
This issue arises when you are unable to duplicate your PC or laptop screen on the projector. Sometimes there is no display at all and other times you are able to extend your system screen to the projector but you can not duplicate it. The reason is that either your desktop screen resolution doesn’t match the projector resolution or you are either using an outdated or incompatible driver to run the projector. Before you jump to the solutions, make sure that all your display drivers are up-to-date and install the latest Windows updates on your system.
Method 1: Run the Graphics Card Driver in Compatibility Mode
In this method, we will download and install the latest graphics card driver compatible with the system and run this in compatibility mode. Compatibility Mode allows the programs written for earlier versions of Windows to run in Windows 10. Most of the drivers run in the most recent version of Windows but older ones might run poorly or not at all.
- Download your Graphics driver, right-click on it and open Properties
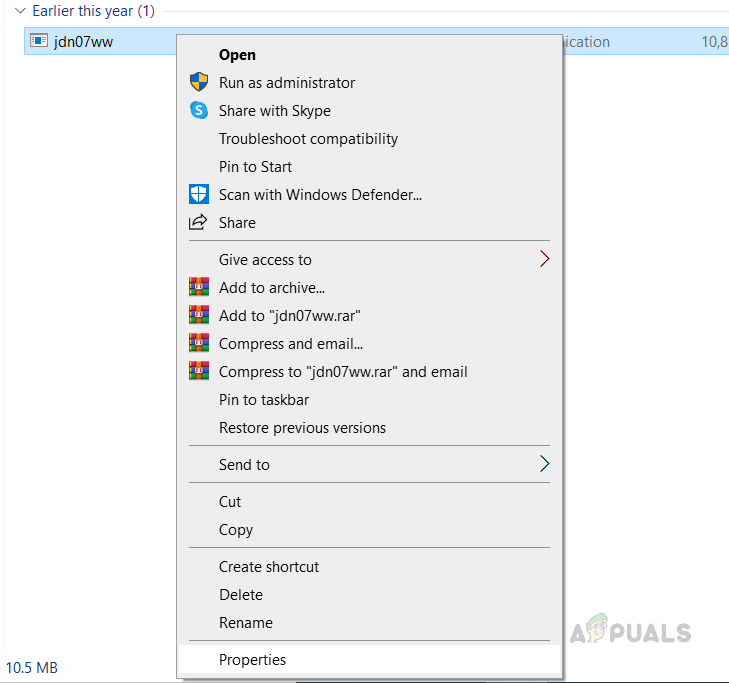
Go to driver properties - Go to Compatibility Tab and select Run this program in compatibility mode for
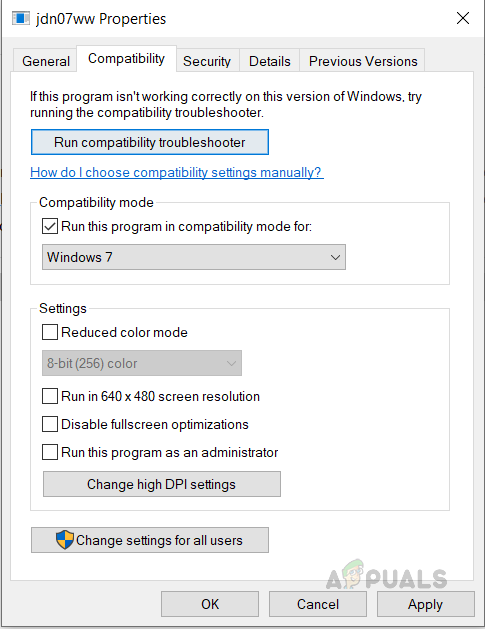
Click Run this program in compatibility mode for - Select Windows 7 and click OK to save the changes
Method 2: Set Your Laptop’s Screen to Projector’s Resolution
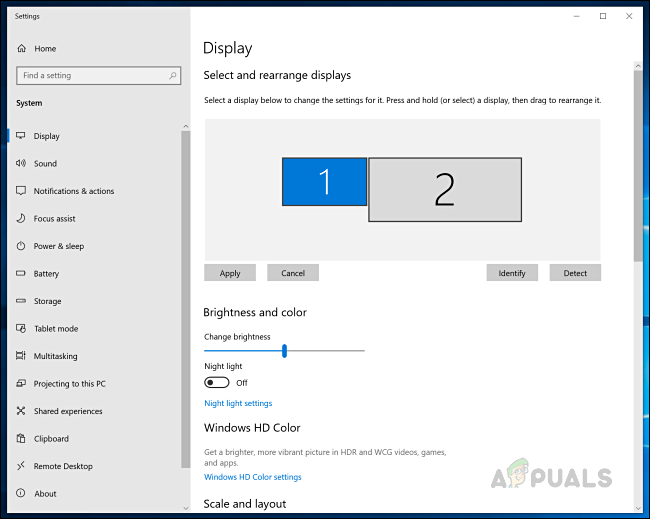
It is possible that the projector is not able to duplicate the screen because the resolution of the Projector’s screen does not match your Laptop’s or PC’s screen. Therefore, It is important to change the resolution of your system to the same resolution as your Projector.
- Right-Click on the Desktop and click Display Settings
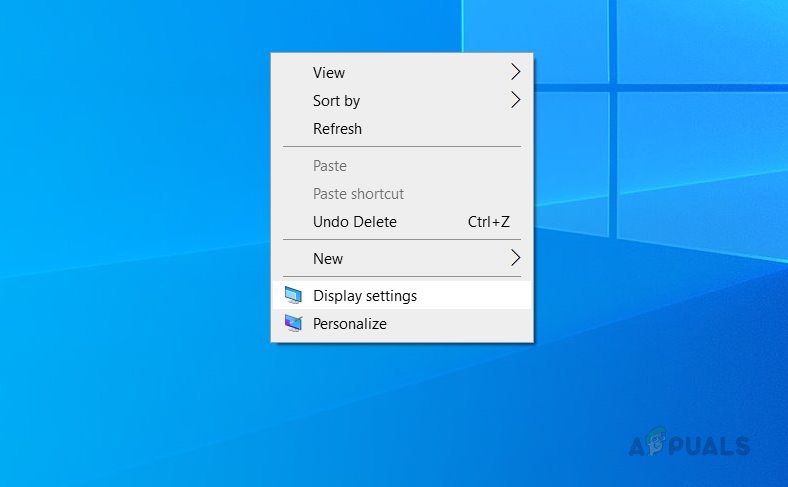
Right click on Desktop and click display settings - Under the Display Resolution, change the display resolution
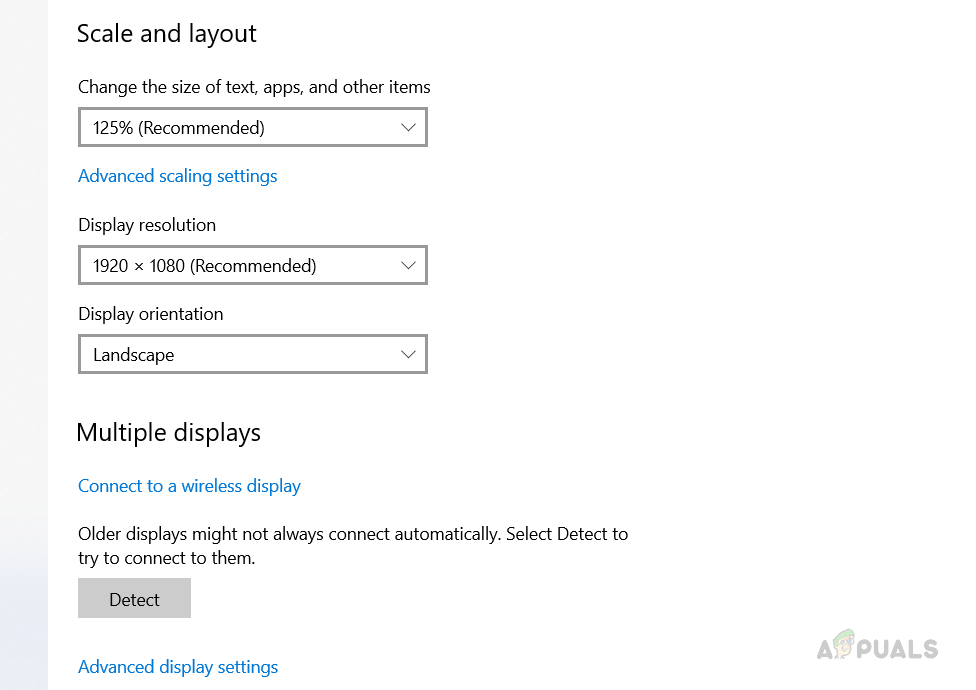
Choose resolution - You might try different resolution settings if you are not sure about the resolution of the projector and see which one works for you.
Method 3: Change your Graphics Card Settings
Sometimes the settings from your Graphic Cards Software override the settings in the Windows, so it is possible that you might have a duplicate option selected in the Windows but the Graphics Card settings are still set to a single display. To change this you will need to go to your Graphics Card Settings and select the duplicate option for multiple Displays. In this case, it is the Intel Graphics Card.
- Search for Intel Graphics Command Center
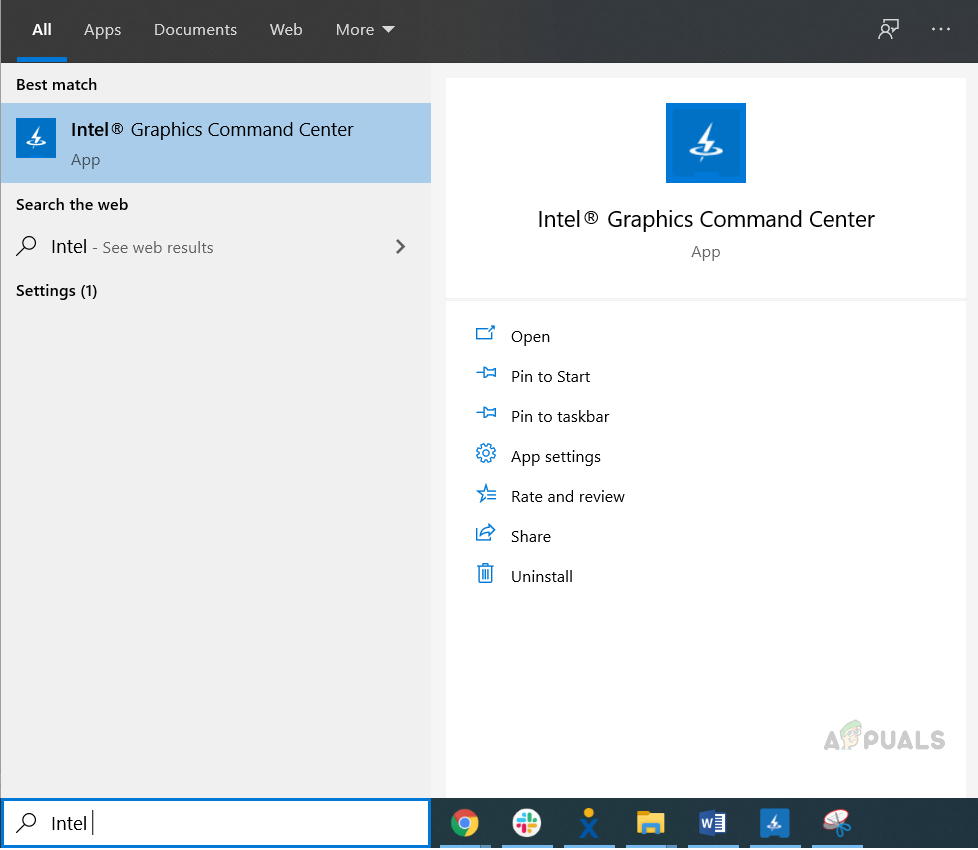
Intel Graphics Command Center - Double click the Intel® Graphics Command Center and go to Display Section
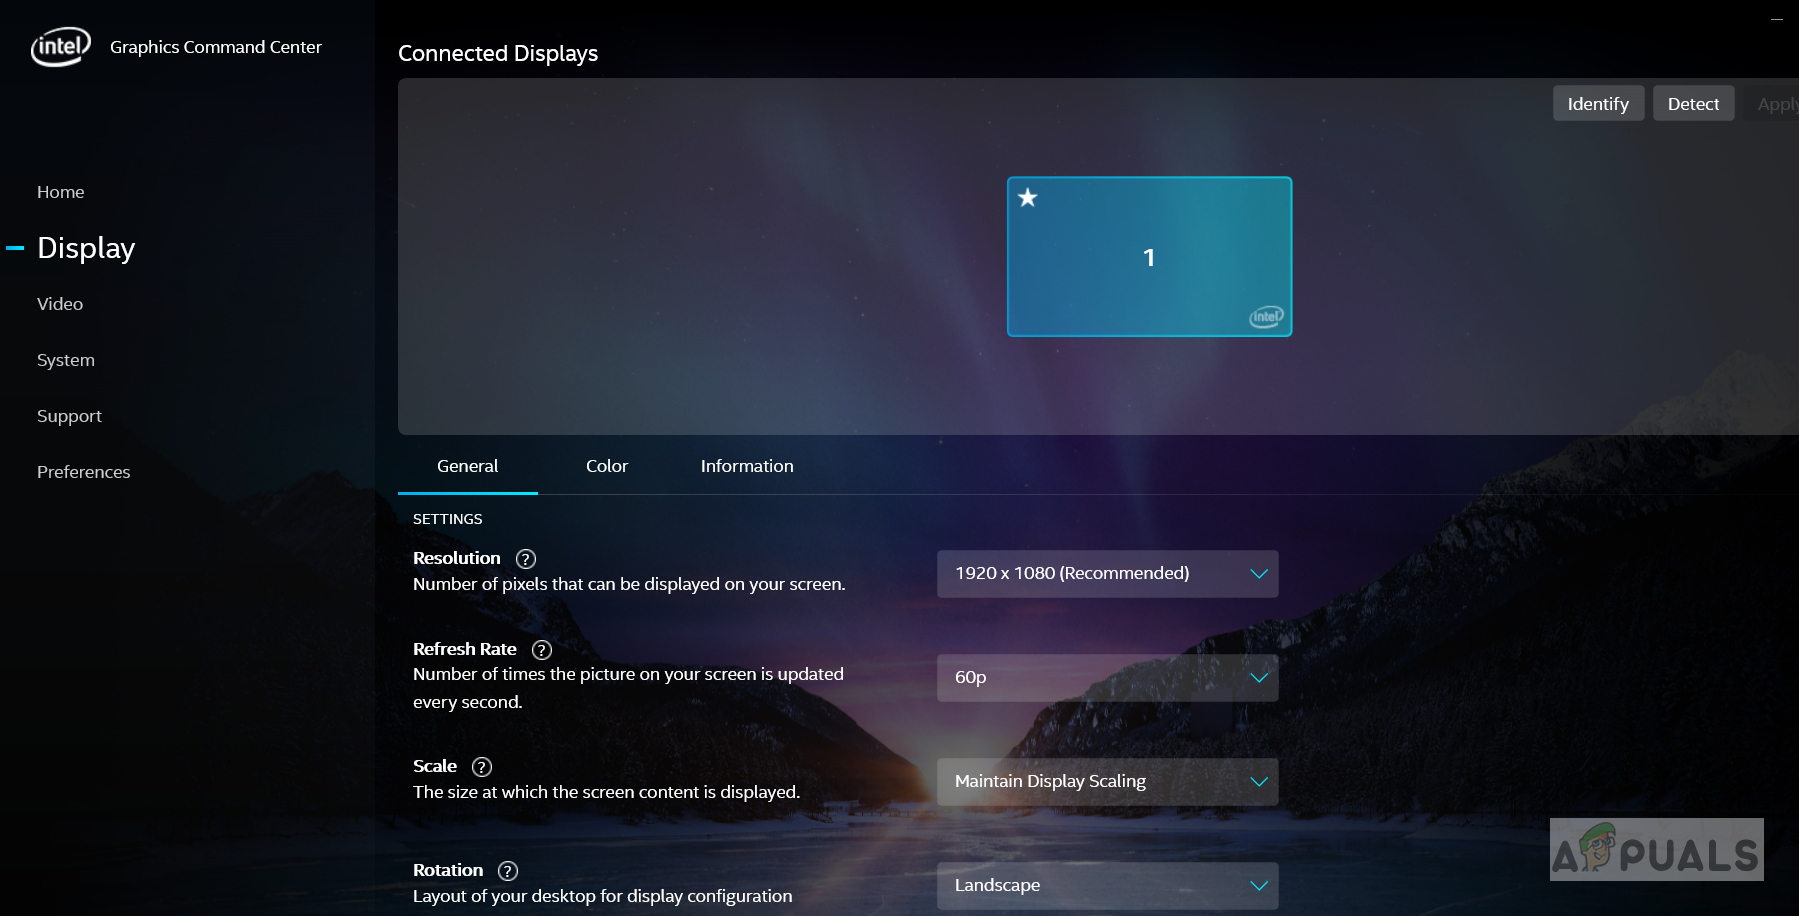
Go to Display Section - Click on More options Icons that looks like three dots (…)
- Click Mirror and select which display you would like to duplicate from

Intel Graphic Software mirror screen


