How to Print Double Sided on Word
Double sided printing, also referred to as duplex printing, has a boatload of benefits that are quite apparent. For starters, duplex printing cuts the amount of paper required to print a document in half, and using half the amount of paper you otherwise would means that you save not only money but also the environment. In addition, duplex printing is an actual requirement for a wide variety of different documents. Since duplex printing has a ton of clearly visible benefits and is also required in many cases, Microsoft Word users often wonder how they can print double sided on Word.
Microsoft Word – arguably the best word processor out there for computers – certainly supports duplex printing, but whether or not you can print double sided on Word actually depends on whether or not your printer supports duplex printing. Most printers today come with support for automatic duplex printing – wherein the user doesn’t have to do anything and the printer automatically prints the entire document double sided. Some printers only support manual duplex printing, in which the printer prints half the document and then provides instructions to the user to manually reinsert the printed pages into the printer to print the second side of the document. Some printers, however, don’t support duplex printing in any shape or form, and it is in such cases where you will simply have to improvise.
Duplex printing isn’t some form of rocket science – Microsoft made a point of making it easy for users to print on both sides of a page in Word. However, duplex printing does work a bit differently on Word 2007 than it does on all of its successors. Without further ado, however, here’s how you can print double sided on Word:
On Microsoft Word 2007
If you’re using Word 2007 and want to check to see if your printer supports automatic duplex printing, all you need to do is click on the Microsoft Office logo in the top-left corner of the window, click on Print > Properties and look through all of the tabs in the Document Properties dialog for options to print on both sides of paper. These options can be named anything from duplex printing and automatic duplex printing to two-sided printing – both the name of this option and the layout of the Document Properties window varies from one printer to the next, so there is no universal rule of thumb.
If you do find options for automatic duplex printing in the Document Properties window, you can use them to automatically print on both sides of paper. If no such options exist for you, you can still use the following methods to print double sided on Word:
Method 1: Manual duplex printing
- Open the document you want to print on both sides of paper.
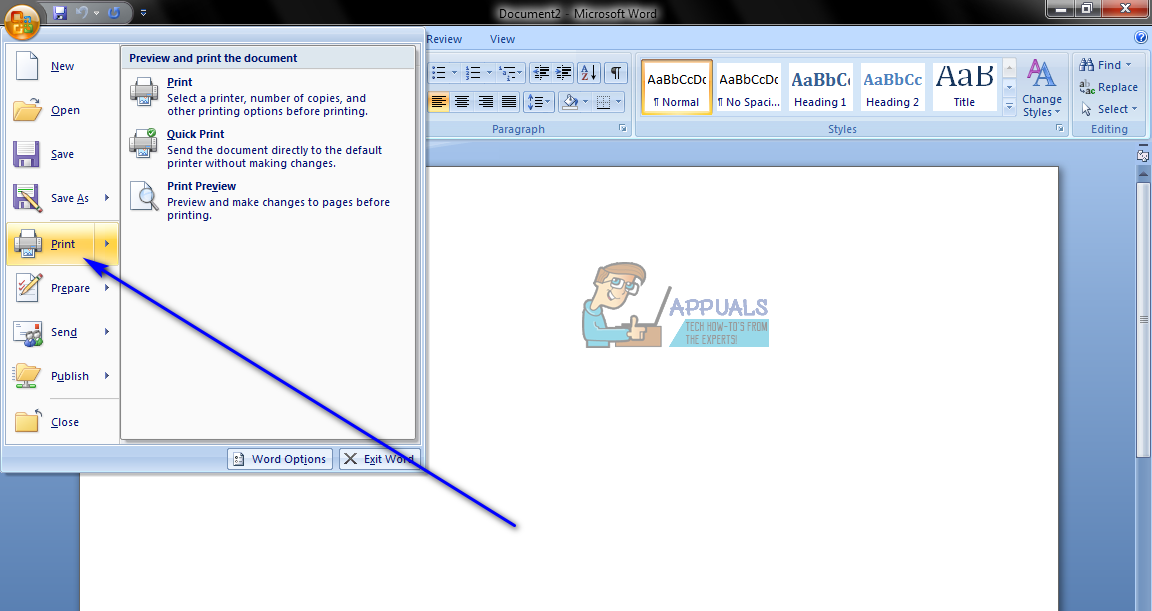
- Click on the Microsoft Office logo in the top-left corner of the window.
- Click on Print.
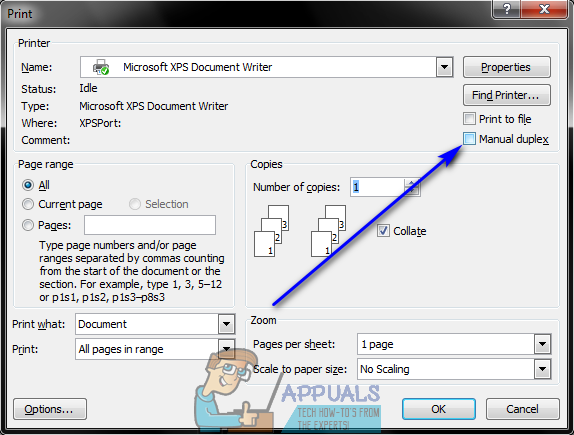
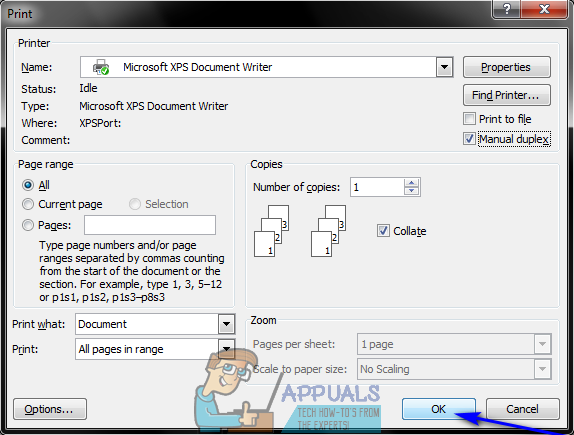
- Locate the Manual duplex option and enable it by checking the checkbox located directly beside it.
- Click on OK.
As soon as you do so, the document will begin printing. Word will print half the document on one side of the sheets of paper and, once done, prompt you to turn the stack of printed sheets of paper over and re-feed them to the printer so that Word can print the other half of the document on the other side of the sheets of paper.
Method 2: Print odd pages on one side, and then even pages on the other
This method works on the same basic principle as Method 1, but requires a bit more manual labor and thought on the user’s part.
- Open the document you want to print on both sides of paper.
- Click on the Microsoft Office logo in the top-left corner of the window.
- Click on Print.
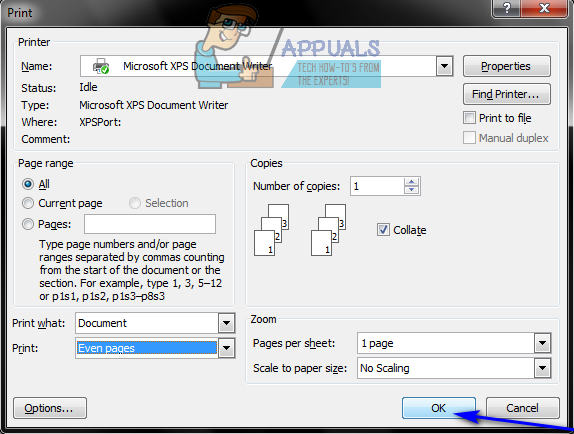
- Open the dropdown menu located directly next to the Print: option and click on Odd pages.
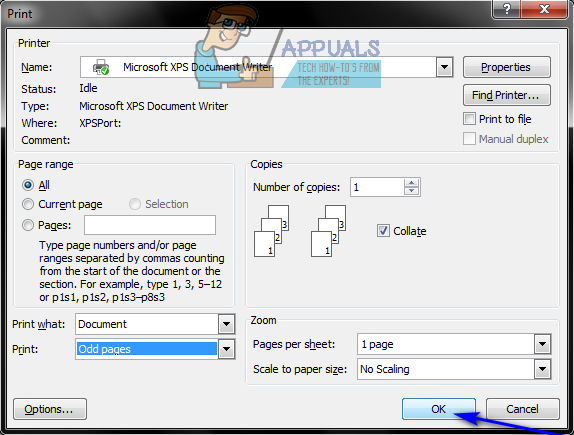
- Click on OK.
- Wait for the odd pages to be printed on one side of the sheets of paper.
- Once the odd pages of the document have been successfully printed, flip the stack of now printed pages over and re-feed them (and only them) to the printer.
- Repeat steps 2–5, but this time click on Even pages when you open the dropdown menu next to the Print: option.

- Word will now print the remaining pages of the document (the even numbered pages) on the empty sides of the sheets of paper. All you need to do is wait.
On Microsoft Word 2010, 2013 and 2016
The following are the three methods you can use to print documents double sided if you’re using Word 2010, 2013 or 2016:
Method 1: Automatic duplex printing
- Open the document you want to print on both sides of paper.
- Click on File > Print.
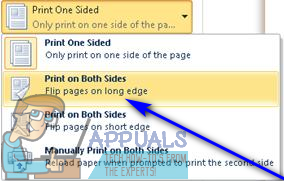
- Under the Settings section, click on Print One Sided to open the dropdown menu, and see if it includes an option that reads Print on Both Sides. If such an option exists, your printer supports automatic duplex printing (which will make your life much, much easier). If no such option exists, however, you need to move on to a different method as your printer does not allow for automatic duplex printing.
- Click on Print on Both Sides to select it.
- Click on Print and simply wait for the document to be printed on both sides of the sheets of paper.
Method 2: Manual duplex printing
If your printer does not support automatic duplex printing, you can still print double sided manually. In order to do so, simply:
- Open the document you want to print on both sides of paper.
- Click on File > Print.
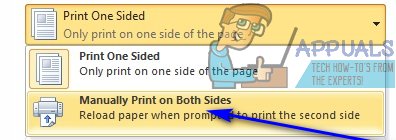
- Under the Settings section, click on Print One Sided to open the dropdown menu, and click on Manually Print on Both Sides to select it.
- Click on Print.
Once half the document has been printed on one side of the sheets of paper, Word will prompt you to turn the stack of printed sheets of paper over and re-feed them to your printer so that the rest of the document can be printed on the empty sides.
Method 3: Print odd pages on one side, and then even pages on the other
- Open the document you want to print on both sides of paper.
- Click on File > Print.
- Under the Settings section, click on Print All Pages to open the dropdown menu, and click on Only Print Odd Pages to select it.
- Click on Print.
- Wait for the odd numbered pages of the document to be printed, and then flip the stack of printed pages over and re-feed them to the printer.
- Repeat steps 2–4, but this time click on Only Print Even Pages when you open the Print All Pages dropdown menu.
- Simply wait for the remainder of the document – all of the even numbered pages, to be printed on the empty sides of the sheets of paper.