How to Fix Adobe Creative Cloud Error 501 (Installation Failed)
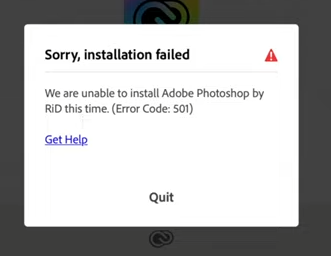
Adobe Error Code 501 appears during the installation or update of Creative Cloud apps—such as Photoshop—when the installer cannot access a file that another application has locked. The process halts with an “Installation Failed (Error Code 501)” message and prevents the app from completing setup. (Adobe KB)
This error typically points to a file-access conflict, most often triggered by:
- An open third-party app or Adobe background process—such as
AdobeIPCBroker.exe,CoreSync.exe, orCCXProcess.exe—holding required files in use. - An out-of-date or corrupted Creative Cloud Desktop build (most frequently CC 5.10.x – 5.13.x) that fails to overwrite old components.
- Insufficient permissions or residual Adobe services blocking new files.
Note: Before applying any solutions, try the Retry button the installer shows after an error. If installation resumes after Retry, no further action is needed.
1. Close Conflicting Processes
Error 501 can occur when Adobe background processes keep installer files locked, preventing the installer from writing new data. Closing those tasks is often the quickest way to fix Adobe Error Code 501.
- Press Ctrl + Shift + Esc to open Task Manager.
- If Task Manager appears in compact view, click More details. On Windows 11, stay on the Processes tab; on Windows 10, switch to Details.
- Locate Adobe tasks such as
AdobeIPCBroker.exe,CoreSync.exe,CCXProcess.exe, andAcroTray.exethat show a “Running” status. - Right-click each task and choose End task (Windows).
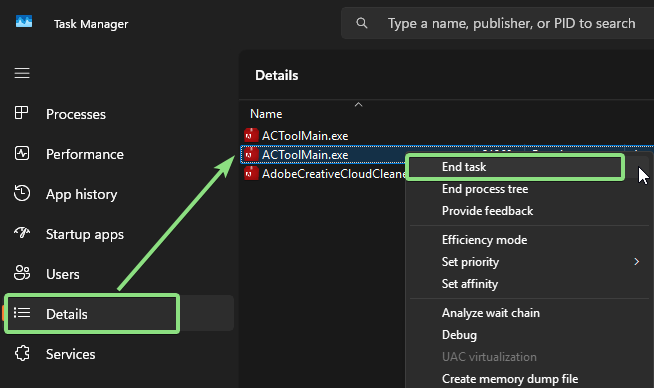
- Repeat for any remaining Adobe processes, then relaunch the Creative Cloud installer and check whether Error 501 reappears.
2. Update Creative Cloud to Latest Version
An outdated version of Creative Cloud may lack the latest resources required to install or update Adobe applications, so updating the Creative Cloud desktop app often clears Error 501—particularly on builds 5.10 – 5.13. Upgrading to the current release has resolved the issue for many users.
- Open your existing Creative Cloud Desktop app, click the Help menu, and choose Check for Updates. If an update installs, restart Creative Cloud and retry the Adobe app installation.
- If the in-app update is unavailable or fails, visit the Creative Cloud download page and download the latest installer.

- Run the installer, complete the wizard, sign in when prompted, and then attempt to install or update your Adobe application again.
3. Clean Out Creative Cloud and Reinstall (Advanced)
Corrupted files or registry entries can cause this error. The most reliable fix is to clean reinstall Creative Cloud using Adobe’s Creative Cloud Cleaner Tool, which removes lingering files, services, and permission issues.
- Open your Creative Cloud Desktop app, click your profile picture, and choose Sign Out; then close the app completely.
- Uninstall “Adobe Creative Cloud” from Settings ▸ Apps & features (Windows).
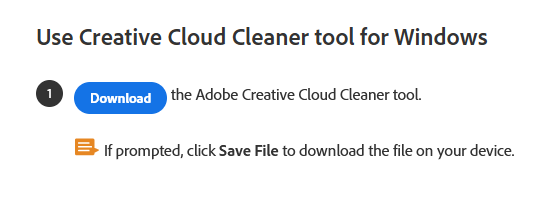
- Download the Creative Cloud Cleaner Tool from Adobe’s official help page.
- Run the tool with administrator rights when prompted.
- Select your preferred language (English or Japanese).

- Read the terms and type Y to accept.

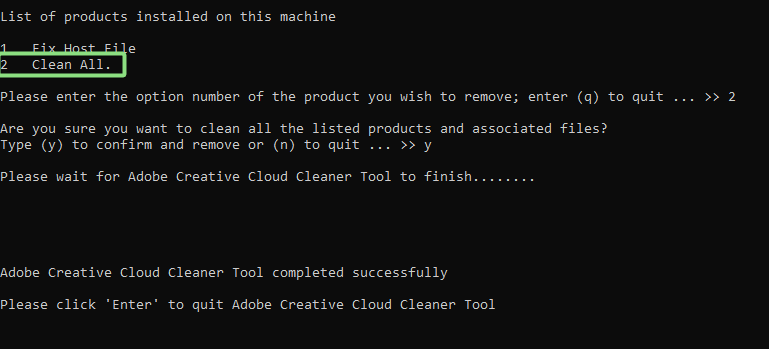
- When the list of installed products appears, scroll to the bottom and select the All option (type its number) to target every Adobe component.

- The tool will offer Fix host files or Clean All. If you only suspect host-file corruption, try that first; otherwise, choose Clean All for a full wipe.
- Confirm by pressing Y and wait until the process completes.
- Restart your computer.
- Download and install the latest Creative Cloud Desktop app from Adobe’s site, sign in, and then reinstall your Adobe application to verify that Error 501 is resolved.
If Error 501 still occurs, contact Adobe Support, attach your Creative Cloud log files, and follow any advanced steps they provide.