How to Fix the ‘Page Not Available’ Error in Windows Security?
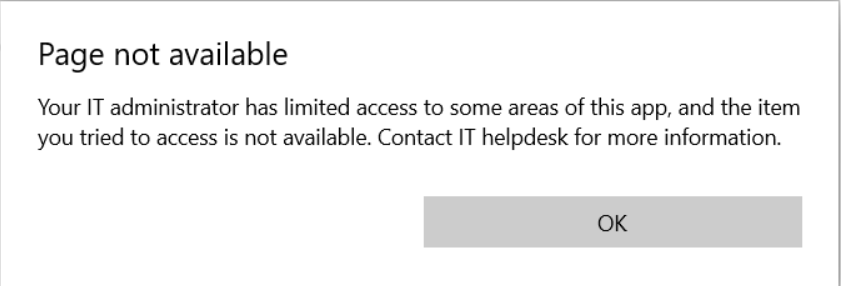
When there is a restriction or issue with Windows security, you will likely encounter the Page Not Available error while opening Virus and Threat Protection settings. This issue is mostly caused by an enabled UI lockdown mode. However, it can also occur due to other factors, such as misconfigured registry values, stopped Windows security services, and misconfigured policies.
If you encounter this error, you can try several methods mentioned below that have been proven to resolve this error.
1. Disable UI Lockdown Using PowerShell
When UI lockdown is enabled, it restricts access to Windows Security, preventing users from accessing the Windows Security Virus and Threat Protection page. Running the command “Set-MpPreference -UILockdown 0” will disable the UI lockdown, which will allow users to regain access to Windows security features.
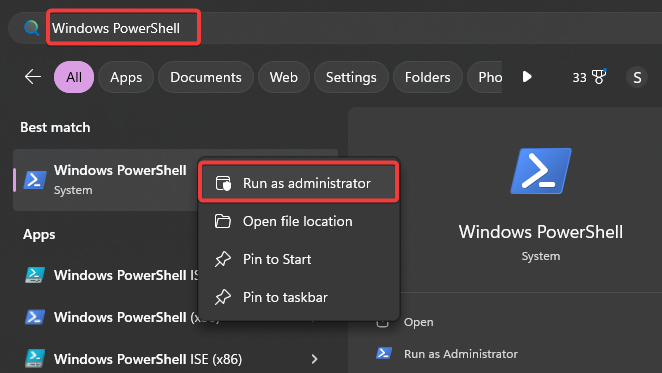
- Press the Win key and type Windows PowerShell.
- Right-click on it and select Run as administrator.
- Now, type the following command and hit Enter to execute it:
Set-MpPreference -UILockdown 0

- Once done, check if the error is resolved by accessing the Virus and Threat Protection settings.
2. Configure the Registry Editor
Configuring the registry values related to Windows Defender can potentially resolve this issue. Creating necessary registry values such as DisableAntiSpyware and DisableRealtimeMonitoring and configuring them to 0 will ensure that these features are not disabled, as they are necessary for Windows Defender to function properly. Otherwise, you may encounter a Page Not Available error message.
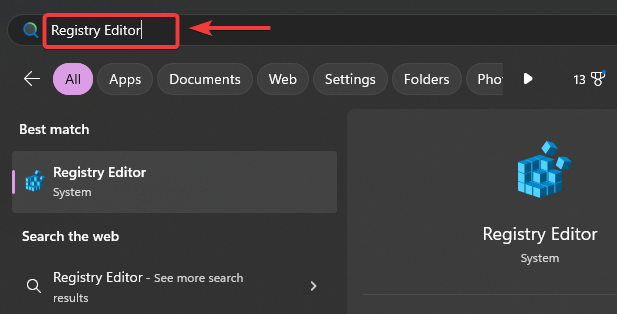
- Press the Win key to open up the Start Menu.
- Then, type Registry Editor and hit Enter to navigate into it.
- Then, go to the following path:
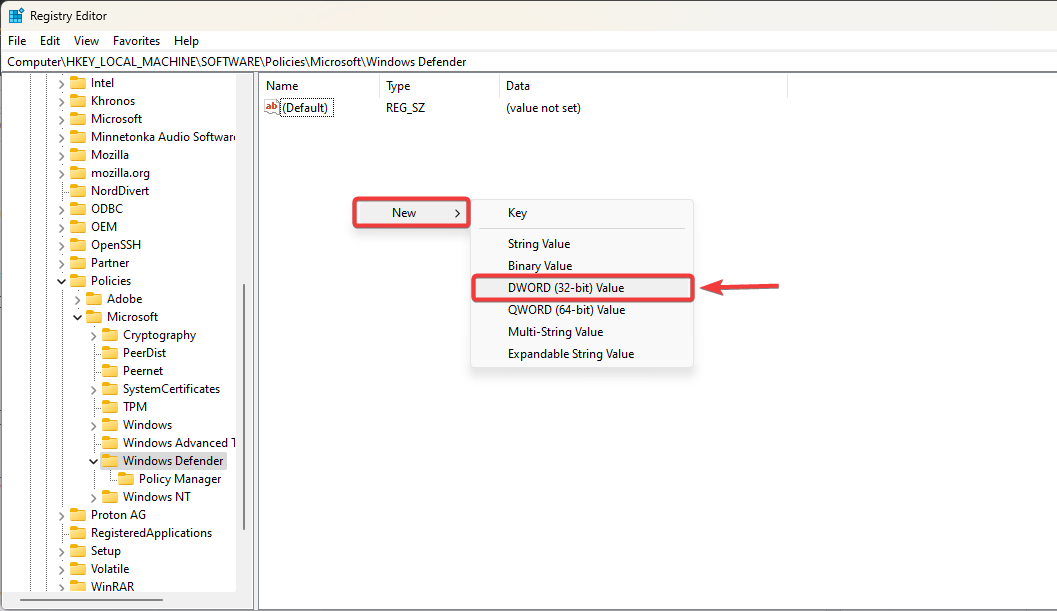
HKEY_LOCAL_MACHINE\Software\Policies\Microsoft\Windows Defender
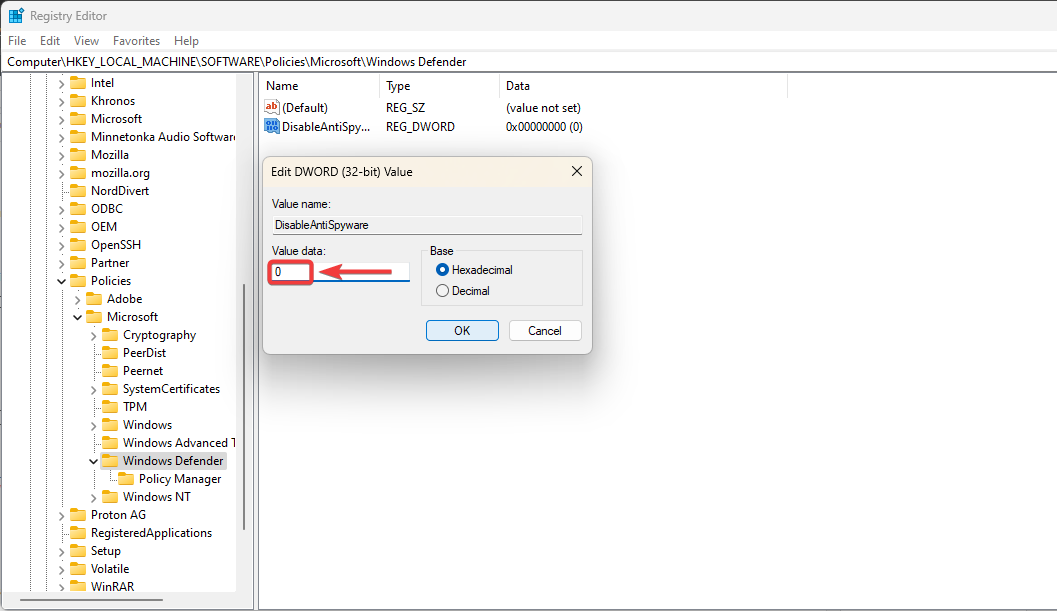
- Right-click the empty space and create a DWORD (32-bit) Value.
- Name it DisableAntiSpyware and set its value data to 0.
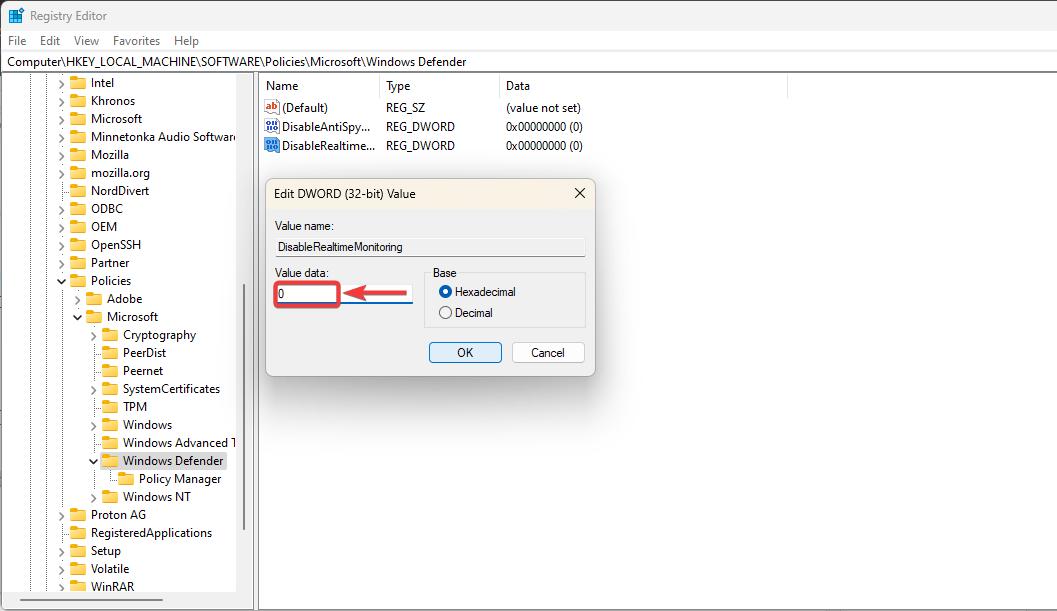
- Similarly, create another DWORD (32-bit) value and name it DisableRealtimeMonitoring.
- Then, make sure its value data is set to 0.
- Once done, restart your computer and see if the error is resolved.
3. Use Group Policy Editor
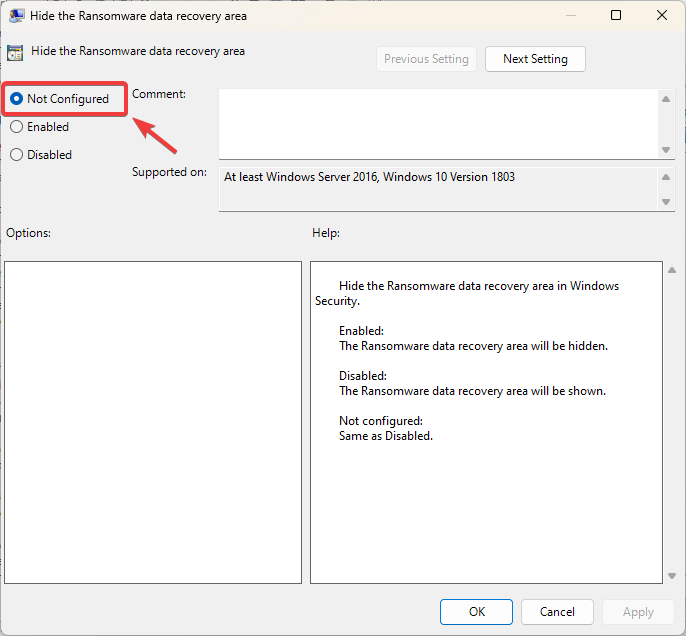
Setting the policy to not configured for Hiding the Virus and Threat Protection area in the group policy editor will ensure that this setting remains visible in the Windows Security user interface. This action can restore the Virus and Threat Protection settings if it is enabled.
- Click the Start Menu and type Group Policy Editor.
- Hit Enter to open the Group Policy Editor.

- Navigate to the following directory and find the policy. Find the Virus and Threat Protection area in the right pane:
Computer Configuration > Administrative Templates > Windows Components > Windows Security > Virus and Threat Protection
- Then, double-click on it to open its settings and set the Policy to Not Configured or Disabled.
- Once done, restart your computer and check if the issue is fixed or not.
4. Reset the Windows Security App
If the issue persists, you can try resetting the Windows Security App. This will restore the app to its default state by clearing the data, temporary files, and custom configurations. So, if the issue occurs due to misconfigured configurations or corrupted data, resetting the Windows Security app will fix it.
- Open the Start Menu by pressing the Win key.
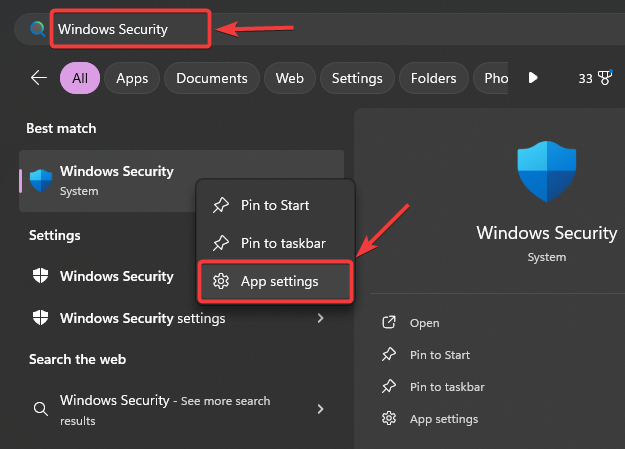
- Type Windows Security in the search box.
- Right-click on the App and select App Settings.
- Scroll down to the Reset option and click Reset.
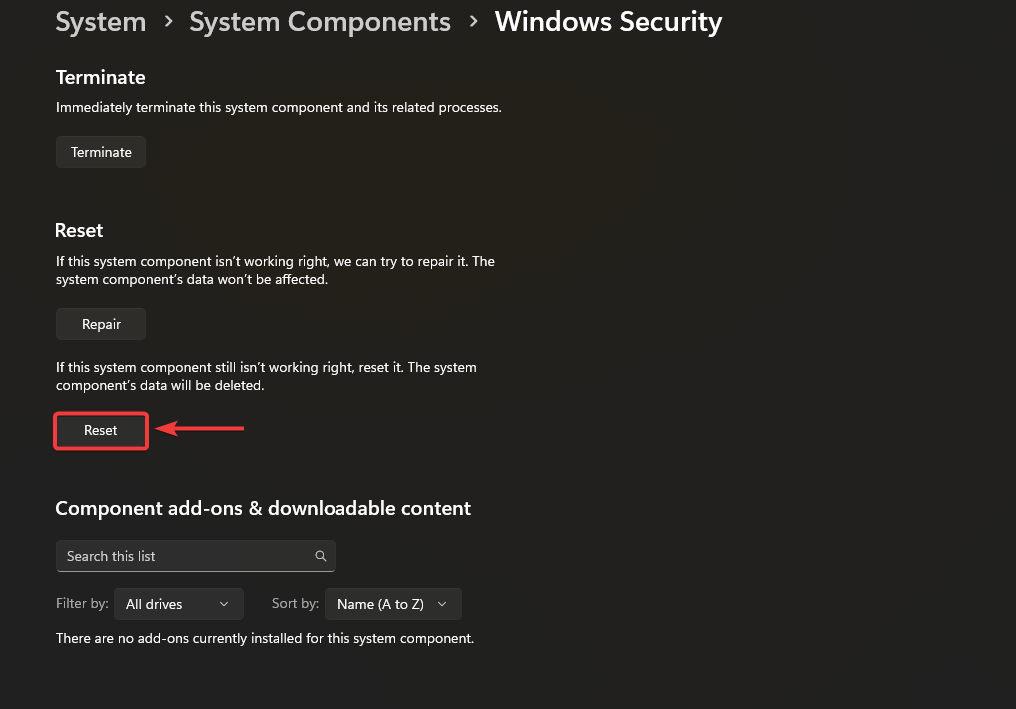
- Once the app has been reset, the issue should be fixed now.
Finally, if none of the methods worked, you can use a system restore utility if you have created a restore point before you encountered this issue. Otherwise, you can proceed to resetting Windows without losing the data. Both methods will surely fix this issue.


