What is P17RunE.dll? How to fix P17RunE.dll is missing?
The P17Rune file is a software component of Creative Sound Blaster by Creative. It is not considered an important file for Windows, which is why it often causes problems with the system. This file is found missing due to corruption in the sound driver card, which prevents it from being configured by the system.
In this guide, we will show you the methods to fix the missing P17Rune.dll files.
1. Reinstall the sound card driver.
Having a corrupted sound card driver is one of the reasons why your P17Rune.dll file may be missing from the system. Since the file is associated with a family of sound cards, you must reinstall the sound card on your system to prevent this issue from occurring. Below are the steps to reinstall the sound card driver:
- Open the Run Command by pressing the Win + R keys together.
- Type “devmgmt.msc” in the search box and click OK to open the Device Manager.
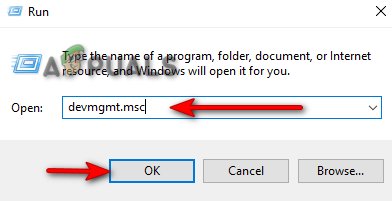
Opening Device Manager Note: Before uninstalling the sound card driver, make sure to note its name so you can re-install it afterward. - Click on the “sound video game controller” option to view the installed sound card driver.
- Right-click on it and select “Uninstall” to remove it from your device.
Reinstalling the driver
- Open the Official Realtek Website.
- Download the latest Realtek sound driver by clicking on the Download option.
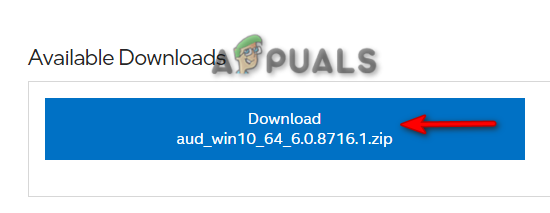
Downloading the latest sound card driver - Accept the terms and conditions by clicking on the ‘I accept the terms in the license agreement‘ option.
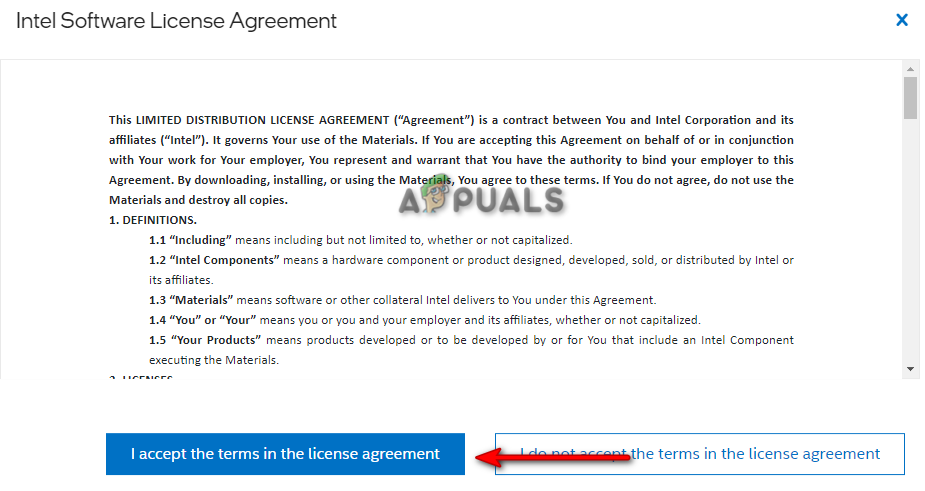
Accepting the license agreement - Select the file location and click on the Save option.
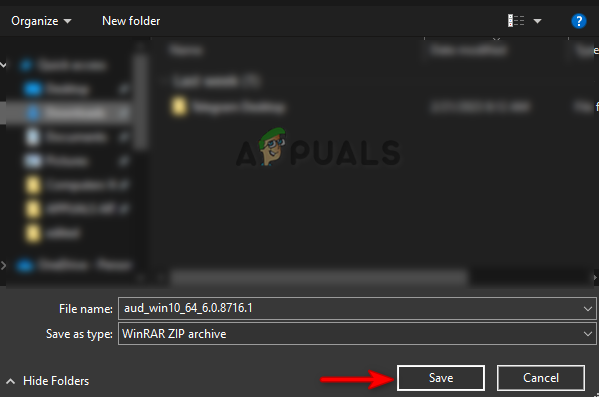
Saving the file - Click on the three dots in the browser and open the “Downloads” page.
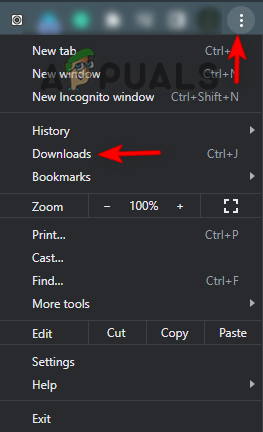
Opening the Downloads tab - Locate the file by clicking on the “Show in folder” option.
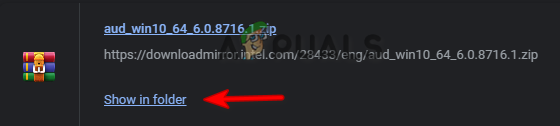
Locating the file - Extract the file by right-clicking on it and selecting the “Extract here” option
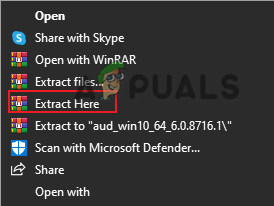
Extracting the File - Right-click on the setup and select “Open.”
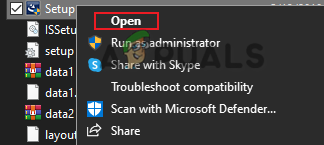
Opening the setup - Click “YES” on the User Account Control prompt to install the driver.
- After the installation is completed, click on “Finish” and restart your computer to make the necessary changes.
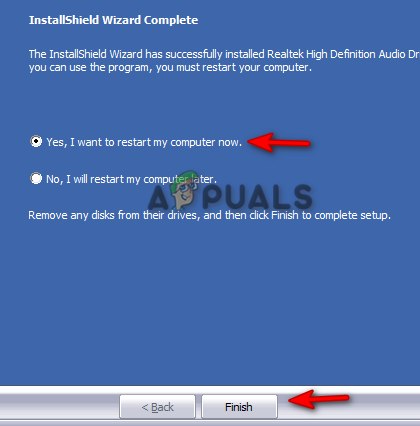
Finishing the installation
2. Use Windows Autoruns.
Autorun is a utility in Windows that helps the system find the configured programs running during its boot-up. You can use the utility to search for the DLL file and identify where it is causing the issue. Below, we have provided the steps to use Windows Autoruns to find the missing DLL file:
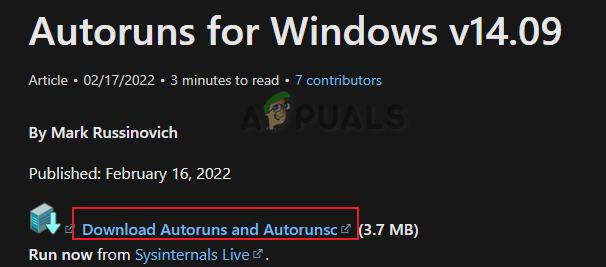
- Open the Official Windows Autoruns website.
- Download the utility by clicking on the “Downloads” option.
Downloading Autoruns - Select the file location to save and click the “Save” option.
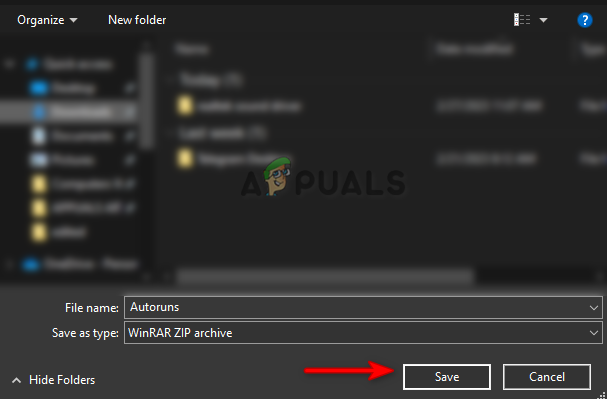
Saving the file in the folder - Click on the three dots in the browser, and open the “Downloads” page.
Opening the Downloads tab - Open the file location by clicking on the “Show in folder” option.
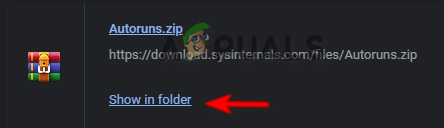
Opening file location - Extract the file by right-clicking on it and selecting the “Extract here” option.
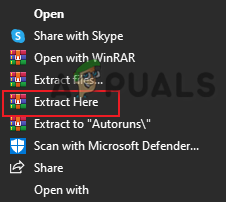
Extracting the file here - Click on the “Autoruns64” application (according to your system type)
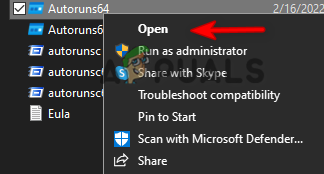
Opening Autoruns - Click on “Agree” to accept the license agreement.
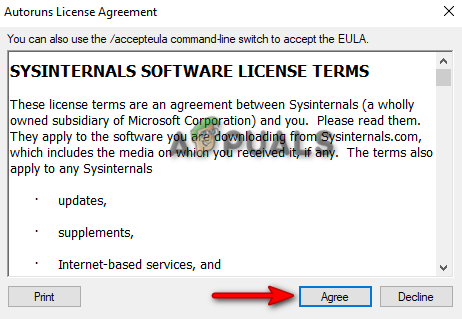
Agreeing to the terms - Type in P17RunE.dll in the search box and let the tool find where the file is running.
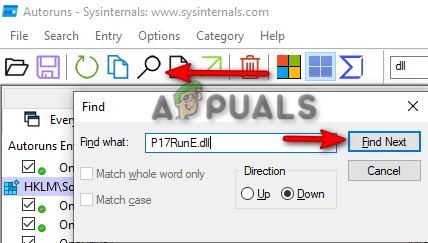
Finding the file In most cases, the file is found in the registry HKLM\SOFTWARE\Wow6432Node\Microsoft\Windows\CurrentVersion\Run - Untick the box next to the line and disable it.
- Restart the system and fix the issue of the missing dll file
3. Perform a system restore.
System Restore is a feature in Windows that helps you revert the state of your device to a specific point in time. This feature can be used to resolve errors and malfunctions, and it can also be used to fix DLL file errors. Therefore, performing a system restore can return your system to a previous state when it was not experiencing the error. Below, we have listed the instructions for performing a system restore:
- Open the Windows Start Menu by pressing the Win key.
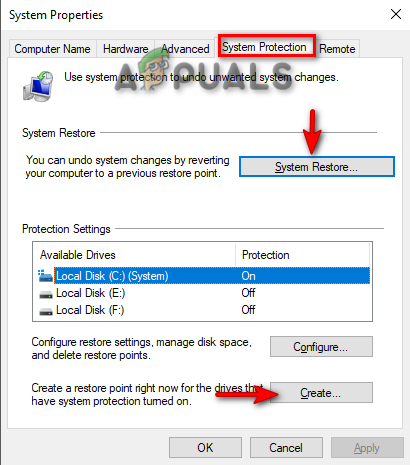
- Type “Restore Point” in the Windows Search box, and click on the “Create a Restore Point” option.

Opening System Protection - Create a restore point by clicking on the Create option under “Protection Settings.”
- Type the restore point as per choice and click the Create option (for example, restore 12/15/2022)
- Click on the System Restore Option.
Creating a Restore Point - Select “choose a different restore point” and click Next If you want to choose a custom restore point.
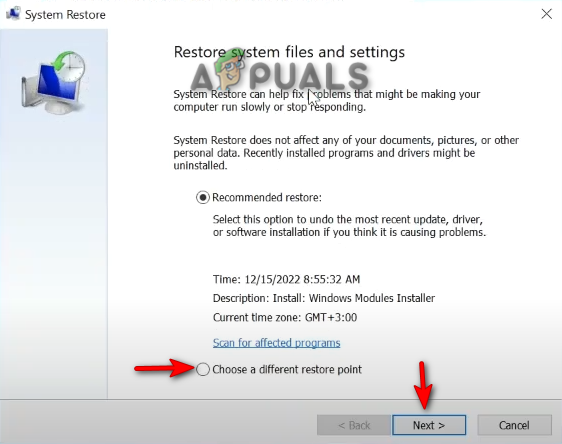
Choosing a different restore point - Select a restore point in the box and click Next to restore your system.
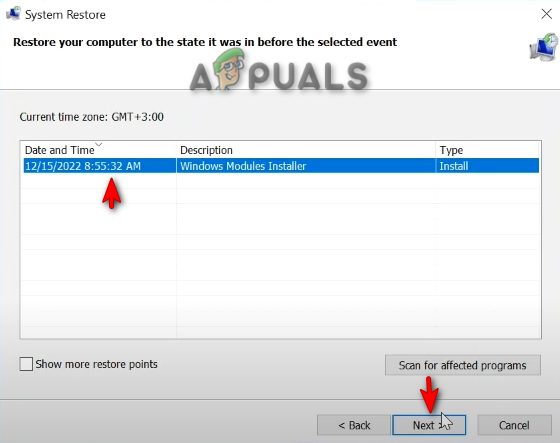
Restoring the System to custom time8.
4. Run the system in Safe Mode.
Safe Mode is a built-in feature in Windows that allows the system to start with default programs and a minimal set of drivers. Therefore, you must run your system in Safe Mode to identify what is causing the DLL file issue. You can operate the system in Safe Mode using the instructions below:
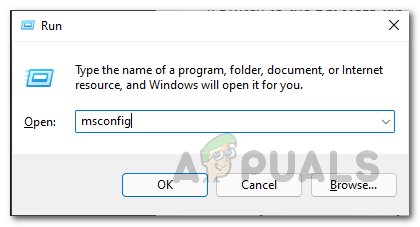
- Open the Run Command by pressing the Win + R keys together.
- Type “msconfig” in the search box, and click OK to open the System Configuration.
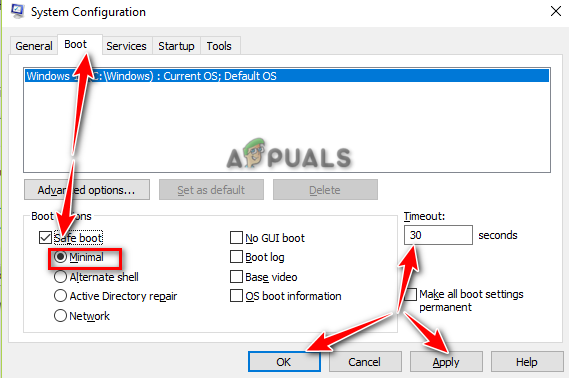
Opening System Configuration - Open the Boot tab and check the “Safe Mode” box.
- Click on “Minimal” under Safe Mode.
- Set the “Timeout” according to your preference, then click “Apply” and “OK.
Booting System on Safe Mode - Click on the “Restart” option in the System Configuration prompt.

Restarting computer
If the issue does not occur in Safe Mode, then as a last resort, you must perform a Clean Boot which is a feature that boots the system on a minimal set of drivers and startup programs. But for that you must have a backup copy of your files