How to Fix Error Code 0x0803D0010 in OneNote?
When the error code 0×0803D0010 occurs in the OneNote software, the notebooks may stop syncing, affecting the workflow of the user and making them unable to proceed. The error primarily occurs when the syncing process fails to initialize or finalize, leading to interrupted data transfer to OneDrive cloud storage. Due to this, users may be unable to access data on different devices.
Working on the same notebooks across different devices most commonly causes this issue, as the syncing process might glitch out. Additional factors contributing to this issue might include corrupt cache and network issues.
In a larger notebook or with a slow internet connection, syncing might take some time. Before continuing to troubleshooting steps, wait a little longer to see if the sync completes on its own.
1. OneDrive Service Status
OneNote uses the sync process to upload the changes made by the user in the notebook to Microsoft OneDrive. If the OneDrive servers are experiencing an outage, the syncing process might fail, leading to the error.
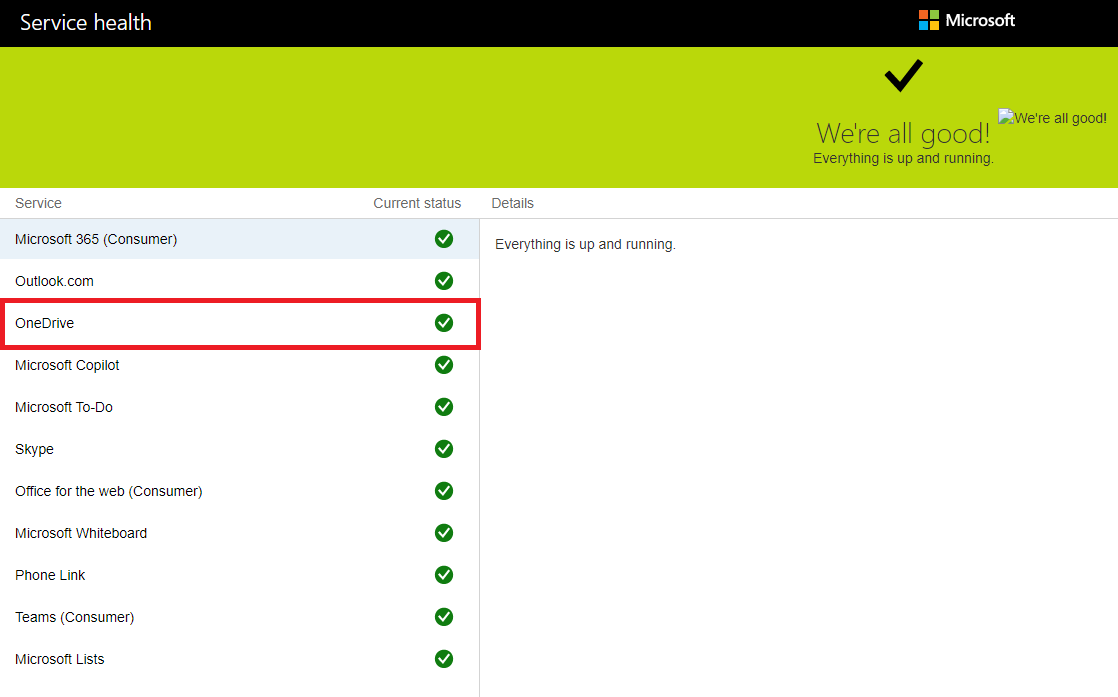
- To check whether the OneDrive servers are up and working normally, navigate to Microsoft’s service status webpage.
2. Sync Manually
A glitch or network disruption might interrupt the automatic syncing process. Performing a manual sync will reinitialize the sync process, establishing a fresh connection with the server, which could solve this issue.
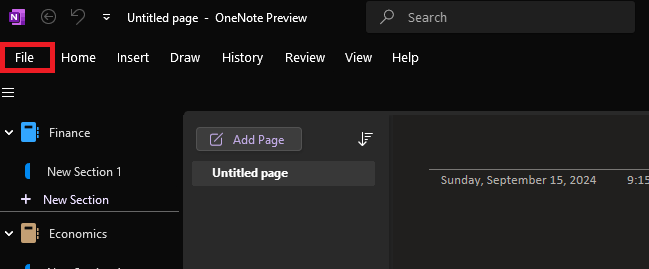
- Open the OneNote application, then click on the File button located on the menu bar.
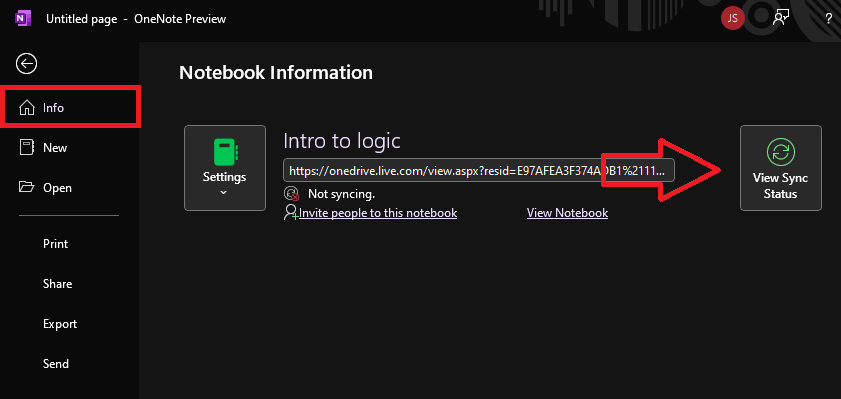
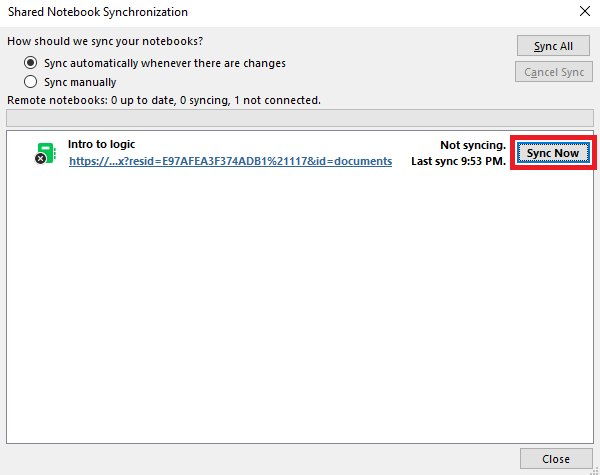
- Click on the Info button in the sidebar, then select the View Sync Status button from the right pane.
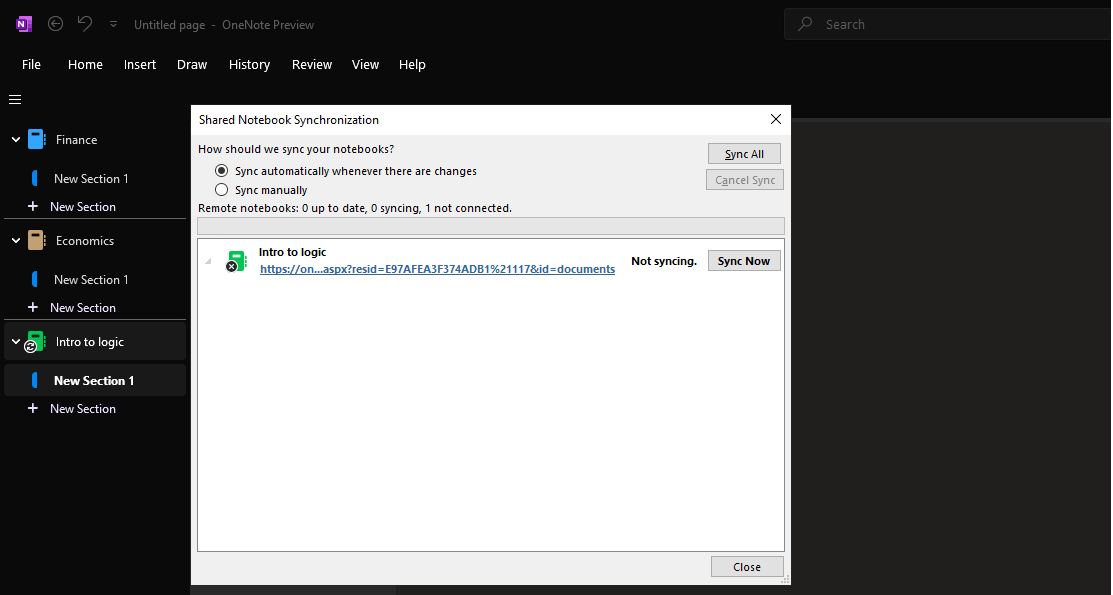
- In the synchronization window, click on the Sync Now button in front of the problematic notebook to perform a manual sync.
3. Update OneNote Application
If the OneNote application is not updated to the latest version, it may cause syncing issues due to compatibility problems with OneDrive cloud storage’s updated API and sync protocols. Thus, updating the OneNote application to the latest version could solve this issue.
- In the OneNote application, navigate to File and then Account.
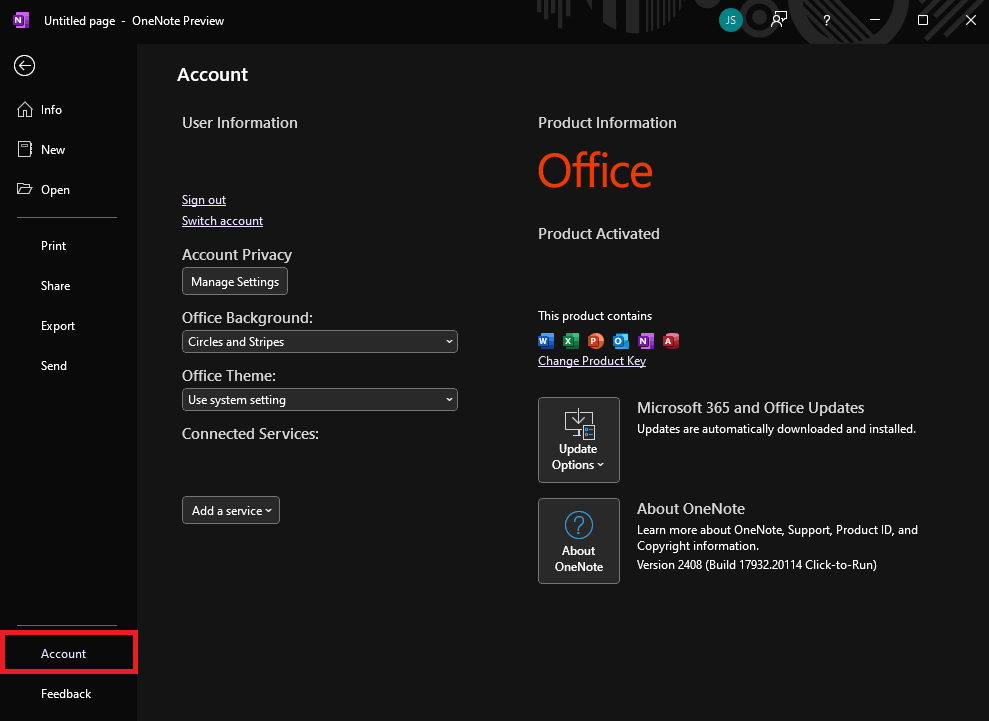
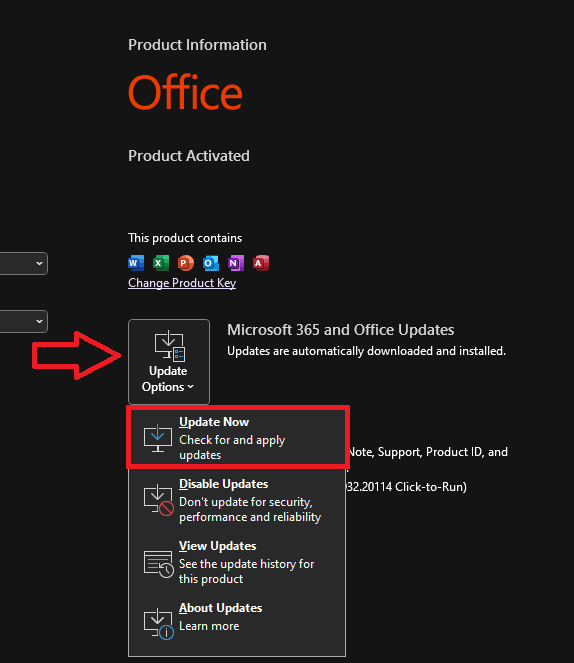
- In the Account section, click the Update Options button, then select Update Now from the drop-down menu to update the application to the latest version.
4. Re-Login Account
Due to network issues or glitches, the user session might time out, causing a failed syncing process. Signing out and back into your account will refresh the authentication tokens, reestablishing connection with the OneDrive cloud service.
Note: Signing out of the OneNote application will also log you out of all other Microsoft Office applications. Ensure saving any ongoing work prior to signing out.
- Open the OneNote application, locate the File button on the menu bar, and click it.

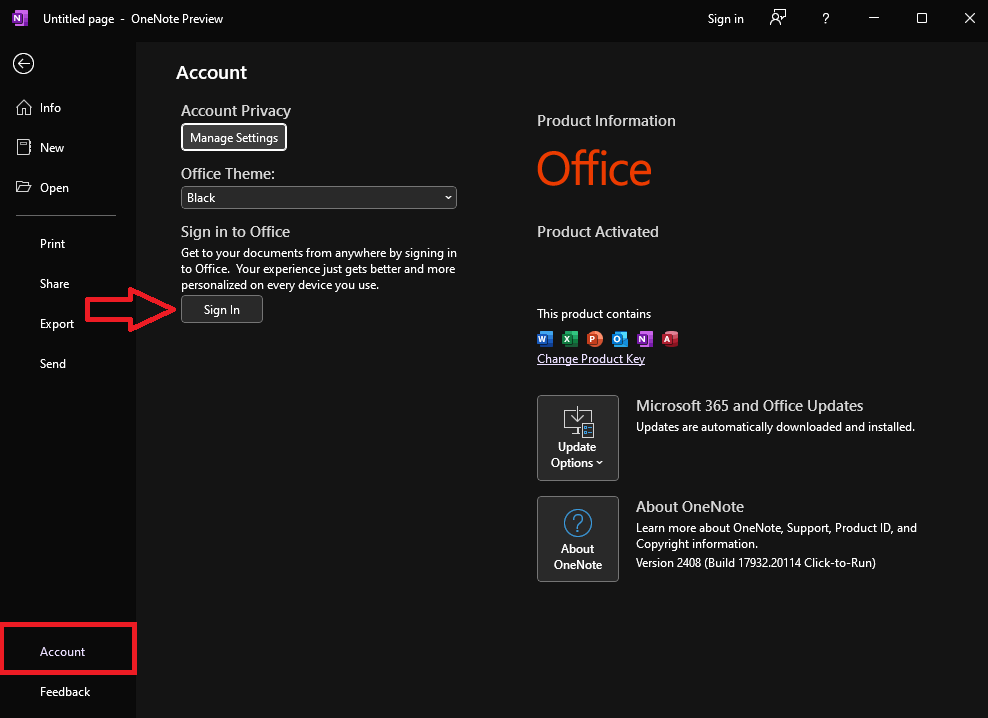
- Navigate to Account from the sidebar, and click on the Sign-out button under the user profile to sign out of the account.
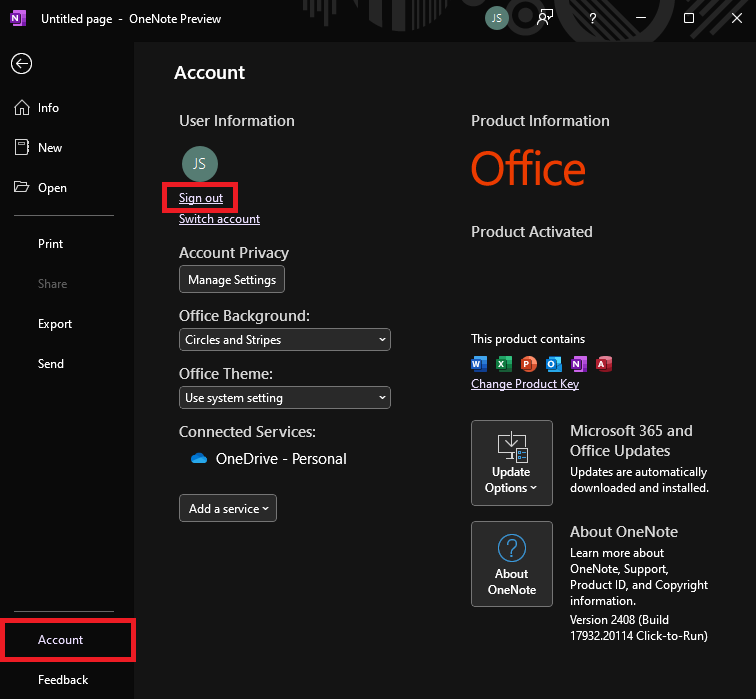
- After the sign-out, click on the Sign-in button in the Account section and enter your account credentials to sign in again.
5. Move Section to New Notebook
If a particular notebook has run into synchronization issues due to a glitch, then transferring the sections of the old notebook to a newly created notebook could resolve the issue.
- In the OneNote application, navigate to File>New to create a new notebook.
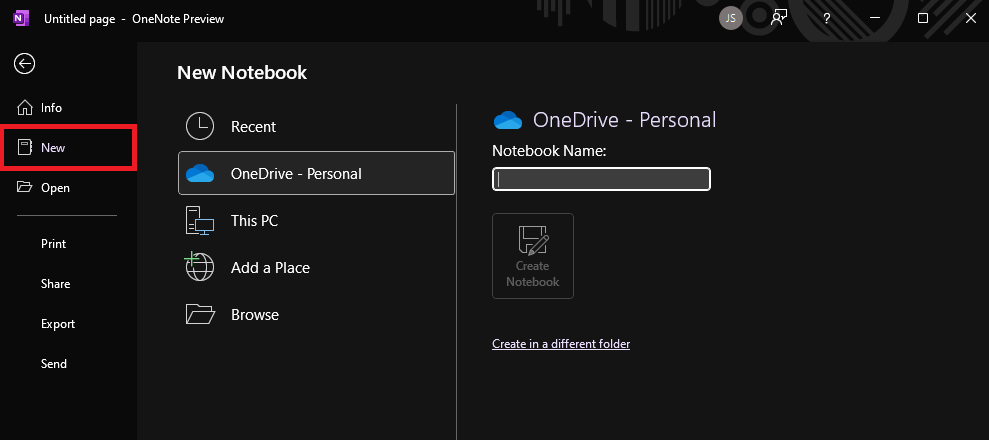
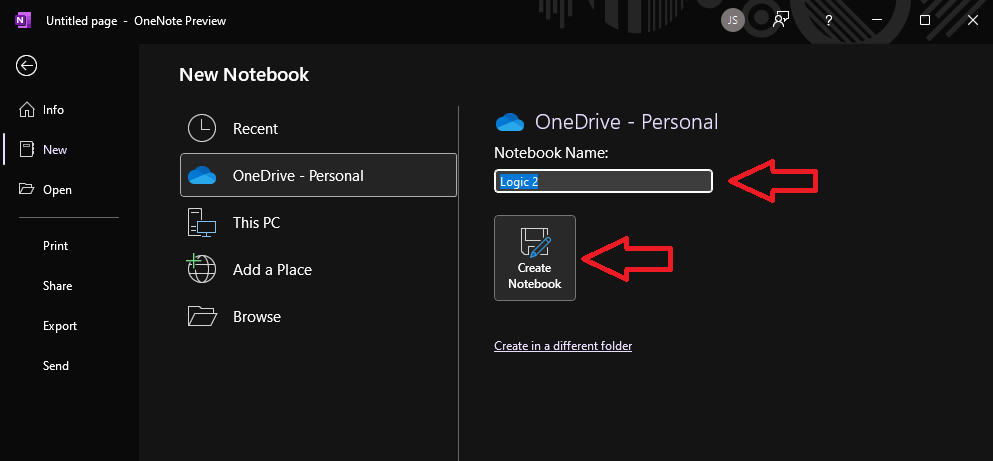
- Enter the desired name for the new notebook and click on the Create Notebook button.
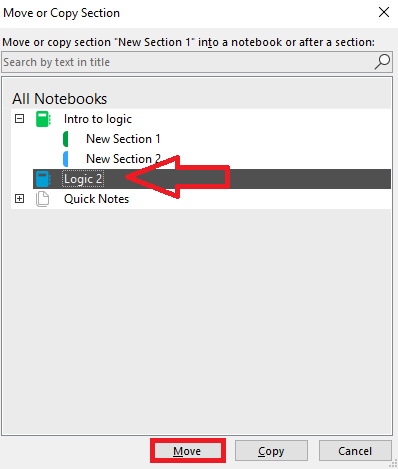
- After creating the new notebook, right-click on the section you want to move from the old notebook and select Move or Copy.
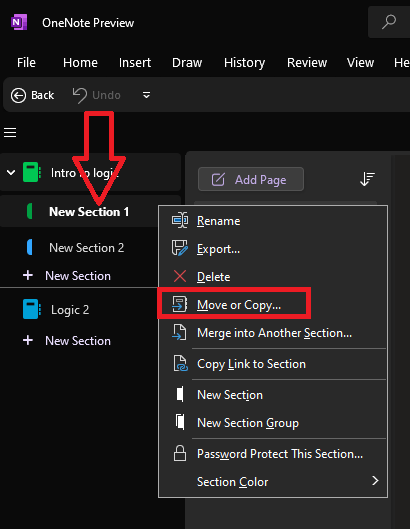
- Select the new notebook and click on the Move button to move the section to the new notebook.
- After that, the new notebook will start syncing automatically.
6. Clear Cache
Cache files are temporary data stored on your local device to enable quicker access to resources, such as multimedia files, without repeatedly retrieving them from the cloud. When you make changes in OneNote, they are first saved locally in the cache and then periodically synced to OneDrive.
However, if the cache becomes corrupted, it can lead to syncing issues, preventing your changes from being properly updated across devices.
Note: Clearing cache would result in the loss of all unsynced notebooks. Therefore, we recommend you to back up all notebooks before attempting this method.
- In the OneNote application, navigate to the menu bar and select the File button.

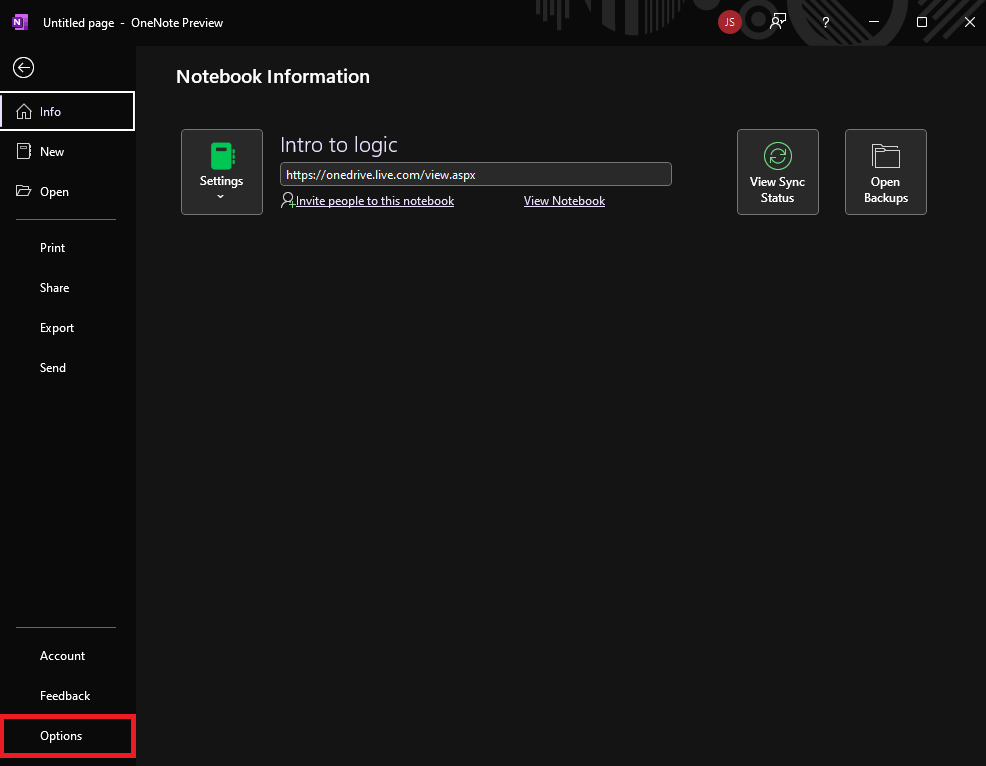
- Navigate to Options from the sidebar.
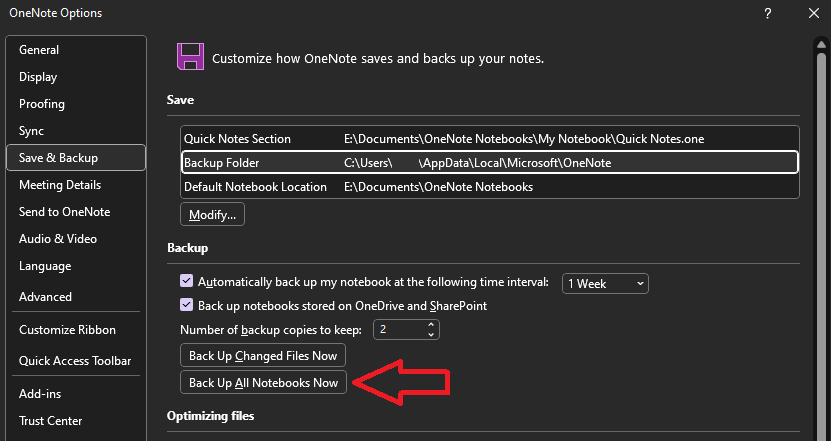
- Navigate to Save and Backup from the sidebar in the OneNote options window, and select Backup All Notebooks Now. (The backup directory is mentioned in the save section in front of the backup folder.)
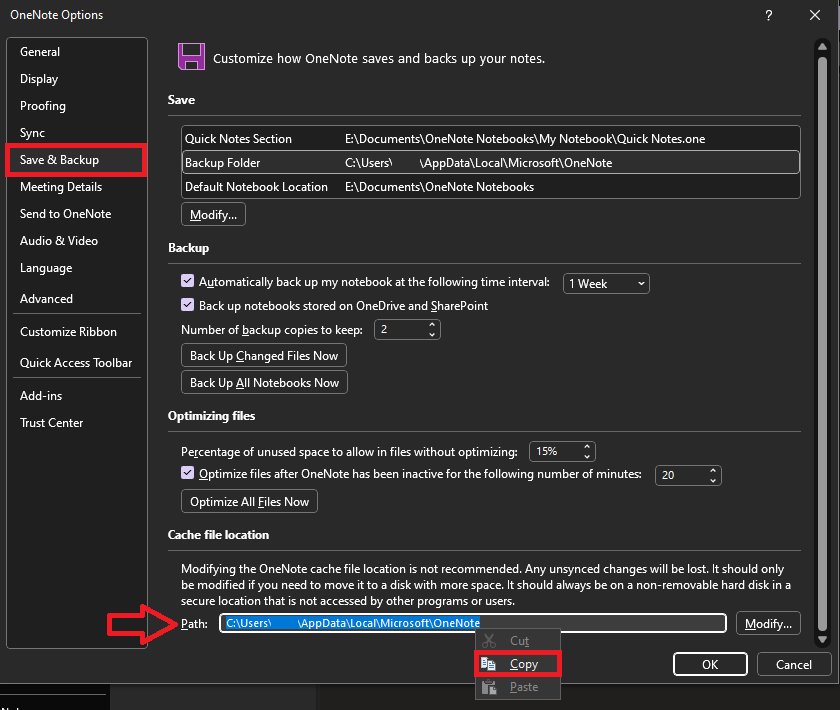
- After the backup process is complete, in the Save & Backup section, find the cache file location and copy the path. After that, close the OneNote application from the notification tray so that it doesn’t run in the background.
- After that, open Windows Explorer and paste the copied path in the Address bar and press enter.
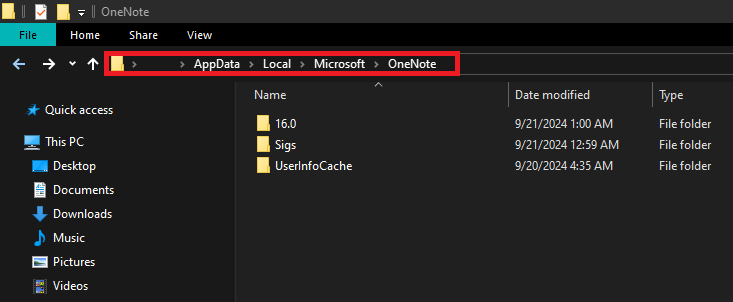
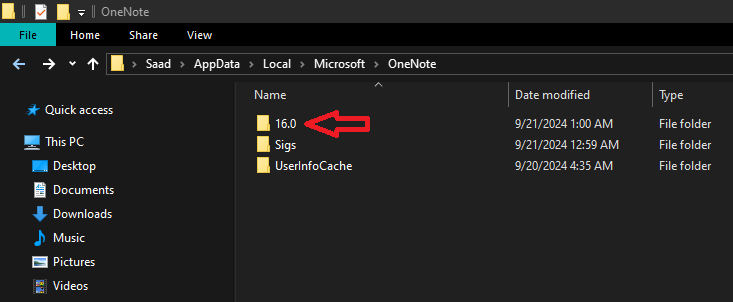
- In the OneNote folder, double-click on the folder named 16.0.
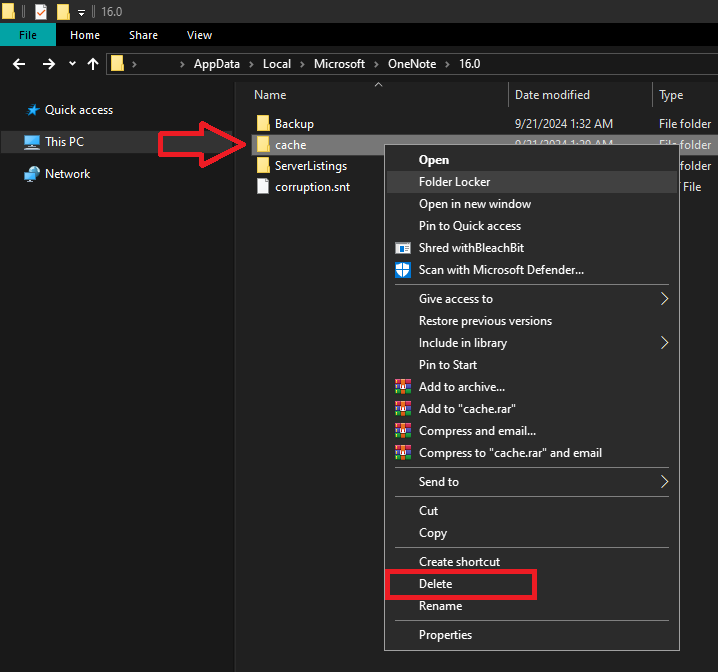
- Delete the Cache folder.
- Lastly, open the OneNote application, and the notebooks will start synchronizing automatically.


