How to Fix NVIDIA App Error Code 0xe6000000
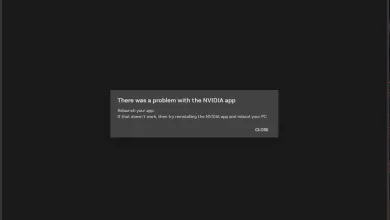
The message “Installer cannot continue. Error code 0xE6000000” appears when the NVIDIA App installer determines that your system lacks supported NVIDIA hardware, a compatible operating system, or the correct package version. Even when your GPU and OS appear compliant, conflicts with leftover drivers, incorrect installer builds, or software remnants can prevent installation.

Below, we’ll walk through each scenario and provide corrective actions to restore compatibility and complete the installation successfully.
1. Use the NVIDIA Cleanup Tool → Reboot → Reinstall NVIDIA App
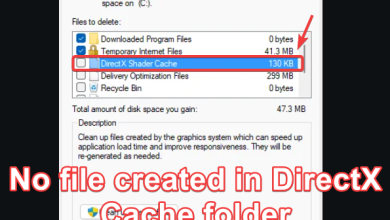
A clean reinstall removes all previous installation files and driver remnants that might conflict with the new update. The cleanup tool erases every trace of old NVIDIA software, ensuring no corrupted or outdated components remain. After a reboot, reinstalling the app allows it to register properly.
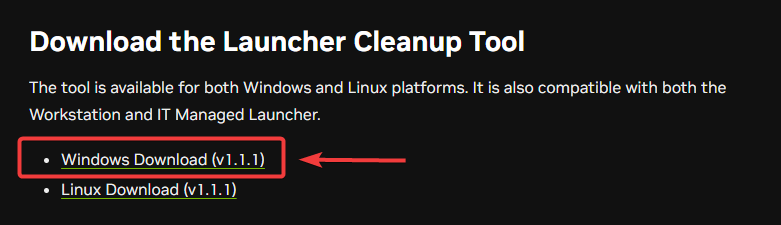
- Go to the official NVIDIA website.
- Download the NVIDIA Cleanup Tool to completely remove leftover driver and app files.
- Double-click the downloaded file. The tool will automatically detect and remove all NVIDIA-related files, including corrupted drivers and app components.
- Once cleanup finishes, restart your computer to clear temporary files and apply changes.
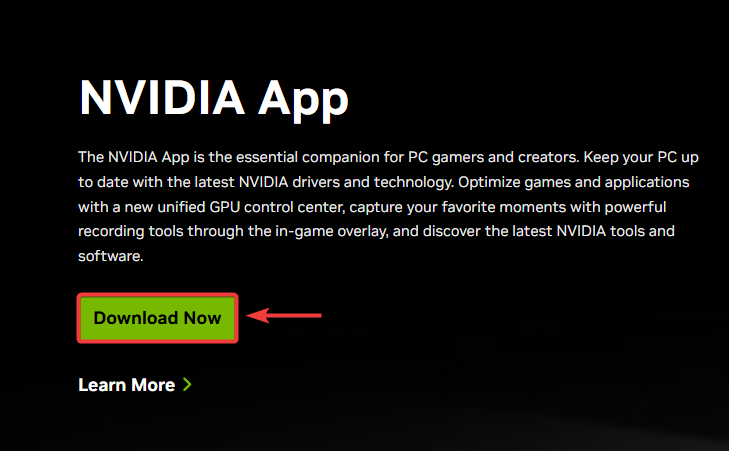
- Visit the NVIDIA official download page.
- Download the latest version of the NVIDIA App.
- Run the installer and follow on-screen instructions to complete installation.
- Launch the NVIDIA App and check if the error code 0xE6000000 is resolved.
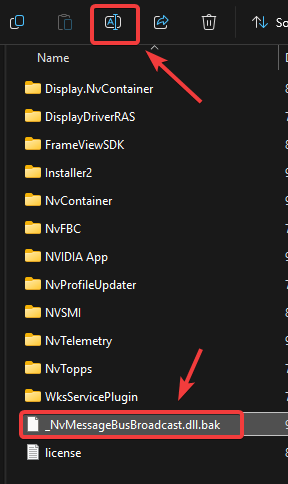
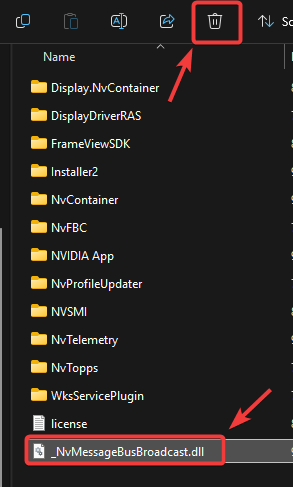
2. Delete (or rename) NvMessageBusBroadcast.dll from NVIDIA’s folders
The file _NvMessageBusBroadcast.dll is responsible for communication between NVIDIA background services. If it becomes corrupted or duplicated, the app cannot function correctly, causing the error. Renaming or deleting this file forces Windows to create a clean version, bypassing the faulty one.
- Make sure the NVIDIA App is completely closed.
- Open File Explorer and go to:
C:\Program Files\NVIDIA Corporation\
- Locate the file:
_NvMessageBusBroadcast.dll
- Right-click and select Rename.
- Add something like .bak at the end (for example: _NvMessageBusBroadcast.dll.bak).
- If renaming doesn’t work, right-click the file and select Delete.
- Restart your computer so the changes can take effect.
- Open the NVIDIA App again and check if the problem is fixed.
3. Ensure NVIDIA App and GeForce Experience Aren’t Co-Installed
Having both NVIDIA App and GeForce Experience installed can cause resource conflicts because both use overlapping functions. Uninstalling one of them helps remove duplication and stabilizes the app.
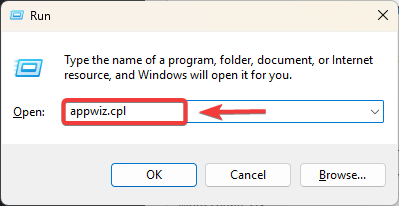
- Press Win + R, type appwiz.cpl, and press Enter.
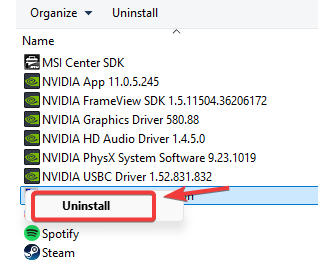
- Look for NVIDIA App in the list.
- Check if GeForce Experience is also installed.
- Right-click GeForce Experience (if both are present).
- Select Uninstall and follow the on-screen instructions.
- Once uninstalled, restart your computer.