How to Fix Nvidia App Auto Tuning Interrupted Error?
During the overclock tuning process, the error “Auto-Tuning Interrupted” often occurs when other background processes interfere with the GPU’s ability to scan and configure settings accurately. This interruption can prevent the tuning tool from completing its task. Additionally, corrupted NVIDIA configuration files, outdated or problematic GPU drivers, or insufficient GPU stability can also trigger this error.

Now that we’ve identified the potential causes, let’s explore the solutions to resolve this issue.
1. Close All Unnecessary Processes
The error frequently arises when other programs or processes interfere with the overclocking tool’s ability to scan and apply optimal settings. To avoid this, it’s recommended to close all unnecessary background processes before proceeding with overclocking. This ensures that the tool can operate without interruptions.
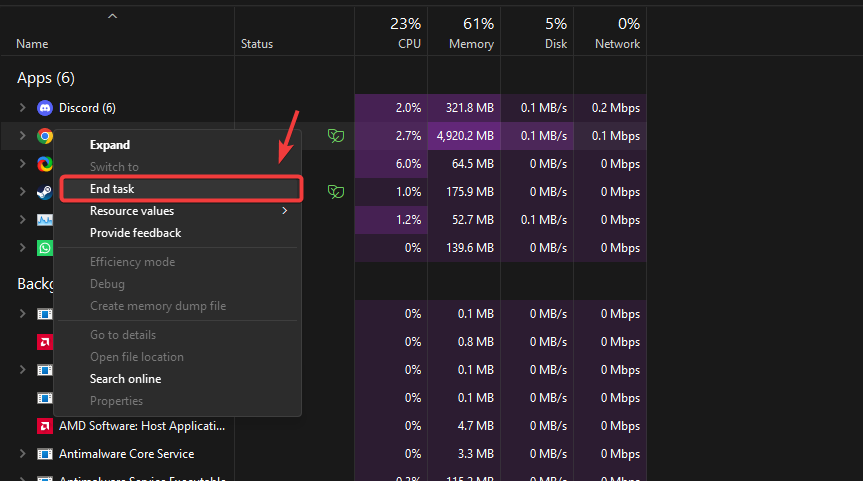
- Right-click the taskbar and select Task Manager.
- In the Processes tab, identify non-essential applications (e.g., browsers, Discord, media players).
- Right-click each non-essential process and select End Task.
- Once all unnecessary processes are closed, restart the overclocking tool and attempt the scan again.
2. Reinstall Drivers
The tuning process can be interrupted if your GPU drivers are corrupted or outdated. Corrupted drivers may cause instability, while outdated ones might lack compatibility with the latest overclocking features. Reinstalling the GPU drivers can resolve issues when overclocking your GPU using the NVIDIA app.
- Download Display Driver Uninstaller (DDU) from the provided link.
- Once the download is complete, extract the ZIP folder using WinRAR or 7-Zip.
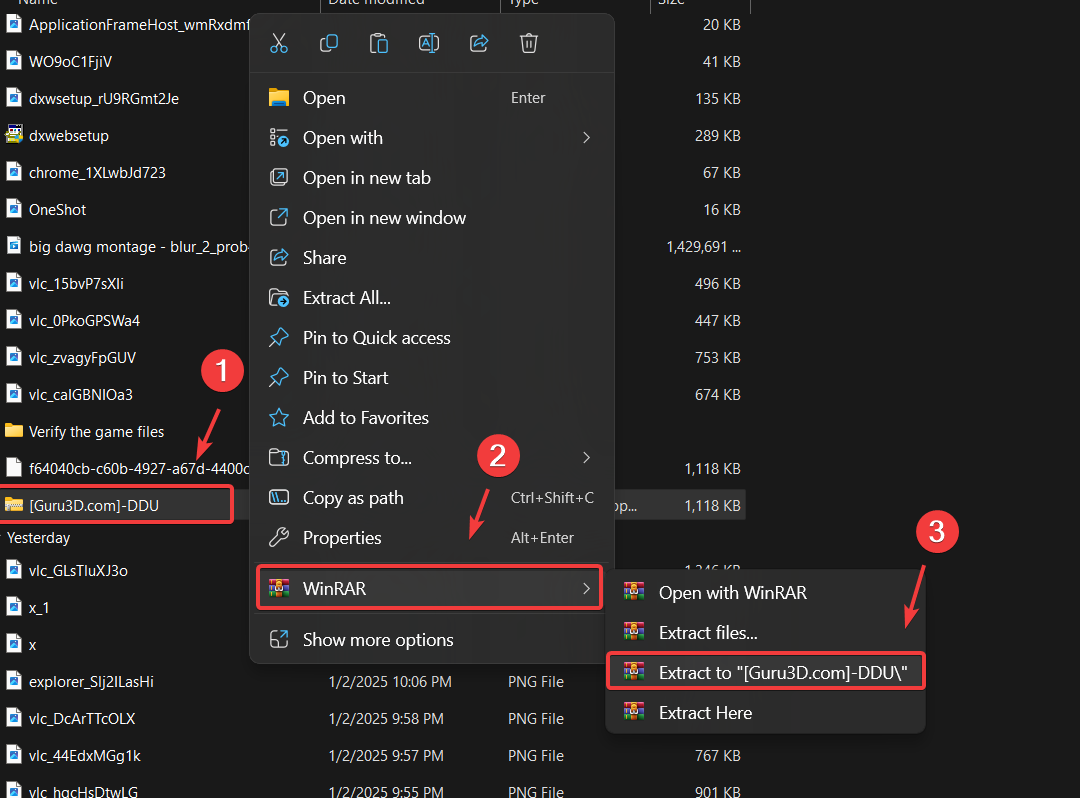
- Navigate to the extracted folder and double-click the DDU 7-Zip file.
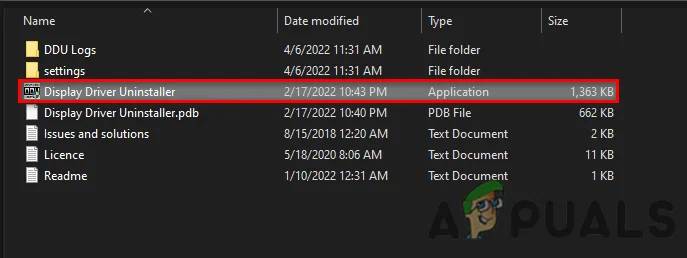
- Click Extract and open the extracted folder.
- Run the Display Driver Uninstaller application.
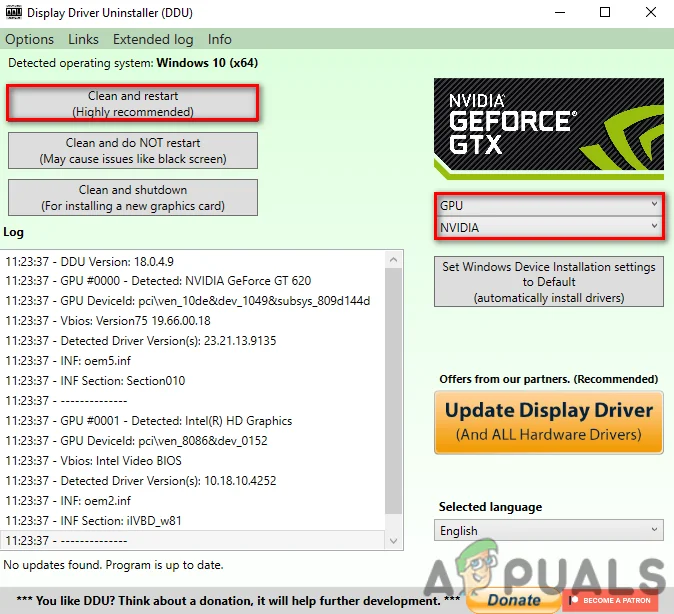
- Select your GPU from the device type and choose the GPU manufacturer from the options below.
- Click Clean and Restart to begin the uninstallation process.
- Download the NVIDIA App from the official website.
- Once the download is complete, install the driver. Go to the Drivers section and follow the on-screen instructions to complete the installation.
- After the driver is installed, restart your computer and attempt the tuning process again.
3. Delete Configuration Files
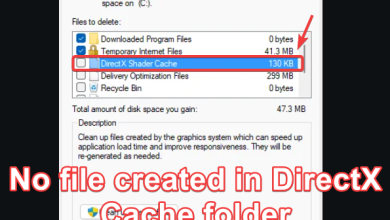
Corruption in the GeForce Experience or NVIDIA app folder can interfere with the auto-tuning process, preventing it from running correctly. This corruption may occur due to incomplete updates, file conflicts, or system errors. Deleting the folder forces the application to regenerate the necessary files, which can resolve the corruption and potentially fix the error.
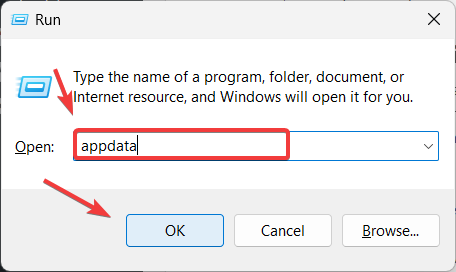
- Press the Windows + R keys simultaneously to open the Run dialog box.
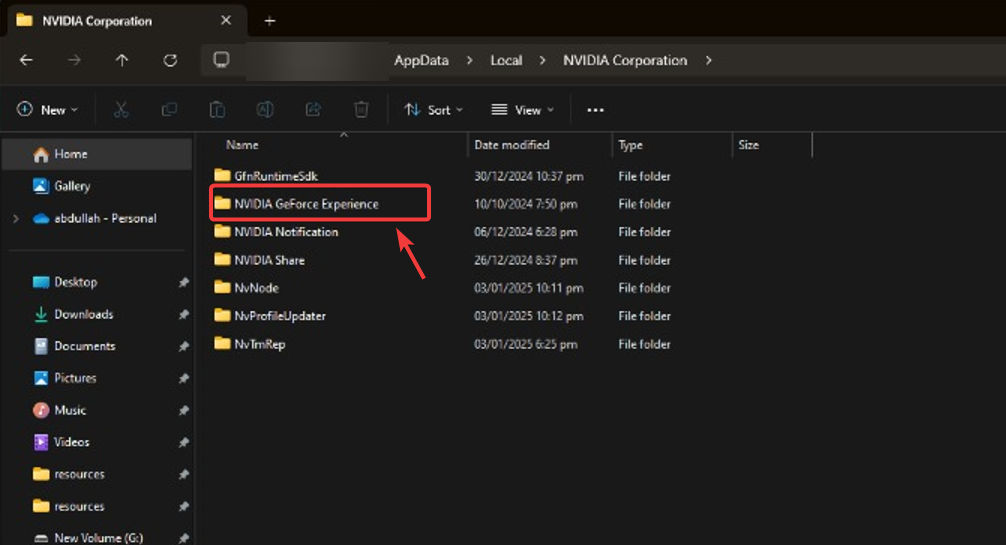
- In the input box, type appdata and click OK to open the AppData folder.
- Navigate to Local > NVIDIA Corporation. Here, locate and delete the GeForce Experience or NVIDIA App folder.
- Once done, restart your computer and attempt the auto-tuning process again.
4. Ensure GPU Stability
If your GPU temperature is too high or unstable, the auto-tuning process may fail. If the issue persists after trying the previous methods, use a tool like HW Monitor to check your GPU temperature. If the temperature exceeds 85°C, take steps to reduce it by cleaning your system, improving airflow, or adding additional cooling solutions.
If you’ve applied custom overclock settings, consider reverting to the default settings, as overclocking can increase heat output. For more advanced users, reapplying thermal paste or upgrading your cooling system can also help lower temperatures.