How to Fix ‘No Supported App for this NFC Tag’ Error?
The main reason for the “No supported app for this NFC tag” notification is that you have placed a credit card, rewards card, or debit card with a scanner tag too close to the back of your phone. If you are using a folding case with cards inside it, this is highly likely to occur.
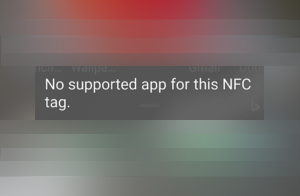
Your phone’s NFC recognizes the card, but since it was not previously registered – being a library card, common advertisement point card, train card, or bus card, etc. – a notification stating ‘No supported application for this NFC tag’ will appear on your device.
The good news is that this problem can be solved easily. You can follow the troubleshooting methods described in this article to resolve the NFC issue. So, let’s get started!
1. Turn off the NFC service, if applicable.
If you suddenly start receiving numerous notifications about NFC tags and you do not wish to use this service in the near future, you simply need to locate the NFC setting on your phone and turn it off if you’re not interested in such a service.
To turn off the NFC service on your phone, follow these steps:
- Go to Settings on your phone.
- Search for NFC in the search bar and open it.

Search for NFC in the search bar - If it is turned on, tap the button to turn it off.
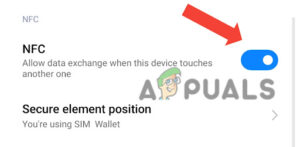
Turn off the NFC button
That will surely solve your problem, as you will no longer be using the NFC service and it won’t allow any further notifications. If the problem still continues, move on to the next method.
2. Reset Wi-Fi, mobile data, and Bluetooth settings.
Resetting Wi-Fi, mobile data, and Bluetooth settings can help resolve this issue, as these settings are closely linked to the NFC menu. Once these settings are reset, the data saved by NFC through these settings will also be cleared. Consequently, the issue will be resolved. If you wish to turn NFC off, please follow the appropriate steps.
- First, go to Settings.
- Then, search for the “Reset Mobile Data, Wi-Fi, and Bluetooth” option in the search bar.

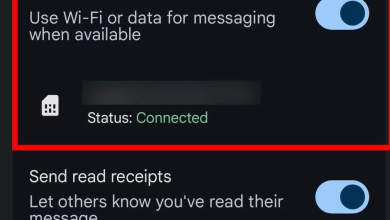
Go to the “Reset mobile data, Wi-Fi, and Bluetooth” option - Here, select the cellular SIM you are using.
- Tap on ‘Reset‘ at the bottom of the screen.

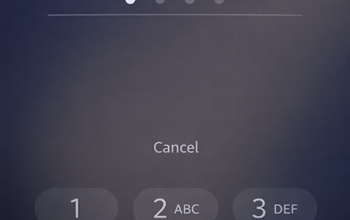
Tap on Reset settings - Enter your PIN or Password.
- Confirm the reset by tapping ‘OK.’
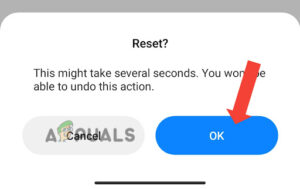
Hit the OK button
3. Reboot your phone.
Rebooting your device will shut down the entire system, and when it turns back on, it will provide a fresh start for both the hardware and software. Regularly rebooting helps your device run smoothly and clears the RAM consistently.
- Long press the power button until the power options appear.

Long press the power button for four options - Then, tap on Reboot/Restart to reboot your device.
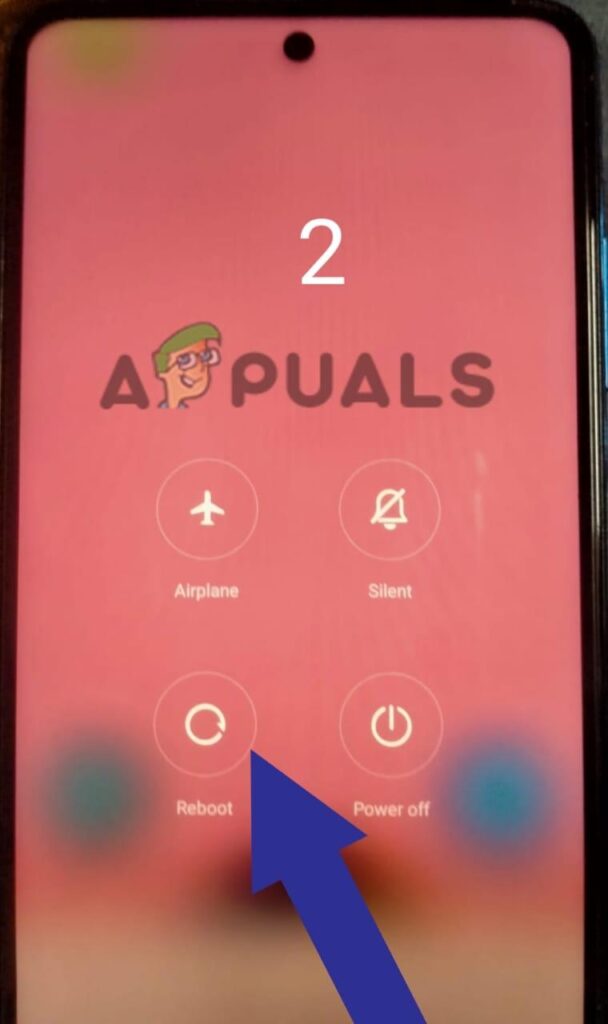
Tap on Reboot
4. Place a metal sheet between the card and the phone.
First of all, check your pocket to see if the mobile phone and the cards are placed together in your phone cover. If so, that’s the issue. The device you’re using might be trying to read the credit card numbers simply because they are too close to it, similar to the payments you make via wireless technology.
Follow the steps below to fix this issue:
- Cut a strip of aluminum approximately the width of a credit card and 1.2 mm thick.
- Layer it between the phone and the card with which it came.
5. Use an RFID wallet.
To access the data from the card you’re using, an RFID reader is most frequently utilized. The job of an RFID wallet is to hinder the electromagnetic radiation used by RFID readers to access such information. A specific material is typically employed in the manufacturing of RFID wallets, and it certainly has the capacity to disable and/or disrupt radio signals.
6. Reset the device.
If such notifications continue to appear on your smartphone, try restarting your device. If this doesn’t work and you’ve tried all other methods, then consider resetting the device. Sometimes, bugs are the core reasons for these undesired notifications and settings being turned on.
- Make sure to back up your data before resetting your phone.
- Turn off your phone by holding the power button and selecting the Power Off option.
- Turn on your phone by holding the Power and Volume Up buttons simultaneously until the phone logo appears.
- Click on ‘Wipe Data‘, then move down by using the volume down key.
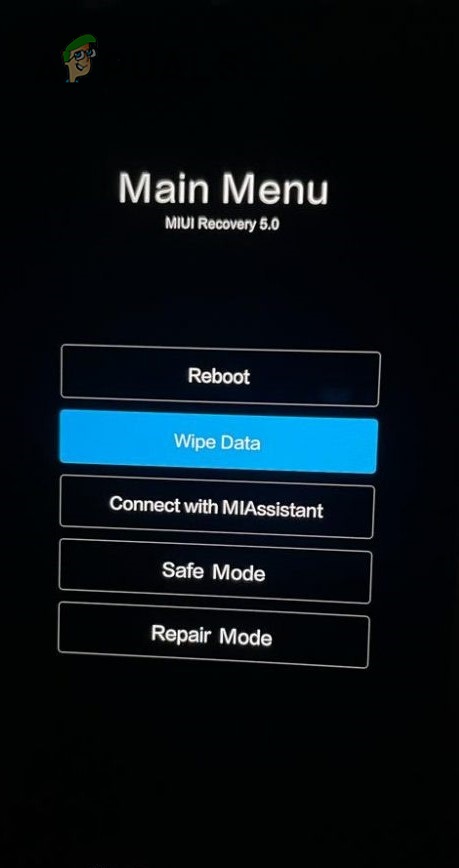
Tap on Wipe Data - Press the power button to select the option.
- Select ‘Wipe All Data‘ and click ‘Confirm.’
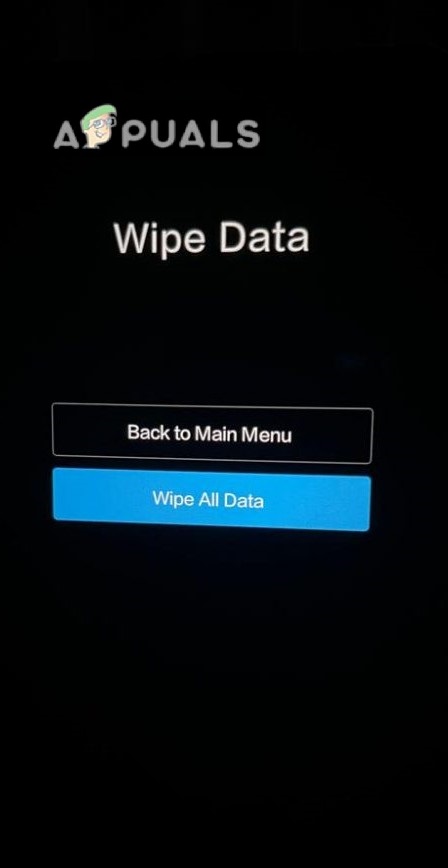
Select Wipe All Data - After the successful reset, you’ll receive the text “Data Wiped Successfully.
- Reboot your device from the main menu to turn it on.
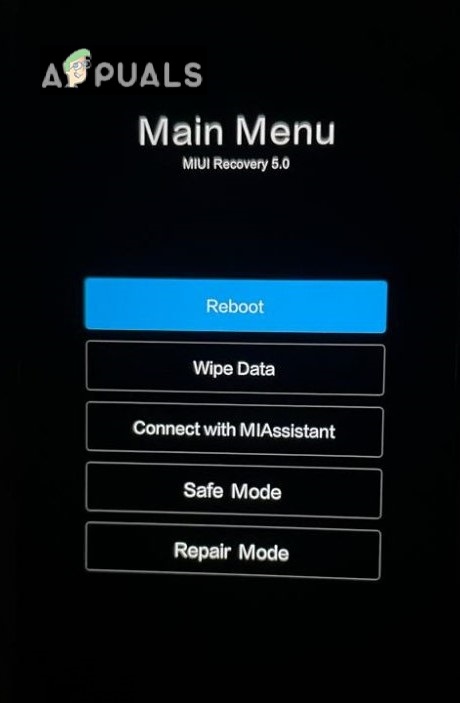
Tap on Reboot
If the issue still occurs, then there is a hardware issue with your device. In this case, you should visit a nearby mobile repair store and have your phone checked by a professional.