Fix: Ni No Kuni Wrath of the White Witch Remastered Not Installing
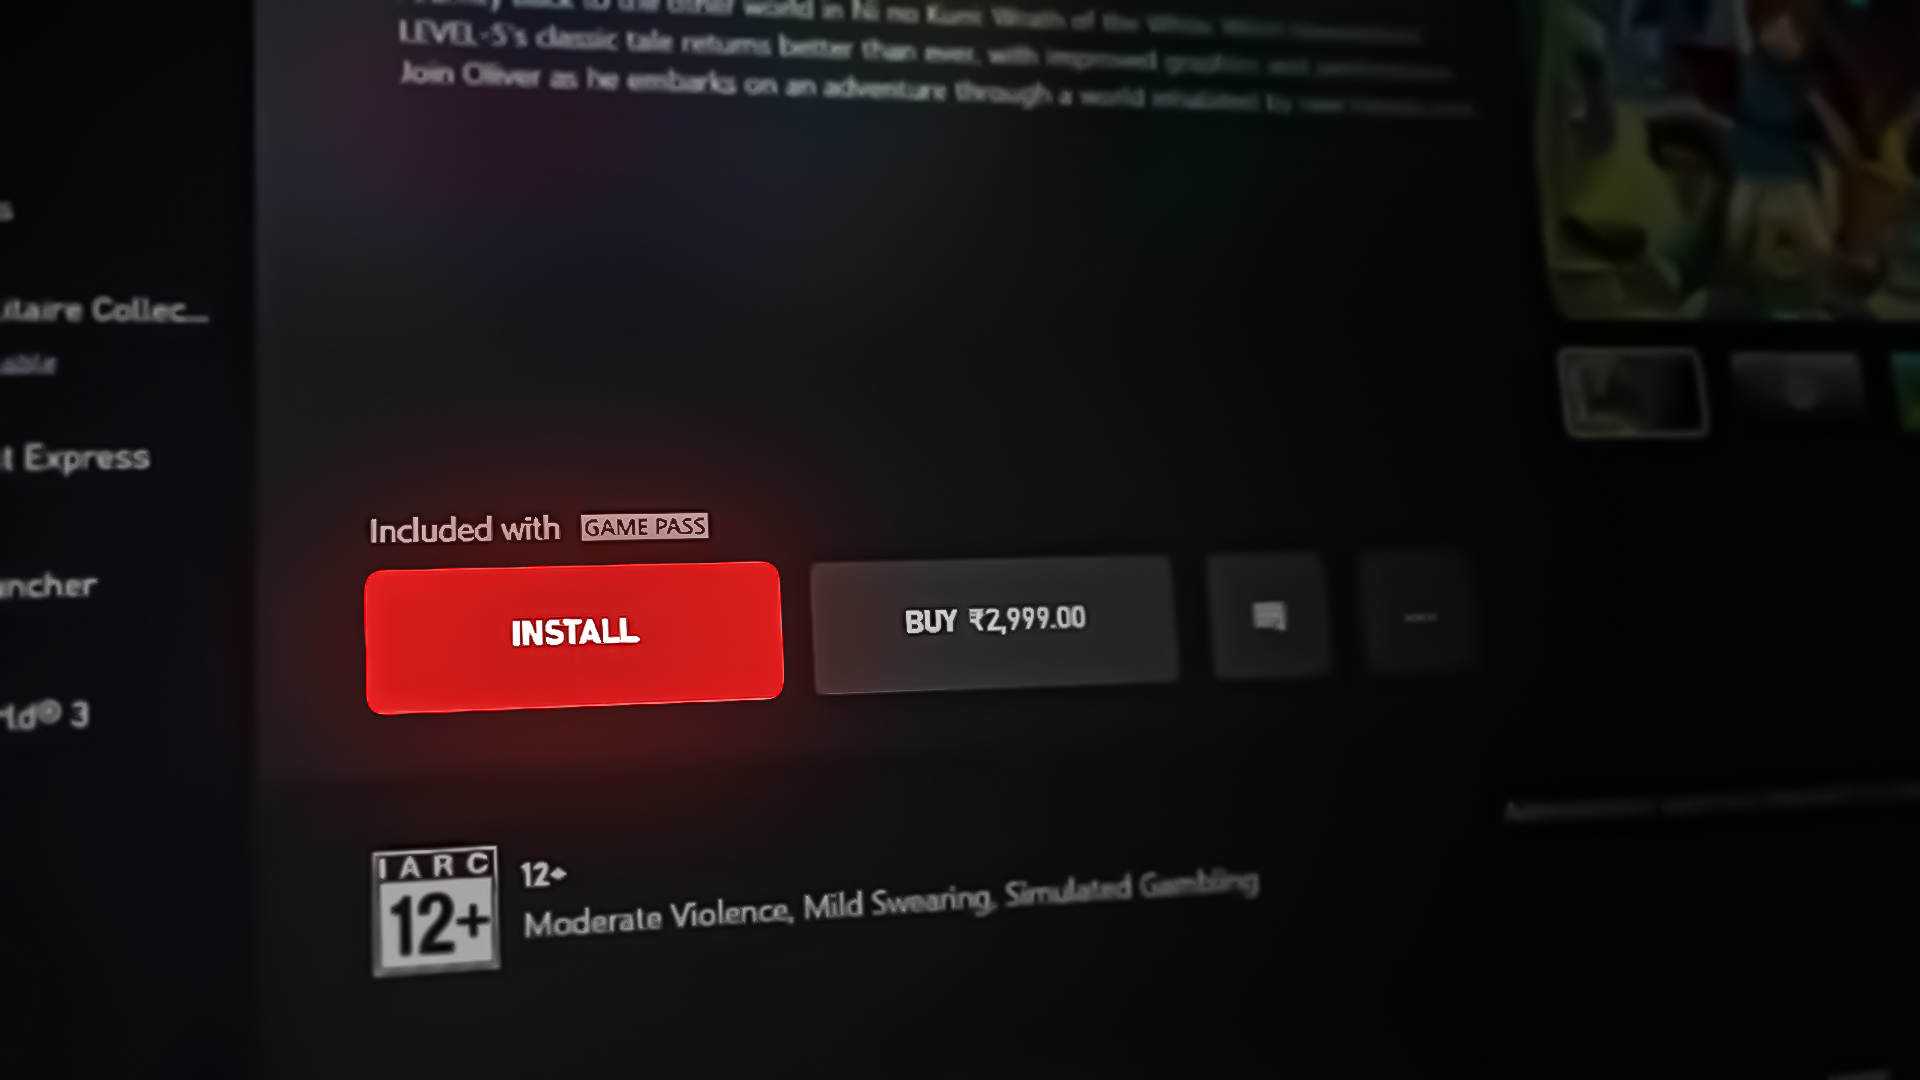
Other factors that may cause such an issue can include a corrupt installation directory, storage problems, or your computer’s inability to meet the minimum requirements. Here is how you can resolve the Ni no Kuni installation error.
1. Server Availability
Before attempting any of the methods mentioned below, ensure that the Xbox servers are up and running. The Xbox servers might be undergoing maintenance when you try to download the game. Follow these steps to check the server availability of Xbox Live:
- Click here to visit Downdetector. It is a web application that monitors server uptime worldwide.

utilizing a third-party tool to check the Xbox server status - Now, type “Xbox” in the search box and press the Enter key.

Checking server availability - If the Xbox Live servers are online, continue to the next step; otherwise, wait for the servers to be fixed, as there is not much a user can do in that situation.
2. Repair and reset the Xbox and Microsoft Store.
2.1 Repair and reset the Xbox gaming application.
Follow these steps to repair and reset the Xbox gaming applications:
- Press the Windows key on your keyboard to open the Windows Start menu. In the search box, type “Xbox” and right-click on it.
- Click on the App settings button.
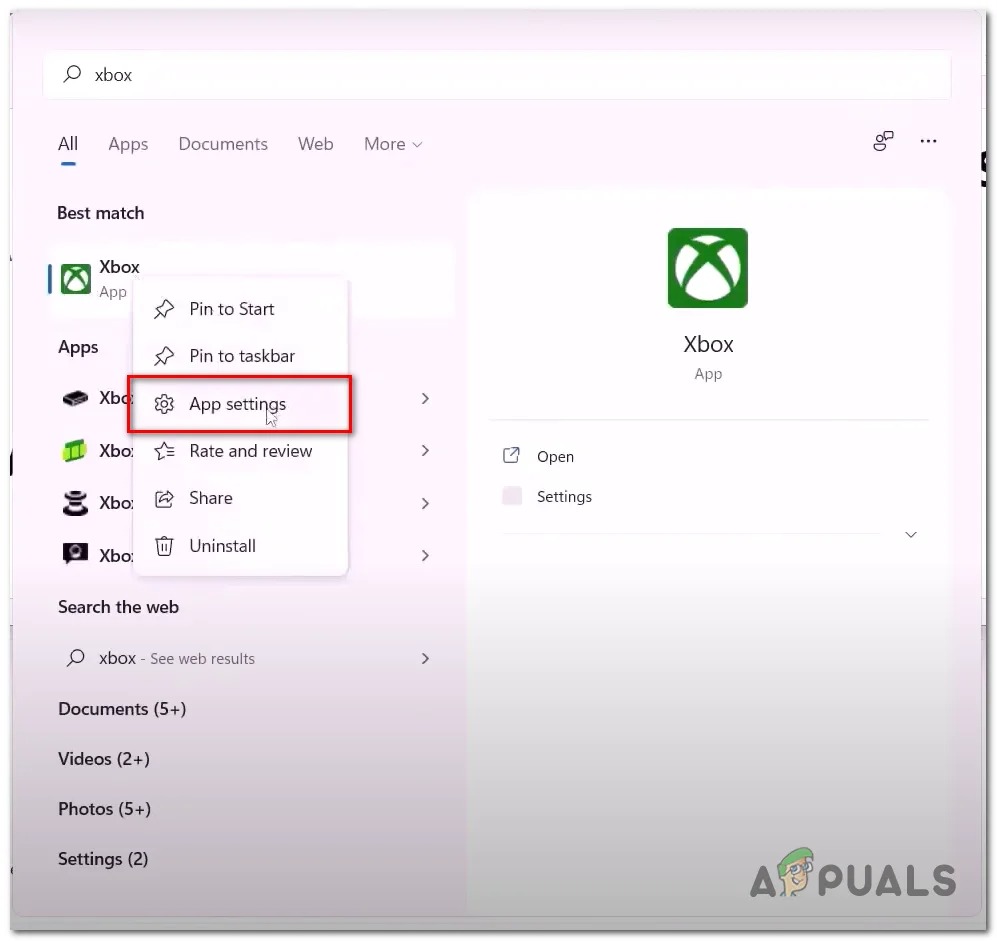
Opening the Xbox application’s settings from the start menu - Scroll down, and click on the Repair button, as shown in the image below.
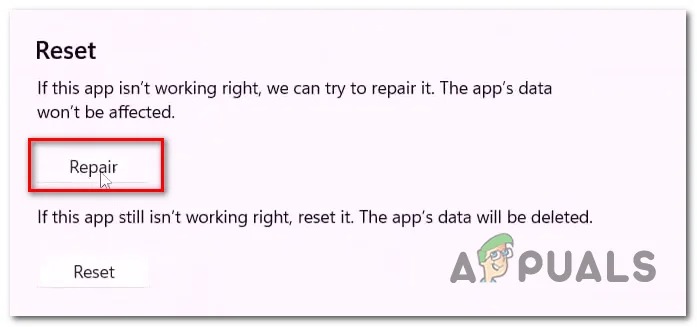
Repairing and resetting the Xbox gaming application - Wait for a while for the repair procedure to finish. Once completed, try reinstalling Ni no Kuni.
- If the problem persists, click on the Reset button, wait for a while, and then try installing.
2.2 Repair and Reset the Microsoft Store.
Follow these steps to repair and reset the Microsoft store:
- Press the Windows key on your keyboard to open the Windows Start menu. In the Start menu search bar, type “Microsoft Store.
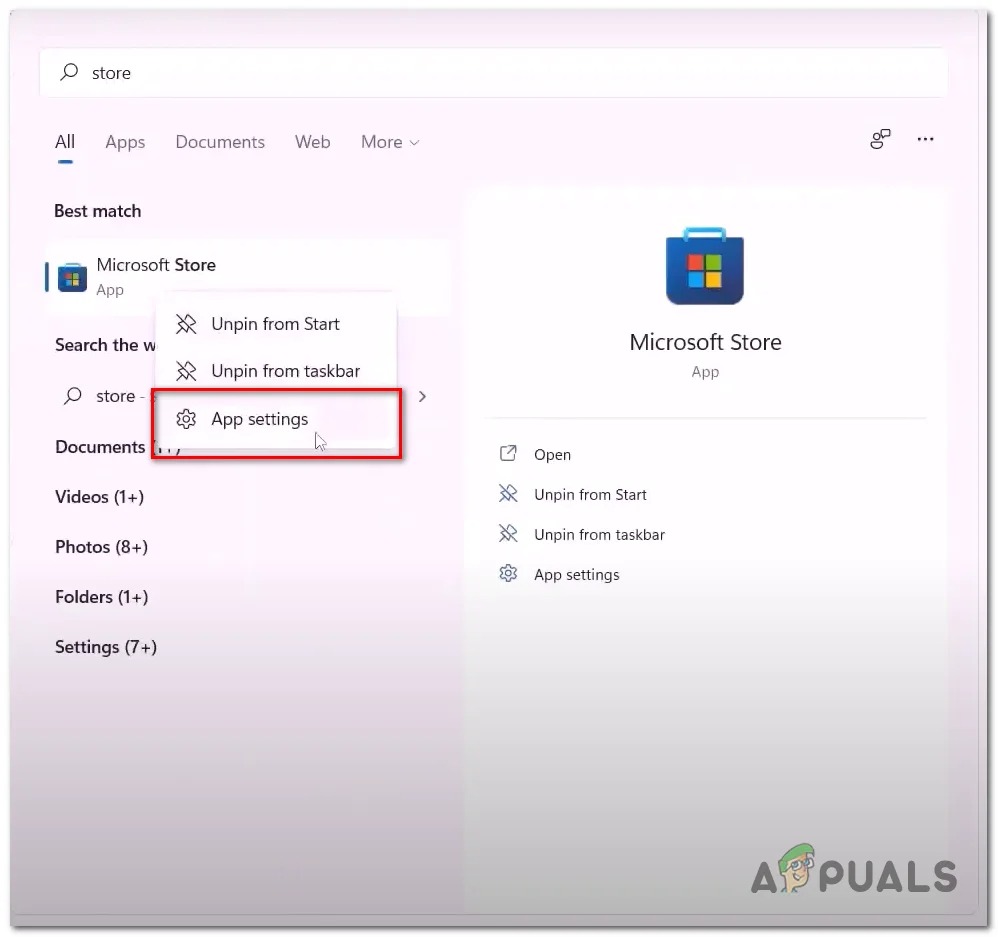
Opening app settings of the Microsoft store - Right-click on the Microsoft Store, and click on the App settings.
- Scroll down, and click on the repair button.
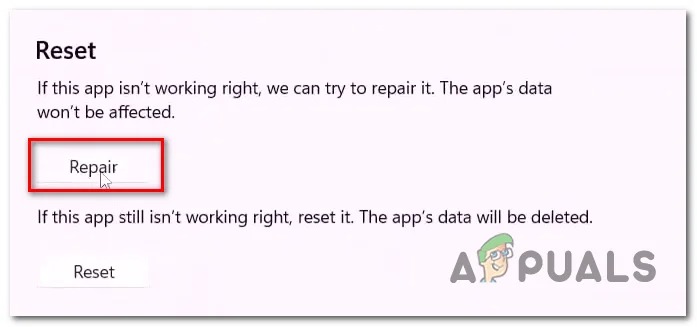
Repairing and resetting the Xbox gaming application - Like the previous steps, try both the repairing and resetting tools. After that, attempt to install Ni no Kuni: Wrath of the White Witch.
3. Install the Xbox Identity Provider.
Xbox identity provider is a service application generally pre-installed on most Windows computers. Still, in cases where it isn’t, it could lead to issues like the one in the discussion. This service creates a bridge between Xbox Live and your computer. This service can pretty easily be installed from the Microsoft store; follow these steps:
- Click here to install the Xbox identity provider.
- Click on the Get button if available.
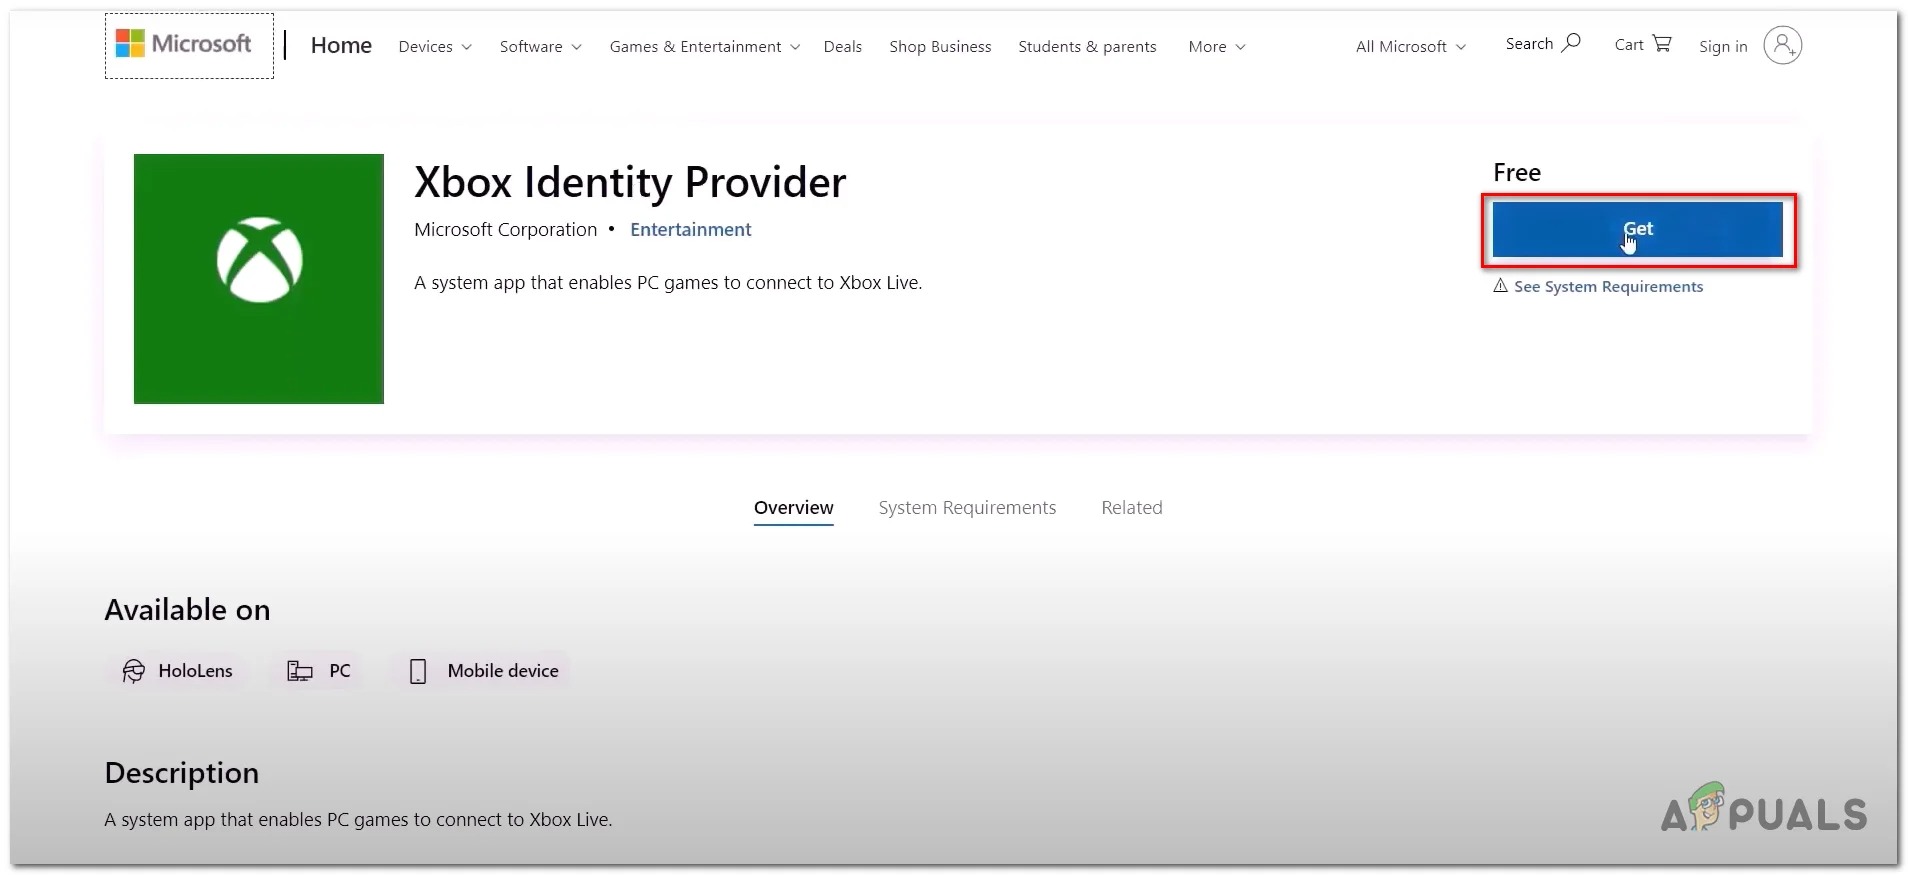
Installing Xbox identity provider from the store - Once installed, try installing the game from the boxed gaming application.
4. Uninstall and reinstall gaming services.
- Press the Windows + R keys simultaneously on your keyboard to open the Run dialogue box, and in the text field, type Powershell.

Opening Powershell Via the Run dialog box - Hit the enter key, and in the Powershell CLI, paste the following command to uninstall the gaming services.
get-appxpackage Microsoft.GamingServices | remove-AppxPackage -allusers
- Hit the Enter key once it’s uninstalled. Paste the following command in the PowerShell terminal.
start ms-windows-store://pdp/?productid=9MWPM2CQNLHN
- In the Microsoft Store, click on the Install button to install Gaming Services on your computer.
Once installed, Restart your computer. After the restart, try installing the game.
5. Perform WsReset.
WsReset is a Microsoft-provided utility tool whose sole purpose is to enable users to clear the Microsoft Store cache. WsReset has the ability to bypass security measures implemented by Microsoft and delete the local app cache of the Microsoft Store, which for some users, may be the cause of them not being able to install Ni no Kuni.
- Open the Windows start menu, and in the start menu search bar, type WsReset.
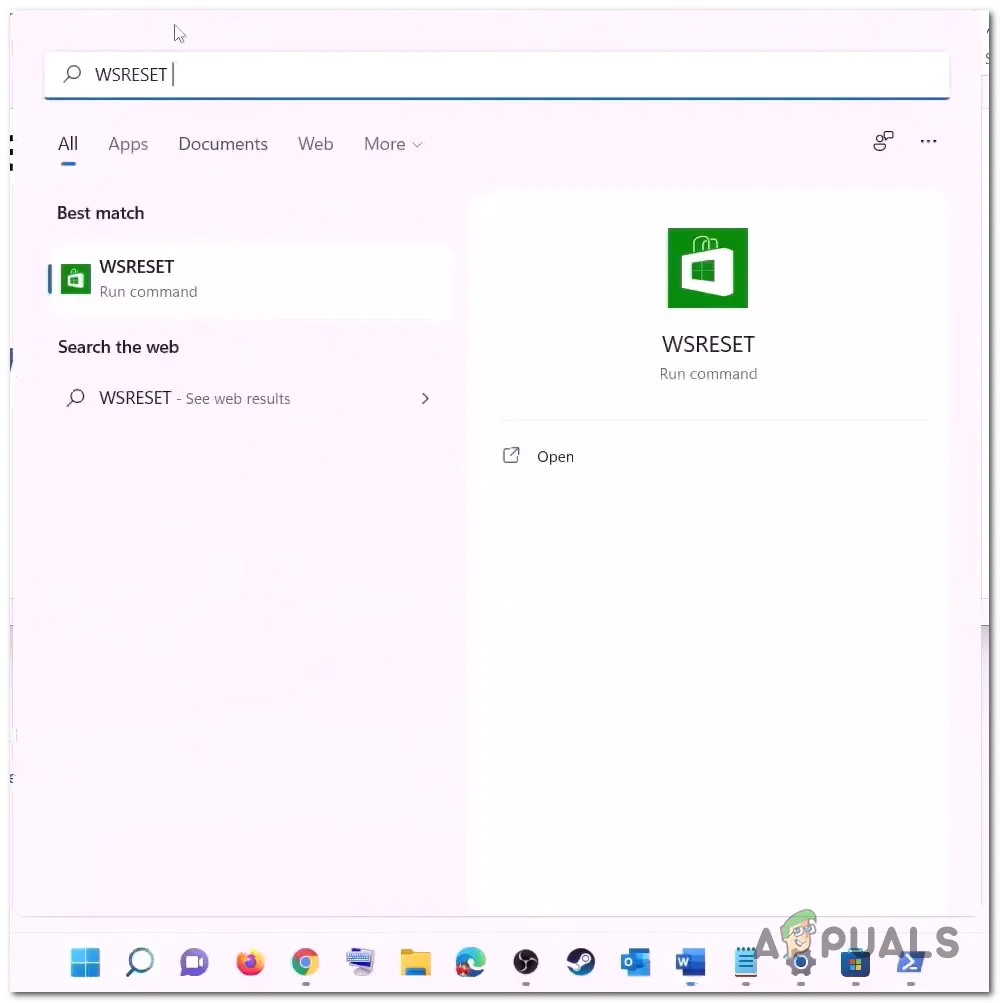
Running WsReset from the start menu - Open the application and, on the blank command line application, wait for a while.
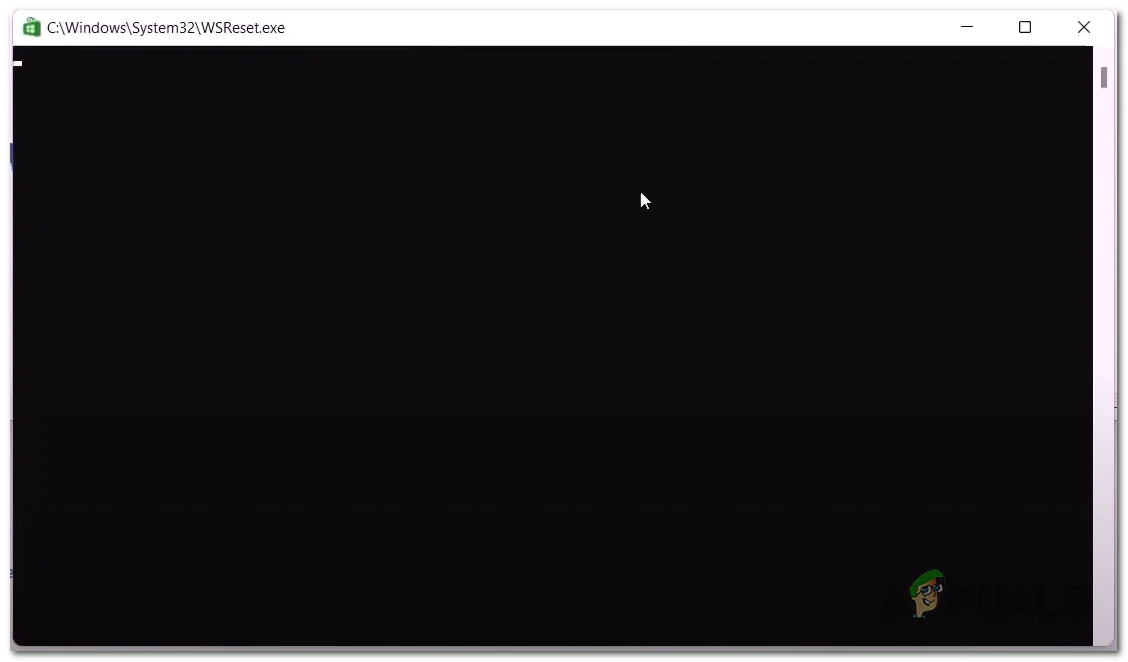
Utilizing WsReset to delete the Microsoft Store local cache - After a while, the command line application should close; upon its closure, Restart your computer.
6. Restart the services.
It is possible that the background services necessary for the smooth processing of the Xbox gaming application are either disabled or need a restart. A malfunction in these services can cause issues such as the one under discussion. Follow these steps to restart these services:
- Press the Windows key to open the Start menu. In the Start menu search bar, type “CMD,” then right-click on it.
- Click on Run as administrator.
- Now, in the command prompt terminal, paste the following commands.
Net stop Bits
Net start bits
Net stop iphlpsvc
Net start iphlpsvc
Net stop XboxGipSvc
Net start XboxGipSvc
Net stop XblAuthManager
Net start XblAuthManager
Net stop wuauserv
Net start wuauserv
Net stop Installservice
Net start Installservice
- Hit the enter key and after the services have been restarted, try installing the game
7. Log in with the same account.
For some users, a mismatch in logged-in accounts between the Microsoft Store and the Xbox gaming application has led to issues like the one we now face. In this method, we will log out and log in to the Microsoft Store and the Xbox gaming application using a single account. Follow these steps to do so:
- Open the Microsoft Store and click on the profile icon in the top-right.
- Click on the Signout button and then the Sign-in button.

Logging into both Xbox and the Microsoft store with the same account - Log in to the account you wish to use.
- Open the Xbox application, click on your username in the top-left corner, and then click on the “Sign Out” button.

Signing out of the Xbox gaming application. - Log in to the Xbox application using the same account as the one for the Microsoft store.
- Now, try installing the game.
8. Reconfigure the date and time.
Microsoft-provided services rely on saving data with the date and time linked to it. If, for some reason, the time and date configured on your computer are incorrect, it could lead to confusion, and as a result, trigger errors such as trouble installing games. Follow these steps to reconfigure your computer’s date and time:
- Right-click on the time and date display in the bottom right corner of your computer screen.
- Click on Adjust date and time.
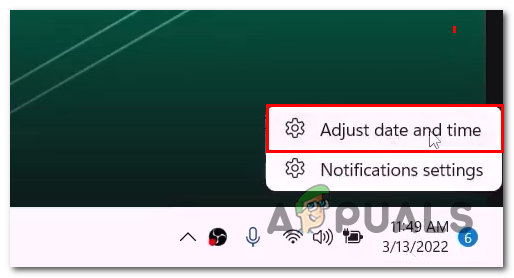
Opening the date and time settings from the taskbar - Now, toggle the Set time zone automatically switch to on.
- Similarly, toggle the set time automatically switch to on as well.
9. Uninstall and reinstall the Xbox gaming application.
If repairing and resetting the application did not work for you, it is possible that the problem can be resolved by simply reinstalling both applications. The procedure is quite straightforward; follow these steps to do so:
- Open PowerShell by pressing the Windows and R keys simultaneously on your keyboard.
- In the text field of the run dialogue box, type Powershell.

Uninstalling and reinstalling the gaming services - Now, paste the following commands to uninstall both applications from your computer.
Get-AppxPackage -allusers *WindowsStore* | Remove-AppxPackage
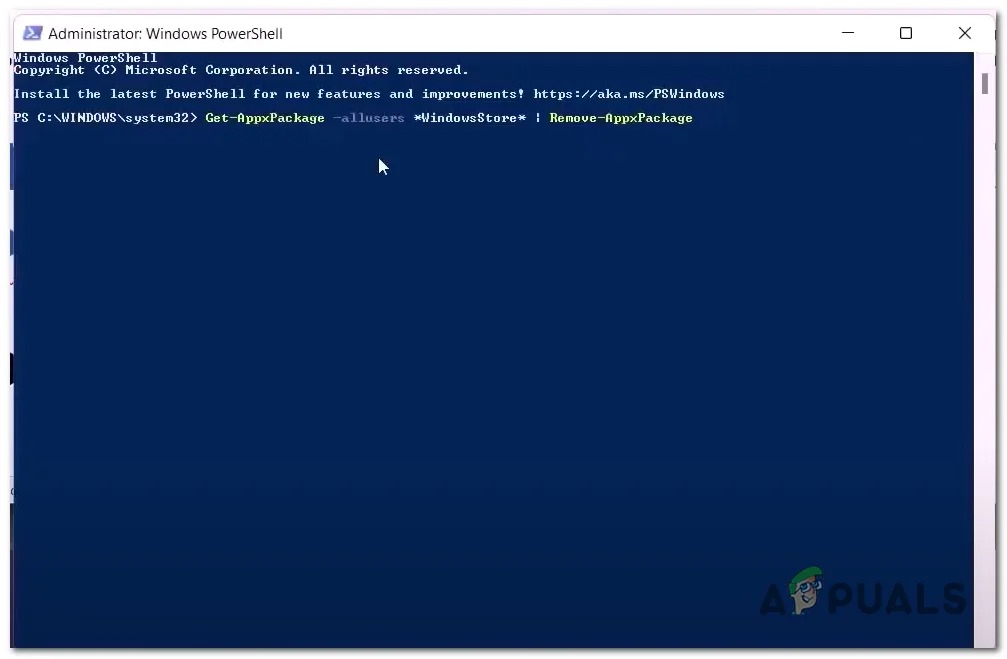
Uninstalling and reinstalling the Microsoft Windows store and Xbox gaming application via Powershell command - After that, Restart your computer.
- Again, open Powershell and paste the following command. This command will reinstall the latest and most stable Windows store version on your computer.
Get-AppxPackage -allusers *WindowsStore* | Foreach {Add-AppxPackage - Once the Microsoft Store is installed, install the Xbox application from the store or download it by clicking here.
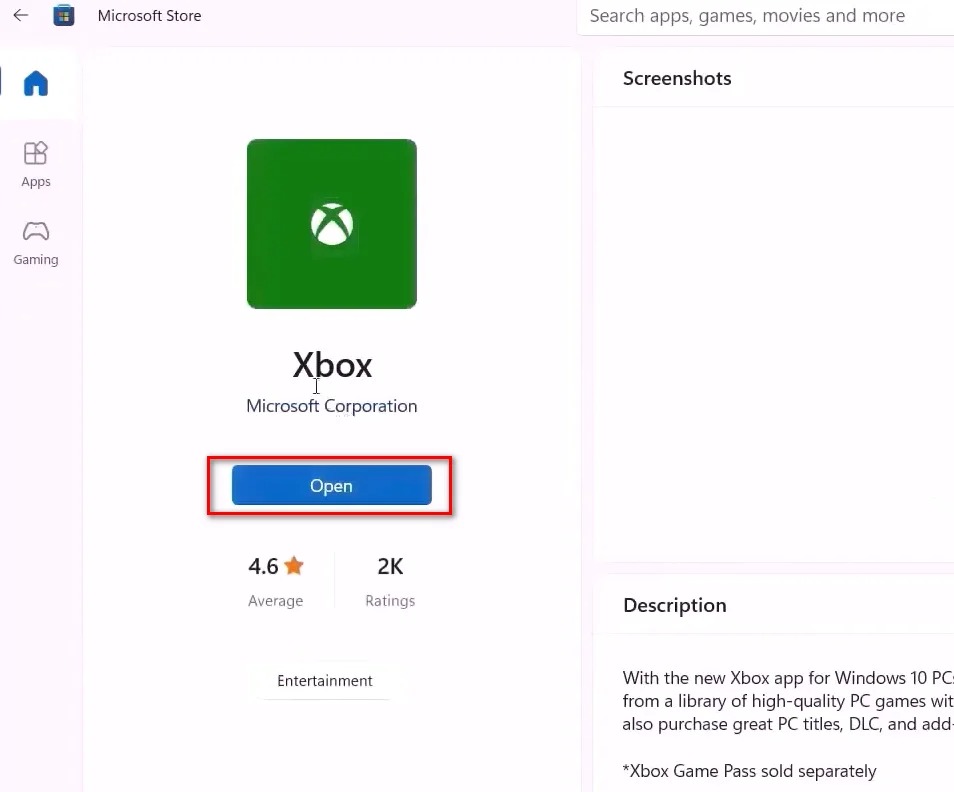
Reinstalling the Xbox gaming application from the Microsoft store - After that, Try installing the game again.


