How to Fix Network Profile Type Option Missing in Windows 11?
The problem Network profile type missing occurs when the network option goes missing due to temporary issues with the network adapter or the outdated device driver. The problem is commonly seen in Windows 11 operating system.
The problem prevents the users from changing the network profile from private to public on Windows 11. So, if you are also dealing with the problem, follow the fixes given to solve the problem.
1. Restart your computer
This problem is mostly caused due to boot errors which can be fixed by restarting the computer. So, we here suggest you restart your system first before following any technical troubleshooting. Follow the steps to restart your computer:
- Open the Start menu by pressing the Windows key.
- Click on the Power icon on the bottom right of the menu.
- Select the Restart option.
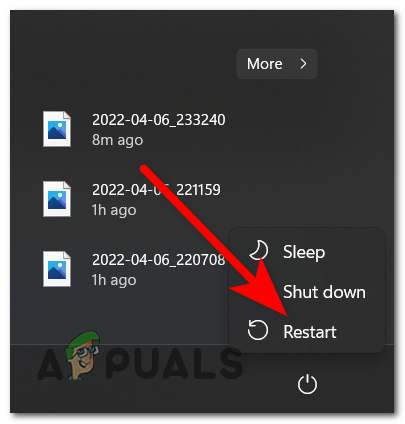
Restart Your PC - Now, wait for your Windows 11 to restart. Once restarted, check for the issue.
2. Update Device Drivers
Updating the Network Drivers for the adapter can fix this issue, as this issue also occurs if you have a Faulty network driver installed on your computer. Therefore, it is recommended to use the updated drivers to avoid seeing the problem on Windows 11. So, if you are using older drivers, follow the Steps to update the device drivers on your system.
- Open the Run dialog box by holding the Windows and the R keys simultaneously.
- In the dialog box, type devmgmt.msc and press the Enter key to open the Device Manager.
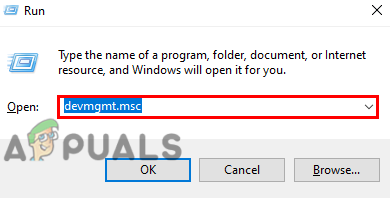
Type devmgmt.msc in the Run box - Double-click on the Network Adapters option to view all the network adapters on your system.
- Right-click on the network adapter and select the Update driver option.
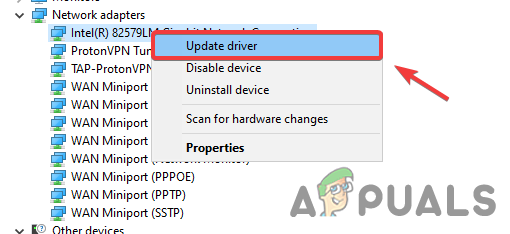
Click on Update Driver - Click on the Search automatically for drivers option and let your computer install the latest driver for your network adapter.
3. Update Windows
An outdated Windows version can be a major reason that triggers the problem. Older Windows versions might not be compatible enough to support some of the features and can result in such errors. So, if you are operating on an outdated version, download the latest available Windows 11 version to fix the problem.
- Open the Settings app by pressing the Windows and the I keys simultaneously.
- Go to the Windows Update section and click the Check for updates option.

- Download and install the latest updates for your OS by tapping the Download button.
- Now, wait for Windows 11 to download the latest version and reboot the system.
Now try changing the network status and check if the Network Profile type missing error is fixed.
4. Troubleshoot Network Adapter
Follow the given steps to troubleshoot the Network adapter.
- Open the Settings app by holding the Windows key and pressing the I key simultaneously.
- Go to the System, scroll to the troubleshoot option, and open it.

Click on System - Click on the Other troubleshooters’ option.
- Run the troubleshooter by clicking on the Run button next to the network adapter option.
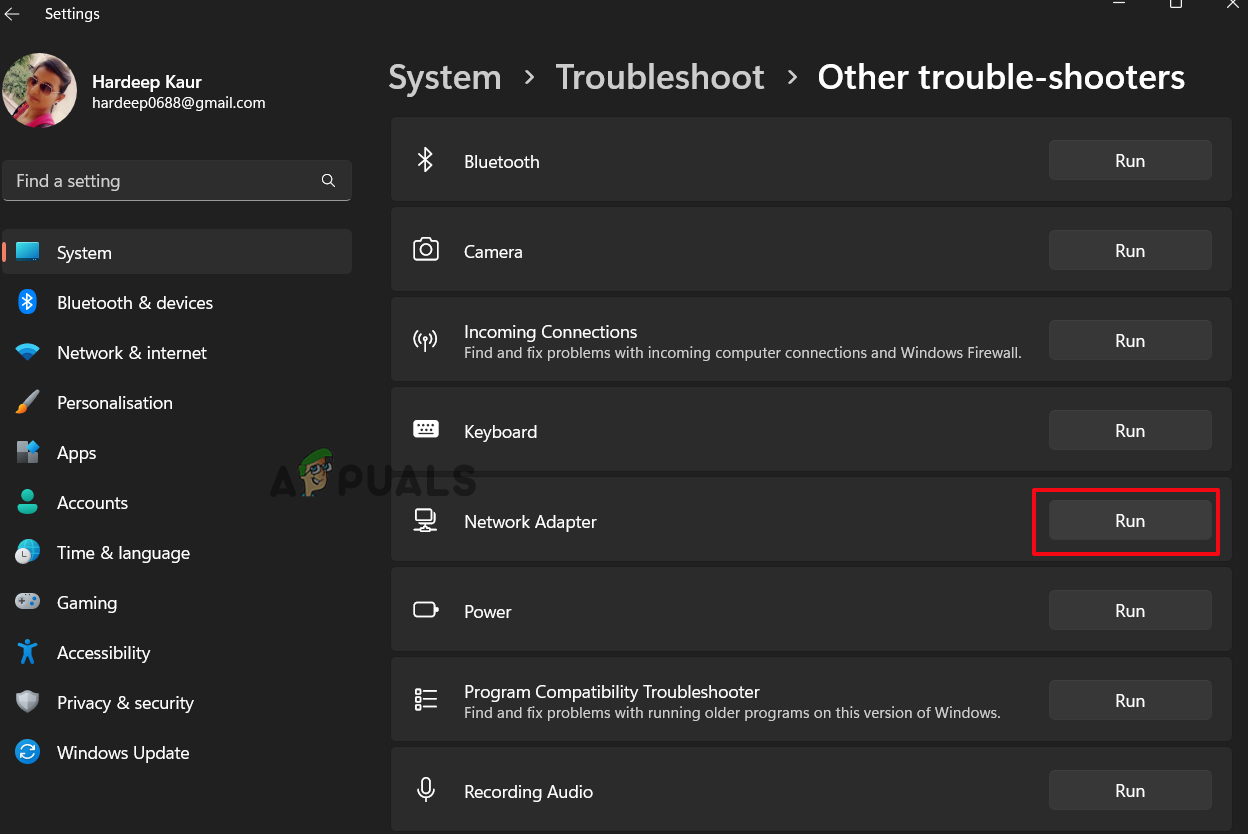
Run the Network Adapter troubleshooter - Wait for the troubleshooter to scan and resolve the problem.
5. Change Network Profile Using Registry
Another solution you can try to resolve the network profile type missing error on Windows 11 by changing the profile type from public to private connection via registry. So, follow the instructions below to do so:
- Press the Windows and R keys simultaneously to open the Run dialogue box.
- Enter the command “regedit” in the run dialog box and click the Enter key to open the registry editor.
- Navigate to the Profiles key by mentioning the HKEY_LOCAL_MACHINE\SOFTWARE\Microsoft\Windows NT\CurrentVersion\NetworkList\Profiles path in the address bar of the registry editor and click the Enter key.
- Now, click on each subkey under the Profile key and look for the data value for the profilename key.
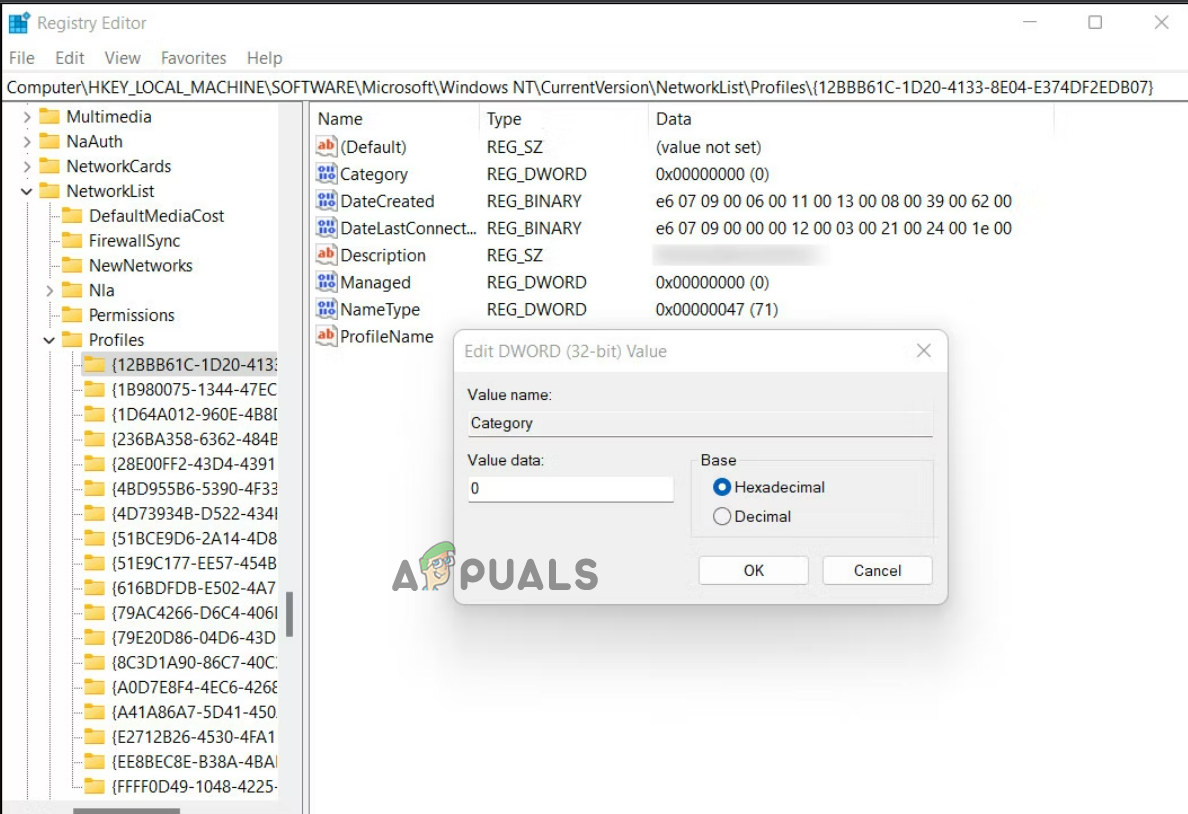
Click on each subkey under the Profile key - Find and navigate the network connection name for which you want to change the profile type.
- After recognizing your network connection name, double-click on the category from the right pane and enter the value data “1”.
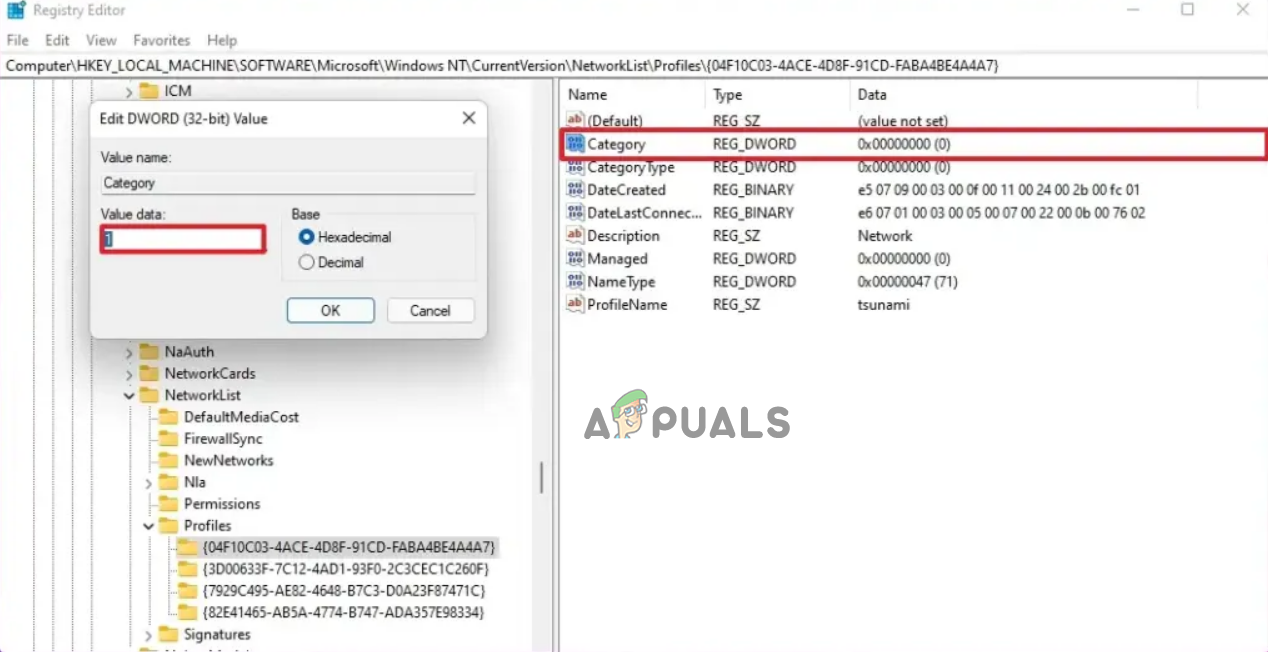
Change the value data to 1 - Then, click OK and save the changes made.
6 Change Network Profile Type using PowerShell
Here are the steps to change the network profile type from public to private using Powershell. This solution will most probably work for you. Follow the below-given steps to do so:
- Press the Windows and R keys simultaneously to open the Run dialog box.
- Type powershell in the dialog box and press the Enter key.
- List all the network adapters present in your system by entering the command Get-NetConnectionProfile
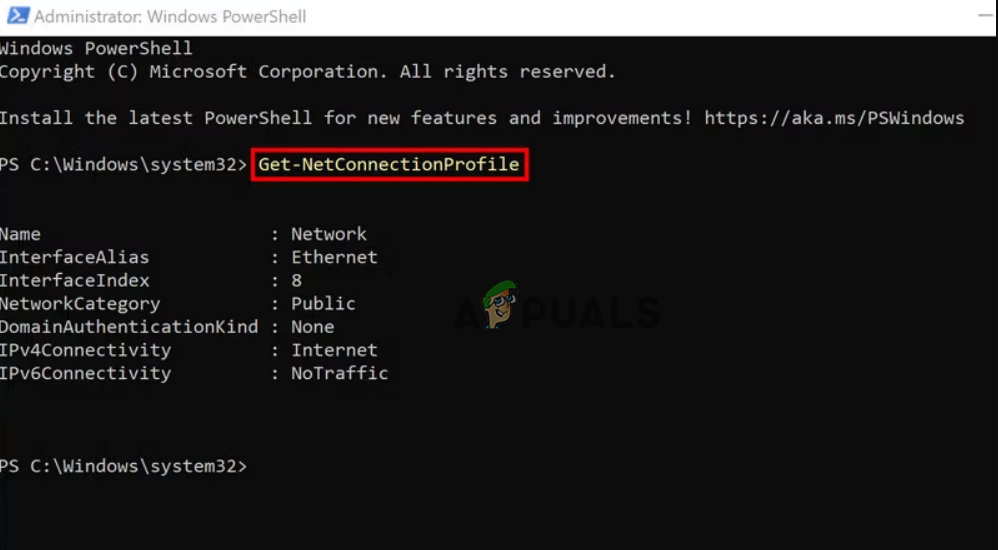
Enter the command in the powershell window - Look for the InterfaceIndex number of the adapter you want to change the profile type.
- After identifying the InterfaceIndex number, enter the following command Set-NetConnectionProfile -InterfaceIndex <index number> -NetworkCategory Private
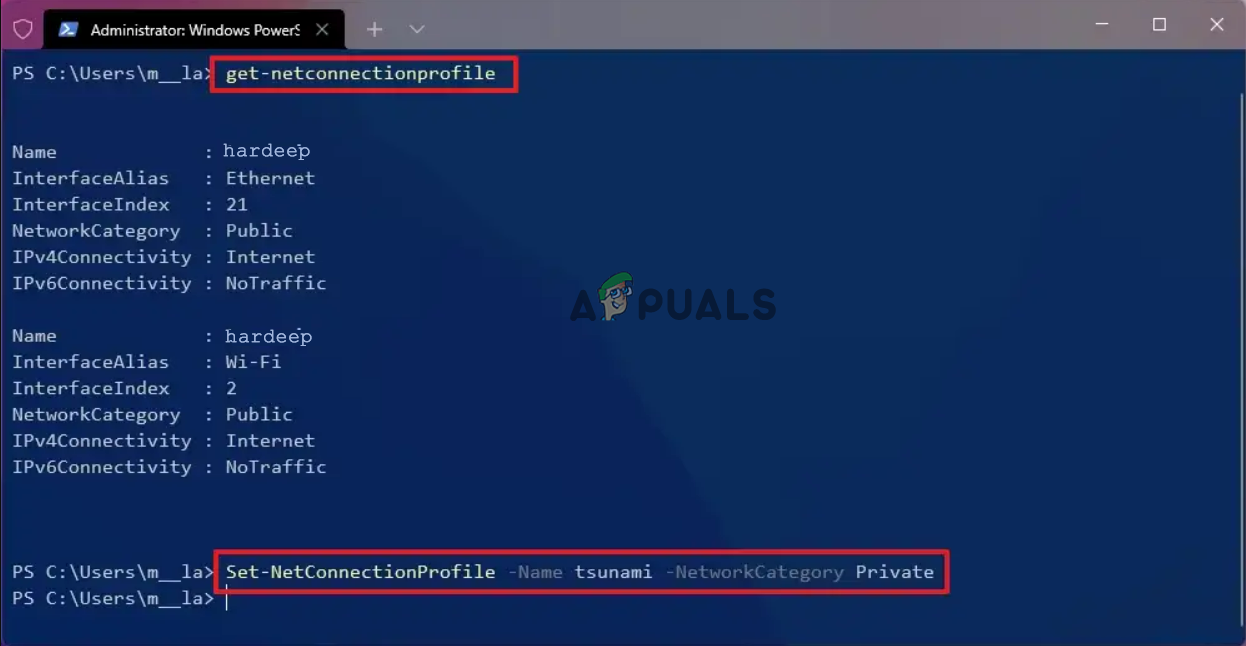
Execute the given command


