Troubleshoot Mouse Scroll Only Affects Volume
The mouse wheel may only control your system’s volume if the mouse is in media mode. Moreover, conflicting applications may also cause the mouse behavior at hand.
The issue arises when a user wants to use the mouse wheel to scroll some pages/screens on his display but in place of scrolling, the system’s volume is changed. Some users reported the problem to be caused by a Windows update. The issue is not limited to a particular brand of mouse.
Before moving on to stop the mouse from adjusting volume, check if restarting the PC solves the problem. Moreover, it will be a good idea to try the mouse on another system or another mouse on the problematic system.
Solution 1: Disable the Media Mode of the Mouse
With the advancements in the I.T. industry, mouse technology has evolved (from just a simple input device) and many new features are added to the mouse of your system. One such feature is to control the system’s multimedia functions (as your keyboard already does) through the system’s mouse and these features can be enabled by a hardware switch on the mouse. You may encounter the issue at hand if the media control switch of the system’s mouse is enabled i.e., the system’s mouse is in media mode. In this case, disabling the media mode of the system’s mouse may resolve the issue.
- Firstly, locate the media mode enabling switch (or DPI switch) of the mouse. It may be present at the side of the scroll wheel or the bottom of the mouse. For some of the users, the media mode switch maybe a toggle switch to toggle between volume and scrolling.
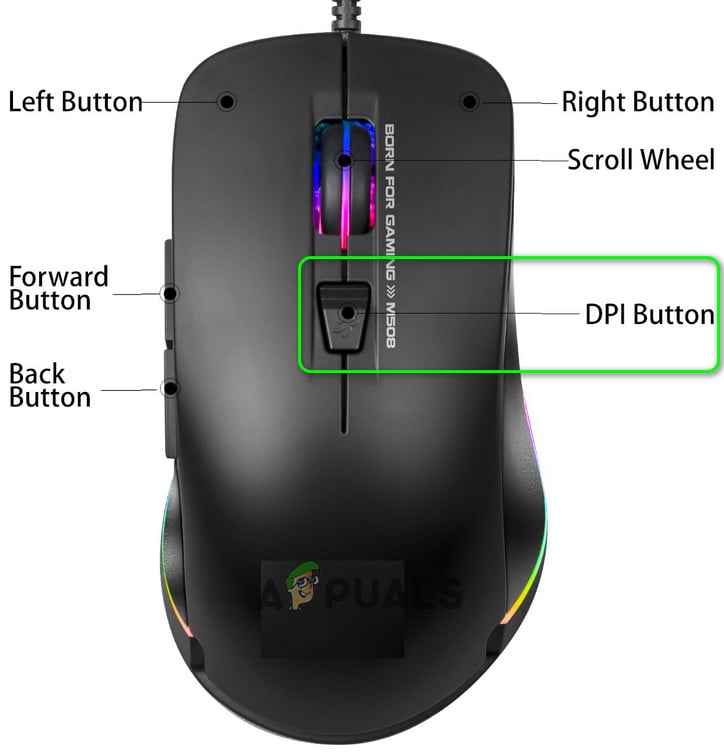
Press and Hold the DPI Button of the Mouse - Now press and hold the media mode switch for 3 seconds.
- Then release the switch and check if the issue is resolved.
- If not, then press and hold the media mode switch for 5 seconds to check if that resolves the issue.
If you are encountering the issue with a set of keyboard/mouse (where the mouse is not available separately), then there can be a key combination (e.g., simultaneously pressing the right and left click) to activate/deactivate the media mode of the mouse.
Solution 2: Edit the Mouse Settings
The issue at hand could be a temporary glitch of the input modules of the OS. In this context, editing the mouse settings may clear the glitch and thus solve the problem. The instructions, mentioned below, may slightly differ from user to user.
- Press the Windows key and open Settings.
- Then open Devices and, in the left pane, steer to the Mouse tab.
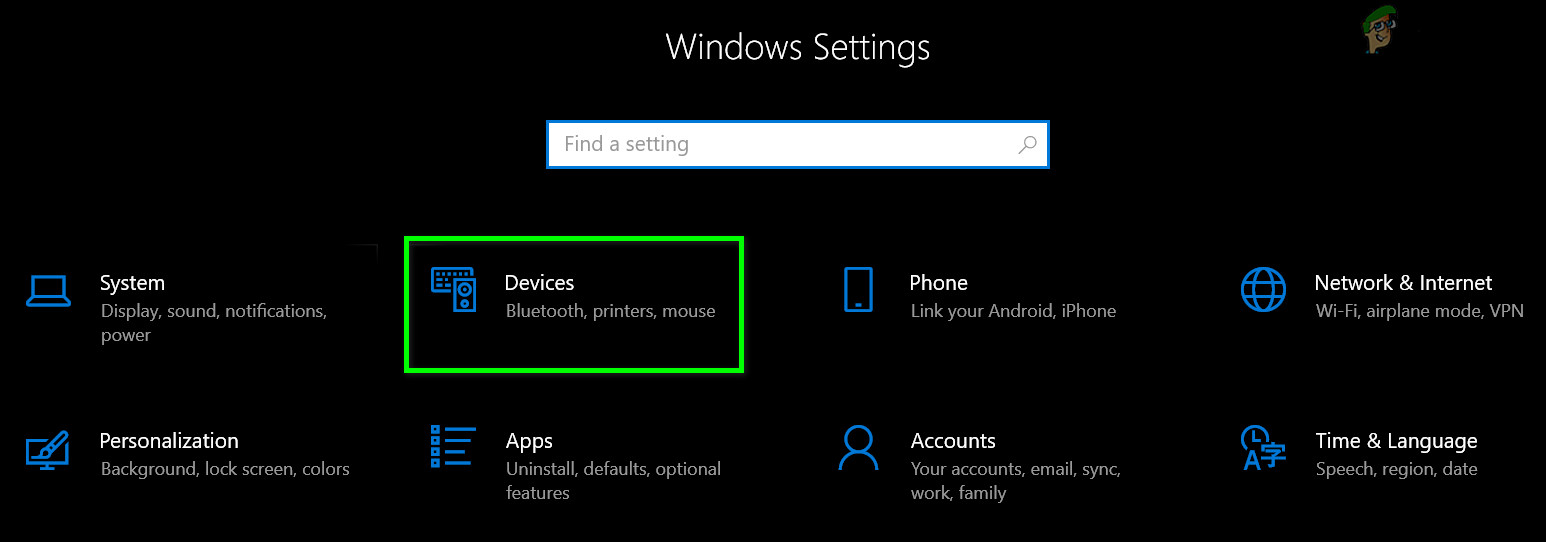
Open Devices in Windows Settings - Now, in the right pane, click on Additional Mouse Options, and then, in the Mouse Properties window, go to the Wheel tab.
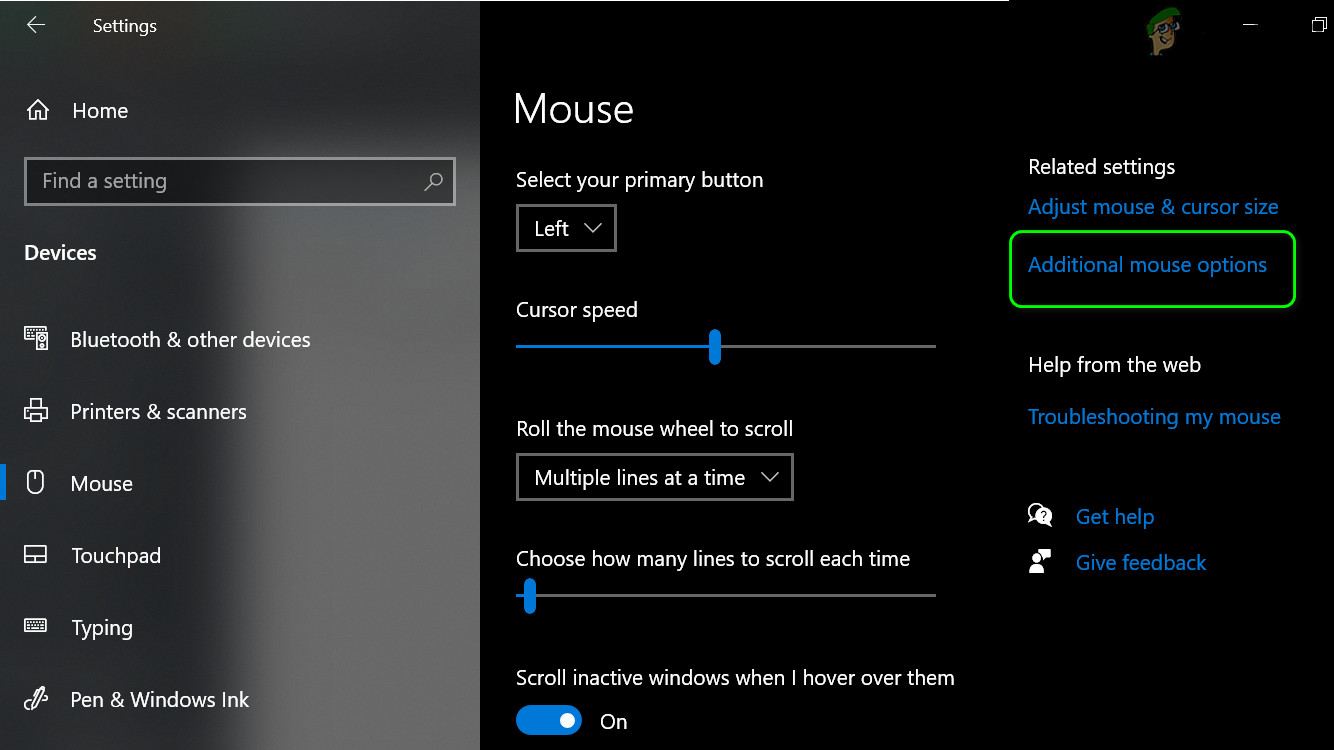
Open Additional Mouse Options - Then, in the section of Vertical Scrolling, select the option of One Screen at a Time (if it is already selected, then, choose The Following Number of Lines at a Time and set its value to 3).
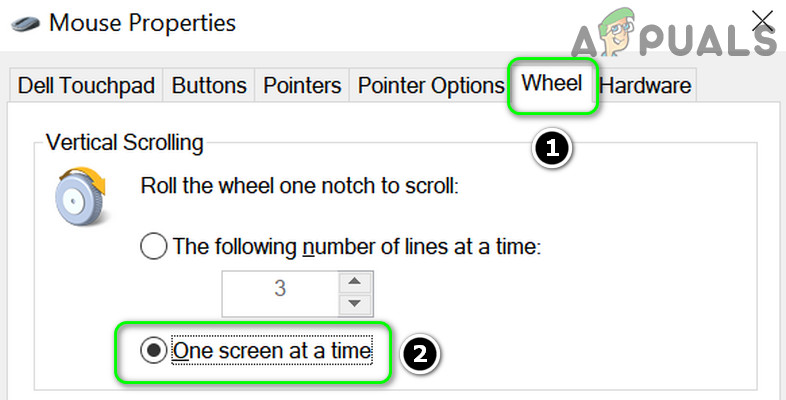
Select the Vertical Scrolling of Mouse to One Screen at a Time - Now apply your changes and check if the system’s mouse is working fine. If so, then you may revert the mouse setting as per your liking.
- If the issue persists, then open the system’s Settings (step 1) and open Ease of Access.
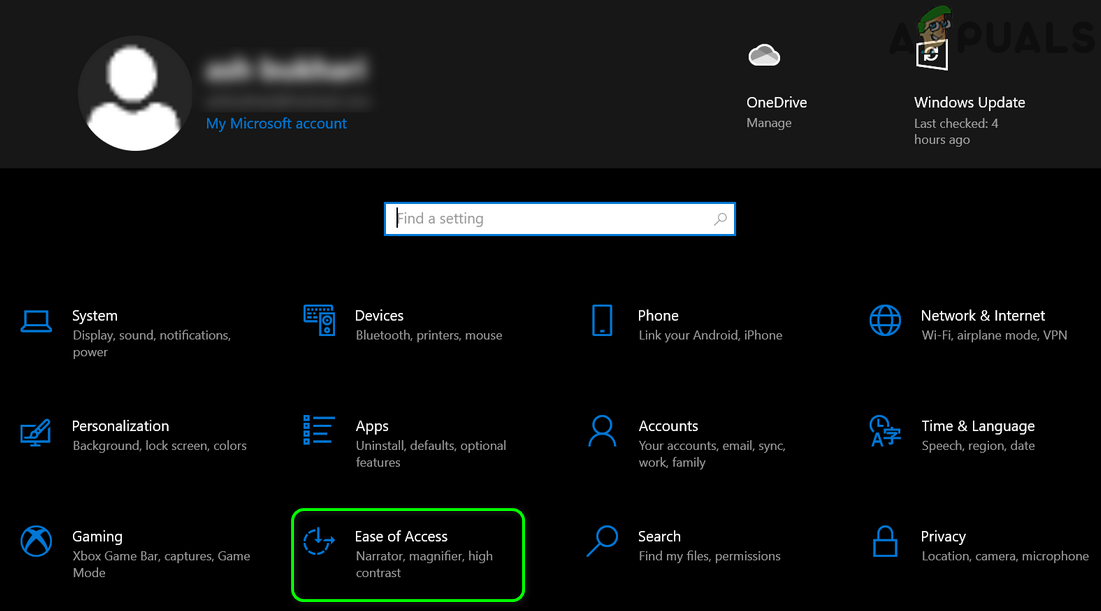
Open Ease of Access in Settings - Then, in the left pane, steer to the Mouse Pointer tab, and then, in the right pane, change the pointer color in Change Pointer Color section (it is better to use a single color).
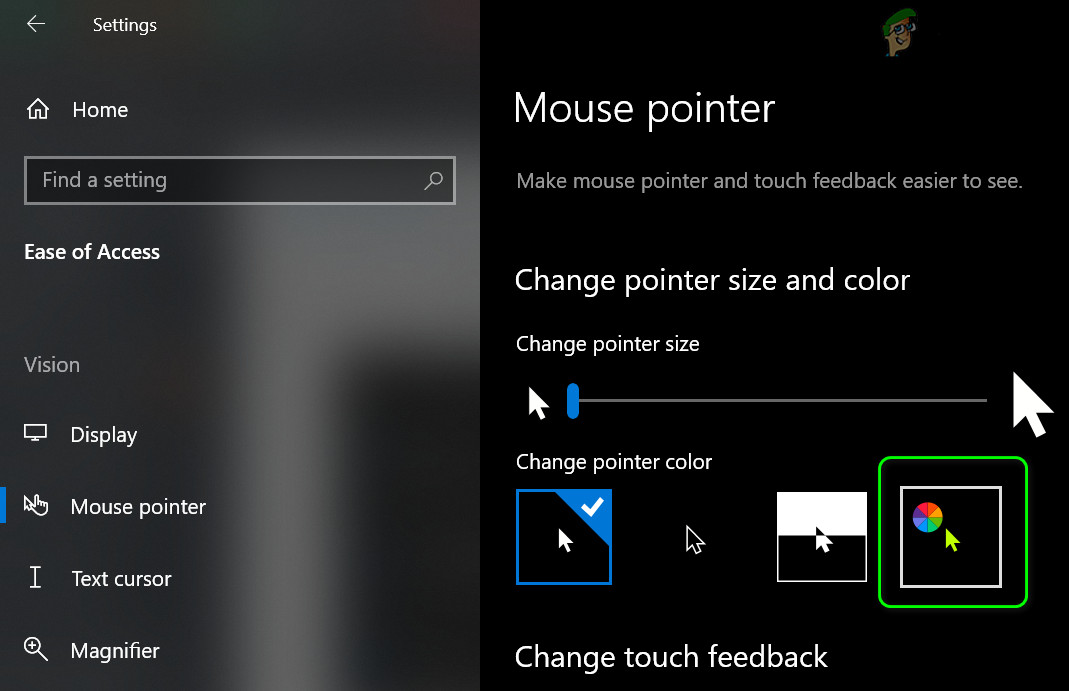
Change the Color of Mouse Pointer - Now check if the mouse issue is resolved. If so, then you may revert the mouse pointer color as per your liking.
Solution 3: Re-insert the Batteries of the Wireless Mouse or re-plug the Wired Mouse
The issue could be a result of a temporary glitch in the mouse driver. In this case, removing/reinserting the wireless mouse batteries or plugging/unplugging the wired mouse may solve the problem.
Wireless Mouse
- Remove the cover of the battery compartment (usually located at the bottom of the mouse) of the wireless mouse and pull out the batteries.
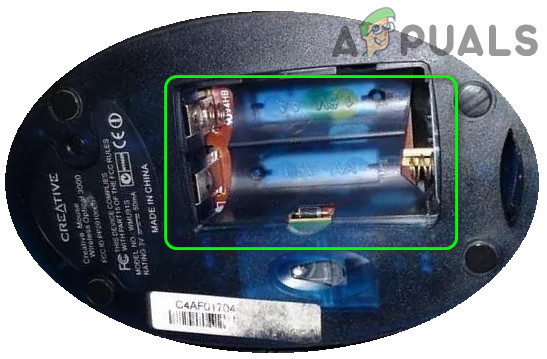
Change the Wireless Mouse Batteries - Wait for 3 minutes and then put the batteries back.
- Now place the battery cover in its place and push it into its holder.
- Then check if the mouse is working fine.
- If not, then check if replacing the old pair of batteries with a new pair resolves the mouse issue.
Wired Mouse
- Unplug your mouse from the system and wait for 1 minute.
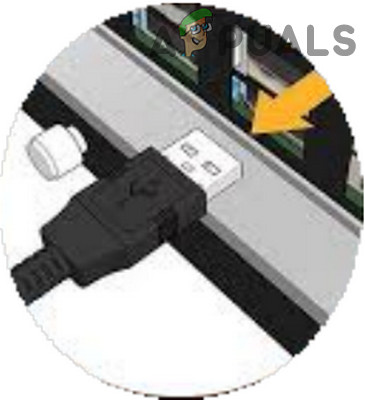
Unplug the Mouse from the System - Then plug the mouse back and check if the issue is resolved.
If the issue persists, then reinstalling the mouse driver may solve the problem.
- Launch a web browser and download the latest mouse driver from the OEM website.
- Then launch the Power User menu (by right-clicking on the Windows button) and choose Device Manager.
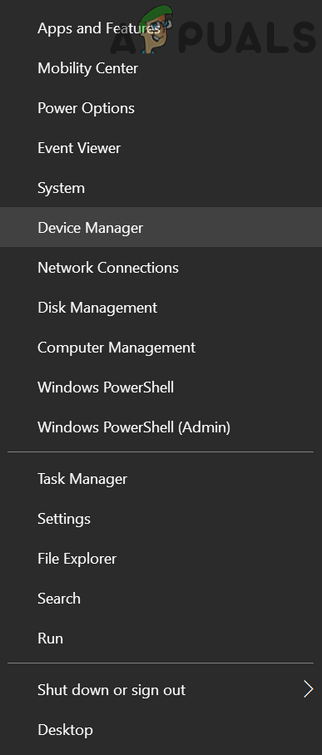
Open Device Manager of Your System - Now expand Mice and Other Pointing Devices and right-click on the mouse.
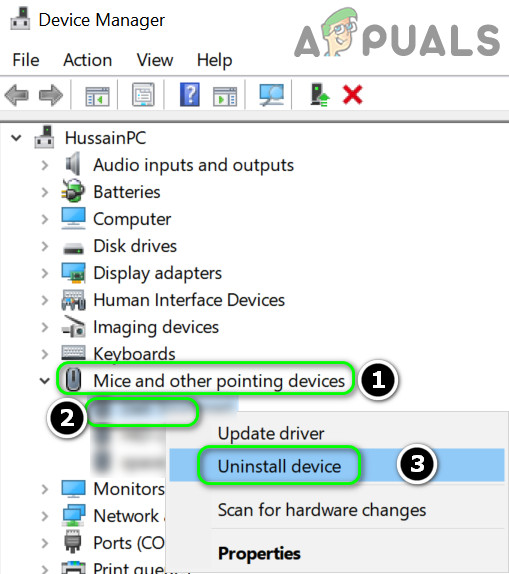
Uninstall the Mouse from the Device Manager - Then select Uninstall Device and then confirm to Uninstall (make sure to checkmark the option of Delete the Driver Software of This Device).
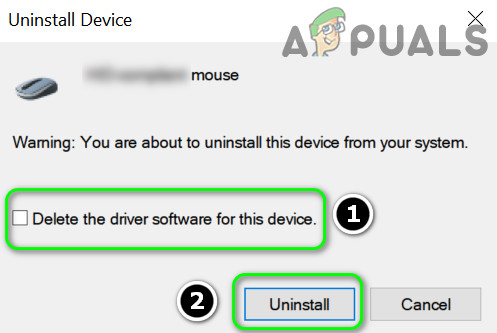
Checkmark Delete the Driver Software of This Device and Click on Uninstall - Now, wait for the uninstallation to complete (your mouse may become unresponsive) and then unplug the Wired mouse.
- Then wait for 1 minute and plug back the mouse (Windows may install its default driver) to check if the issue is resolved.
- If not, then install the latest mouse driver (downloaded at step 1) and check if the mouse is working fine.
Solution 4: Remove Conflicting Applications
Your mouse may show the behavior under discussion if any of the installed applications are hindering the operation of the mouse. In this context, removing the conflicting applications (causing the mouse issue) may solve the problem. To find out the problematic application, clean boot your PC. If the issue does not appear in the clean boot state, then enable the applications/processes (which were disabled while clean booting the system) one by one till you find the problematic one. Once found, either disable the process/application or uninstall it. For illustration, we will discuss the process for Smilebox.
- Hit the Windows key and open Settings.
- Now open Apps and expand Smilebox.
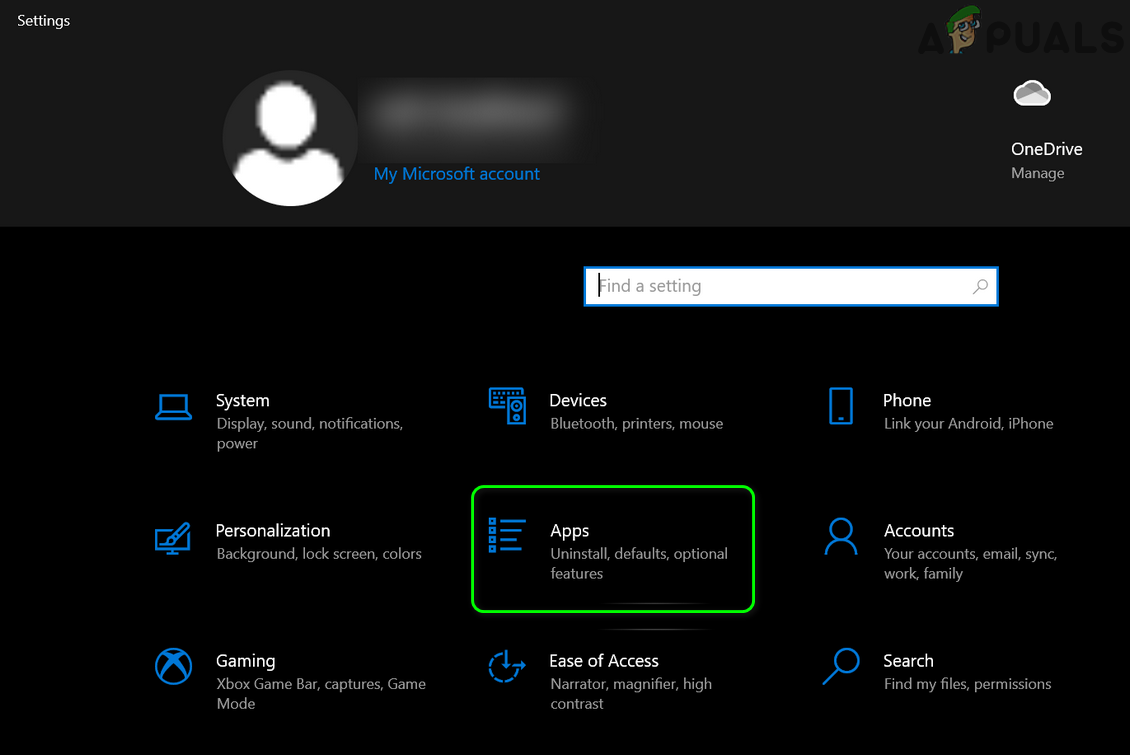
Open Apps in the Windows Settings - Then click on Uninstall and confirm to uninstall the Smilebox application.
- After reinstalling, hopefully, the mouse issue is resolved.
Users reported the following applications to cause a similar type of issue for them:
- KatMouse
- AltDrag
- DesktopOK
- WizMouse
- Taekwindow
- Logitech’s SetPoint software
If the issue persists, then you may use a 3rd party utility (e.g., X-Mouse Button Control) to map the mouse buttons that may solve the problem.


