How to Fix Call of Duty MW2 Not Launching Issue?
There are numerous reasons for Modern Warfare II not launching, from obsolete graphics drivers to third-party programs running in the background; the cause can vary in different cases.
Below, we will show you how to troubleshoot the problem in question. There are several methods for you to go through, and one of them will isolate the issue for you. That said, let us get started right away.
1. Run Modern Warfare II as Admin
Start by running the game with administrative privileges when resolving the problem. More often than not, the game is unable to launch in an environment because of insufficient permissions. This can usually happen when you have a third-party security program that is interfering with the game process when it is trying to startup.
In such a scenario, running the game as an admin allows it to startup without any interventions from the third-party programs in the background.
To run the game with administrative privileges, you will have to start the respective launcher, Steam, or Battle.net as an admin. Once you do that, the subsequent processes initiated by the launchers will also have high priority and elevated permissions.
To do this, follow the instructions given down below:
- First, open up the Start Menu and search for your respective Steam or Battle.net launcher.
- On the right-hand side, click on the Run as administrator option.
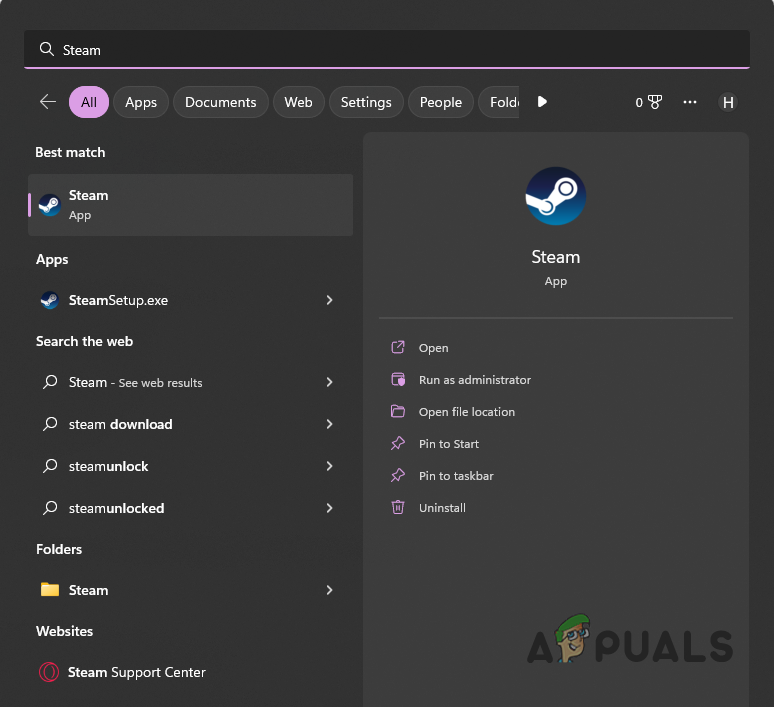
Opening Steam as Admin - Click Yes on the follow-up User Account Control dialog box.
- Once you do that, start the game and see if that fixes the problem.
- If the problem persists, navigate to the game’s installation directory and right-click on the executable file. From the drop-down menu, choose Run as administrator.
- That should fix the problem if insufficient permissions cause it.
2. Install Windows Updates
Missing important Windows updates can cause several issues, especially when trying to run the latest available games. This is because most new games use some of the new features offered by the operating system, which are available in the latest builds only.
Therefore, you will have to install any missing Windows updates on your PC to circumvent the problem. Installing Windows updates is pretty straightforward. Follow the instructions below to do this:
- To start, open the Windows Settings app by pressing the Windows key + I on your keyboard.
- In the Settings app, navigate to the Windows Update section.
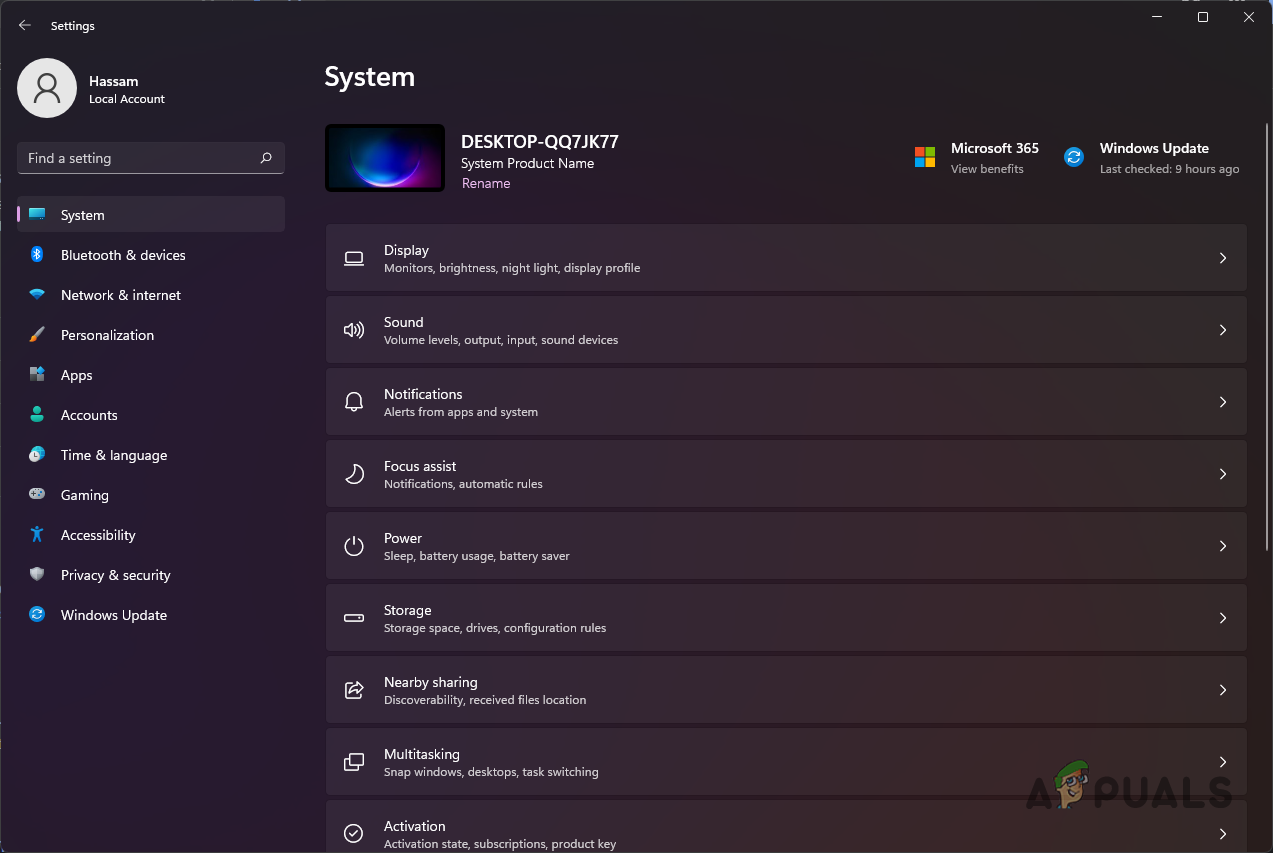
Windows Settings - After that, click on the Check for updates button to download and install any available updates for your system.
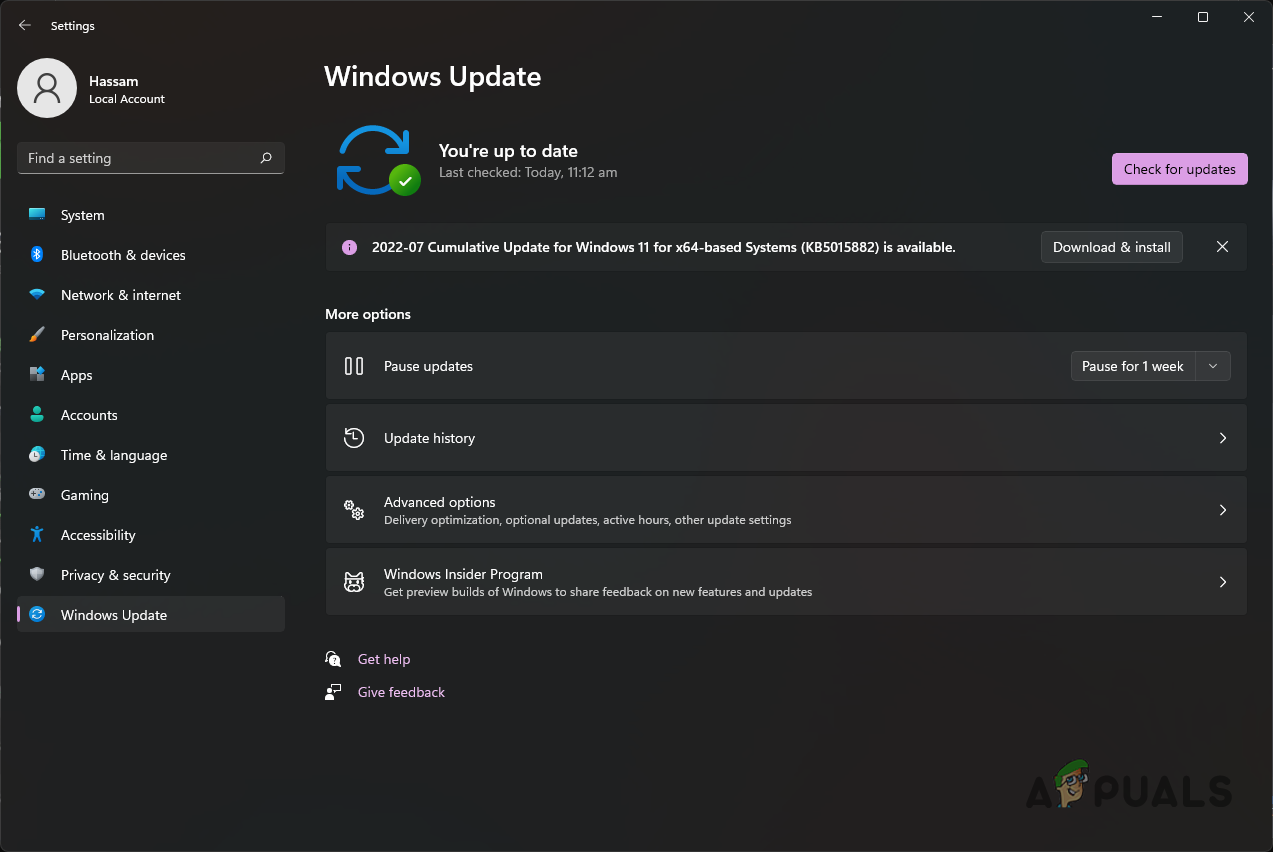
Updating Windows - Once the updates have been installed, relaunch the game to see if the problem still occurs.
3. Update Graphics Drivers
Graphics drivers play a vital role in your system when it comes to playing games. The graphics drivers are used to communicate with the graphics card on your computer; if the drivers are obsolete, newer games tend to crash or not launch altogether.
Therefore, updating your graphics drivers should be a priority whenever you stumble upon an issue where a game fails to start up. To update your graphics drivers, you must download the latest version available from your manufacturer’s website and install them.
Windows usually installs these drivers on every restart, but they are often not up to date. That is why, we recommend manually updating your graphics drivers. You can also use NVIDIA GeForce Experience to automate the process or a respective AMD software. Follow the instructions down below to update your graphics drivers:
- First, open up the Device Manager by searching for it in the Start Menu.
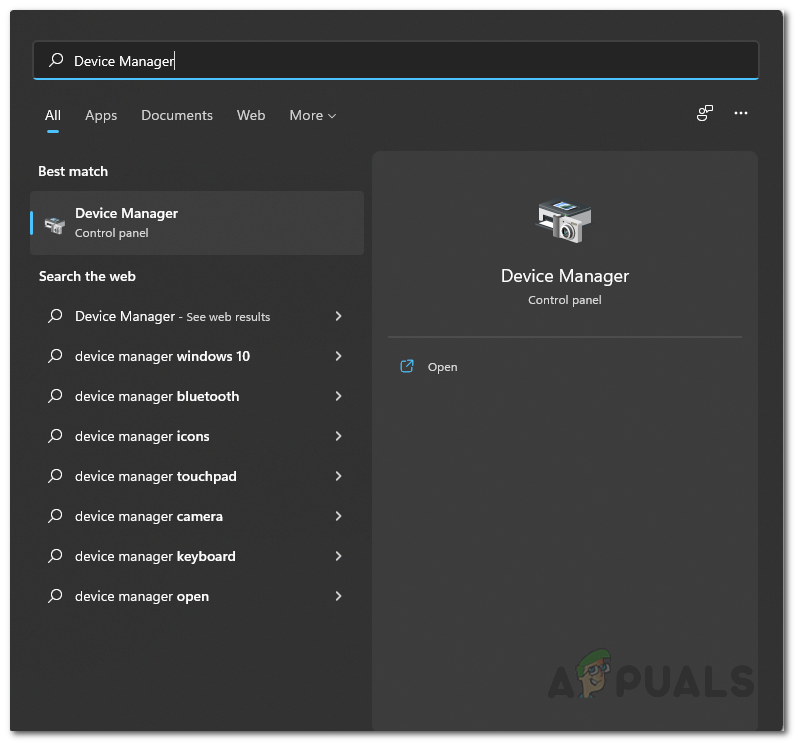
Opening Device Manager on Windows - In the Device Manager window, expand the Display adapters list.
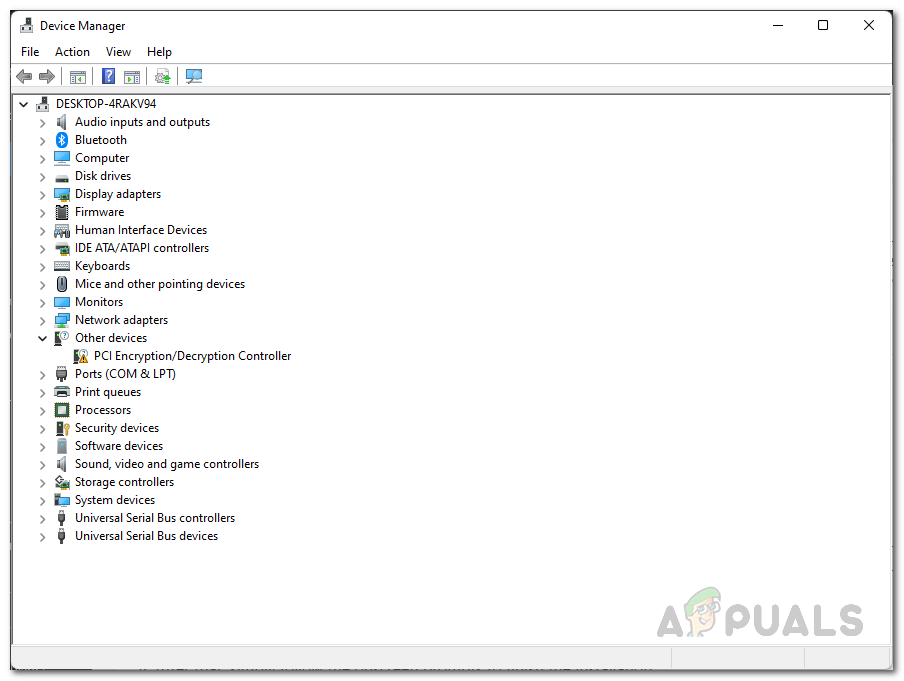
Windows Device Manager - Then, right-click on your graphics drivers, and from the drop-down menu, choose Uninstall device.
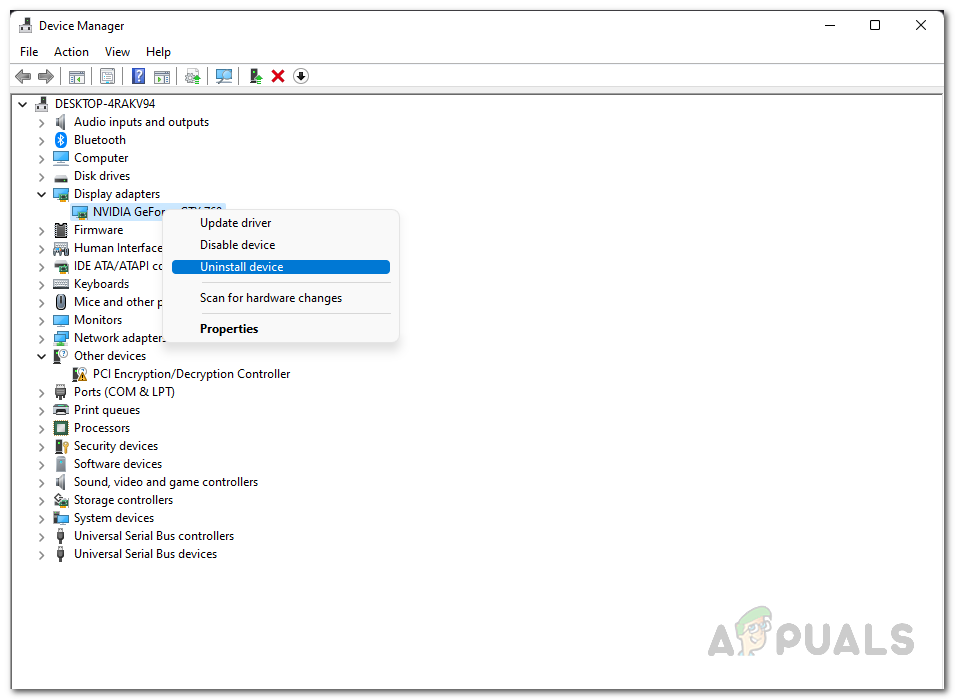
Uninstalling Graphics Drivers - After the drivers have been uninstalled, head to your manufacturer’s website. Download and install the latest drivers available on your computer.
- With that done, see if the problem goes away.
4. Move MWII Installation Folder on Steam
Multiple users were experiencing the problem in question due to the installation location of Modern Warfare II. As per the reports, the issue seems to disappear after they change their game’s installation directory.
Do not fret, as following this method does not require you to download and install the game again. To do this, you will have to move the existing installation folder to a different location.
Fortunately, Steam now offers this functionality as a built-in feature instead of the traditional manual method. According to the user reports, most resolved the issue by moving the entire Steam installation folder to a different path. However, you can first try to move only the installation folder of Modern Warfare II.
If that does not bear fruit, you will have to move the entire Steam directory. Follow the instructions down below to do this:
- To move the installation folder of MWII, you will first have to create a new Steam Library Folder if you don’t have one.
- To do this, click on the Steam drop-down menu at the top-left corner and choose Settings.
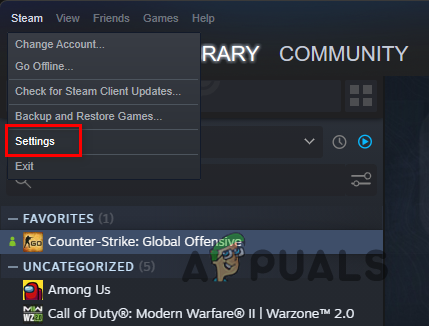
Opening Steam Settings - On the follow-up window, switch to the Downloads tab.
- Click on the Steam Library Folders option.
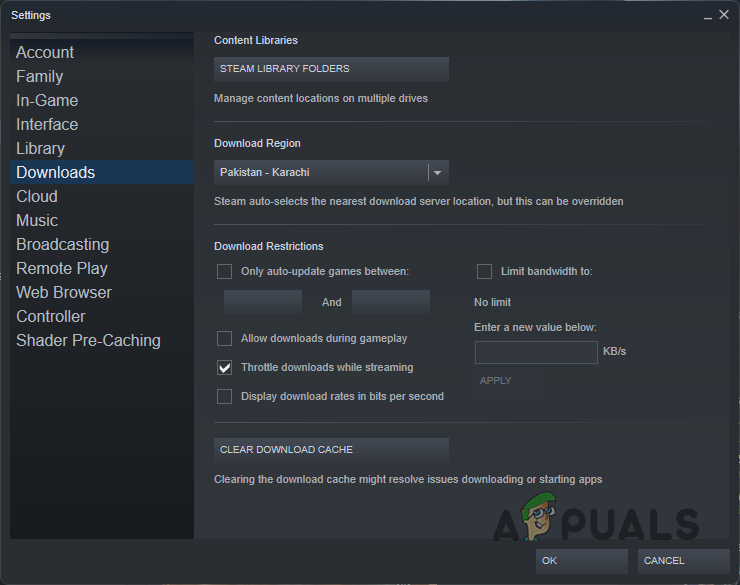
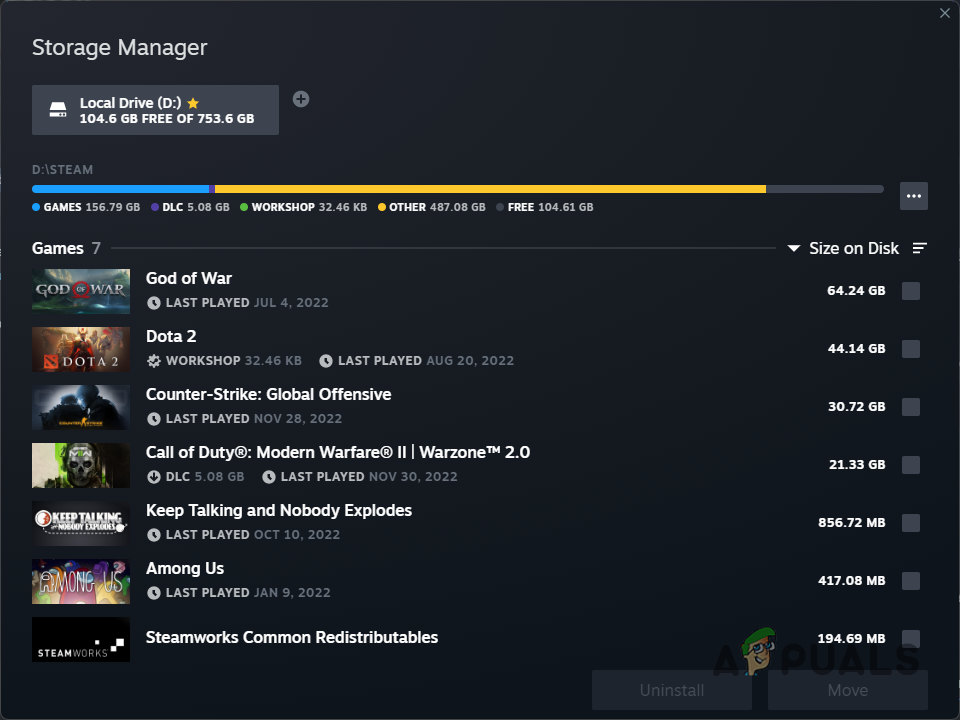
Steam Downloads Settings - Now, on the Store Manager window, click the + icon and add a new installation directory. We would recommend using a different partition than the current one. For example, if the game is currently installed in partition D:, create a new library folder in partition C:.
Steam Library Folders - Open up Steam and right-click on the game in your Library.
- Then, from the drop-down menu, choose Properties.
- Switch to the Local Files tab.
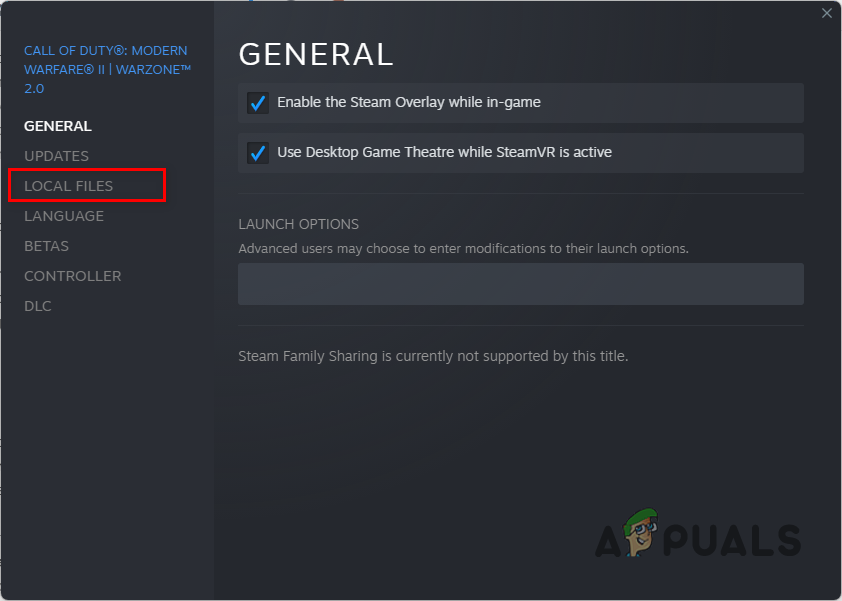
Navigating to the Local Files tab - There, click on the Move install folder option.
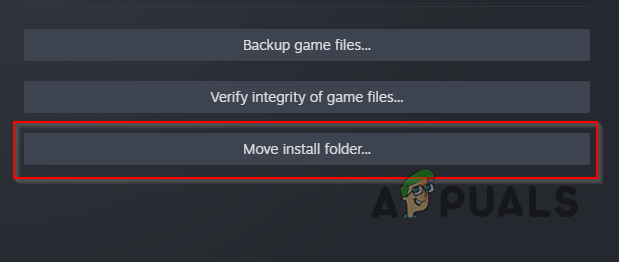
Moving Install Folder on Steam - Choose the new Steam Library Folder you created and wait for it to complete.
- Once it is done, see if the issue goes away.
You can move the entire folder to a different partition if the problem persists. Follow the instructions down below:
- First, close the Steam client on your PC.
- After that, open up File Explorer and navigate to where Steam is located.

Opening File Explorer on Windows - Delete all the files and folders inside the Steam folder except Steam.exe, steamapps, and userdata.
- Once you do that, cut the whole folder and move it to its new location. We recommend moving it to Program Files (x86) on your Windows installation partition.
- Finally, launch Steam via the steam.exe file and wait for it to finish updating.
- Once Steam is open, right-click on Call of Duty Modern Warfare II and click Properties.
- Then, switch to Local Files and click on Verify integrity of game files button. Wait for it to complete.
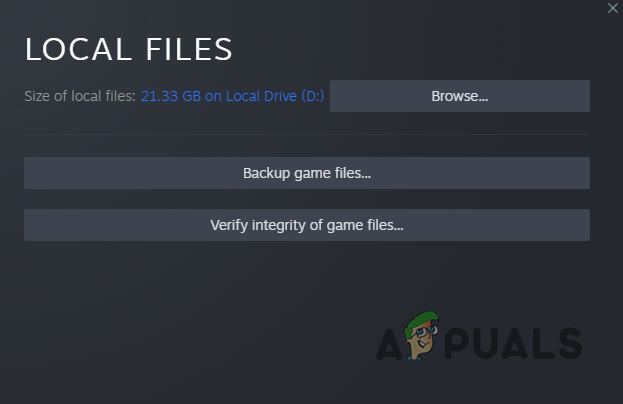
Verifying Integrity of Game Files on Steam - With that done, see if the issue is gone.
5. Scan the game on Battle.net
If you are playing the game on Battle.net, one of the possible solutions would be to re-scan the game on your computer. When you do that, it will look for any missing files and download them automatically, potentially fixing the issue.
Doing this is pretty simple. You will have to rename the installation directory on your PC, which will cause Battle.net to be unable to detect your game. Once you provide the new path, it will force the Battle.net client to scan the game files. Follow the instructions down below:
- To start, open File Explorer and navigate to MWII’s installation directory.
Opening File Explorer on Windows - Then, rename the installation directory and then open up the Battle.net client.
- The client should ask you to install the game to play. Click on Install and provide the renamed folder as the installation path.
- Once you do that, Battle.net will start detecting the existing files and download anything that might be damaged or missing.
- With that done, launch the game to see if the issue has been resolved.
6. Remove Big Picture Mode
Steam has a user-friendly interface for TVs and controllers known as Big Picture mode. It has a fullscreen user interface that makes navigating through the provided options on the respective devices easier.
Big Picture Mode is also available for PC, and if you are using it, there is a good chance it might be causing the problem in question. Some users were facing a similar issue due to Big Picture mode and were able to overcome the problem after switching back to the normal interface.
To do this, follow the instructions down below:
- On the home screen, click on the Power icon in the top-right corner.
- Then, choose the Exit Big Picture option.
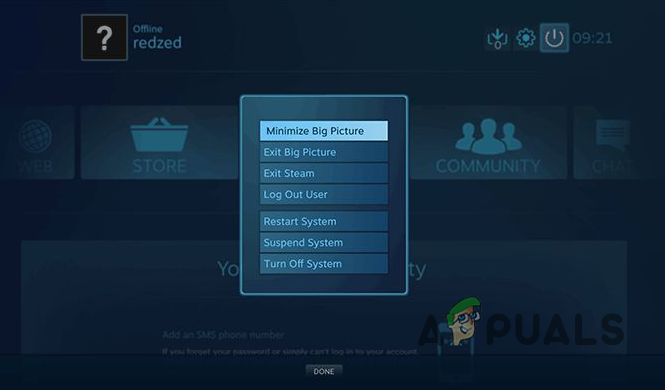
Exiting Big Picture Mode - After that, open the game again to see if the problem goes away.
7. Update BIOS
BIOS updates are rare and not something that we are required to do usually. However, various user reports have been on this particular issue where updating the BIOS firmware has resolved the problem.
These updates often contain general optimization or patches that help you get the most out of the components on your motherboard. As such, updating your BIOS firmware can never be a bad thing.
Updating BIOS is not a tough task. Most manufacturers have a dedicated utility that allows you to update your BIOS automatically. Generally, you would have to boot into the BIOS menu and manually select the USB drive containing the BIOS update files to perform the update.
While that remains a viable option, you should not go the hard way if there is a dedicated utility available from your manufacturer. To update your BIOS, you must find your motherboard model. Once you have that, use Google to download the dedicated utility from your manufacturer, which should do the job for you.
8. Perform a Clean Boot
Finally, if none of the methods above has fixed the problem for you, there is a good chance a third-party program on your computer may be preventing the game from starting up. When this happens, you can perform a Clean Boot to see if the game launches without issues.
Clean Boot allows you to start Windows without third-party programs or services running in the background. Most third-party applications on your computer have services that start automatically when you are booting up, which can result in the issue. Clean Boot will help in preventing that.
If the problem goes away in Clean Boot, it will be certain a service in the background causes the issue. In such a scenario, you must find the culprit and remove it from your computer. Follow the instructions down below to perform a clean boot:
- First, open the Run dialog box by pressing the Windows key + R on your keyboard.
- In the Run dialog box, type in msconfig and hit Enter.
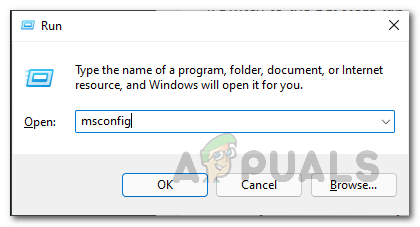
Opening up System Configuration on Windows - After that, on the System Configuration window, navigate to the Services tab.
- There, click on the Hide all Microsoft services checkbox.
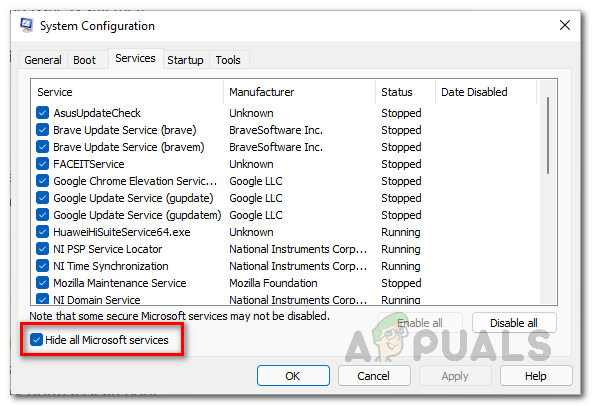
Hiding Microsoft Services - With that done, click on the Disable all button and then click Apply.
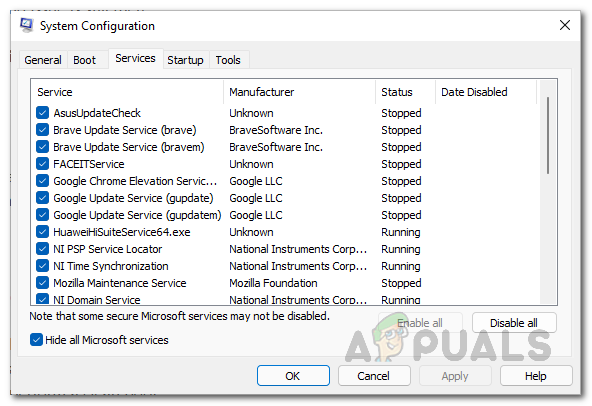
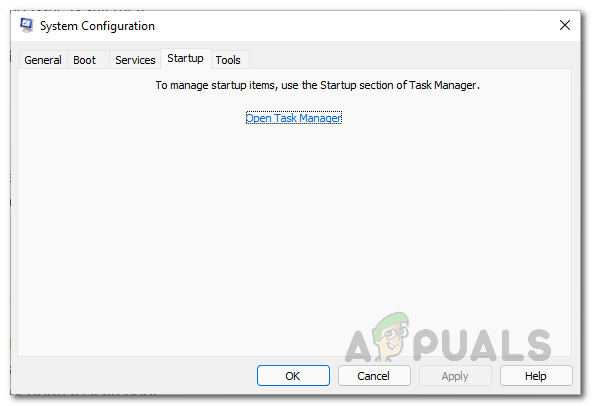
Disabling Third-Party Services on Windows - Follow this up by switching to the Startup tab. There, click on the Open Task Manager option.
System Configuration Startup Tab - Then, on the Task Manager window, highlight the apps one by one and click Disable.
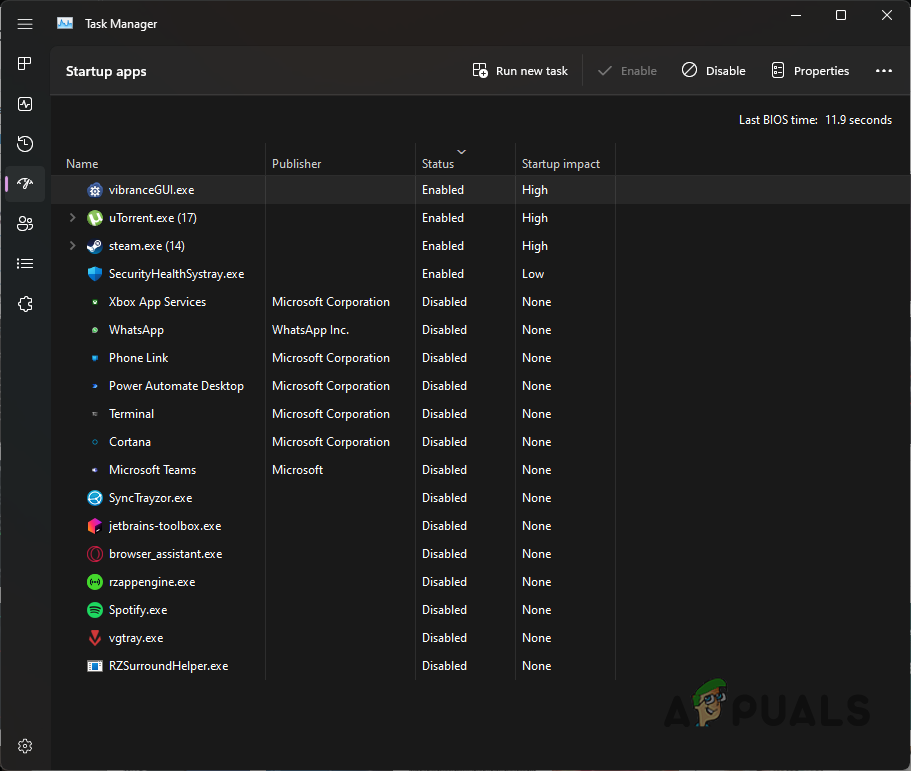
Task Manager Startup Tab - Finally, restart your PC and launch the game to see if it works.


