Microsoft Teams Not Starting? Here’s the Fix!
The Microsoft Teams collaborative workspace provides an efficient means of engaging in workplace conversations, working together as a team, collaborating with virtual teams, as well as sharing documents. However, like every other Microsoft program, it acts up quite often.
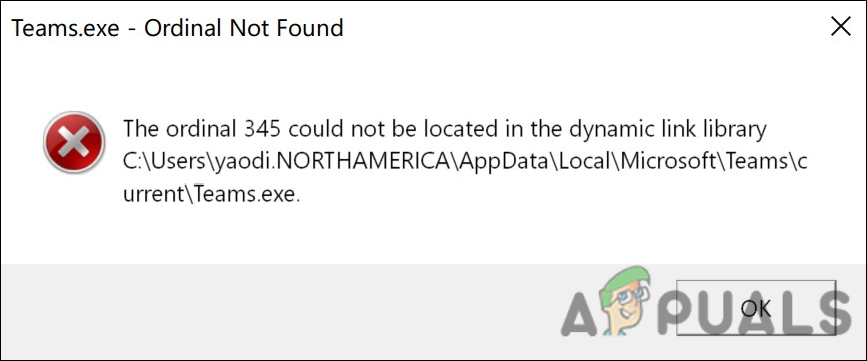
Recently, several users reported that Teams fails to start when they attempt to launch it, and an error message stating ‘The ordinal 345 could not be located in the dynamic link library C:\Users\yaodi.NORTHAMERICA\AppData\Local\Microsoft\Teams\current\Teams.exe’ appears on the screen. We had a look into the issue and discovered that it can be caused due to generic corruption errors, corrupt user profiles, outdated operating system, and faulty Teams installation. Below is a list of effective troubleshooting methods that have worked for other users. Proceed with the ones that suit you the best.
Run an SFC Scan
If Microsoft Teams is not starting on your Windows operating system, then the first thing you need to do is check your system for any corruption errors and bugs that might be preventing the application from working properly. The easiest way to do this is by using the System File Checker (SFC), which is a built-in Windows troubleshooting utility designed to look for inconsistencies within the system files.
It works by scanning the files for issues and then replacing the corrupt files with their cached counterparts. Here is how you can run an SFC scan on Windows 11:
- Right-click on the Windows icon on your taskbar and click Run.
- In the text field of Run, type cmd and press Ctrl + Shift + Enter to launch elevated Command Prompt.
- Once Command Prompt launches, copy the command below and paste it inside the Command Prompt window. Press the Enter key to initiate the scan.
sfc /scannow
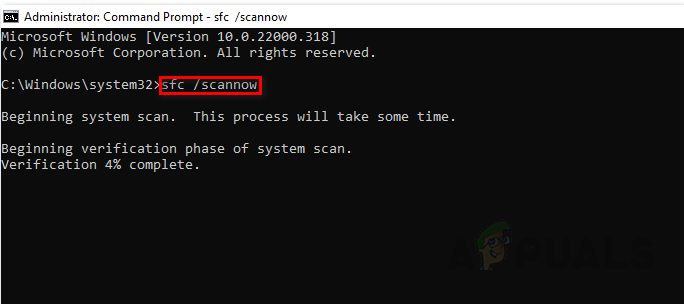
execute the sfc command - When the scan is complete, restart your computer once more to see if the issue has been resolved.
Install Pending Updates
Your operating system is also likely to experience issues like the one with Microsoft Teams if it hasn’t been updated recently. An outdated system is prone to corruption errors and malware that make applications incompatible with your system, hence the problem.
It is therefore imperative to install new updates as soon as they are released. Moreover, there might be a solution to your problem in the latest updates due to new features and fixes.
Follow these steps to install the pending updates on your PC:
- Type Updates & Security in the search area of your taskbar and click Open.
- Select Windows Update from the left panel and then click on Check for updates in the right pane.
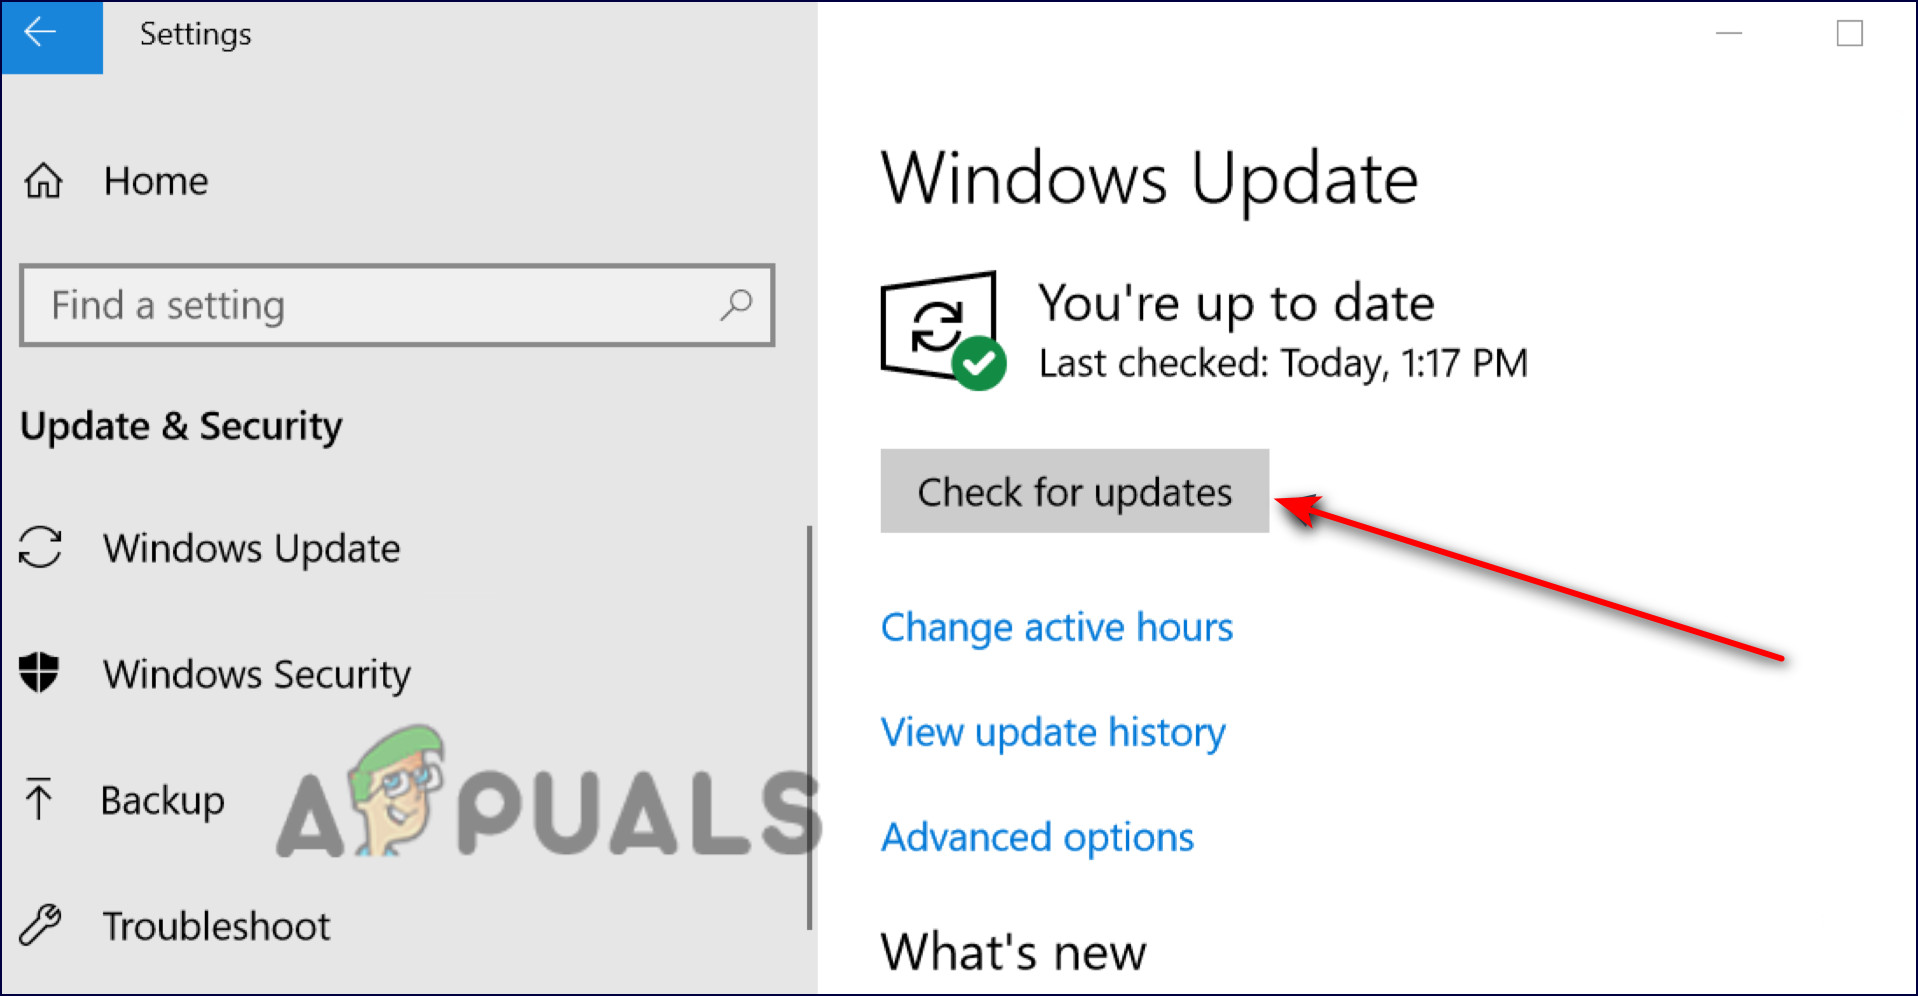
Check for updates - This should initiate a scan that will look for the latest updates you are yet to install. Take your time to install them and then restart your PC.
If the error persists, proceed with the next method below.
Create a New User Profile
Windows users are prone to experience issues similar to this one due to account glitches and bugs as well. If running the SFC scan did not help with the Teams issue, try creating a new Windows user profile, since your Windows user profile might host the bug.
If the issue is within your user account, removing the current one and proceeding with a new account should fix the Teams-related issue for you.
Here is what you need to do:
- Press Windows + I keys to launch Windows Settings and click on Accounts.
- Locate ‘Other people’ on the left panel and click on it.
- Next, click on Add someone else to this PC and follow the on-screen steps to proceed.
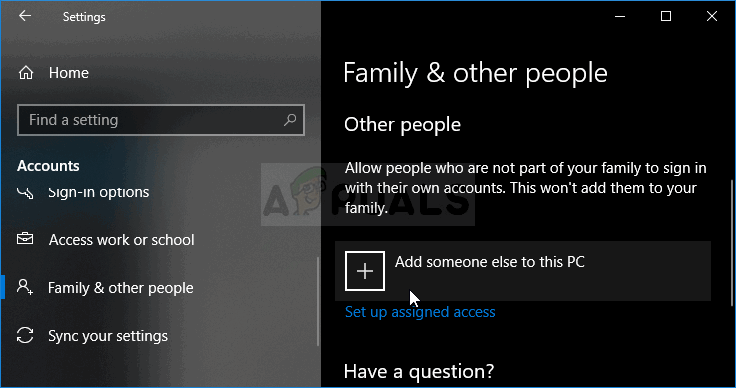
- Inside the ‘How will this person sign in’ window, select I don’t have this person’s sign-in information, and then select Add a user without a Microsoft account.
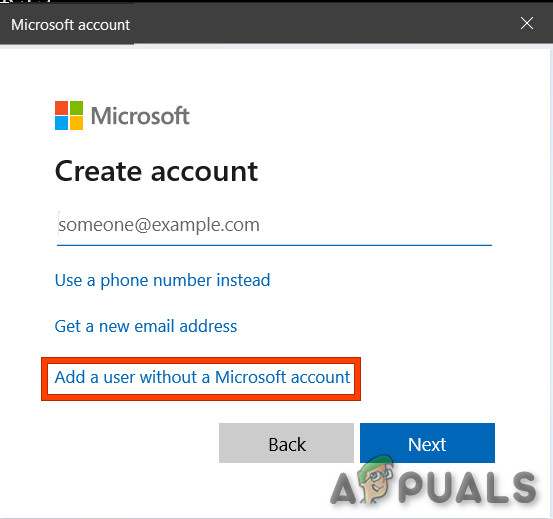
Add a user without Microsoft Account - Enter your credentials, and once you’ve created the account, log out of your current user account.
- When you have logged into your new account, see if the issue has been resolved.
Modify the Group Policy Editor
Another fix that has helped several users fix the Teams issue was setting the ‘Configure Automatic Updates’ policy in the Group Policy Editor to Not Configured.
Sometimes updates contain bugs that negatively affect the experience in a number of ways. During installation, they can break existing features, introduce driver and application compatibility problems, or display errors like the one at hand. Modifying the ‘Configure Automatic Updates’ policy in the Group Policy Editor will help you make sure that there are no updates installed automatically.
- Press Windows + R keys simultaneously to open a Run dialog box.
- Inside the text field of the dialog box, type ‘gpedit.msc’ and hit Enter.
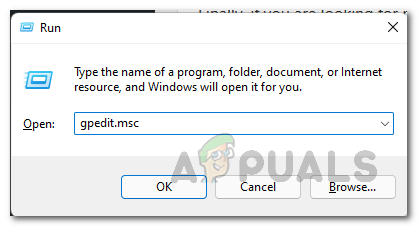
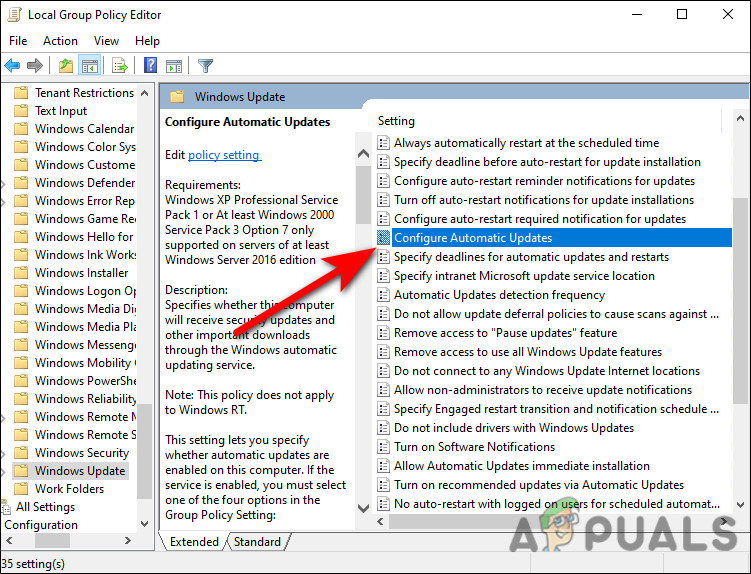
Opening up Local Group Policy Editor - Once you are inside the Group Policy Editor, navigate to the location mentioned below.
Computer Configuration>Administrative Templates>Windows Components>Windows Update
- Locate and double-click on Configure Automatic Updates in the right pane.
- Select Not Configured and hit Apply, then OK to save the changes.
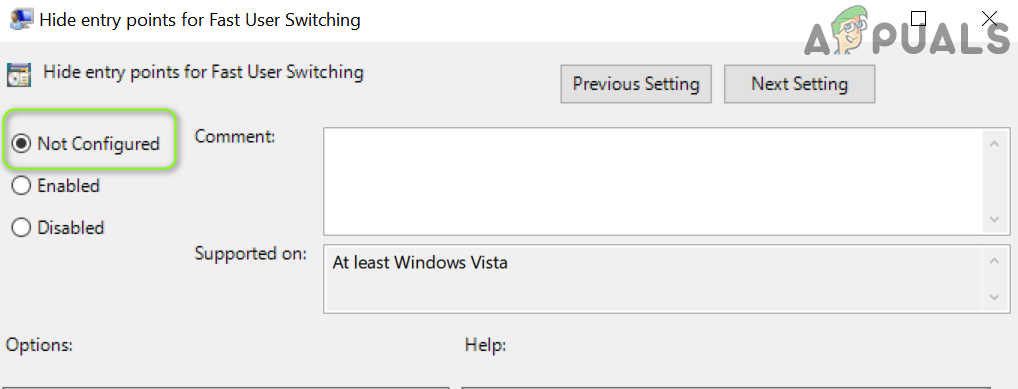
Set Entry Points for Fast User Switching to Not Configured - Finally, restart your PC and check if the issue is resolved.
Use System Restore
System Restore is a Windows feature that takes a snapshot of your system before performing a critical operation and saves this snapshot as a ‘restore point’. This is done so that if your system encounters any errors moving forward, you can always undo the changes and revert it back to a previous point in time.
In this method, we will use the Restore feature to revert the system back to a time when Microsoft Teams was working without any issues. However, remember that if the restore point was created after Teams started acting up, it will not fix the issue. In that case, jump to the next method below.
- Launch Control Panel and navigate to System and Security > System.
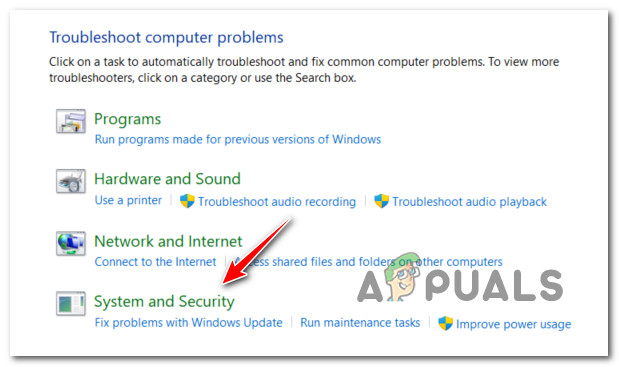
Open up the System and Security tab - Choose System Protection.
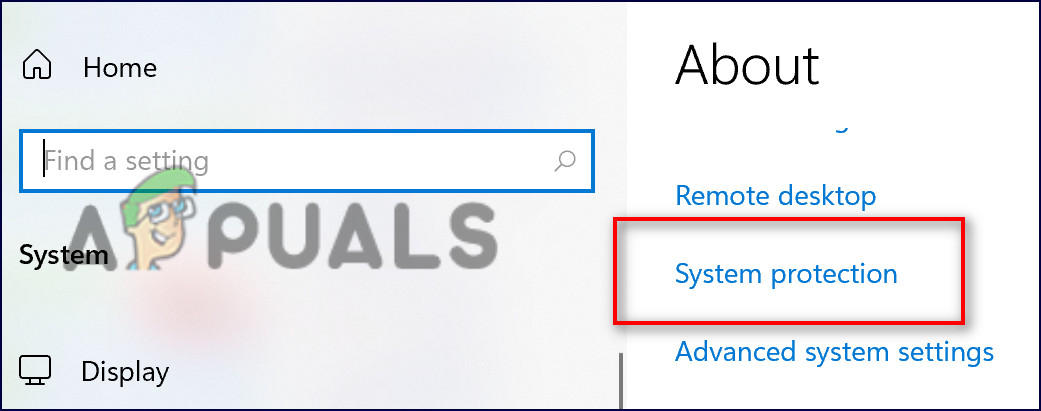
Open system protection - Click System Restore from the System Protection tab.
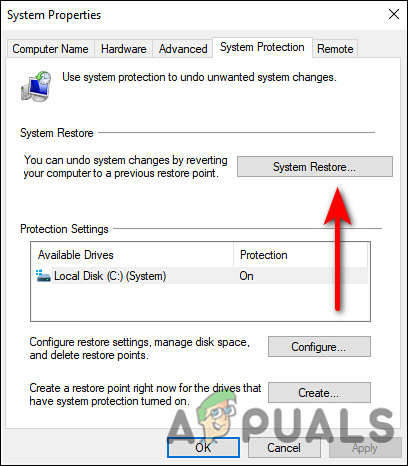
Hit the Restore button - Now follow the on-screen instructions to proceed. If a dialog box pops up, click on Recommended Restore.
- Once the operation is successfully completed, your PC will reboot. Upon reboot, the system will be shifted to an earlier point in time.
Add a Compiler Directive
If none of the solutions mentioned above has worked for you, then the issue is related to the Teams client installation.
On all Windows 10 versions, COMCTL32.dll is version 5.x. In Teams, version 6.x is required, which is installed by the Teams installer. The issue can easily be verified with Windows 10 Dependency Walker, as well as Microsoft’s technical support staff. The missing command “TaskDialogIndirect” was added to COMCTL32 version 6 while Windows is loading version 5.
Since Teams doesn’t have a properly programmed Manifest, Windows 10 loads the system version intermittently in memory and results in the error at hand
This issue will continue to occur until Microsoft fixes their Teams client based on their own recommendations. If you want your application to use visual styles, you will have to include a compiler directive indicating that ComCtl32.dll version 6 should be used if it is available.


