How to Fix Screen Flickering in Marvel Rivals
Flickering in Marvel Rivals is a common issue that can result from rendering pipeline conflicts, particularly when system-level graphics features are enabled. Reports from users across various hardware setups—regardless of GPU model or SSD speed—suggest that the problem may stem from how the game handles frame pacing and synchronization with features like G-Sync or Variable Refresh Rate (VRR).
This guide outlines effective methods to resolve flickering. Each fix targets a specific root cause—ranging from graphics settings to storage limitations—so you can identify what applies to your setup.
1. Move the Game to the Primary Disk
If Marvel Rivals is installed on an external or slower secondary drive, move it to your primary internal SSD. Games can behave unpredictably if asset streaming is delayed, which is more common with mechanical drives or USB-based storage.
1.1 Steam
- Open Steam and click the Steam logo in the top-left corner.
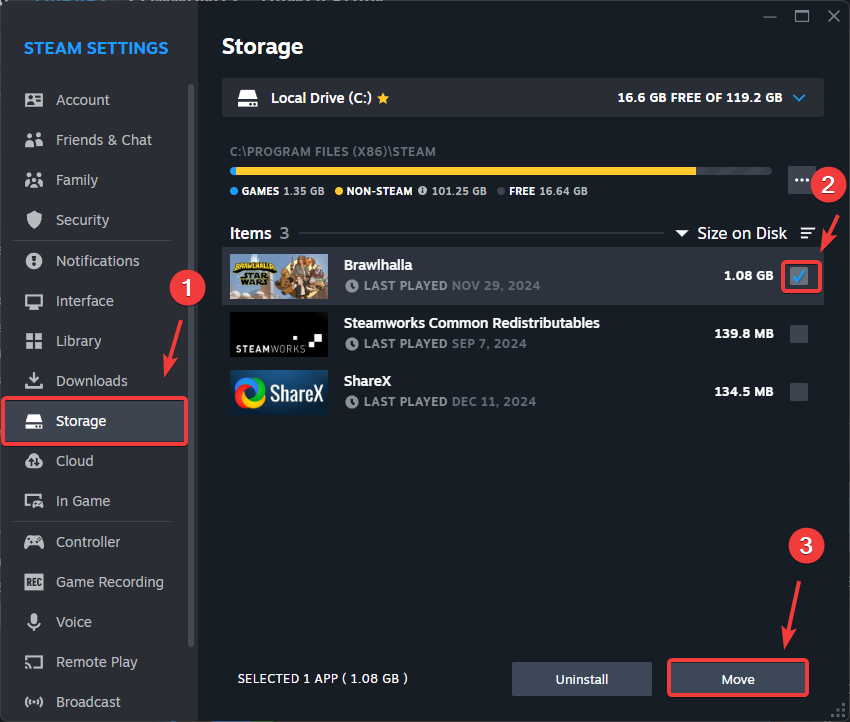
- Select Settings, then go to Storage.
- Choose Marvel Rivals and click Move.
- If the C drive isn’t listed, click the dropdown and choose Add Drive.
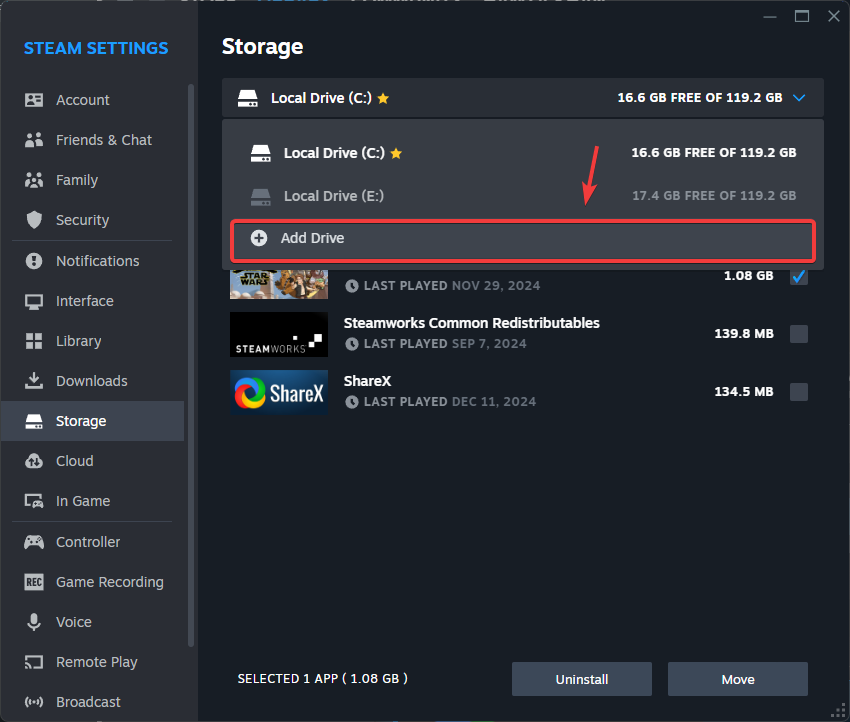
- Select your main system drive (usually C:\), click Add, and repeat the move process.
- Launch Marvel Rivals and test for flickering.
1.2 Epic Games
Note: This method should only be used by experienced users. Incorrect folder replacement may corrupt game files.
- Copy your current game folder to a temporary backup location.
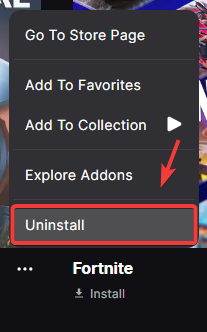
- Uninstall Marvel Rivals via the Epic Games Launcher.
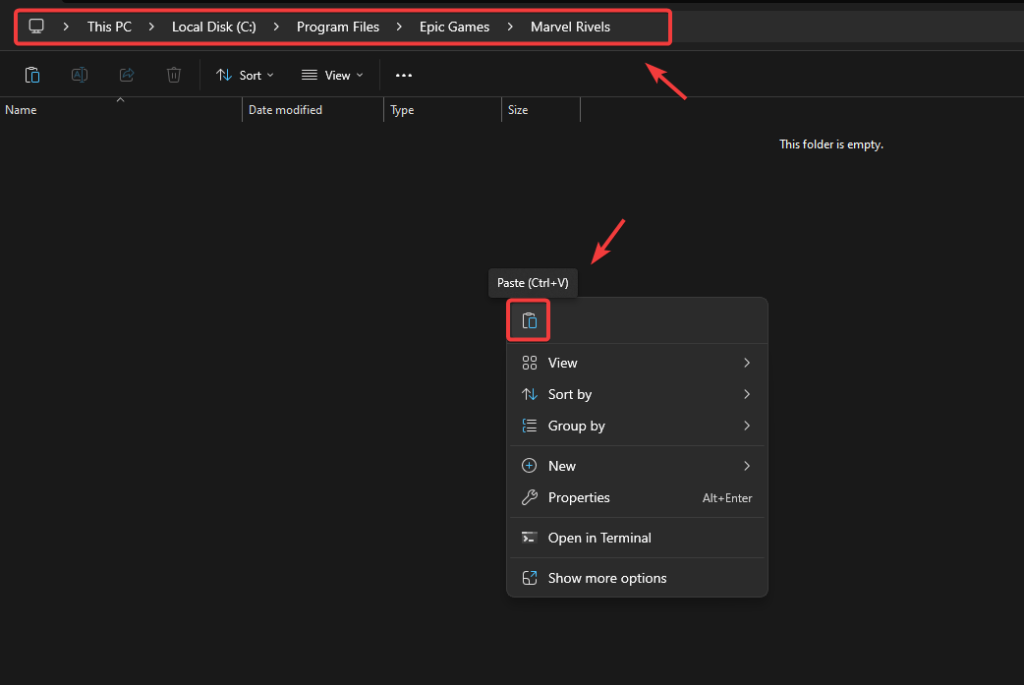
- Reinstall it to your system SSD, but cancel the download once it starts.
- Paste the backup files into the new install location.
- Resume the download. Epic will verify the files and complete installation.
- Launch the game to confirm stability.
2. Disable G-Sync
G-Sync enhances smoothness, but in games that lack stable frame pacing, it may trigger flickering. Turning it off forces the system to rely on a fixed or V-Sync refresh cycle, which can help stabilize frame presentation.
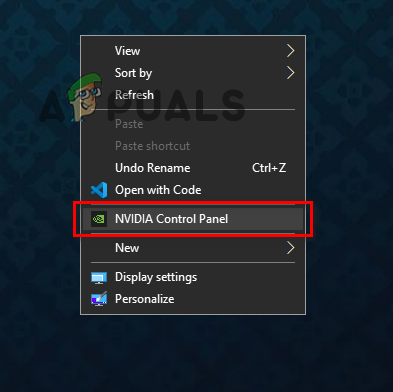
- Right-click the desktop and open the NVIDIA Control Panel.
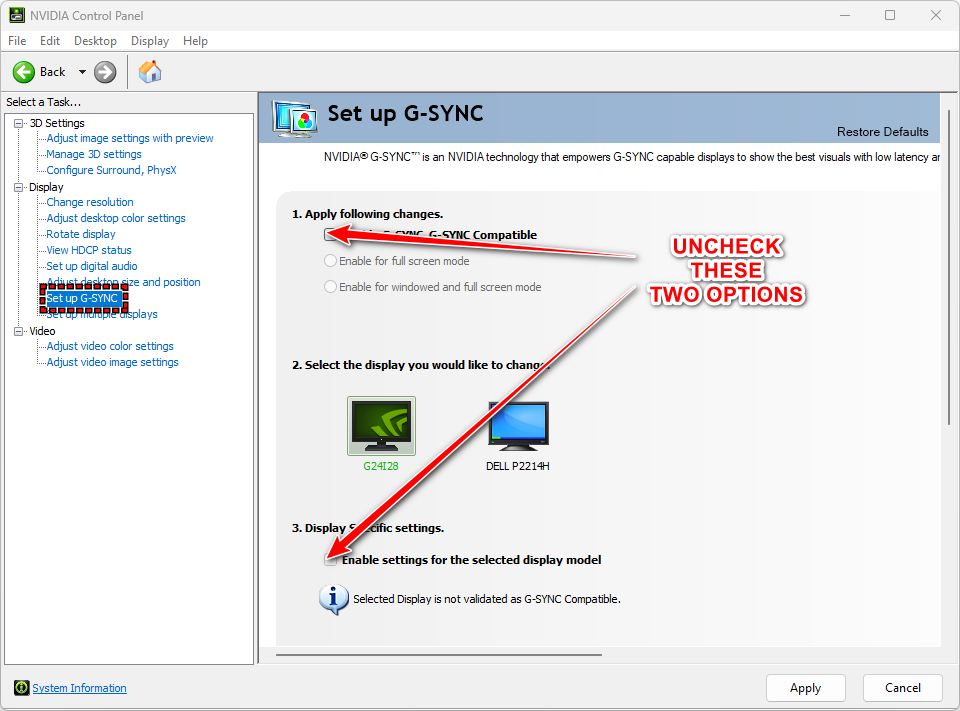
- Navigate to Display > Set up G-SYNC.
- Uncheck Enable G-SYNC, G-SYNC Compatible.
- Click Apply and restart your system.
3. Disable Variable Refresh Rate and GPU Scheduling
Windows offers VRR and HAGS features to improve latency and performance. However, these may interfere with games that rely on strict render timing or use non-standard frame buffering techniques.
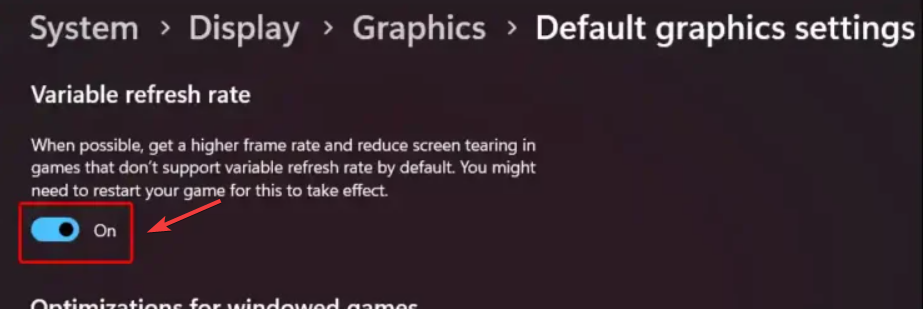
- Variable Refresh Rate (VRR) dynamically adjusts your refresh rate to the game’s frame rate. If the game has inconsistent frame times, this can create flickering or tearing.
- Hardware-Accelerated GPU Scheduling (HAGS) offloads scheduling tasks to the GPU, but this can lead to race conditions or timing mismatches in some engines, especially on older or unoptimized games.
- Press Win + I to open Settings.
- Go to System > Display.
- Click Graphics settings > Change default graphics settings.
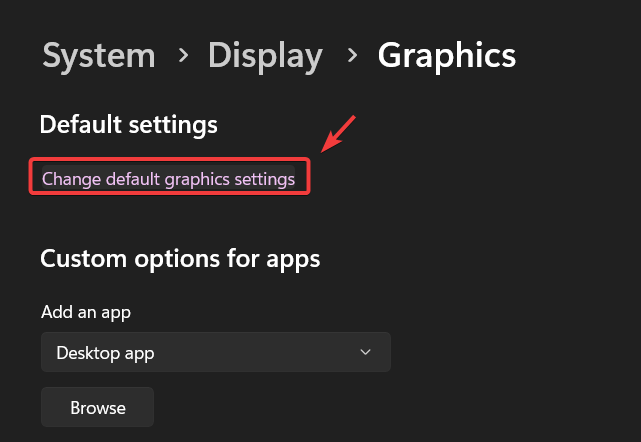
- Turn off both Hardware-accelerated GPU Scheduling and Variable Refresh Rate.
- Restart your system and re-launch Marvel Rivals.
4. Update GPU Driver
Flickering may result from outdated GPU drivers that lack bug fixes or game-specific optimizations. Marvel Rivals relies heavily on driver support for shader compilation, frame sync, and rendering stability.
Both NVIDIA and AMD release frequent driver updates to fix issues reported by players or developers. Keeping your driver updated ensures full compatibility with the game engine and reduces flickering, black frames, or visual artifacts.
- Open NVIDIA GeForce Experience or AMD Radeon Software.
- Go to the Drivers tab.
- Click Check for updates.
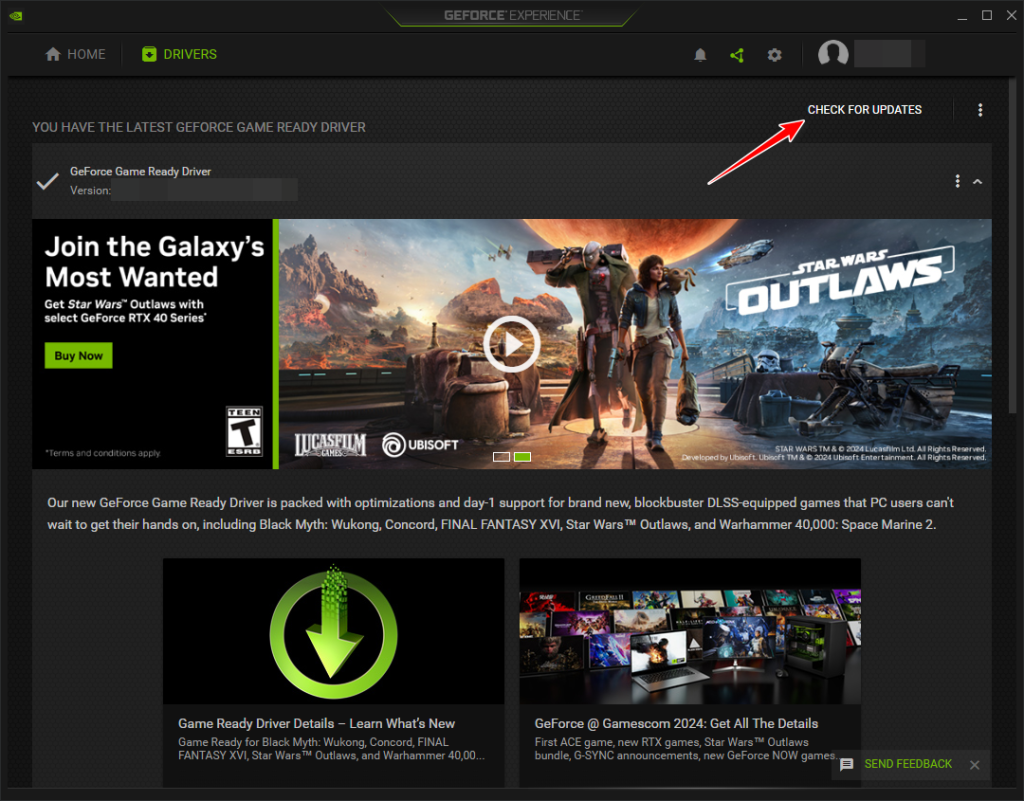
- If a new version is available, select Download > Express Installation.
- Restart your system once the installation is complete.
Some players report reduced flickering after capping the game’s frame rate to match the monitor’s refresh rate (e.g., 60Hz or 144Hz). Disabling DLSS or NVIDIA Reflex Low Latency Mode may also help in certain setups by avoiding instability caused by aggressive latency-reduction techniques.