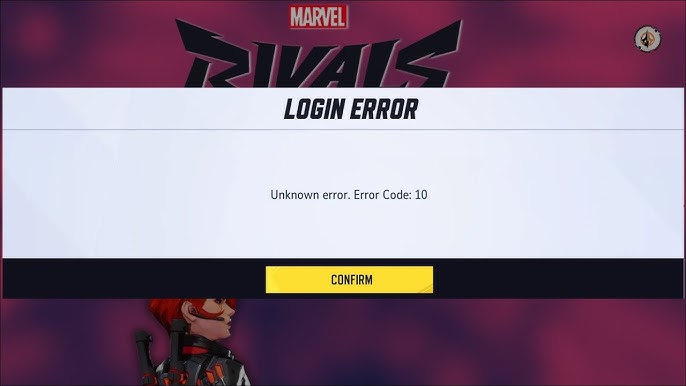
How to Fix Login “Error Code: 10” in Marvel Rivals?
Marvel Rivals Error Code 10 often appears due to network-related issues or an unaccepted User Agreement. In most cases, the error is caused by an unstable internet connection or misconfigured network settings. Less commonly, it may be linked to server problems or corrupted game files.
The most common and easiest fix is simply accepting the User Agreement (EULA) on the game’s title screen. If that doesn’t work, check that your internet connection is stable and that Marvel Rivals servers are operational. You can do this by visiting their official Discord server or checking recent updates on their X (formerly Twitter) account. Once you’ve ruled out server-side issues, proceed with the solutions below.
1. Accept the User Agreement (EULA)
The option usually appears in the top-right corner when you launch the game. If the agreement hasn’t been accepted, the game may block access and show Error Code 10. This step has resolved the issue for many users, especially during closed beta and early access periods.
- Launch Marvel Rivals.
- Look for the User Agreement / EULA in the top-right corner.
- Click to accept or acknowledge the agreement.
- Restart the game and check if the error is resolved.
2. Power Cycle Your Device (Consoles)
If you’re encountering Error Code 10 on a console, try performing a power cycle.
- Completely shut down your console.
- Unplug the power cord from the back of the console.
- Wait about 30 seconds, then plug it back in and turn it on.
- Once the console powers up, launch Marvel Rivals and check if the error is resolved.
This method helps clear the temporary system cache stored in RAM, which may include session-level bugs or cached network responses that can sometimes lead to connectivity issues or conflicts—especially in online games. That’s why we recommend this step first, as it ensures no leftover data or minor bugs are interfering with the game.
3. Clear Saved Data (Xbox)
Xbox games store saved game data in the cloud. Clearing it will allow the Xbox to re-sync with the game data. Additionally, if the saved data becomes corrupted, the game may fail to load properly, resulting in error codes like Error Code 10.
Note: Clearing local saved data does not delete your progress permanently—your data will be re-synced from the cloud when you launch the game again.
- Press the Xbox button (the glowing Xbox logo) on your controller to open the guide menu.
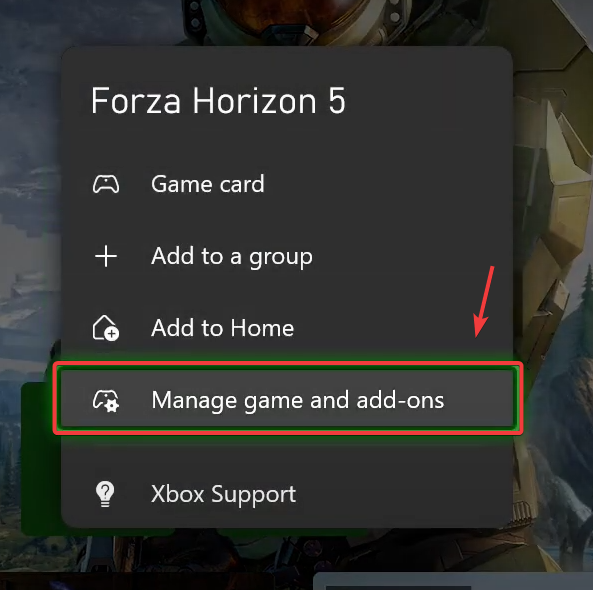
- Navigate to Marvel Rivals in your recent games or My Games & Apps, then press X on your controller to open the options menu.
- Select Manage game and add-ons from the dropdown options.
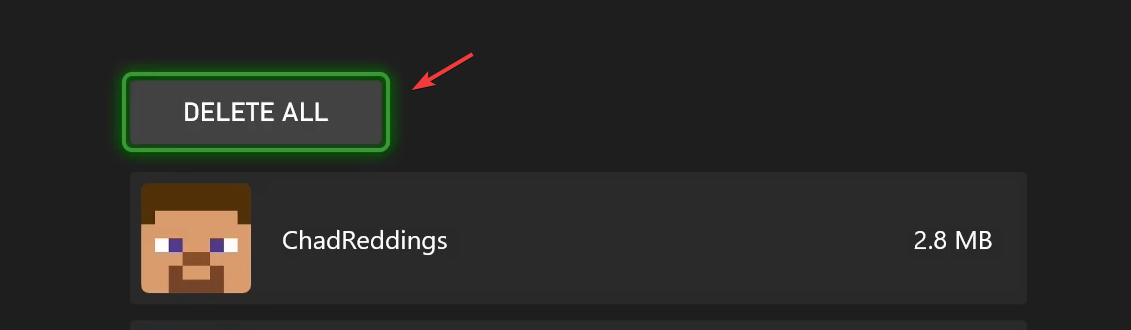
- Choose the Saved Data tab (second from the left).
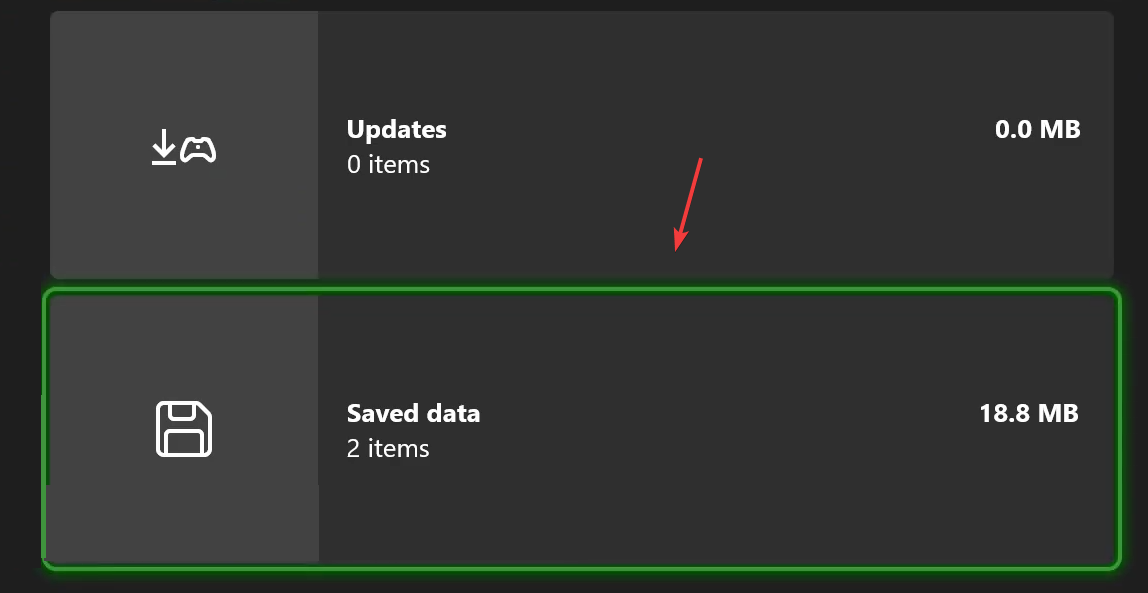
- Select Delete All (twice to confirm) to clear all local saved data for Marvel Rivals.
- Hold the Xbox button on your console for 10 seconds to perform a full restart, then check if the error persists.
4. Verify Game Files
Verifying the game files helps detect and replace any corrupted or missing files in the game’s installation directory. This process scans the local files, compares them with the official versions on the server, and automatically downloads fresh copies of any damaged or incomplete files.
- Open either the Steam or Epic Games Launcher on your computer.
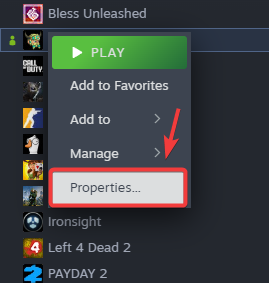
- In Steam: Right-click Marvel Rivals in your library and select Properties.
- In Epic Games: Click the three dots next to the game and select Manage.
- Select Verify Game Files (Steam) or Verify (Epic) to check for and repair any corrupted files.
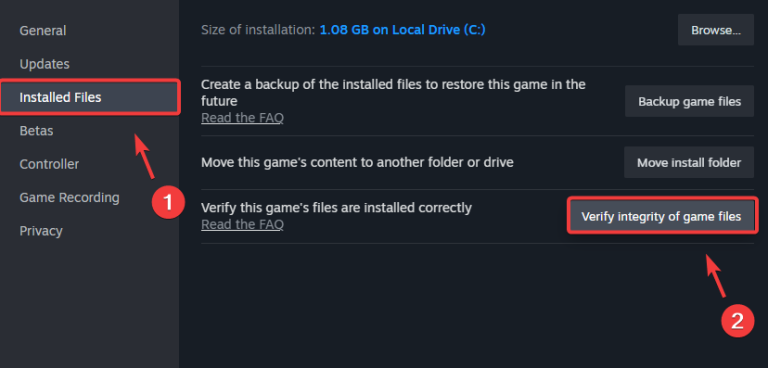
- Wait for the process to complete (typically 5-15 minutes depending on your hardware).
5. Use the Google DNS Server
Google DNS is known for being one of the most reliable and stable DNS servers—especially useful for improving connectivity in online games. The Domain Name System (DNS) helps your device connect to game servers by translating human-readable domain names into IP addresses. Using a fast and reliable DNS like Google’s can reduce connection delays and avoid DNS-related issues that might trigger errors like Error Code 10.
5.1 Windows DNS Configuration
- Open Control Panel > Network and Internet > Network and Sharing Center.
- Click Change adapter settings in the left sidebar.

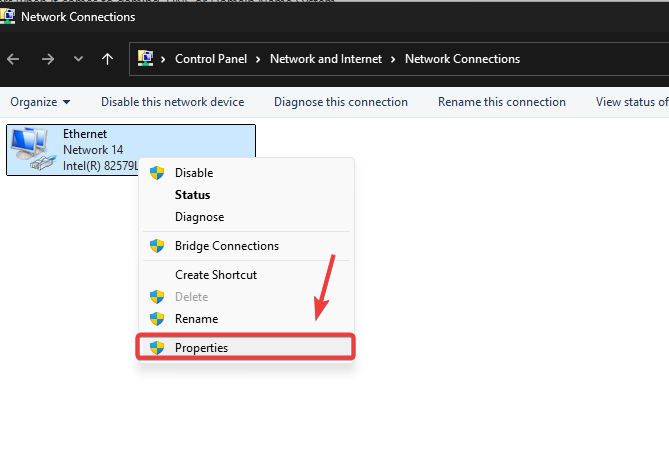
- Right-click your active connection (Wi-Fi/Ethernet) and select Properties.
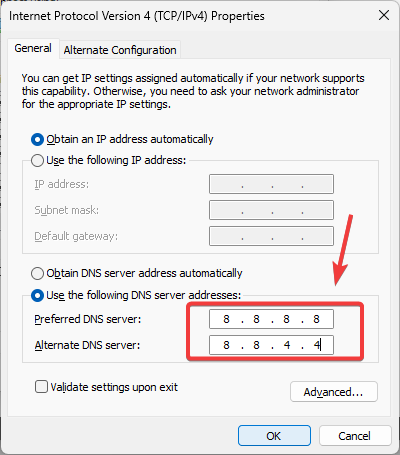
- Select Internet Protocol Version 4 (TCP/IPv4) and click Properties.
- Enable Use the following DNS server addresses and enter:
Preferred DNS Server: 8.8.8.8 (Google DNS)
Alternate DNS Server: 8.8.4.4 (Google DNS Backup)
- Click OK to apply changes (no restart needed).
- Test your game connection to verify the fix.
5.2 Xbox DNS Configuration
- Go to Settings > General > Network settings.
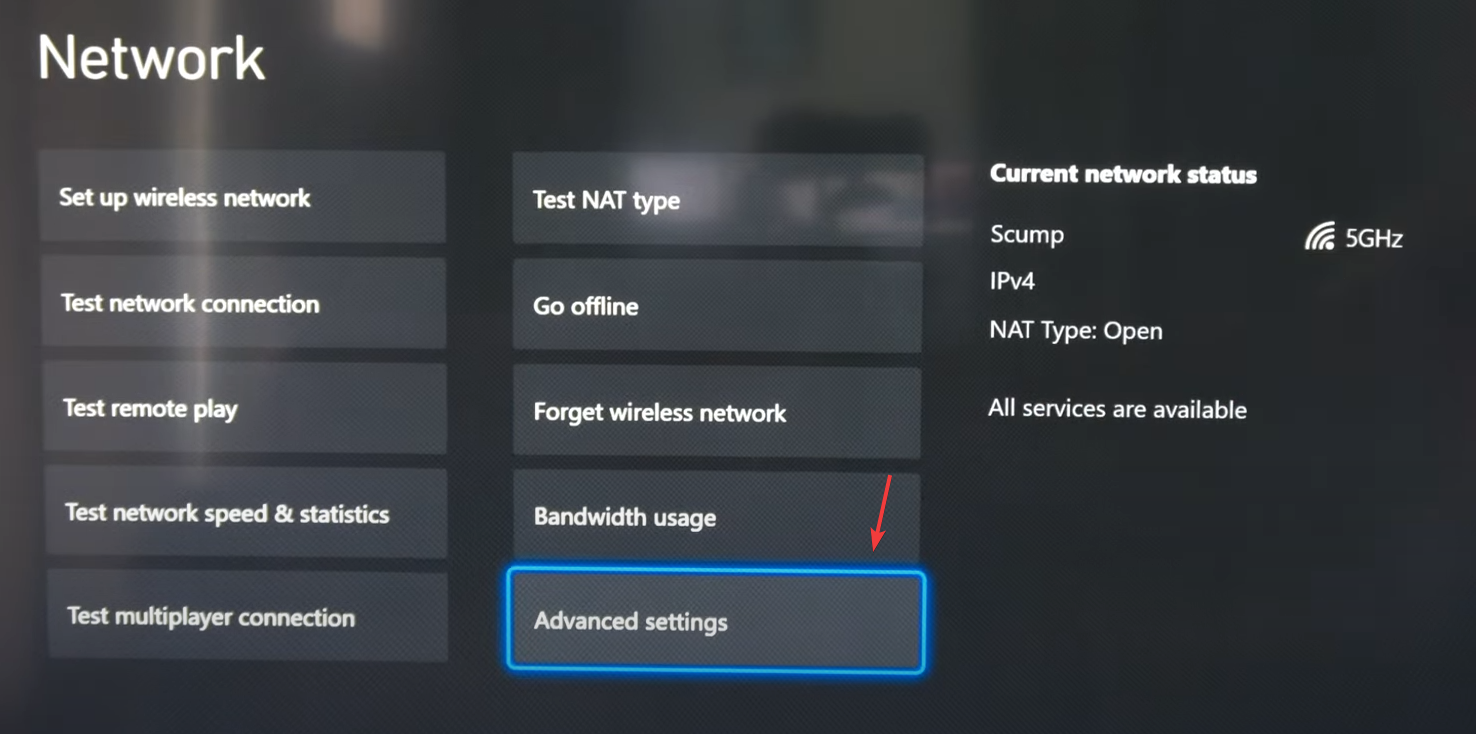
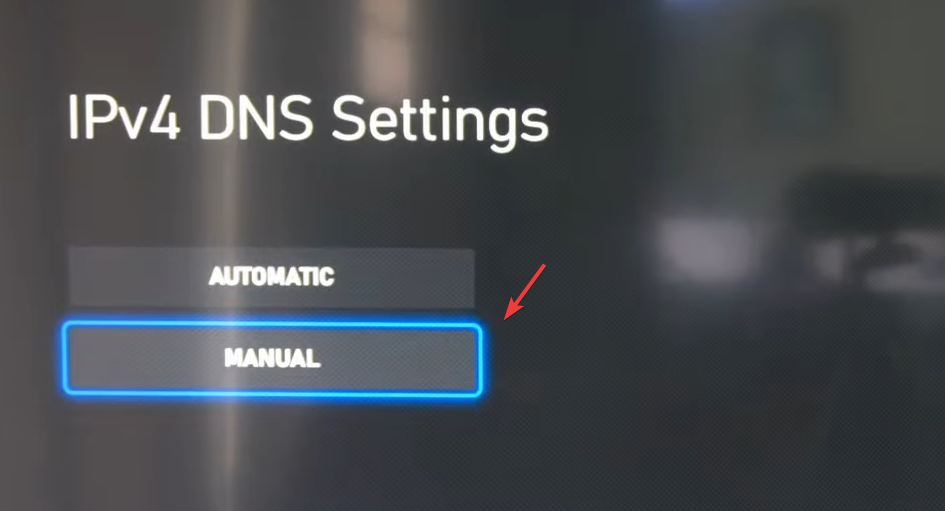
- Select Advanced settings > DNS settings > Manual.
- Enter the DNS values:
Primary DNS: 8.8.8.8
Secondary DNS: 8.8.4.4
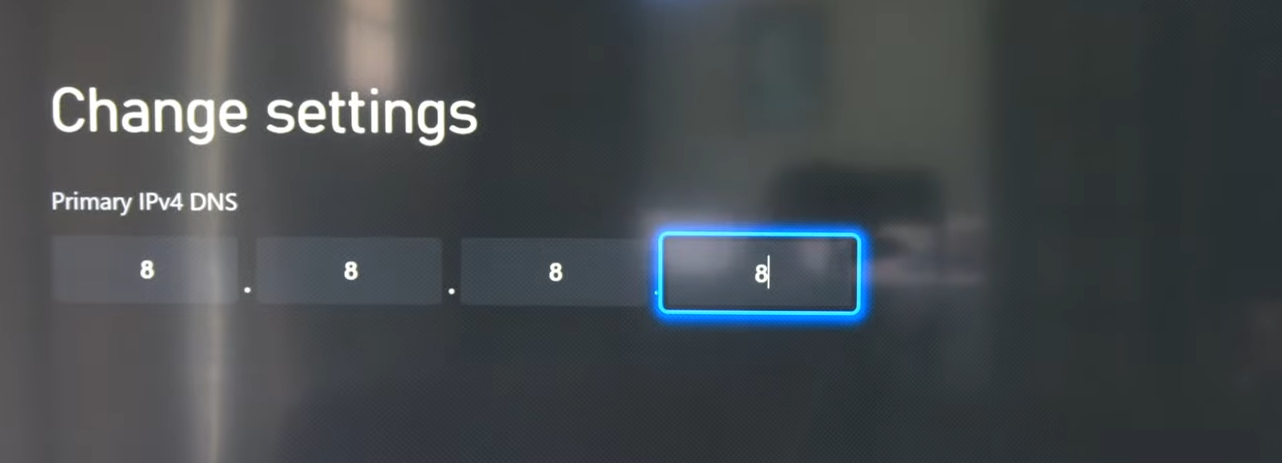
- Press B to save and restart your Xbox to apply changes.
6. Reset Network Settings
As a final method, you can try resetting your network settings, especially if they were affected by recent system changes or updates. This process will remove any custom configurations, such as DNS settings or proxy rules, and restore everything to default. Doing so can often resolve network-related issues that may be triggering the error.
- Press the Windows key (⊞) on your keyboard to open Windows Search.
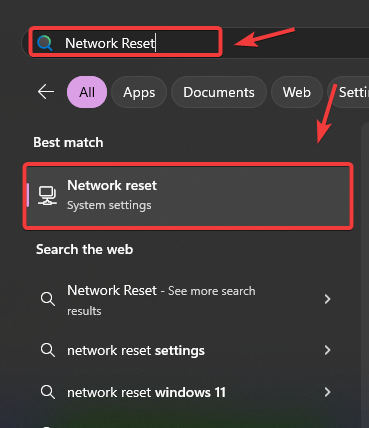
- Type “Network Reset” (without quotes) and press Enter to open the network reset settings.
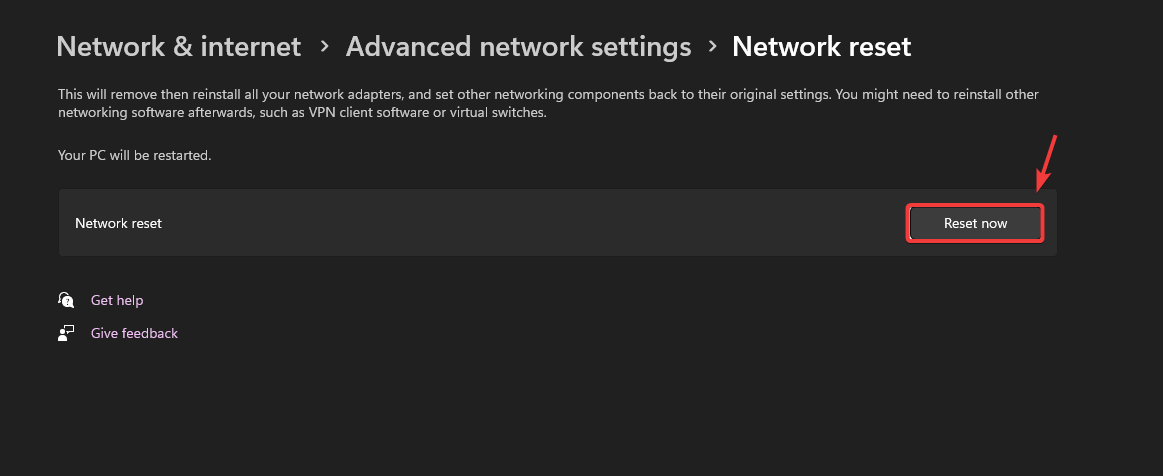
- Click the blue Reset now button to begin the process (this will temporarily disconnect your internet).