How To Make Your Android Unique: Make Your Own Boot Animation
In our previous post we mentioned how it’s possible to install custom boot animations from your web for use on your Android device. In this blog we’ll explain how you can use free tools to create your very own boot animation that can be showcased whilst your smartphone boots up.
In order to complete this guide you will need to have the following:
Bootanimation Factory software – Credit to XDA Developer member despotovski01
A rooted smartphone
Windows XP or higher (Windows 7 recommended)
Patience, time and skill to create your own animation
Image editing software like GIMP or Photoshop
How do I Make My Own Boot Animation?
To create your own boot animation, you will need to use the bootanimation factory software provided above. This software has been built by XDA member despotovski01 and can be used to create an animation, package it up and prepare it for install on your device all within the application suite.
Using the software can be a little tricky so we’ll be explaining how to use it and will be providing screenshots as we go.
Step 1 – Install the software
You’ll need these, so visit the links below to download them –
Bootanimation Factory to compile and flash the bootanimation
Once downloaded, follow the installation steps for each program.
Step 2 – Creating the Files
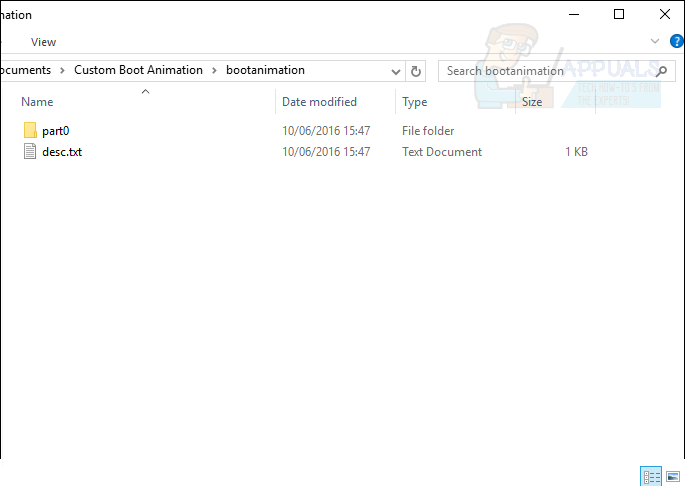
First, head to a location on your computer you are happy to save files to. We have picked a new folder location in our documents library. You will need to create a folder named Part0 and an empty .txt file named desc.txt.
Step 3 – Creating the Animation
For this step you’ll need to create each animation image separately in your chosen image editing software.
The animation should be created as separate images in your chosen image editing software. You’ll need previous experience with animating or creating gifs to know how to create a smooth flowing animation, otherwise you may need to use trial and error to find out what works best. In this guide we’ll be creating a simple pulsing light on a dark background with Photoshop.
Before you can start creating images, you must note the resolution of your Android display. We’d recommend searching for your smartphone on GSMarena. We are using the LG G4 for the base of this guide, but you can use your own smartphone or tablet. Look at the image below to see an example of where the display resolution will be shown.
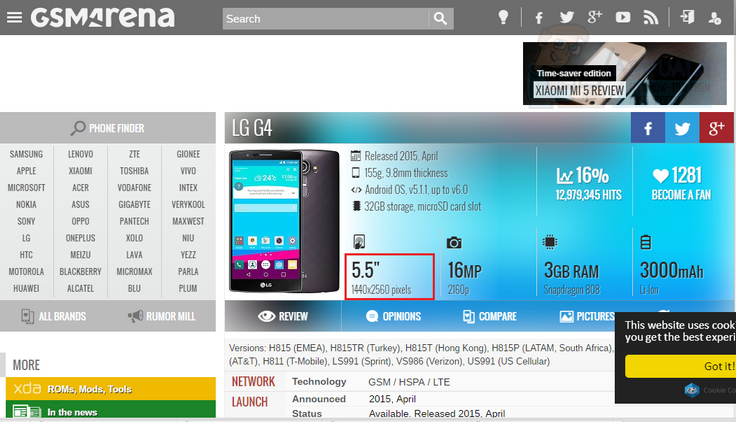
Now that we know the resolution, (1440×2560 in our case) we can start creating images for our animation. We must image resolution in our editing software with our phone display. See below.
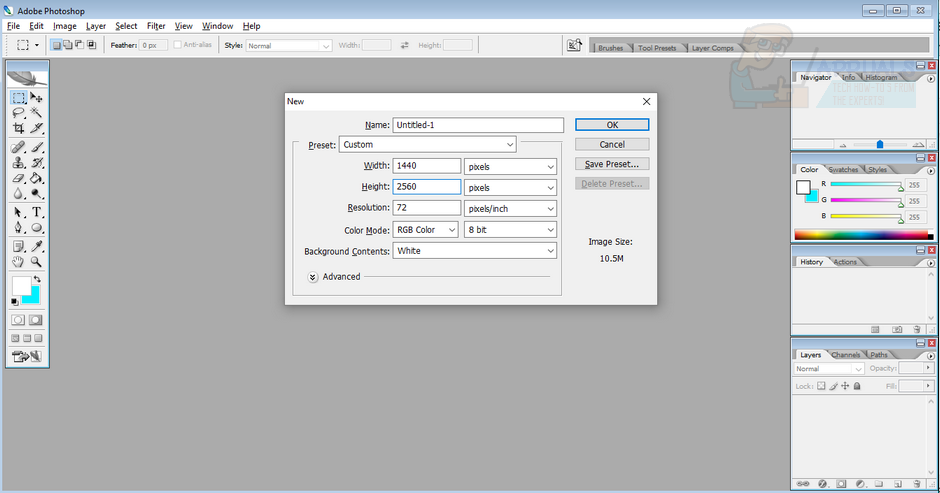
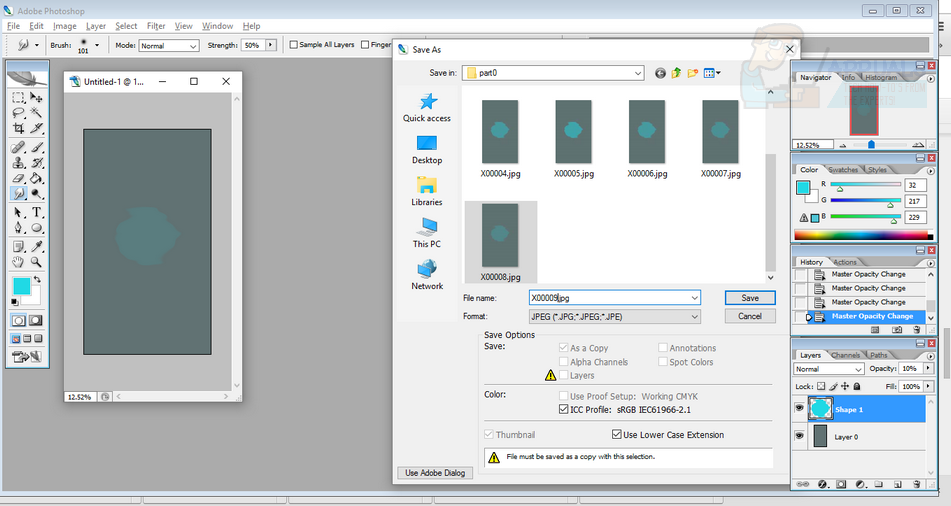
Each time you make an adjustment to your image for your resolution, you must save it. Because our animation is quite simple, we only required nine different images. You must save the images in numerical order in the part0 folder we created earlier. An example would be X00001.jpg, X00002.jpg, X00003.jpg and so on.
The software used later will set up the boot animation we are creating to loop indefinitely until reaching the home screen. Once you have finished the images for your animation you can close down your image editing software.
Step 4 – Editing the .txt file
For this step, you will need to edit the empty desc.txt file we instructed you to make earlier. Right click the desc.txt file and click Edit with Notepad++.
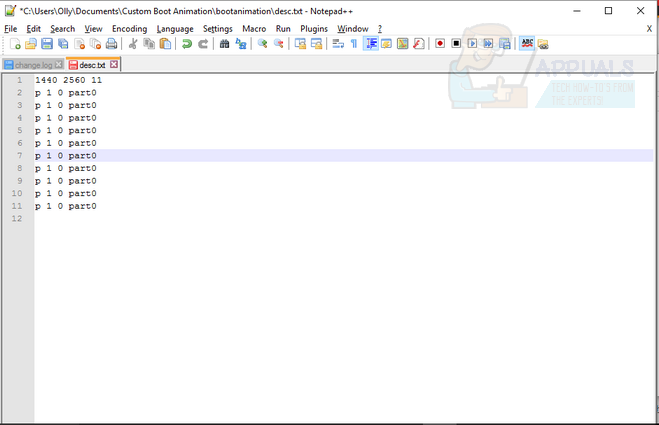
As seen in the image above, you will need twelve separate lines within the Notepad file. The first line is used to determine the boot animation width, height and frame rate. The width/height should be the same dimensions as your display resolution found on GSMarena earlier. In this case with the LG G4, we have 1440 x 2560. Frame rate can be adjusted to fine tune the animation, but we’d suggest anywhere between 11 and 30.
For the next eleven lines, copy the image provided above. This will ensure your image loops properly.
Save the file as desc.txt and close it down.
Step 5 – Using Bootanimation Factory
After following the step above, your animation will be ready for installation. You will need Bootanimation Factory for this last step. If you downloaded it earlier, you can search for ‘Boot Animation Factory’ in the Windows Search bar and open it from there.
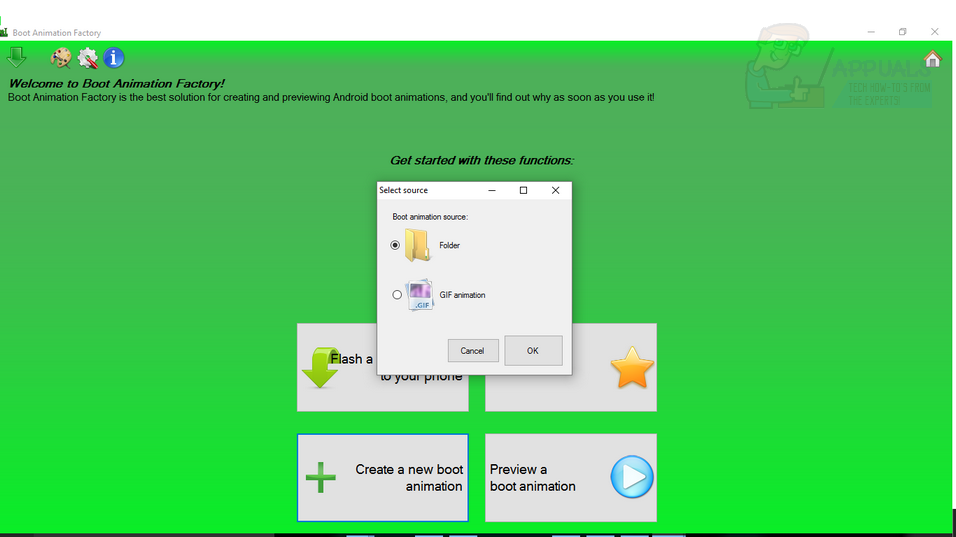
The image provided above showcases the software splash page. For a new animation you’ll want to click the bottom left box which reads ‘Create a new boot animation.’ You can now choose the boot animation source. Choose the folder option and locate the folder with your part0 and desc.txt folder and file.
If all is working right, you should see your resolution and frame rate on the right hand side.
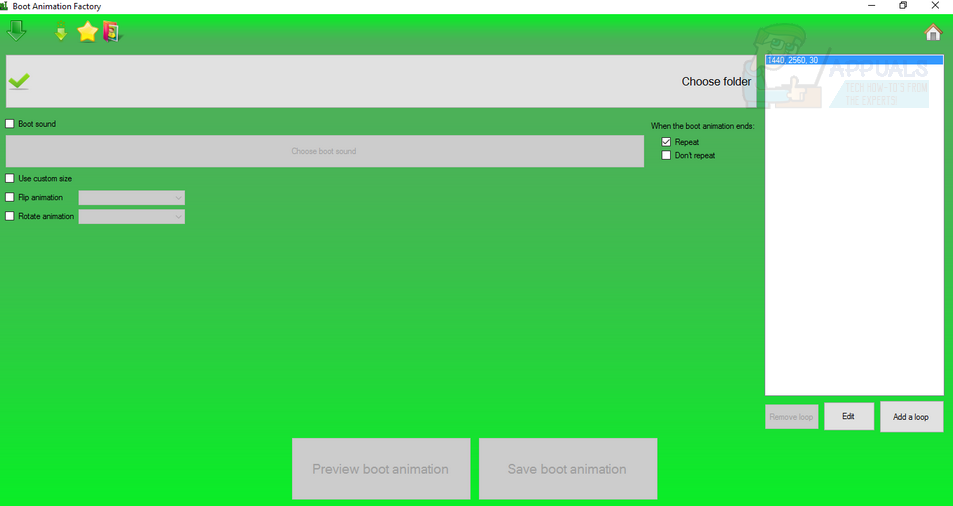
Next, click the ‘add loop’ button and proceed to select the ‘Part0’ folder in the drop-down box. Make sure to set the number of loops and loop delay as 0 – this will ensure the animation loops smoothly.
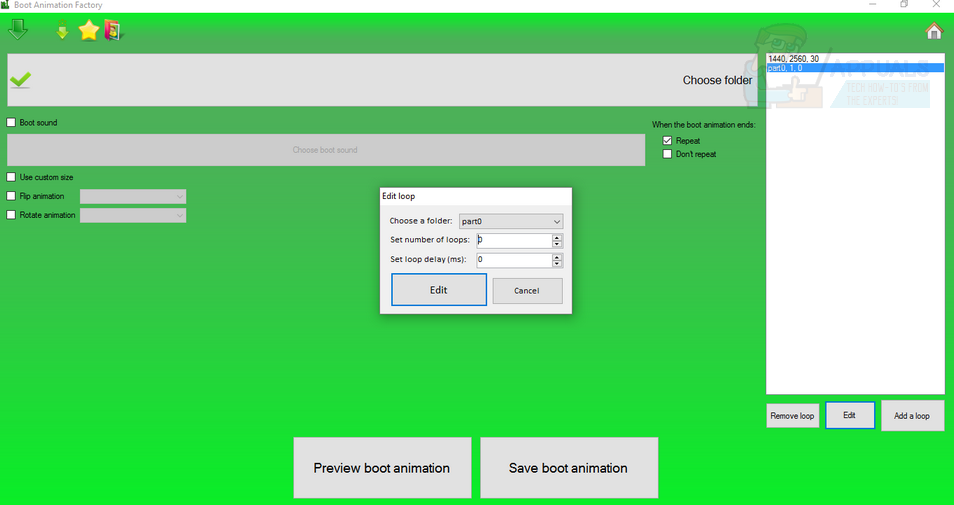
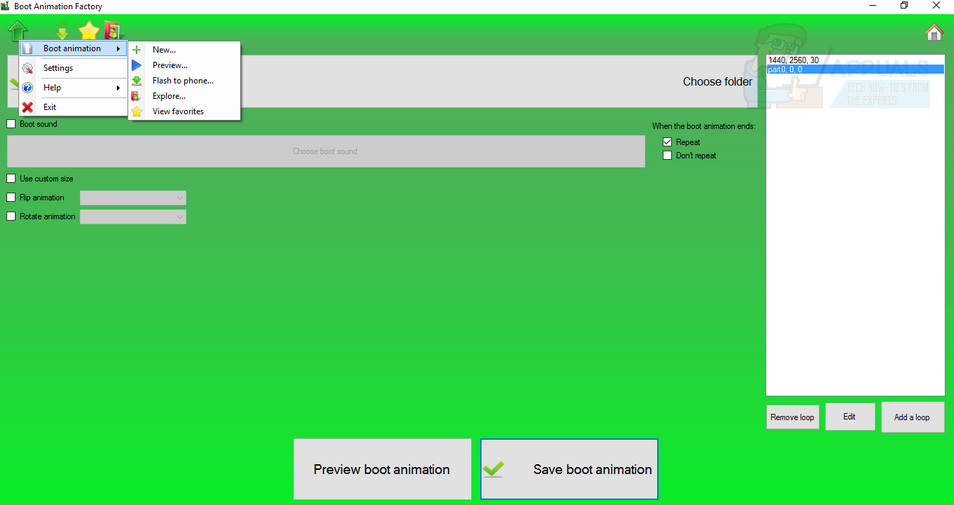
Next, press the ‘preview loop button’ to see that the animation is working properly and then click the ‘save loop button.’ Save it as ‘bootanimation.zip’. Next click the thick green arrow in the top left corner. From here, click the Boot Animation > Flash to Phone option.
Final Installation Steps
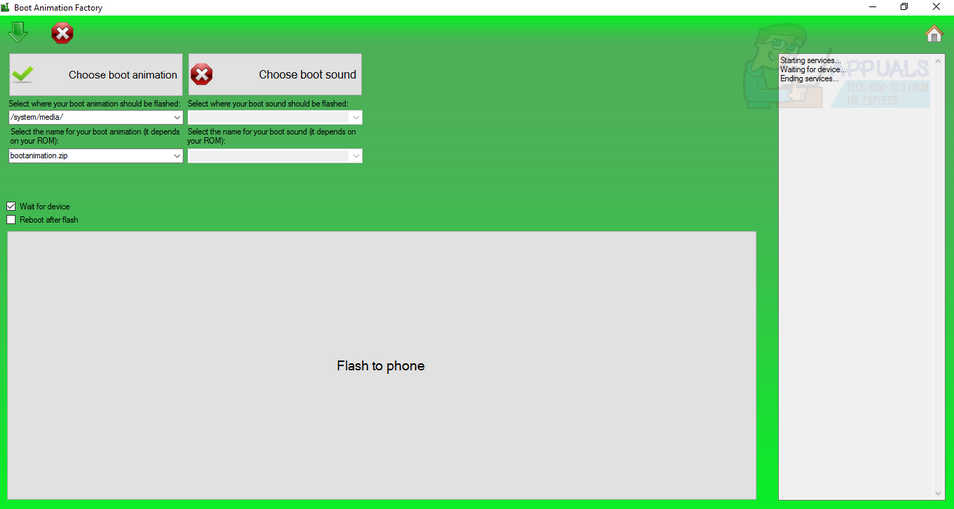
Now attach your phone via USB cable.
Click Choose Boot Animation
Click the saved bootanimation.zip file
Select System/Media/ in the location box.
Select bootanimation.zip in the box underneath.
Click ‘Flash to Phone’
Finally, disconnect your phone once completed and restart your device to see the new animation!