How to Troubleshoot and Fix a Non-Working Laptop Camera
When your laptop camera isn’t working, it might not open or just show a black screen. This usually means there’s an issue with the camera driver or permissions. Common causes include outdated or corrupted drivers, privacy settings, hardware issues, or recent software updates.
Sometimes, it could be a physical blockage like a privacy shutter or accidentally disabling the camera with a function key.
Now that you know the causes, let’s discuss the solutions to fix this problem.
1. Rule Out Hardware Problems
Before exploring software solutions, check for hardware problems with your laptop camera. If a privacy shutter or something is blocking the lens, the camera won’t work. Also, make sure the camera isn’t turned off by a switch or a function key on the keyboard. Confirming there’s no damage to the camera itself can help you focus on software issues if needed.
2. Run the Camera Troubleshooter by Microsoft
To quickly check for problems with your laptop’s camera, use the Camera Troubleshooter. It scans for issues like incorrect settings or driver problems and can often fix them in minutes, restoring camera function without technical skills.
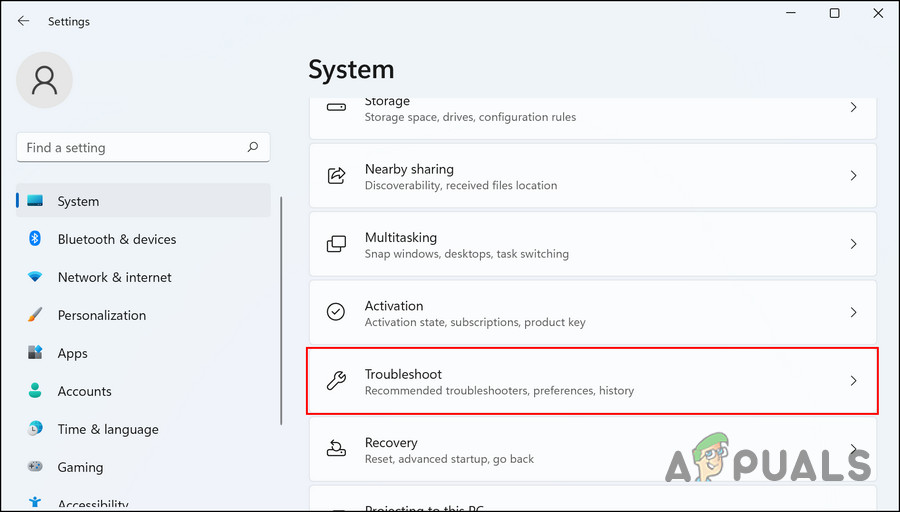
- Open Windows Settings by pressing Win + I.
- Go to System > Troubleshoot.
- Click Other troubleshooters.
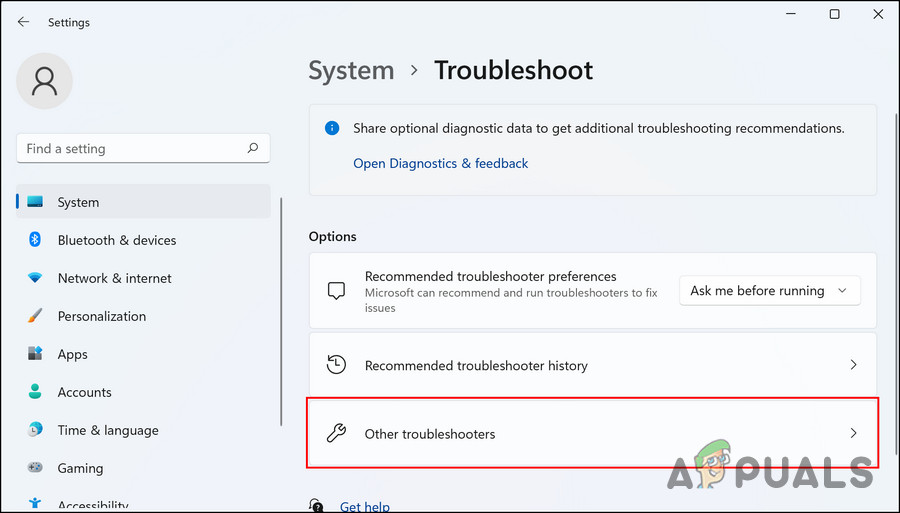
- Find the Camera option and click Run.

- Let the troubleshooter finish. If it finds issues, click Apply this fix.
3. Update or Reinstall the Drivers
If your laptop camera won’t work due to outdated or corrupted drivers, updating or reinstalling them can fix the issue by replacing bad or missing files and ensuring compatibility with your system.
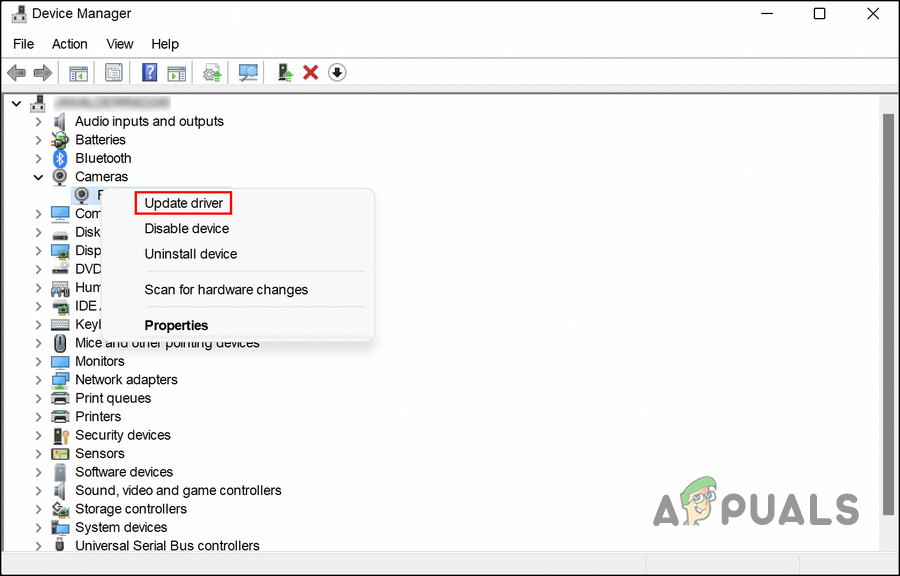
- Type “Device Manager” in Windows search and click Open.
- Find your camera driver under the Cameras section.
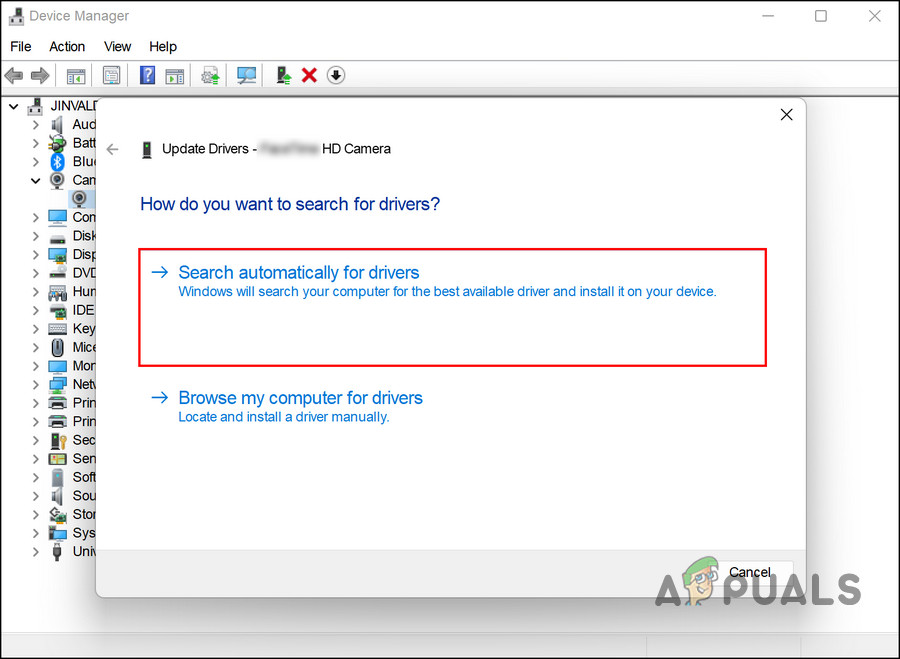
- Right-click the camera and select Update driver.
- Click Search automatically for drivers and follow the prompts.
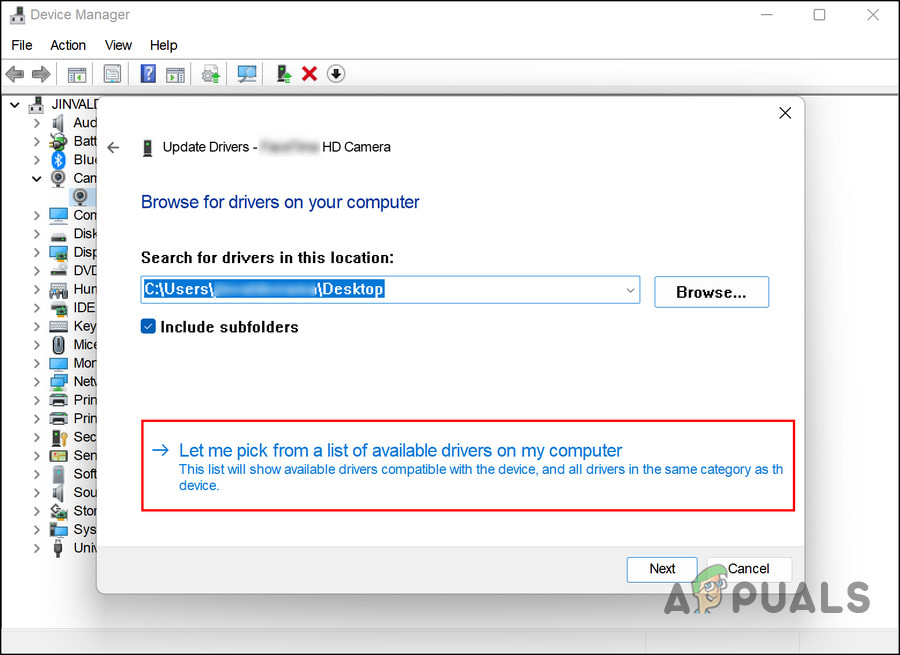
- For USB cameras, select Let me pick from a list of available drivers on my computer.
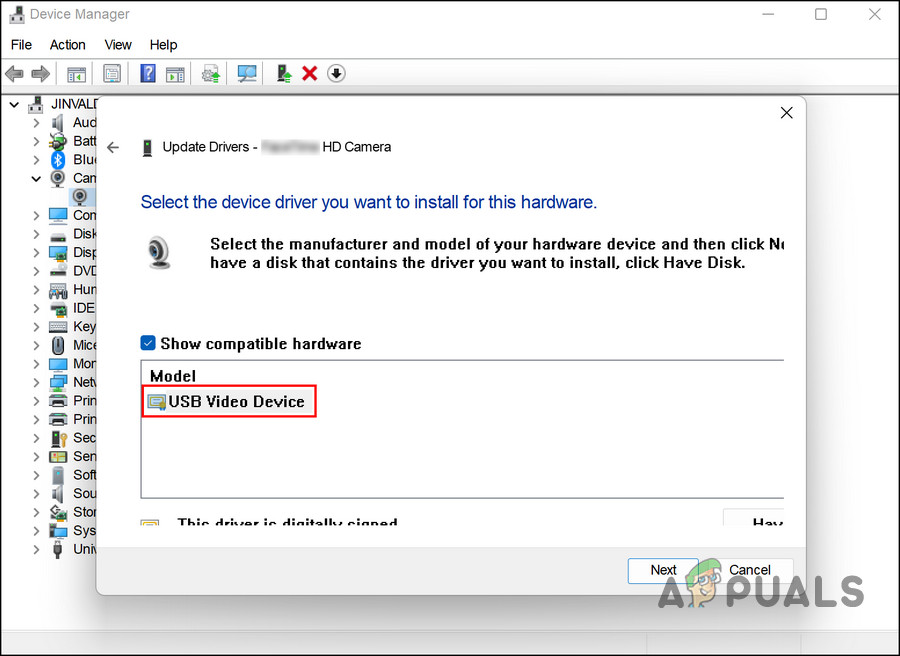
- Select USB Video Device and click Next.
If updating doesn’t solve the problem, try to reinstall the driver:
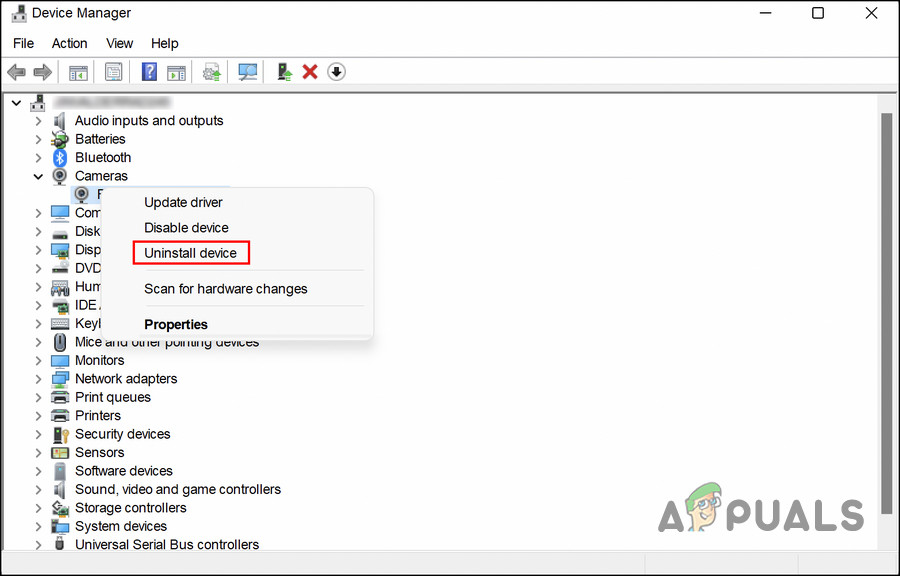
- Open Device Manager and right-click your camera driver.
- Select Uninstall device and check Delete the driver software for this device.
- Click Uninstall to confirm.
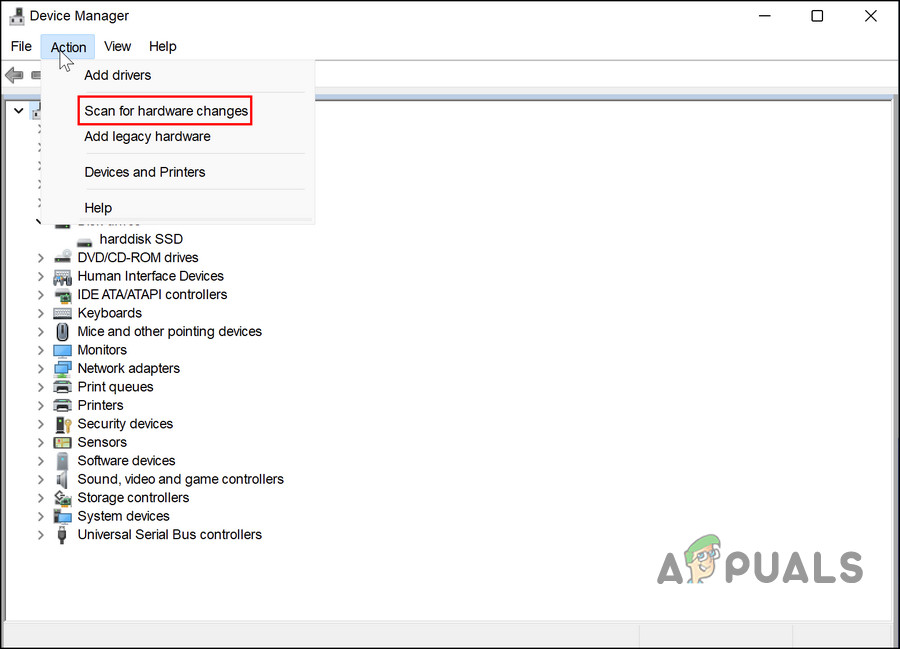
- In the Device Manager, access the Action menu.
- Select Scan for hardware changes.
- Wait for driver reinstallation, then restart your PC.
4. Allow Apps to Access Your Camera
Sometimes, apps can’t use the camera due to privacy settings. Allowing apps to access the camera lets software like video calls or browsers use it. Without permission, even a working camera can’t be used by apps.
- Open Windows Settings with Win + I.
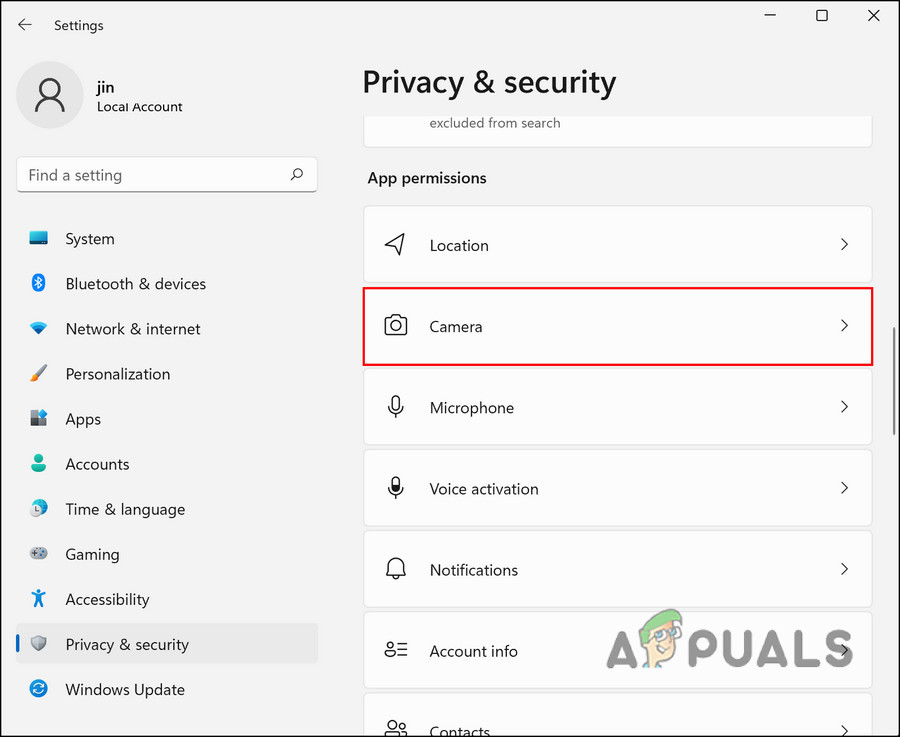
- Select Privacy & security from the left pane.
- Click Camera.
- Turn on the Camera access toggle if it’s off.
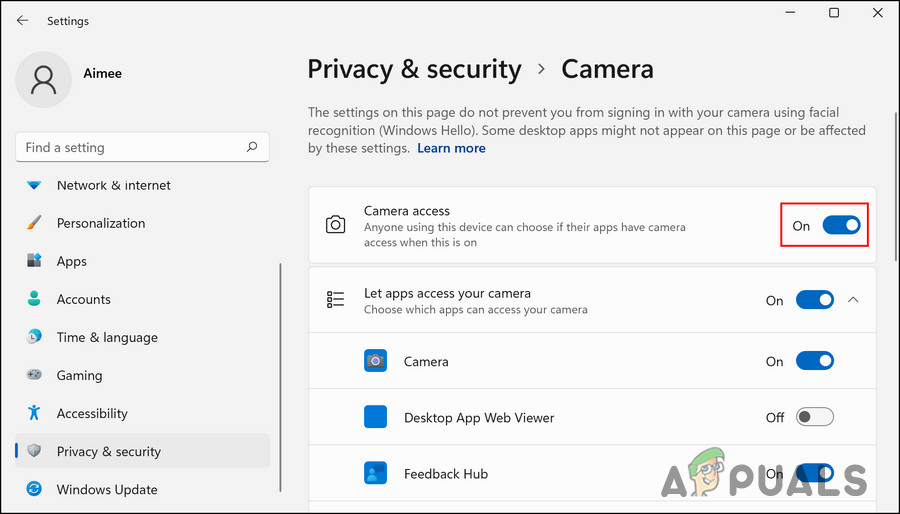
- Allow required apps to access the camera.
- Ensure the Let Desktop apps access your camera toggle is on.
5. Disable Antivirus
Antivirus programs can block your camera by mistake. Temporarily disabling the antivirus can show if it’s causing the issue and blocking apps from using the camera.
You can check our article on how to disable antivirus here.
In windows 7 there is a option of imaging device but the only option within this is LexmarkX422 how to fix now