How to Kill Suspended Processes on Windows 10/11?
While you are using your PC or laptop to do different stuff, there might be apps running in the background that you are not using. These apps are in suspended mode, meaning that they are temporarily turned off. But the fact is that these apps might consume your CPU and RAM memory, and even some of the battery of your laptop in case you are using one.
The suspended processes might not affect your computer in a big way, but they could slightly slow your PC depending on its hardware. So if you think your PC could be improved if you kill the suspended processes, you should read this article to see how you do it.
A lot of users affected by this issue are using either Windows 10 or Windows 11. Fortunately for you, this article is helpful in both cases because the methods are common.
We have come up with three different methods that you could use to kill the suspended process of your PC.
Here are the methods:
1. Kill the suspended processes using Task Manager
The first method you could use in order to turn off the suspended processes is to do it using the Task Manager. This is the first method because is the easiest and shortest one, being very easy to follow by every Windows user.
Note: The Task Manager is a program used to monitor a computer’s overall health as well as the processes and programs that are currently operating on it. It also gives you the option to kill the process of the applications, closing the app completely.
So all you have to do is to open the Task Manager and locate the suspended process. You will have the option to end the task, meaning that the process will be definitively killed.
Here is a guide that will show you exactly how to use the Task Manager to kill the suspended processes:
- The first thing you need to do is to open the Task Manager. You can do this in many ways, from the taskbar, you can search it manually, you can use a Run dialog box, etc. But the simplest one of them is to press the CTRL + Shift + ESC keys at the same time.
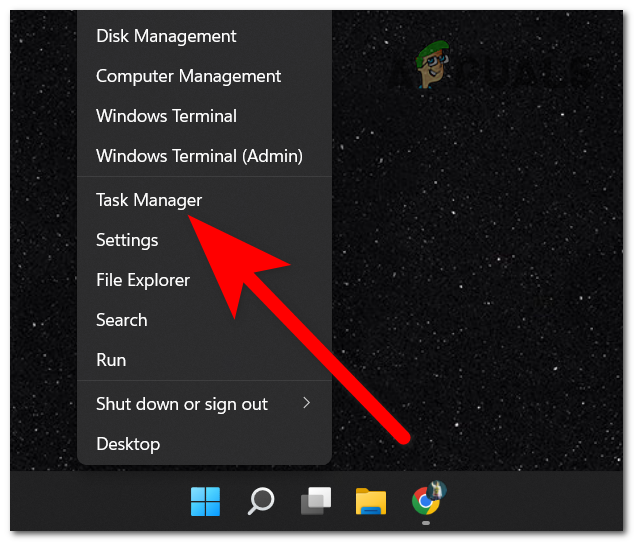
Opening the Task Manager directly from the taskbar - Once you are in the Task Manager, you need to select the Processes tab from the sections available.
- Now all you have to do is to locate and close the process that is being suspended. To close it, you can either select it and click on the End Task button located on the bottom right side, or you can right-click on it and click on End task.
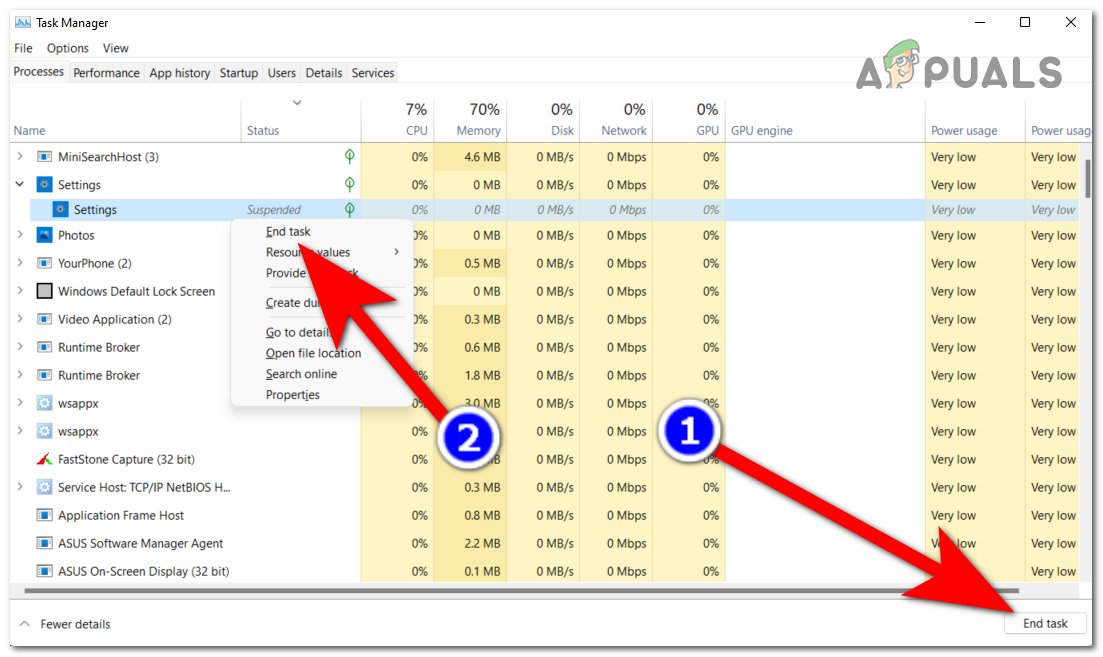
Killing the suspended processes from the Task Manager - As a result, your application will have to be terminated. If you want to continue using the previously suspended program, you can reopen it and do so normally.
In case you don’t want to kill the processes using the Task Manager, go to the next method below.
2. Kill the suspended processes using Command Prompt
The second way you can kill the suspended processes is to use the Command Prompt to end it. This method is also easy to do, but it is a bit harder than the previous one only because you have to use the Command Prompt.
The program called Command Prompt was designed to simulate the input field on a text-based user interface screen. It can be used to carry out complex administrative tasks and put entered directives into action. With that being said, you can also use it to close the suspended processes you want to.
All you have to do is to open the Command Prompt with admin privileges. The administrator privileges are mandatory because the Command Prompt won’t be able to kill the processes without your admin permission. Inside the Command Prompt, you have to insert some commands that will identify the suspended processes, then will have to close each one of them.
Here is a guide that shows you step by step how to use the Command Prompt in order to kill the suspended processes:
- Firstly you have to open the Command Prompt with admin privileges. One of the ways to do this is to press the Windows key + R to open a Run dialog box, then type inside the search bar ‘cmd‘. Press the CTRL + Shift + Enter keys to open the Command Prompt with administrator privileges.
- Once the Command Prompt appears on your screen, you have to type ‘tasklist‘ and press Enter to insert the command. A list with all the processes of your PC will appear on your screen.
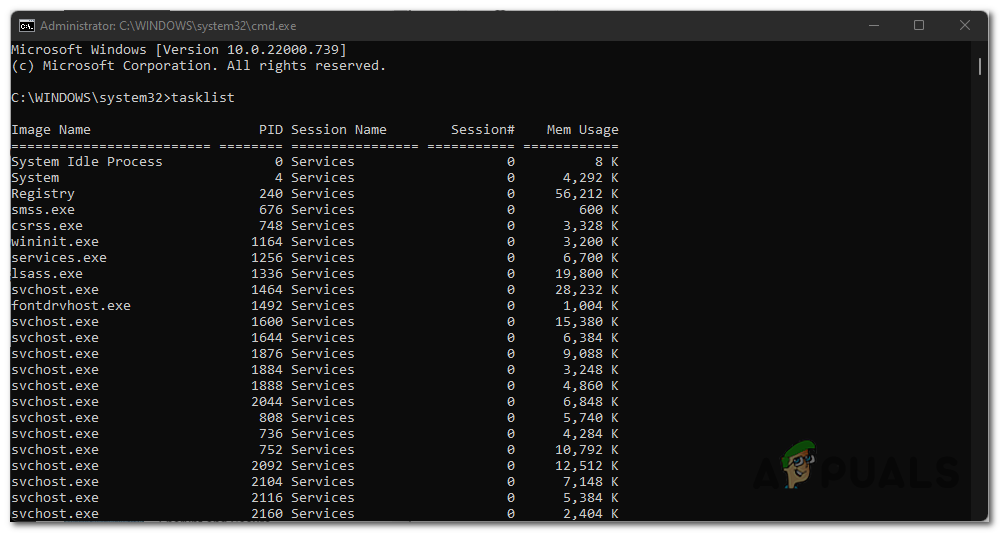
Identifying all the processes of your computer through Command Prompt - Now that all the processes of your computer have appeared on your screen, you have to identify all the suspended processes. Look inside the list and remember the name of the programs.
- After that, you have to insert the following command and replace where it says ProgramName.exe with the program’s name that you have remembered from the previous steps. The command is:
taskkill /im ProgramName.exe /t /f.
Note: In case you don’t understand what you have to do, if the suspended app you want to close is called chrome.exe, you have to write taskkill /im chrome.exe /t /f.
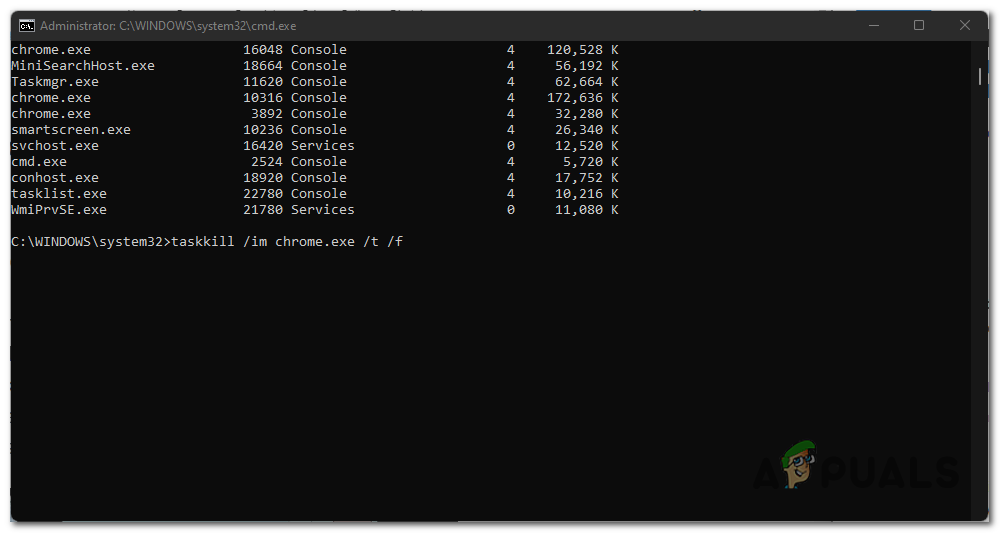
Closing the suspended process you want using the Command Prompt - After you insert the command and press Enter, the command should take effect immediately and close the suspended process.
In case you don’t want to use the Command Prompt method as well, check the last one below.
3. Kill the suspended processes using the Desktop Shortcut
The last method you could use to kill the suspended processes of your personal computer is to use the Desktop Shortcut. This method is a bit harder compared to the ones before but still is possible to do by every Windows user that wants to.
To do this method, all you have to do is to create a Desktop Shortcut with a specific location of the item. This will create a shortcut that every time you click on it, it will kill the suspended process of the app that has just crashed. This is a very efficient thing to use when you are encountering crashing problems with apps, because when an app crash the process might not close completely, leaving the app suspended.
Here are the exact steps on how to create a Desktop Shortcut that will kill the suspended processes of your computer:
- The first thing you need to do is to go to the Desktop screen of your computer. To do this, the fastest way is to press the Windows key + D and you will automatically be taken to the desktop.
- Once you are on the Desktop screen of your computer, right-click on the screen and highlight New, then select Shortcut.
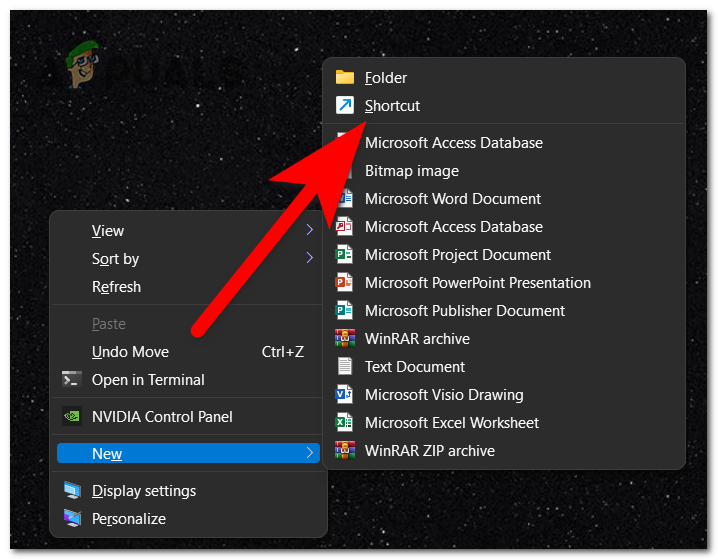
Creating a desktop shortcut on your PC - Once the Create Shortcut menu appears on your screen, you have to insert the following command as the location of the item:
taskkill /f /fi "status eq not responding"

Choosing the location for this item - After that, click on Next to forward the process of creating the shortcut.
- On the next screen, you will need to type a name for the shortcut. When you are done with that, click on Finish to create the shortcut.
- Now the shortcut should be available on your desktop. Every time you double-click on it, the app or software that has just crashed will be completely closed, because the shortcut automatically kills the suspended process.


Thanks Kamil,This helps.