5 Fixes for Kernel Security Check Failure BSOD
- The "Kernel Security Check Failure" BSOD in Windows can be caused by hardware issues (like failing hard drives or faulty RAM) or software problems (such as bad drivers, malware, or corrupted Windows files).
- Common fixes include checking and repairing the hard drive with "chkdsk," testing RAM with MemTest86, updating or reinstalling drivers, scanning for viruses, and using system file check tools like "sfc /scannow" and "DISM."
- If issues persist, consider resetting Windows or reinstalling it. If hardware is suspected, test components individually or on another computer to identify the faulty part.
The “Kernel Security Check Failure” Blue Screen of Death is an error that occurs in Windows-based operating systems. Users may experience a BSOD or a Blue Screen of Death followed by a restart when this error occurs.
This issue may be caused by both hardware and software-level components. The Kernel is an integral part of the operating system that acts as a bridge between hardware and software. It interacts directly with the hardware, providing an abstraction layer that enhances system stability and software development.
It is important to determine whether our problem is due to the hardware or the software. We’ve defined 5 methods to help users identify the root cause of their problem. It is recommended that you perform all these steps since there’s no sure way of knowing otherwise.
1) Failing Hard Drive
The “Kernel Security Check Failure” can be traced back to a failing hard disk drive. If you have a spare hard disk with Windows installed, you may swap it with your existing drive just to be sure. However, Windows offers a few utilities to verify the disk’s integrity without any physical interaction as well:
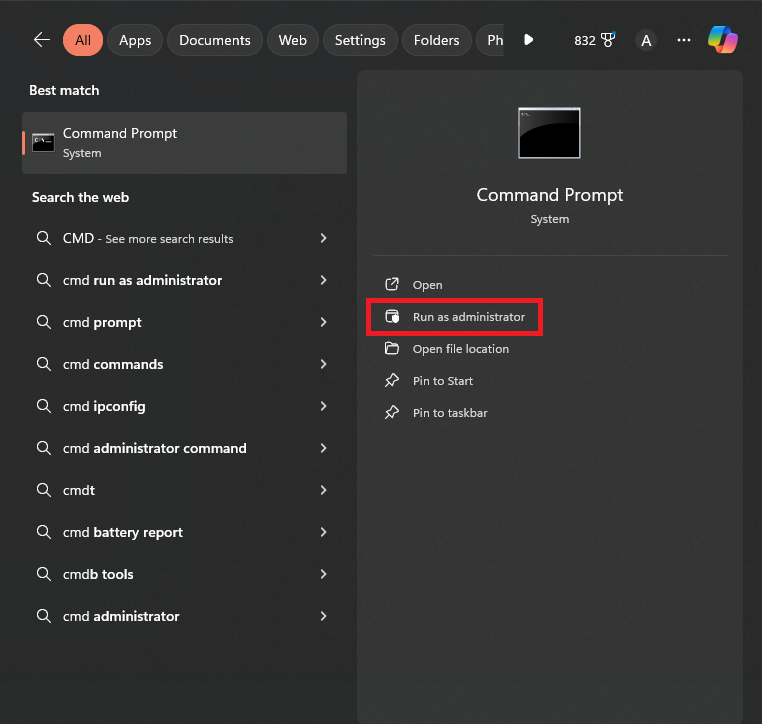
- Open the Windows Search Bar and search for the term “CMD“.

- Either right-click on the first option and click “Run as administrator” or use the option in the right panel as indicated by the attached image.
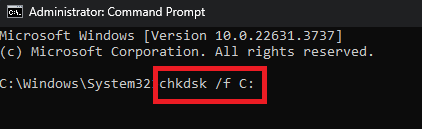
- Once you open an elevated CMD window, type the command “chkdsk /f C:“, without the double commas. It is important to note that “C” represents the drive letter where Windows has been installed. If your Windows is installed elsewhere, like “D” or “E“, change it accordingly.
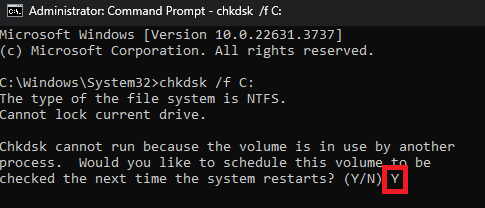
- If you get an error message stating, “The type of the file system is NTFS. Cannot lock current drive“, you will be given an option to perform a test on your next restart. Type “Y” after the question as shown in the image.
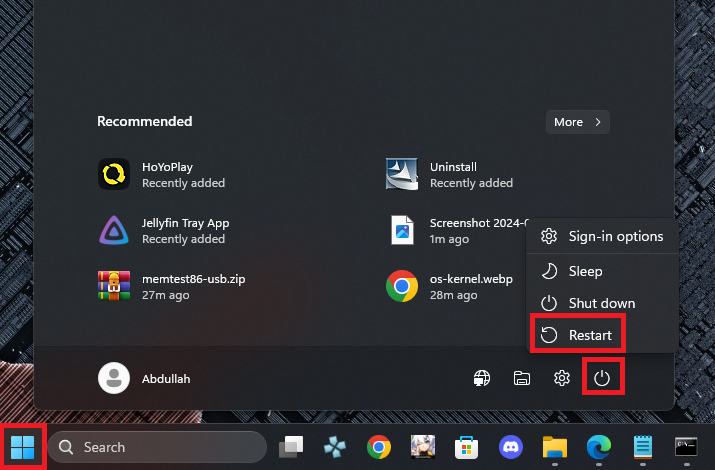
- Now restart your computer by pressing the Windows Icon in your taskbar >> Shutdown icon >> Restart.
- On restarting, you may notice a screen like this. Let things proceed normally as your disk is scanned.

- If there was some problem with your disk, the BSOD should have been resolved by now. However, if that’s not the case, let’s proceed to the next step.
2) Faulty RAM/Memory
Alongside the hard drive, sometimes faulty memory can lead to this issue. There are two ways of verifying if your memory is bad or not. You can either use your PC with individual DIMMs to pinpoint the faulty stick. This method can save you time if it works, of course.
However, this is just a band-aid solution, and the actual way to verify your RAM is by using software known as MemTest86. The downside is that this method is slightly tricky and can take a few hours, depending on your RAM size.
➜ Installation Procedure
- This process can take a few hours, so make sure you have no important task pending.
- You will need a USB Flash Drive.
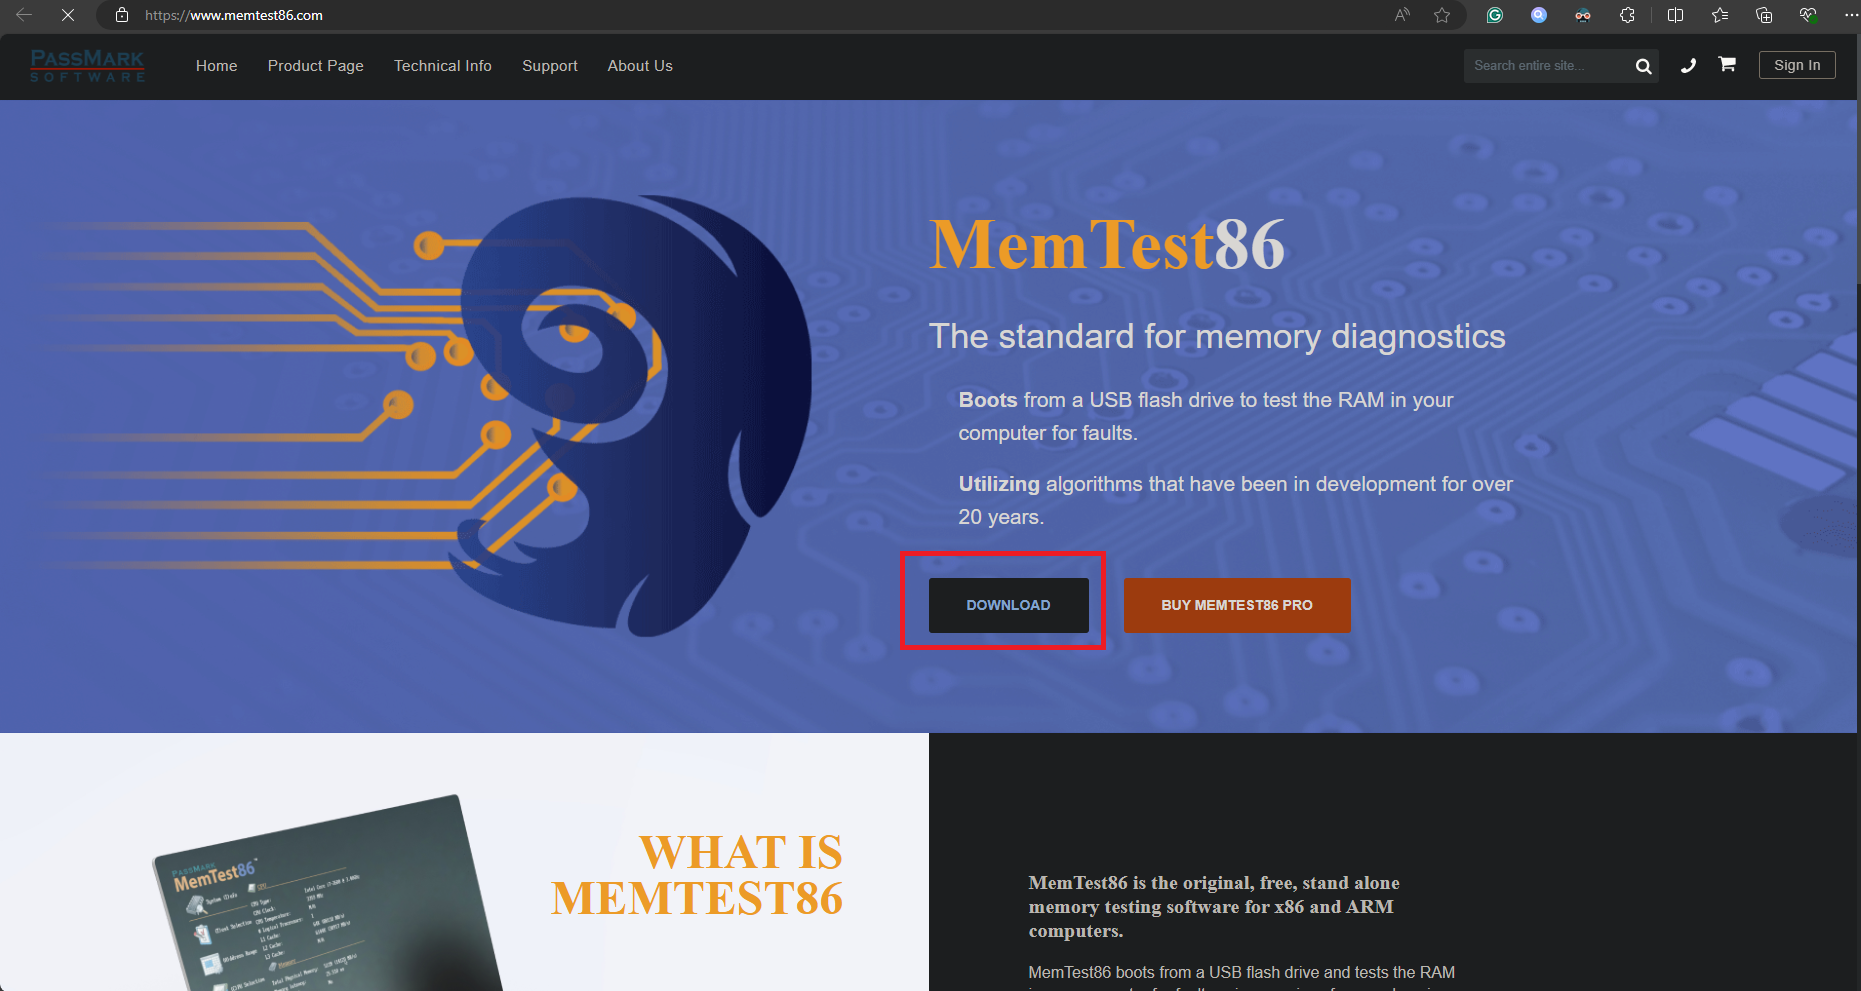
- Visit the MemTest86 link by searching the term on Google or by using this link, verify the URL; “https://www.memtest86.com“.
- Click on the “Download” button. Afterward, you will be prompted to another page.
- For the sake of this guide, we shall use the Free version, so click on the “Download MemTest86 Free” option.

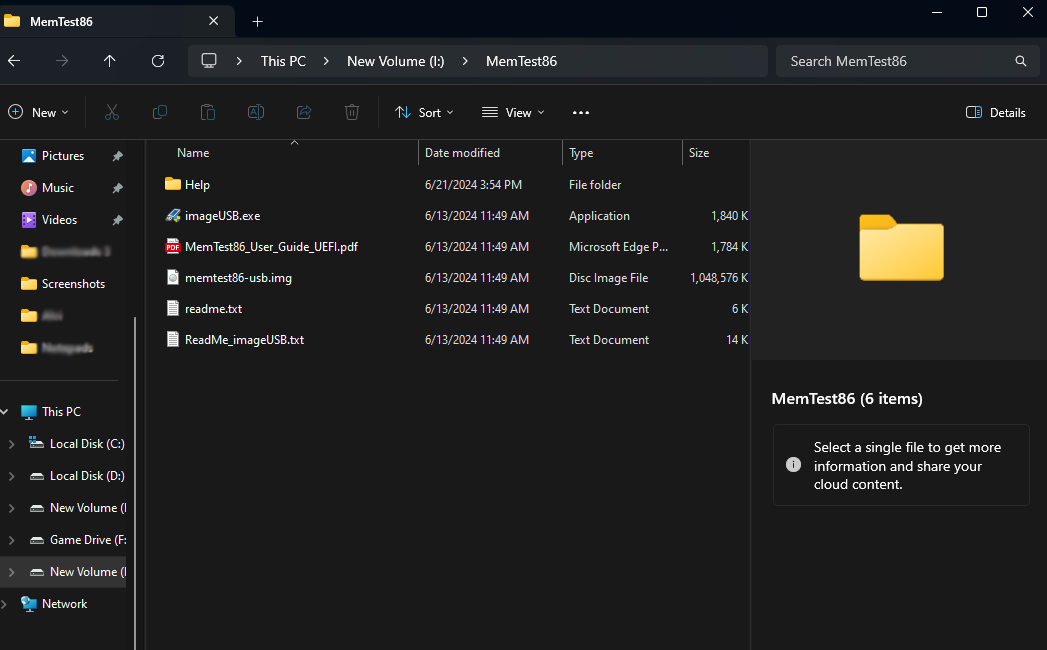
- MemTest86 will start downloading. Once the download is finished, extract the .zip file into any folder. If you’re using WinRAR, open the .zip file, select all files in it, and drag and drop them into your desired folder.
- Connect the USB Flash Drive to your PC and open the “imageUSB” executable file. In Step 1, select your respective USB Drive and choose “Write image to USB drive” or the first option in Step 2. In Step 3, make sure the “memtest86-usb.img” file has been selected since this is the file that will be copied to your USB.
If unsure, click “Browse” and select the “memtest86-usb.img” file in the folder where you extracted MemTest86.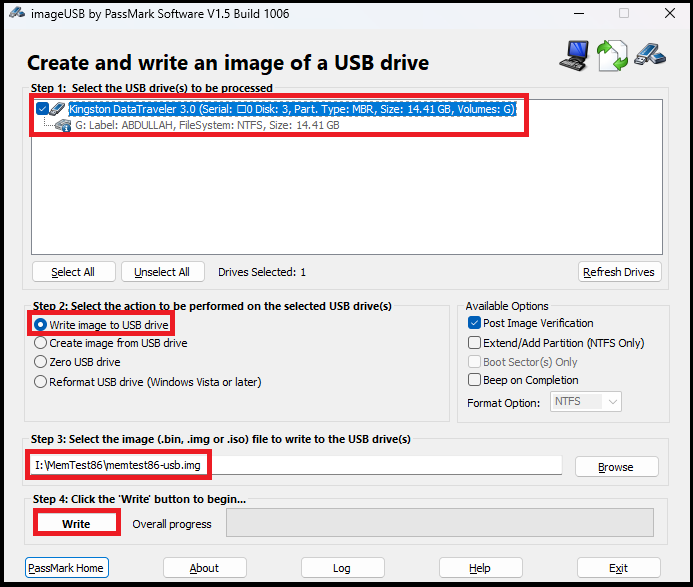 |
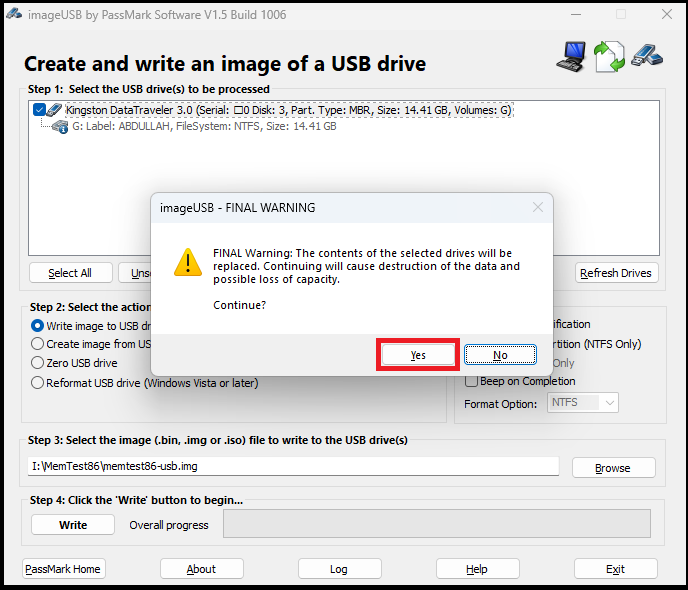
| - You will be prompted to confirm if you want to write an image of the selected .iso file to the USB. Note that all data on your USB will be formatted. Select “Yes” twice.
- Once the imaging is done, shut down your PC. Assume you have 2 RAM sticks “A” and “B“, we want to perform the test on each stick. Start the PC with “A“, test it, then repeat with “B“.
➜ Setting Up & Testing
- Now you want to enter BIOS/UEFI and boot from the USB drive. To do this, enter the BIOS by pressing the “Delete“, “F1“, “F2“, or the “F10” key. Once in the BIOS, navigate to the “Boot” section and find a setting called “Boot order priority” or something similar. (Image Credit: MSI)
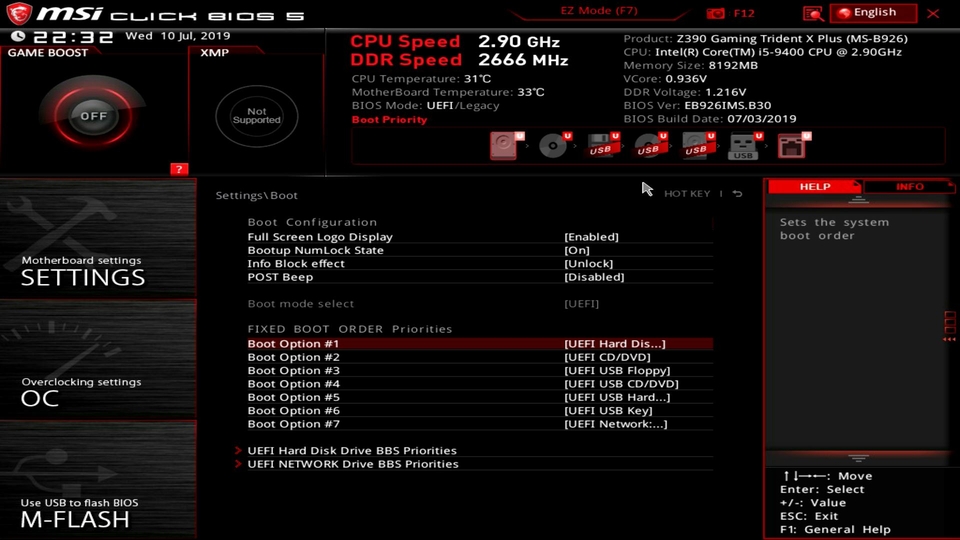
- Simply, set the “Boot Option #1” to the connected USB Flash Drive. Save the BIOS settings and restart your PC. Once MemTest boots up, select the “Config” option and you will be presented with the following screen: (Image Credit: MemTest86)
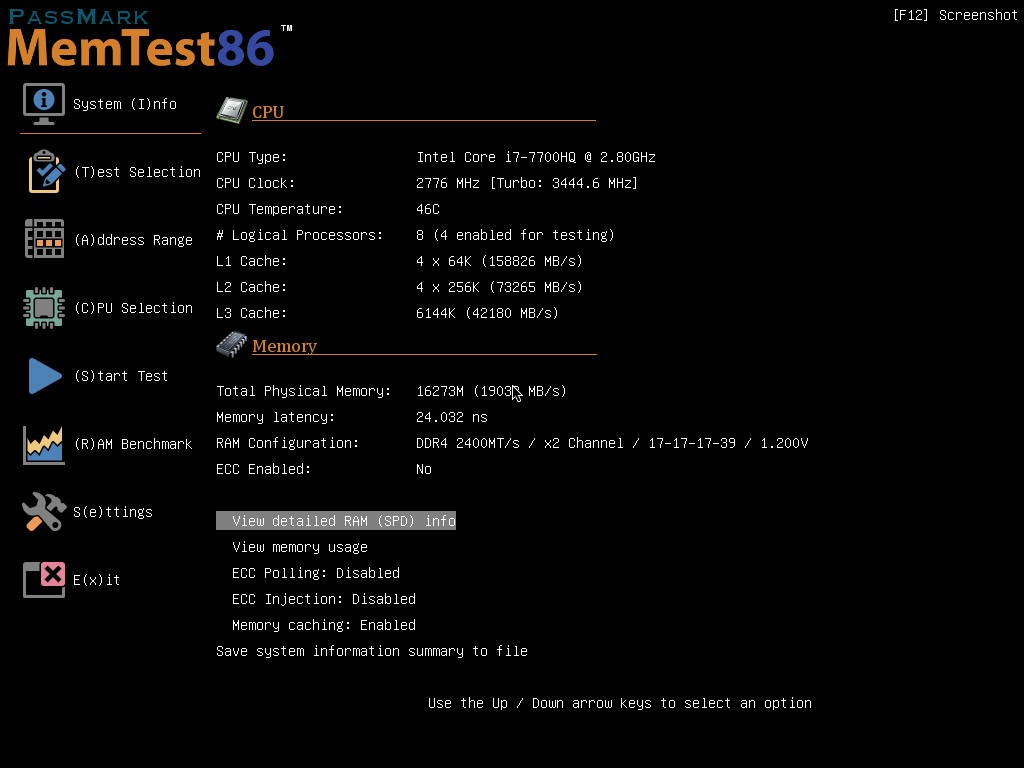
- This may look intimidating, but all you need to do is press the “S” key on your keyboard to start the verification test. Once the test is complete, which does require a significant amount of time (3-4 hours generally), you will be presented with one of the following codes: (Image Credit: MemTest86)
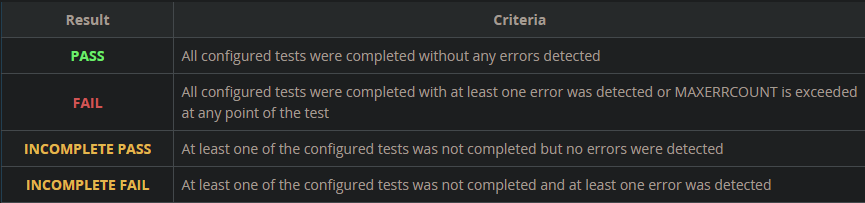
- A “PASS” means your crashes are not related to your RAM, so you can cross that one off the list. A “FAIL“, however, means that your RAM is faulty and whatever BSODs you’re facing are likely caused by this.
3) Bad Drivers
If we go by definition, a Kernel Security Check Failure occurs when a driver attempts to execute an illegal instruction. Put two and two together, and if you recently updated your drivers, the crashes can be linked to poorly written drivers.
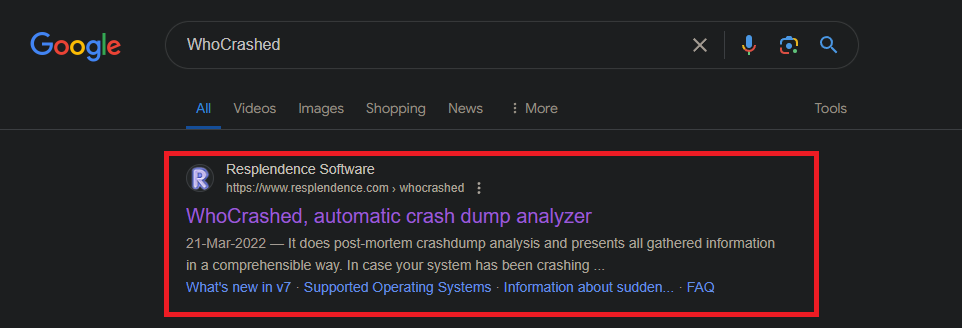
We can use the WhoCrashed software utility to identify if the issue is driver-related or not.
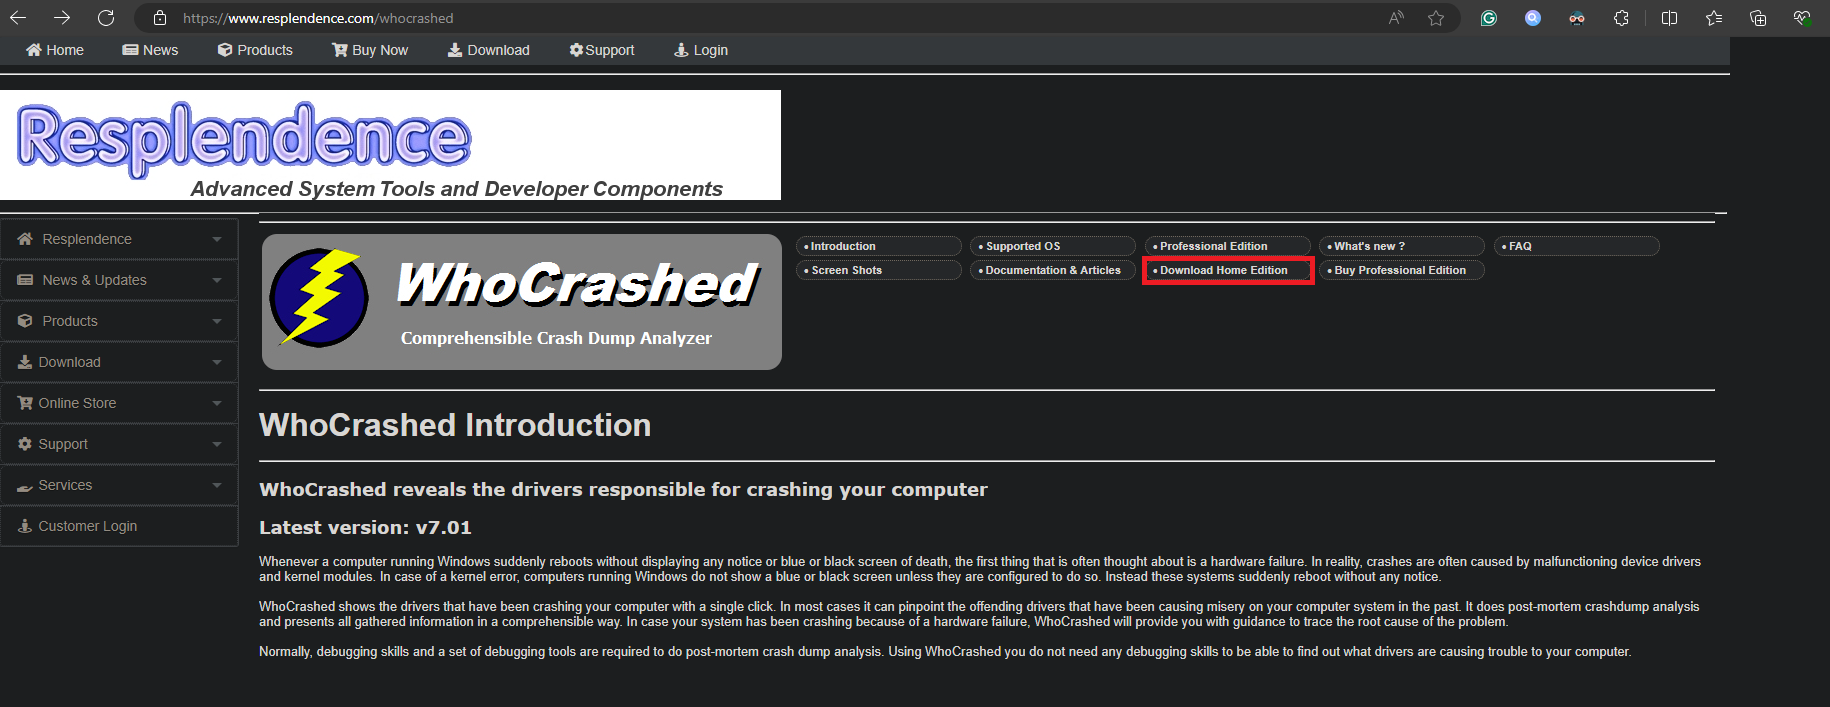
- Search “WhoCrashed” on Google and open the link by Resplendence Software. Verify the URL; “https://www.resplendence.com/whocrashed“.
- Click on the “Download Home Edition” option once you open the page.
- A “Free Downloads” webpage will open. Scroll down until you see “WhoCrashed” under the “Crash Analysis Tools” category. Select “Download Free Home Edition“.

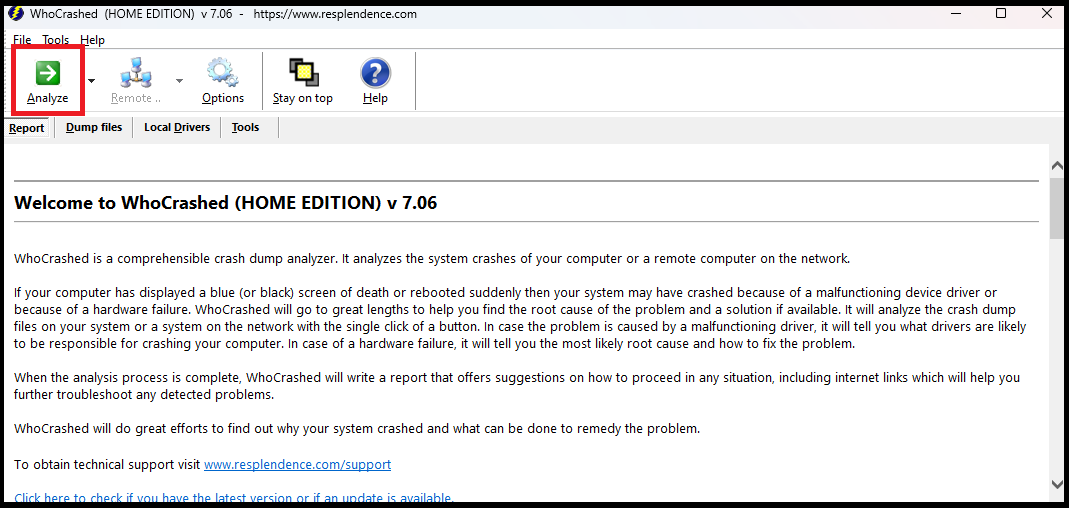
- Install the software and run it. Click on the “Analyze” button, which essentially looks through your dump files and tries to find the root cause of the error. Scroll down to see the synopsis.
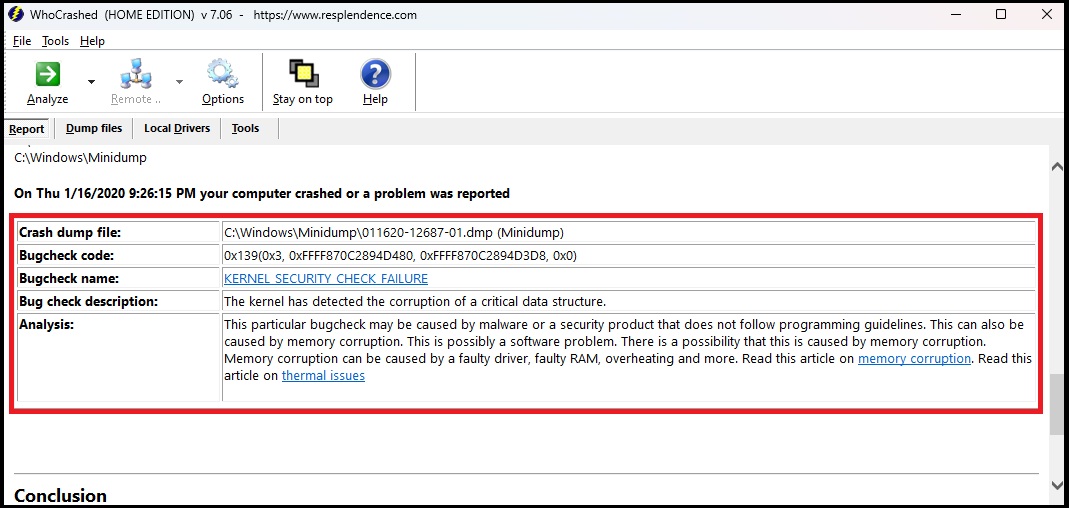
- In a specific user’s case, the error analysis looked something like this. While there are several given causes, one may think the problem is driver-related. However, the fix in this case was simply doing an “sfc /scannow” alongside “DISM,” which we’ll explain below. The crux of the argument is that you may need to do all of these steps to pinpoint the culprit.
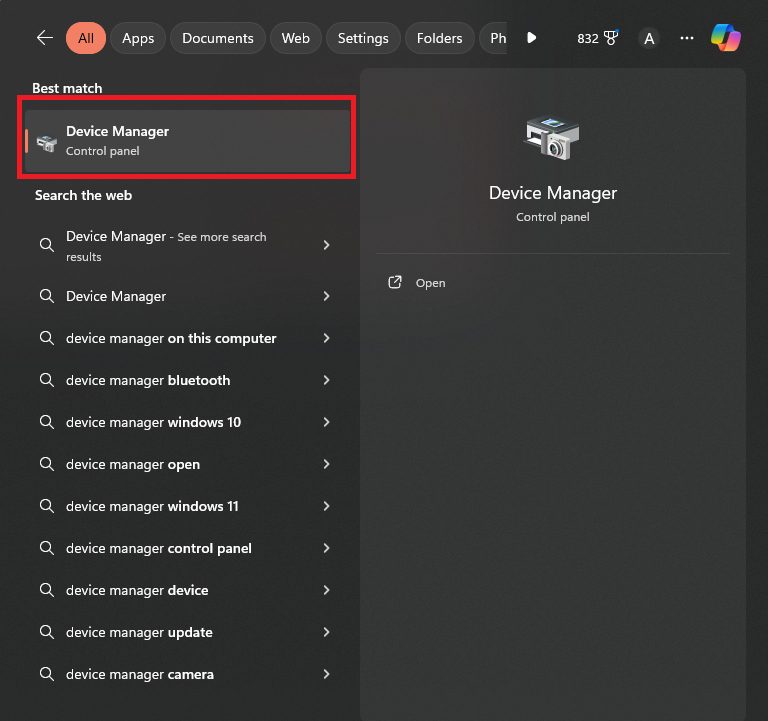
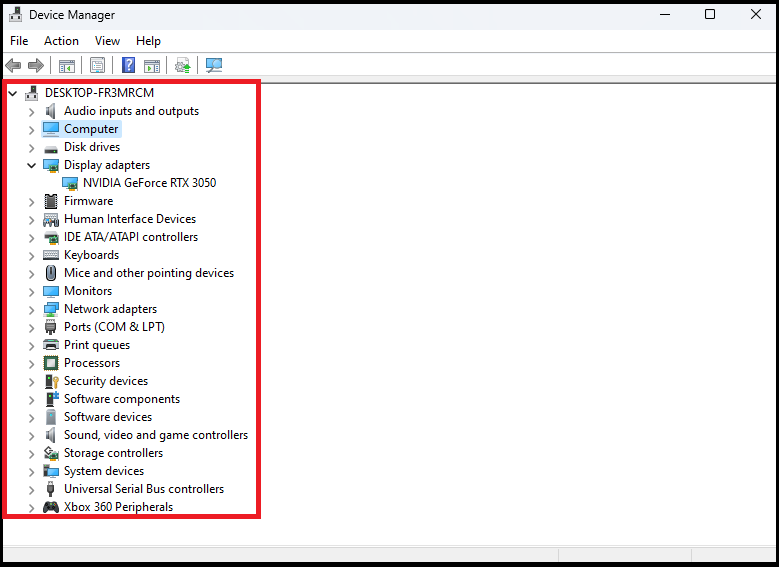
- To ensure the issue is not driver-related, search “Device Manager” in the Windows Search Bar and click on the first option.
- Now you’re in a game of cat and mouse. Expand each driver list and see if any driver is malfunctioning and requires updating. The most common offenders are your GPU, chipset, I/O, SATA, and USB drivers.
4) Viruses/Malware
An overlooked suspect in the “Kernel Security Check Failure” BSOD is viruses. While viruses do not mostly intend to disrupt your evening with an unwanted crash, they may indirectly cause this issue. Hence, it is always a good idea to perform a thorough scan of your computer. You may use Windows Defender or any other antivirus for this purpose.
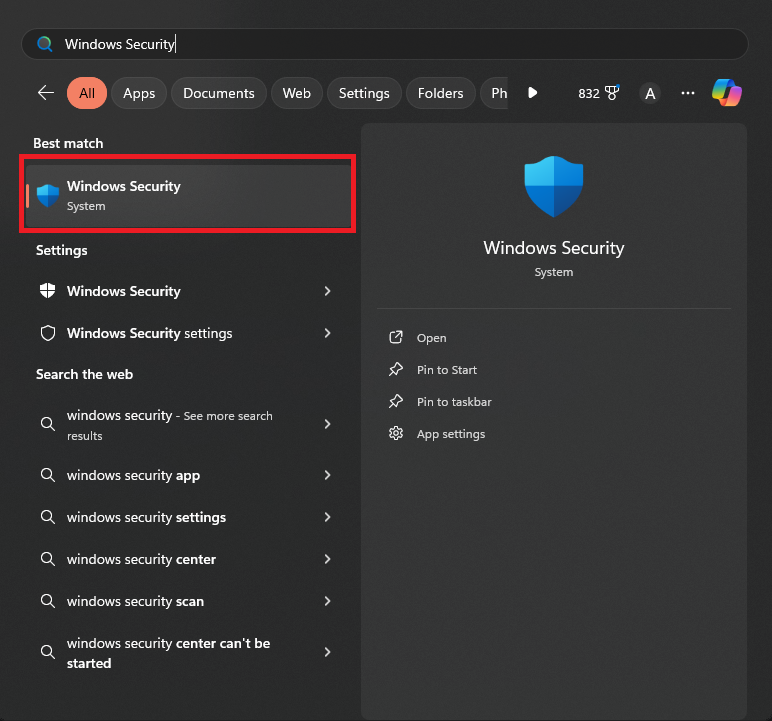
- Search “Windows Security” in the Windows Search Bar and select the first option.
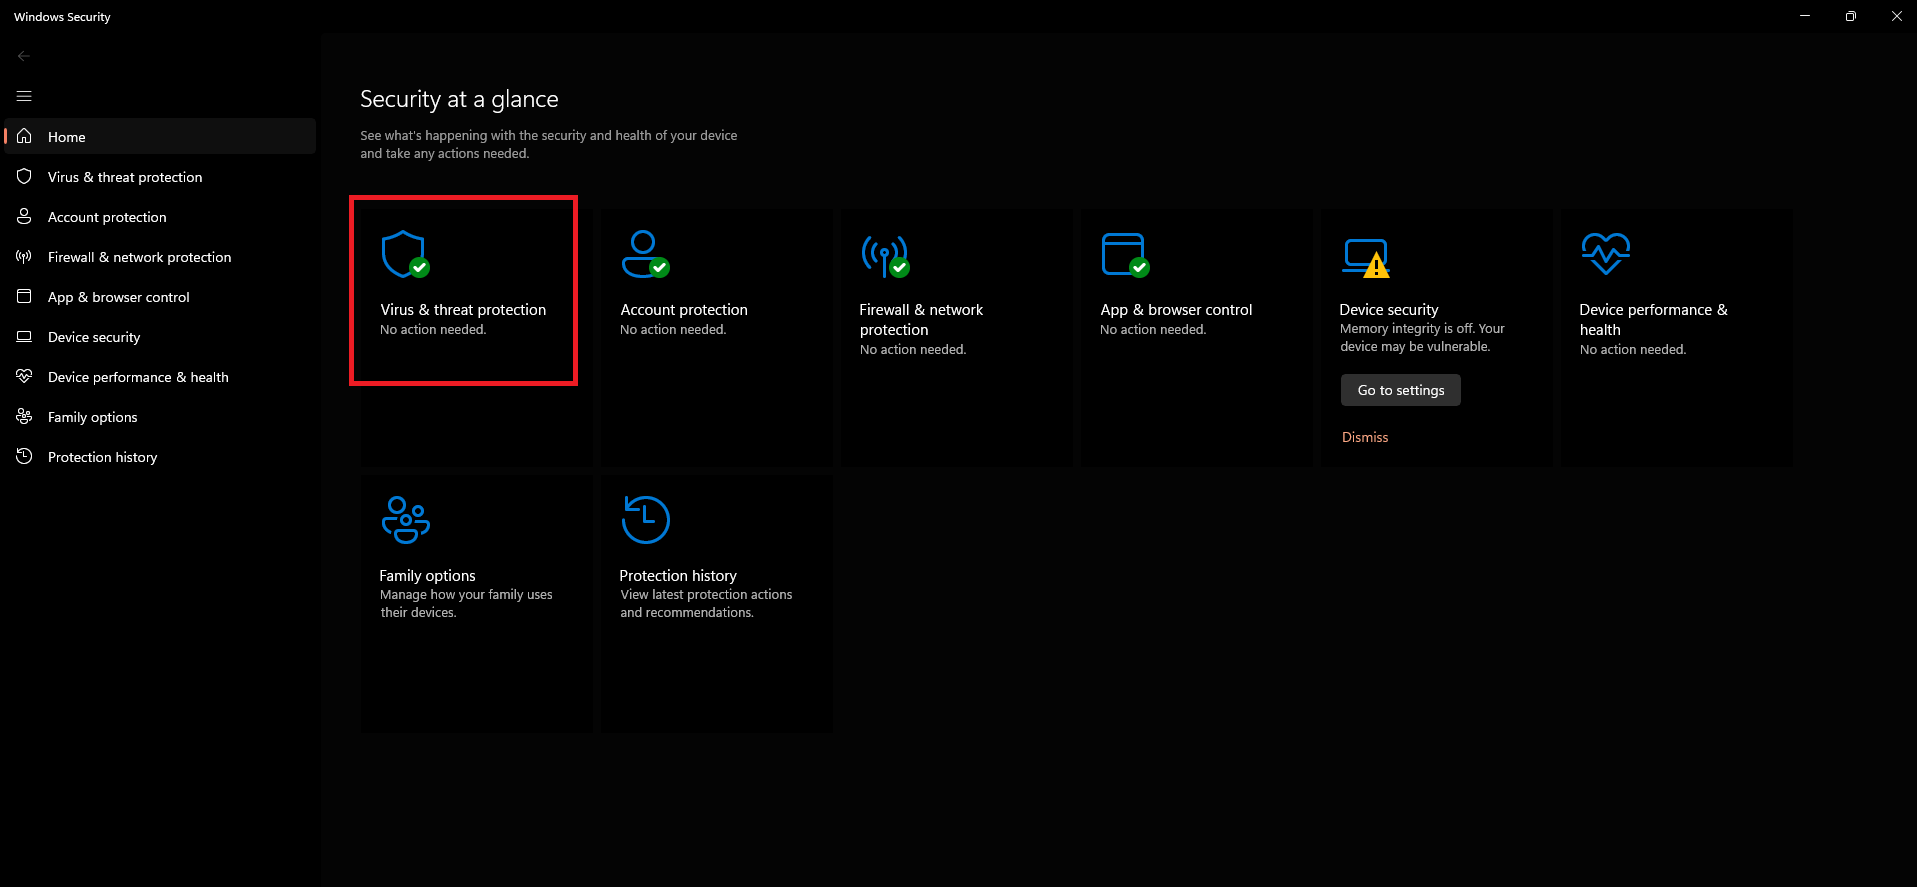
- Select the “Virus & threat protection” option.
- Click on the “Scan options” setting.
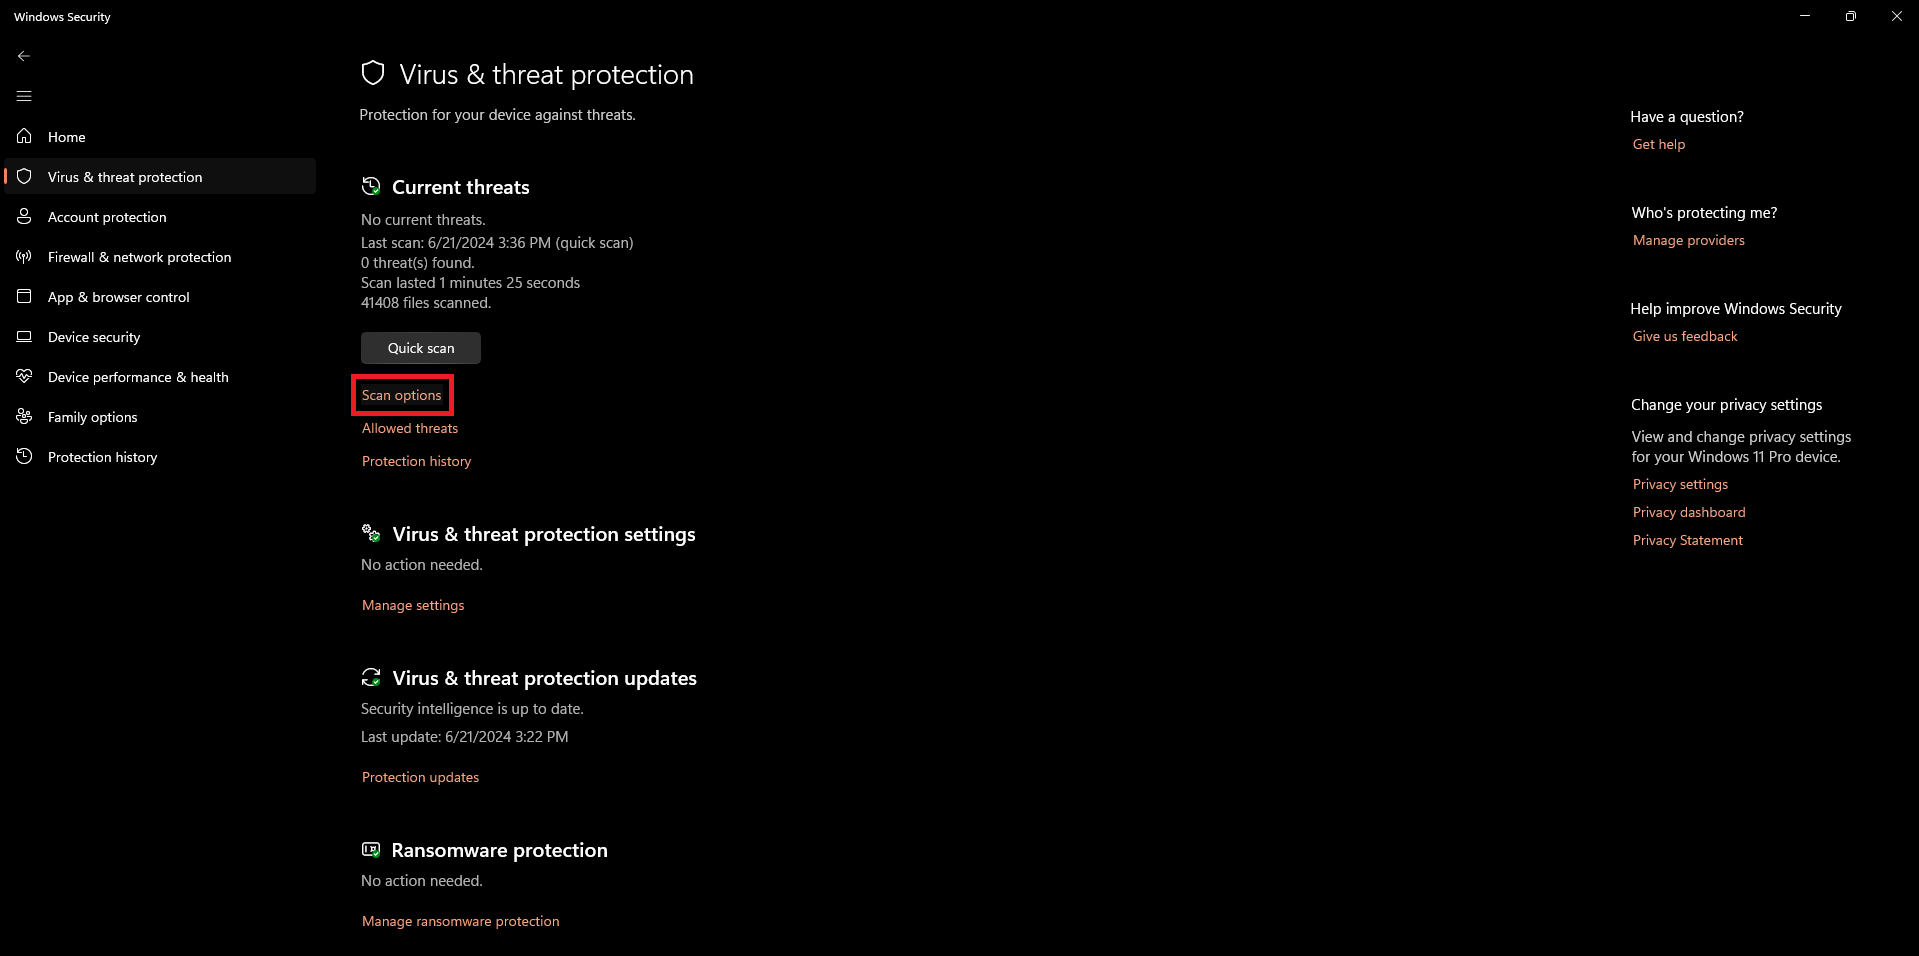
- Click on the “Full scan” setting and then “Scan now“. Your entire HDD/SSD will be scanned thoroughly. This process may take a few hours.
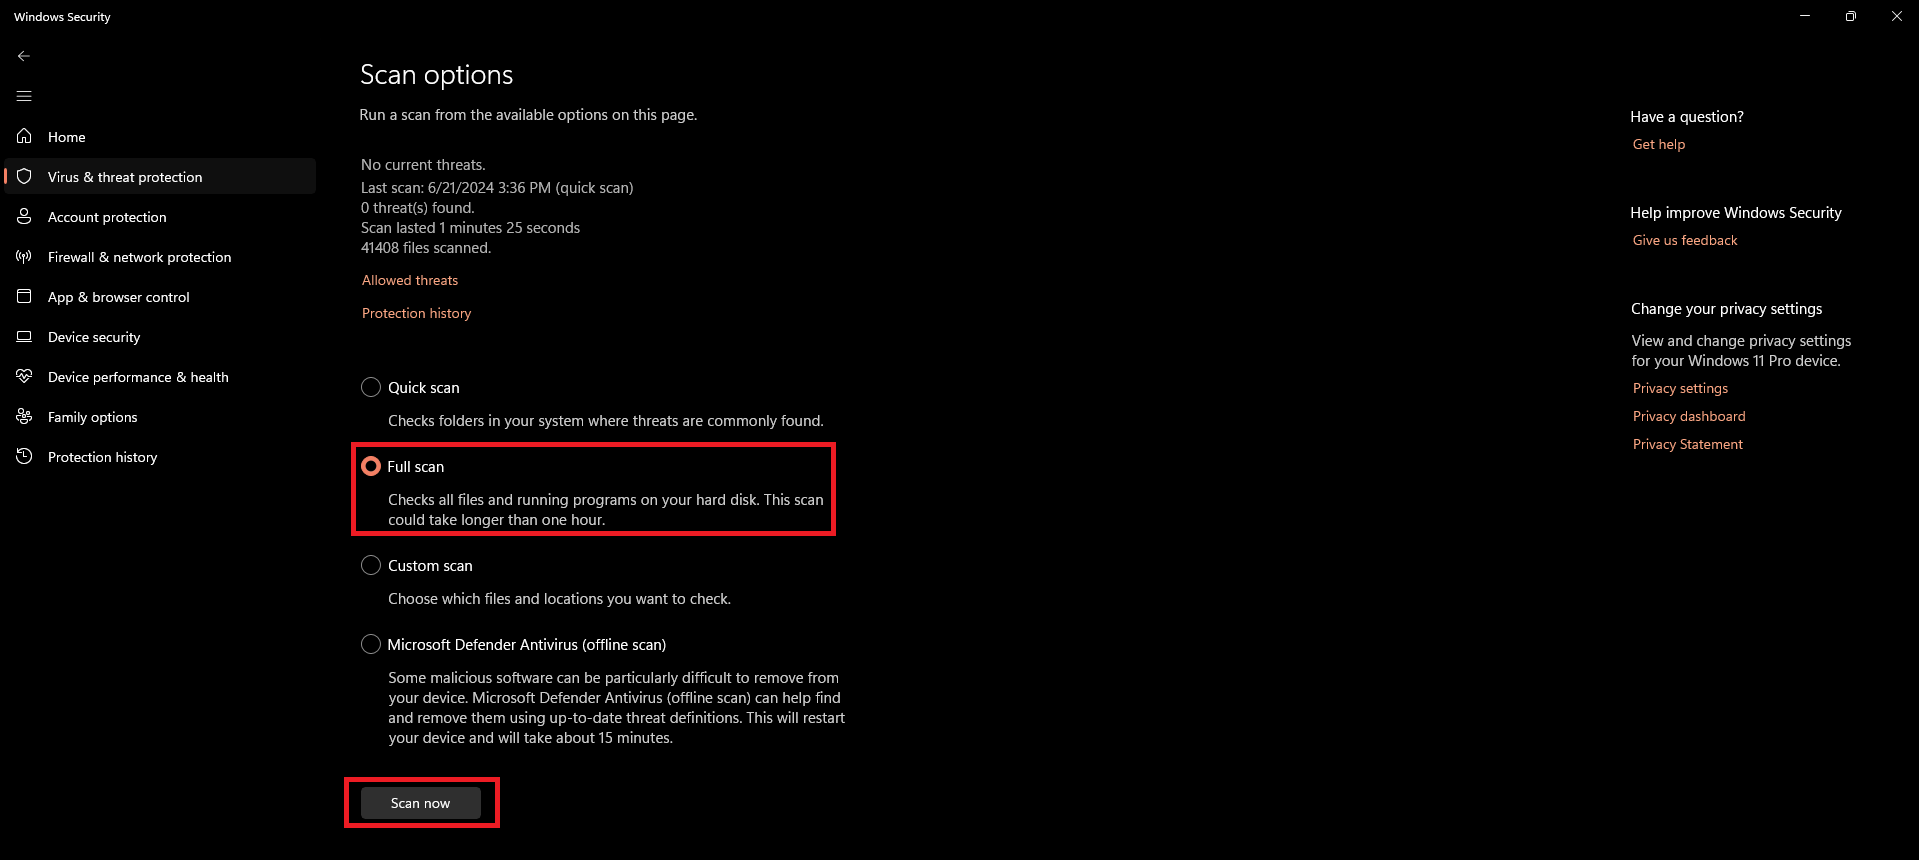
- If you find any viruses, remove/quarantine them. You may use some other options like MalwareBytes; however, Windows Defender can almost always do the job for the average user.
5) Corrupted Windows
Another cause of this BSOD may be corrupted Windows or Registry files. Many people reported that their BSOD went away as soon as they scanned their Windows installation. There are two ways of doing this; you may either run 2 commands and pray the issue gets resolved.
In the worst-case scenario, you’ll need to reinstall Windows, which thankfully nowadays doesn’t take long. You also have the option to back up your important files and documents.
➜ Using CMD
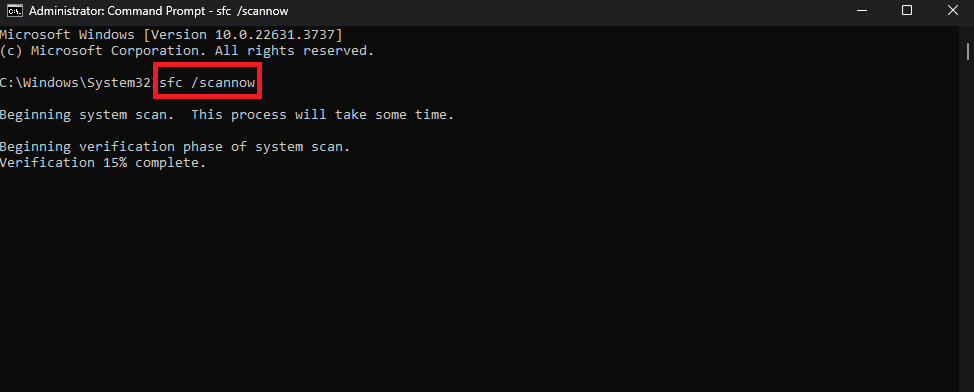
- Run an elevated CMD window by searching the term “CMD” in the Windows Search Bar and clicking on “Run as administrator“.
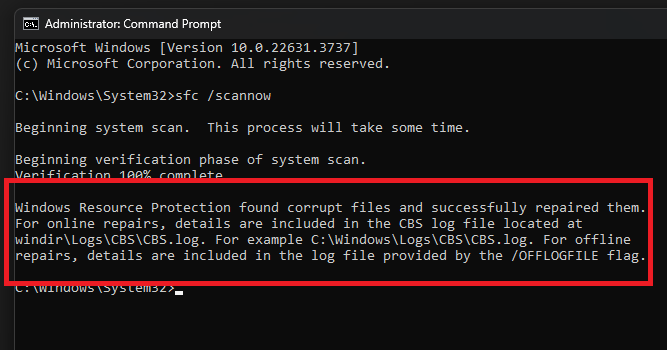
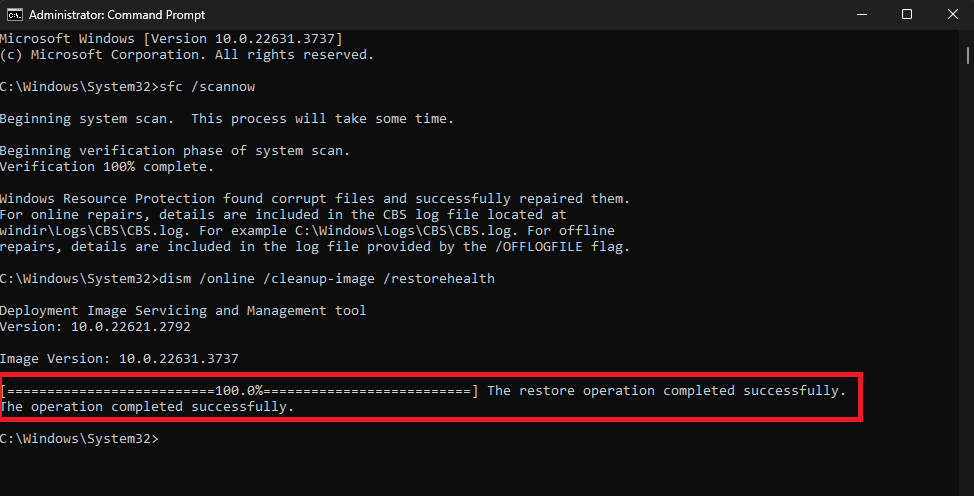
- Once CMD is open, type the command “sfc /scannow“, without the double commas, and press “Enter“. This prompt will scan your system files and may take a while.
- If any corrupt files were found, you should receive the following message.
- Now, enter the command “dism /online /cleanup-image /restorehealth“, again without the double commas, and press “Enter“. Let the process finish. If you’re stuck at 62.3%, then Windows Update is probably downloading some missing files/packages.
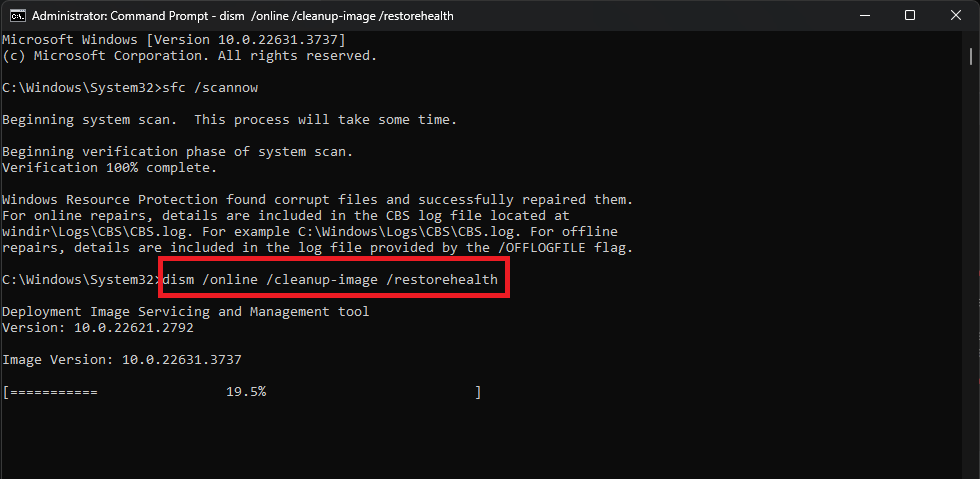
- Once the restoration process has been completed, the following message should appear.
➜ Formatting Your Windows
We’ve all been there. Nothing works, and it has to be the operating system’s fault. At this point, either your hardware is faulty, or maybe you need a fresh install of Windows. Let’s learn the different options that Windows provides us to reset our OS:
You have the option to retain your personal data and just reinstall the core system files. Likewise, you can go for a complete reset. We recommend you completely reset your Windows to prevent any unforeseen errors.
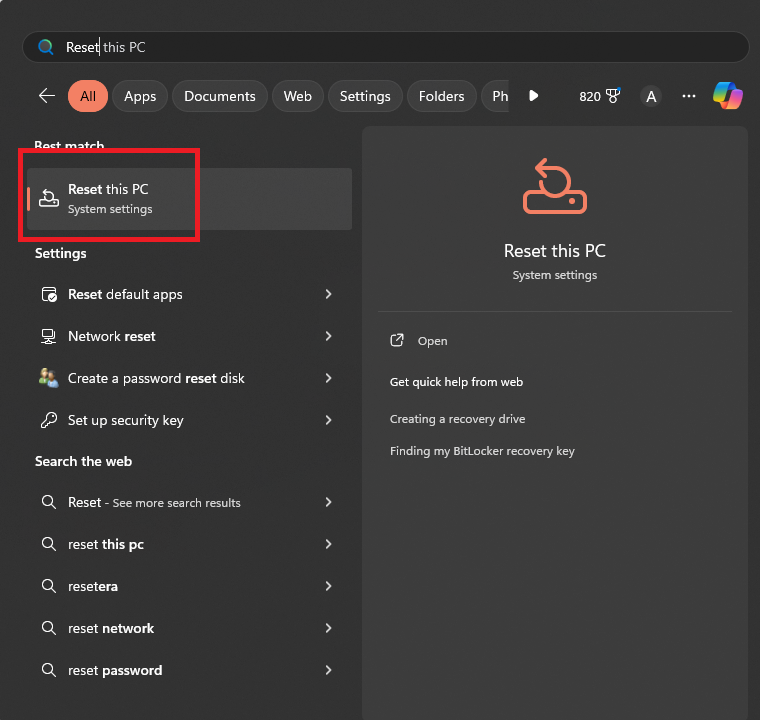
- Open the Windows Search Bar and type “Reset” and select the “Reset this PC” option.
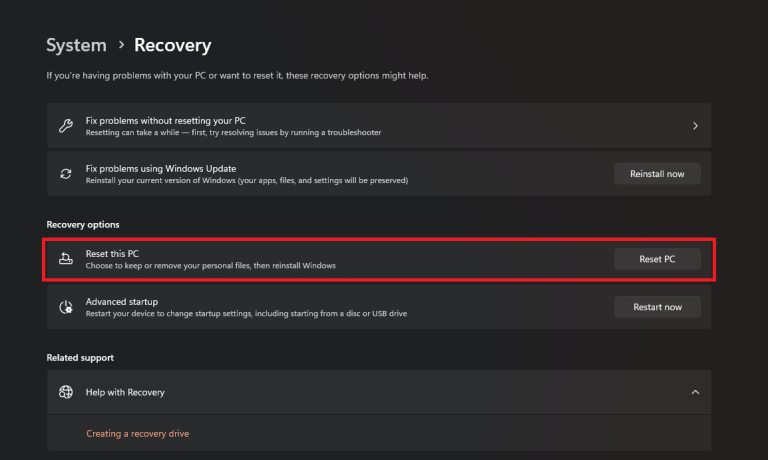
- When the required window opens, select the “Reset this PC” option.
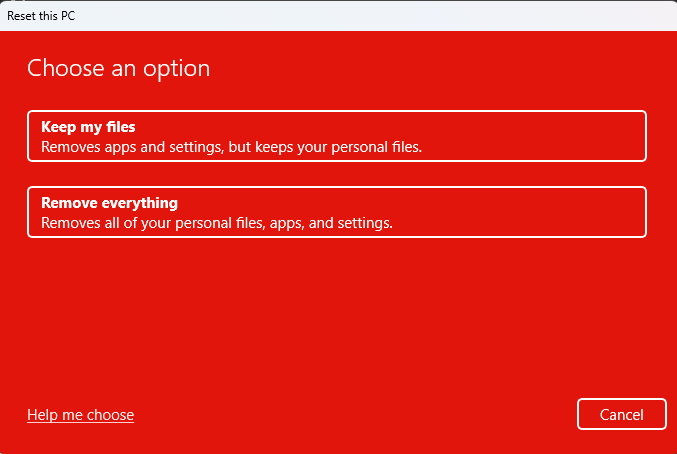
- Choose “Keep my files” if you wish to retain your documents, videos, and images, or choose “Remove everything” if you want a fresh reinstall. Note that installed apps will not be retained.
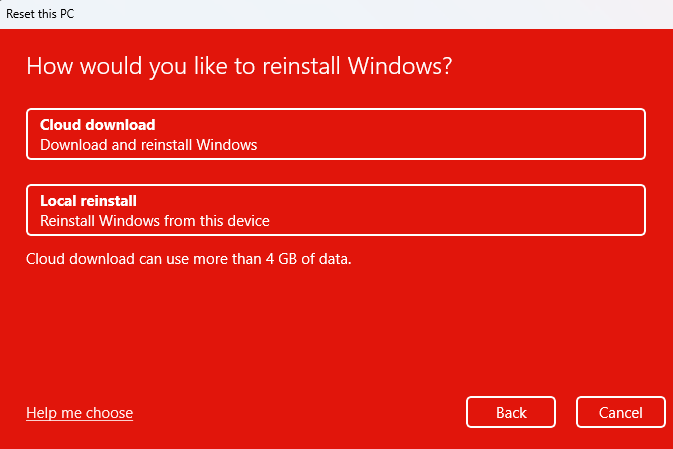
- On the next page, select “Cloud download” if you are connected to the Internet. This option will fetch a clean copy of Windows from Microsoft’s servers. You may also go for a “Local reinstall“, however, this option tends to result in failure if your current copy of Windows is corrupted.
- Sit tight and wait for Windows to be downloaded and reinstalled.
- If you have the know-how, you can also create a bootable USB, flash Windows on it, mount it, boot from the USB, and install Windows, but the choice is yours. The aforementioned method is just simpler and more convenient for everyone.
- Once Windows has been reinstalled, check to see if you face any BSODs.
The “Kernel Security Check Failure” BSOD can occur due to poorly written software or faulty hardware. We’ve nailed down the most common suspects on both the software and hardware levels. Most likely, you may have a corrupted Windows installation, a faulty 3rd-party, or even an official driver issue.
In case these errors persist after reinstalling Windows, you could be dealing with broken hardware. The RAM is most susceptible in this case, which you may also verify using MemTest86 as shown in our guide. However, if even that does not work, then your CPU, GPU, motherboard, PSU, and almost any component could be faulty.
The general rule of thumb in such cases is to find a spare computer and try to swap out each component to see if you can recreate the same BSOD in the other system. This is extremely time-consuming, but it could save you the hassle of creating a new PC from scratch.


