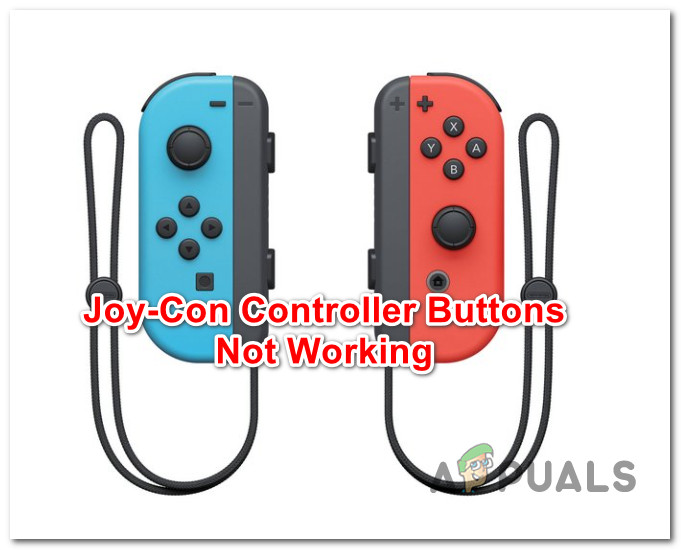
Troubleshoot: Joy-Con Controller Buttons Are Not Responding
If your Joy-Con Controller buttons are no longer responding when pressed, this doesn’t necessarily mean you’re dealing with a hardware issue. There are plenty of confirmed repair strategies that have been used successfully by other users finding themselves in a similar situation.
The latest iterations of Joy-Cons are pretty reliable peripherals, but as with every piece of tech, they are prone to break at some point. However, just because your Joy-con buttons are no longer responding as they once did, this doesn’t mean you have to send your console in for repairs.
In this article, we will showcase every possible cause of this problem and all of the different troubleshooting guides that you should follow in your attempt to fix this issue.
1. Reset the Joycon
If your Joycon is no longer working and you already tried restarting your system to no avail, the first thing you need to do is reset your controller from the physical button.
Note: This fix will only work if you’re dealing with a firmware issue. This fix is confirmed to work on Nintendo Switch V1, Nintendo Switch V2, the OLED, and the Lite version.
Here’s a quick guide on resetting the Joycon in order to re-create the connection and fix the JoyCon controller issue:
- Detach the Joy-Con that’s not working properly from the Switch console.
- Look for the Reset / Sync button located in the middle of the connection bar.
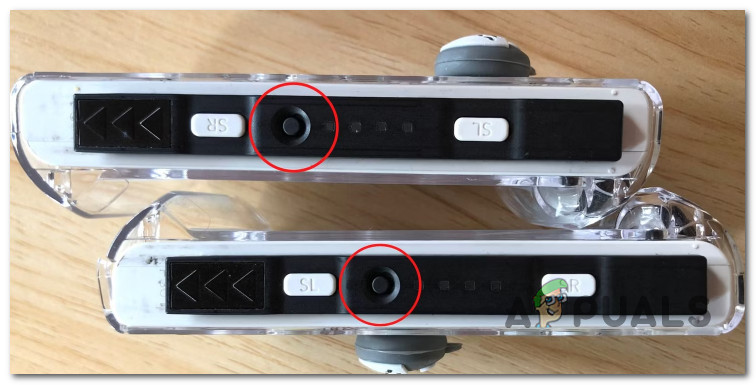
Resetting the controllers Note: While you’re here, it’s advisable to clean the connection port to ensure that the main console ‘feels’ the Joycon when you attach it.
- Press the Reset/Sync button once for at least two seconds before letting it go to reset it back to the factory settings.
- Repeat this operation with the second Joy-Con.
- Press any button on both Joy-Cons to turn it on again.
- Re-attach the Joy-Cons to the console and complete the re-paring operation if prompted.
2. Check for sticky or stuck buttons
If only certain Joy-con buttons are malfunctioning, press them from different angles and see if they feel sticky or stuck down.
In case you notice any difference when comparing them with other Joy-Con buttons that are working correctly, follow the instructions below to power off the console and clean the area around the problematic buttons.
Here’s what you need to do:
- On your system, press and hold the power button for at least three seconds.
- Once you see the new menu appearing, select Power Options.
- From the next screen, select Turn Off and wait until your console no longer shows any signs of life.
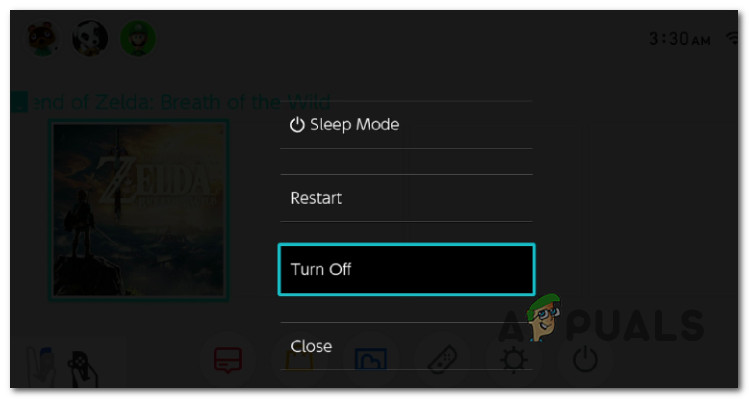
Turning off the Nintendo Switch - Use a soft and dry toothbrush to clean the area around the problematic buttons.
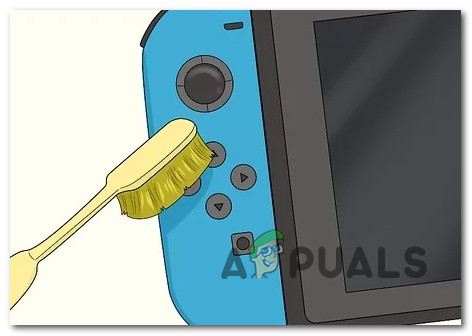
Cleaning the Joy-Con Important: Do not use any liquids directly on the product and do not dip your Joy-Con in water or any other liquids. If there’s a lot of dirt, you can use a clean cloth dampened with water or even apply a consumer-grade disinfectant with no more than 70% alcohol.
- After you finish the cleaning process, wait until you’re 100% sure that the product is completely dry before powering it up again.
3. Install the latest system update
It’s not uncommon to face this issue if you’re trying to pair a Joy-Con updated with the latest firmware, with a console that has a severely outdated system version.
In this case, you should be able to get the issue fixed by accessing the System Settings and ensuring that the latest available system firmware is installed.
Note: Your console should automatically download the most recent system update and prompt you to install it, barring any exceptional circumstances. The update prompt will occur following every console restart if a pending update is available.
If a system update is pending and you want to install it manually, follow the procedures below to install it:
- From the Nintendo Switch’s Home screen, select System Settings.
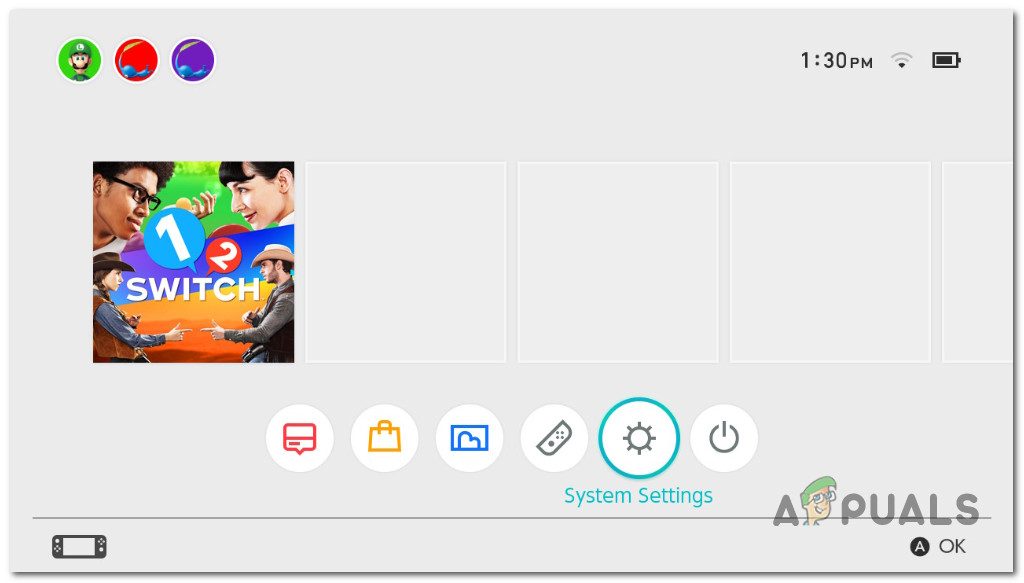
Access the System Settings menu - Using the menu on the left, navigate to System inside the Settings menu.
- Navigate to the menu on the right and choose System Update.
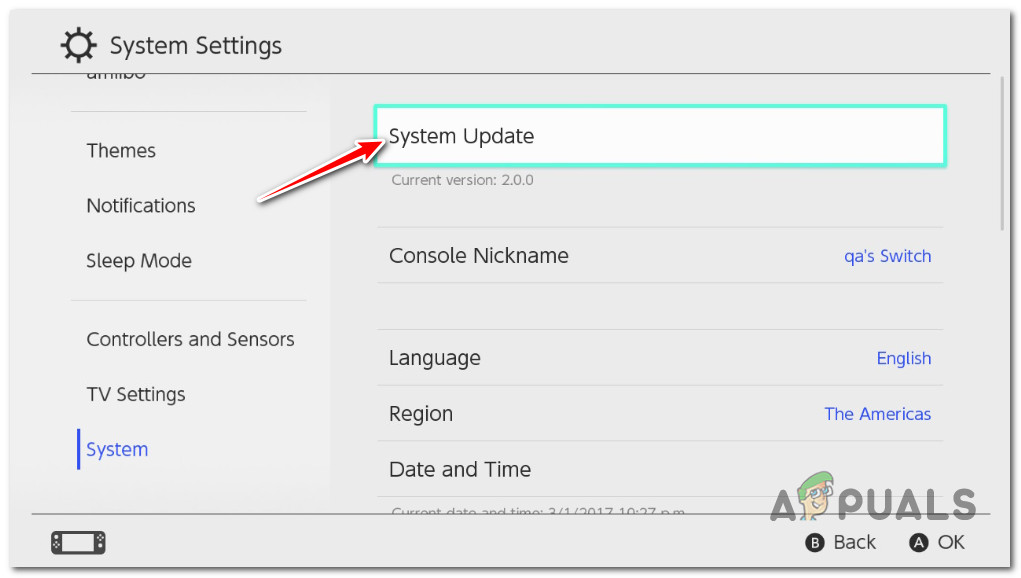
Update the Nintendo Switch System - The system will now determine whether a new update is available. If a new update is available, the automated installation will begin.
- Once the installation is complete, you will be prompted to restart your console. Then, determine whether the Joy-Con’s buttons are now operating appropriately.
4. Update Controllers
If you find yourself in a situation where only certain Joy-Con buttons are working while others aren’t this could be due to a missing controller firmware update.
In this specific case, you should be able to get the issue fixed by accessing the Controllers and Sensors menu and forcing the connected controllers to update.
Update: This method is typically confirmed to be effective in situations where the joysticks work just fine while the buttons below fail to register. This occurs when there’s a version mismatch between the system’s firmware version and the firmware version of the controllers.
Here’s a quick guide on updating the Joy-Con controllers on Nintendo Switch:
- First, make sure that your console has the latest system update installed.
Note: If you haven’t done this already, follow the method above to make sure you have the latest system firmware version for your console. - Make sure you are at the home screen of your Nintendo Switch, then access the System Settings.
Access the System Settings menu - Select, Controllers and Sensors from the side menu on the left.
- Move over to the right menu, scroll down and access the Update Controllers menu.
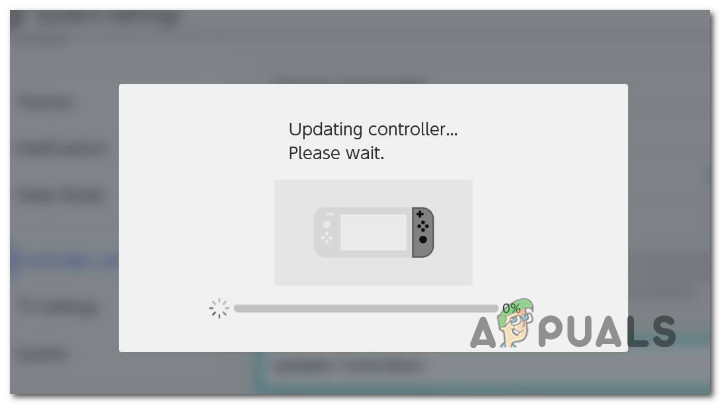
Updating the Joy-Con drivers - Wait until the operation is complete and all connected controllers are updated to the latest firmware.
5. Remove accumulated dust under the buttons
This issue might also occur due to a natural accumulation of dirt within the thumbstick and buttons.
We recommend cleaning your controller with a can of compressed air. Move the thumb sticks while spraying compressed air from various angles to dislodge any buildup, then wipe them clean with a microfiber towel.
Note: We do not advocate disassembling your controller to clean it; this is a task best left to a gaming console repair professional.
If compressed air is not an option for you, blowing air manually might just dislodge some of the dirt that is inhibiting the buttons or joystick.