iPhone won’t Charge? Try these fixes
iPhone not charging is one of the most troubling experiences that you will encounter. There are a number of reasons why your phone may stop charging all of a sudden. As it turns out, the good thing here is that you can usually fix the problem in question by performing a number of different workarounds. This is because the cause of the issue, more often than not, tends to be not related to the internal components of the phone at all. As such, we are going to show you how to fix the problem in question quite easily so just follow through.

As it turns out, a phone is no good when it refuses to charge as eventually, you are going to run out of charge. From your lightning cable, the phone cover that you are using, and even the lightning port, different factors can come into play when the issue occurs. With that said, you do not have to worry as we will go through the mentioned causes in detail down below.
If you are reading this article because your phone stops charging at 80%, then you are actually not facing an issue. This is because what you are experiencing is essentially the functionality of a feature introduced in iOS 13, called Optimized Battery Charging. You can turn this feature off from the settings app, just like True Tone, if you wish to fully charge your phone. However, we would recommend leaving it on since it helps in prolonging your battery life.
With that said, let us get started with the various methods that you can use to troubleshoot the charging problem without any further ado.
Clean Lightning Port
The first thing that you should do when you encounter the problem in question is to check the lightning port of your device. This is something that occurs pretty commonly and not many people realize it. As it turns out, whenever we put our phone in a pocket or a purse, there is usually debris and dust that can enter the lightning port of the phone.
At first, nothing really happens but as the amount increases, it can interfere with the charging process and eventually prevent your phone from charging at all. As such, you should start off by inspecting your lightning port first. See if there is any debris or dust inside. In case there is, gently remove it using a toothpick or something similar. You can use compressed air as well but make sure you blast the air very briefly. With that done, insert the lightning cable again to see if your phone charges now.

Remove Phone Cover
As it turns out, in some cases, the reason that your phone might not be charging can be the phone case that you are using. This is another common issue where certain phone cases do not work well especially if you have bought one randomly that is not compatible with your device but fits it.
Phone cases can prevent the lightning cable from inserting properly which can cause it to not function at all and thus, your phone does not charge. Therefore, if you are using a phone cover, remove it and then see if the phone charges.
Check Lightning Cable and Charger
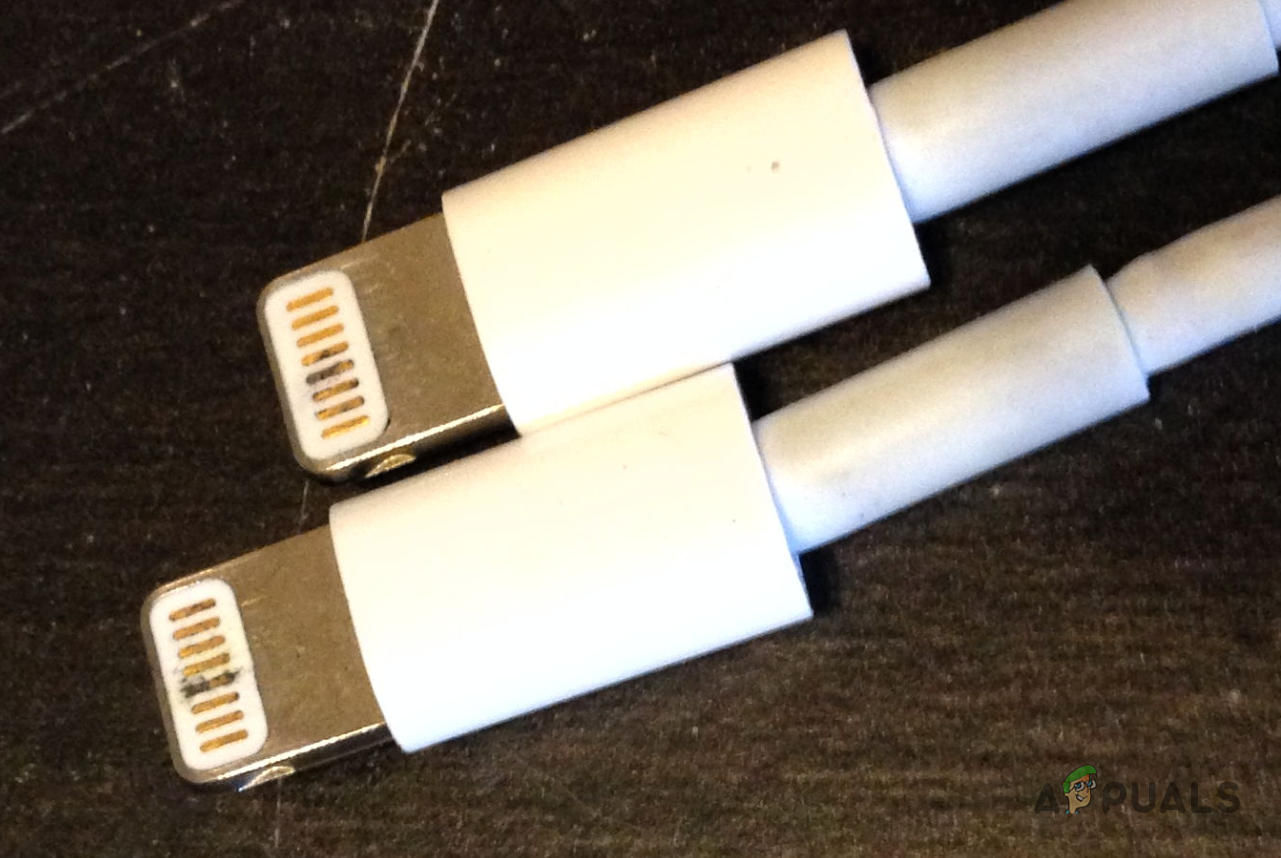
Your next step in troubleshooting the charging problem should be checking your lightning cable along with the charger that you are using to charge your phone. Start off with the lightning cable and see if there is any damage. A bent cable can usually, over time, lead to internal wire cuts or damage which stops the cable from working properly. In addition to that, if you are using an inexpensive lightning cable, chances are that’s what is causing the issue and you should get a new cable to check if that works.
Once you have verified that there are no issues with your lightning cable, we would recommend checking out your charger as well. The chances of your charger stopping working are not slim either. If you have a different charger lying around, we would recommend using that to test if the phone starts charging. In case it does, you will have figured out your problem.
Perform a Hard Reset
At this point, we have removed the possibilities of any hardware damages excluding the phone itself, and it is time to troubleshoot the software of your phone. To start off, you should perform a hard reset. In case you are not familiar with the concept, a hard reset is essentially another name for force restart. As such, you don’t have to worry about losing your data and backing up your phone. To perform a hard reset, follow the instructions down below:
- Start off by pressing the volume up button on your phone.
- With that done, press the volume down button immediately.
- After doing that, press and hold down the power button on the side until your screen goes black and you see the Apple logo.
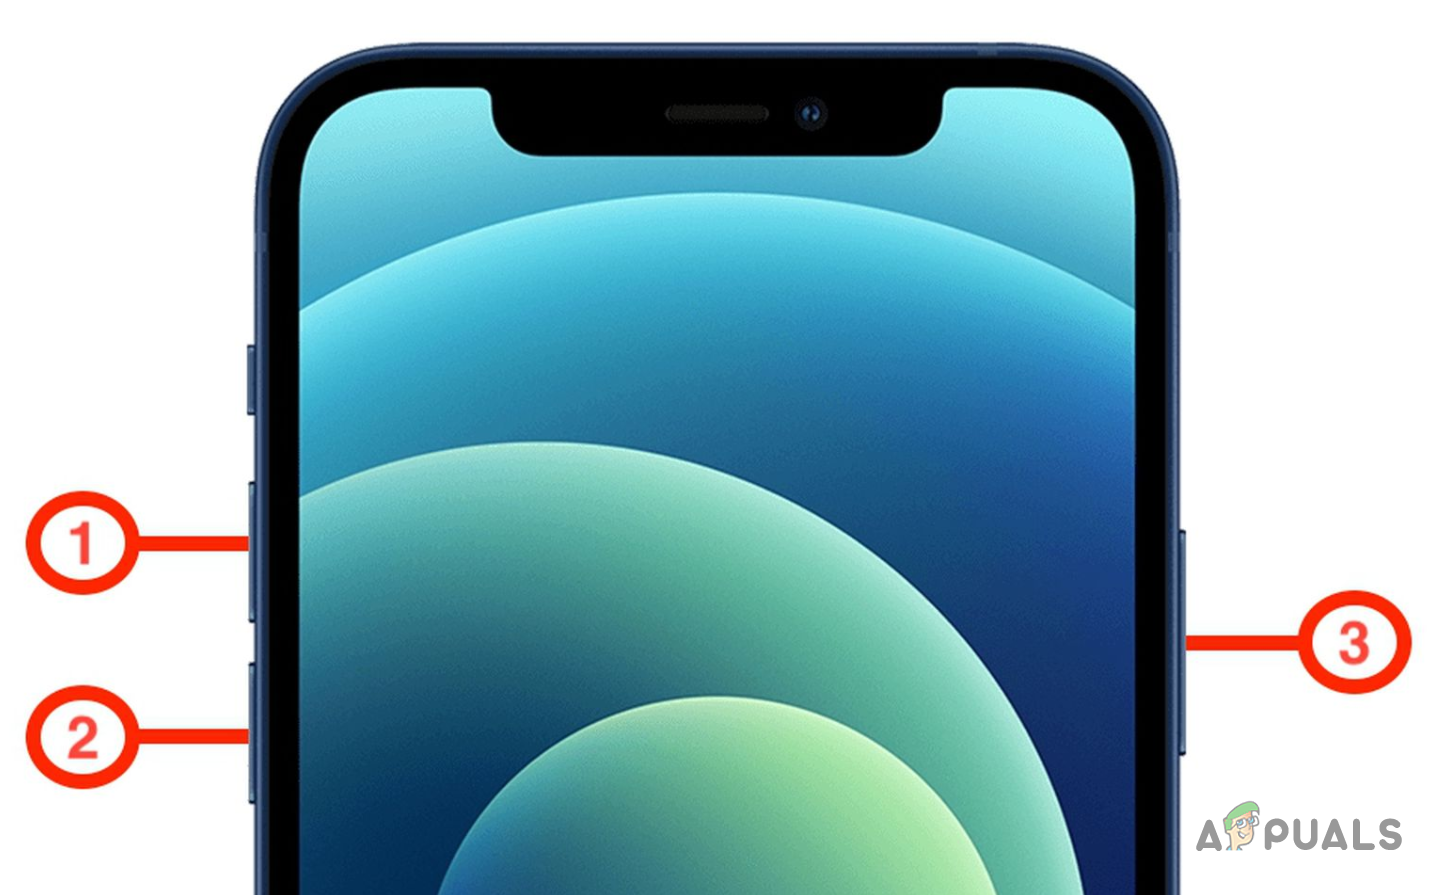
Hard Resetting iPhone - Wait for your phone to restart and then try charging it.
Reset All Settings
Finally, if none of the methods above has worked out for you, then as a last resort, we would recommend resetting all of your phone settings to see if that fixes the problem for you. Doing this will take back your phone to its factory form and you will lose all of your data. Therefore, we would recommend backing up any important data before proceeding with this. Once you have done that, follow the instructions down below to perform a factory reset:
- First of all, open up the Settings app on your phone.
- In the Settings app, make your way to General.
iPhone Settings - On the General menu, tap the Reset option. If you are using iOS 15 or later, this will be called Transfer or Reset iPhone.
- With that done, tap the Reset All Settings option provided.
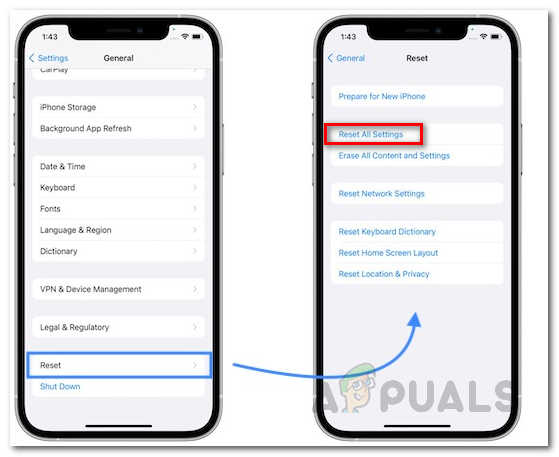
Resetting iPhone Settings - Wait for your phone to complete the reset process and then see if the issue has been resolved.
In case the problem is still there after you have performed a factory reset, then it is very likely that the issue is the phone itself. This usually refers to an issue with the hardware of the phone and as such, you will have to take your phone to an Apple Store for service.