iPhone Flashlight not Working? Try These Fixes
Many users reported that the flashlight on their iPhones stopped working. The issue is mainly reported after an iOS update. In some cases, physical damage like water damage or a drop on the ground caused the issue. For some users, along with the flashlight, the camera (usually, the back camera) also stopped working. In any case, either the flashlight icon in the iPhone’s control center is greyed out (disabled) or does not respond to any command.
There are many factors (along with iPhone’s hardware issues) due to which an iPhone’s flashlight might not work but as per our research, the following can be marked as the main:
- Outdated iPhone’s iOS: An outdated iOS of the iPhone is a call to many unwanted issues and the same is true for the flashlight issue as it can create an incompatibility between the iOS modules or a patch to a bug causing the issue does not apply to the device.
- Camera Blockage by a 3rd Party App: There are certain apps like Snapchat that block the camera and flashlight’s access when in operation and the same could be the reason for the flashlight issue at hand.
- Improper Configuration of the Camera Settings or Phone’s Settings: A glitch or improper configuration of the phone’s camera modules may lead to the flashlight not working as the iPhone uses the same modules for the camera as for the flashlight.
- Corrupt iOS of the iPhone: A corrupt iOS of the iPhone can cause many unforeseen problems and if the iPhone’s OS is corrupt, then it can be the root cause of the flashlight issue under discussion.
Perform a Force Restart of the iPhone
A temporary glitch in the iOS modules may lead to the flashlight issue of the iPhone and performing a force restart of the iPhone may clear the iPhone’s torch issue. The exact instructions may differ depending on the iPhone model but the general guidelines will be as under for an iPhone with a Face ID.
- Press and quickly release the volume up button of the iPhone.
- Then press and quickly release the volume down button of the iPhone.
- Now press and hold the side button of the iPhone.
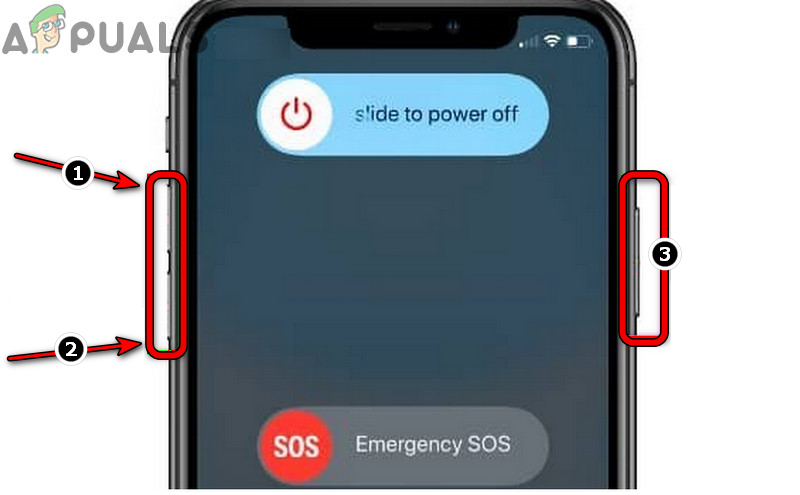
Force Restart the iPhone - Wait till the Apple logo is shown and then release the iPhone’s side button.
- Once the phone is properly powered on, check if its flashlight is working fine.
If not, make sure the iPhone is not heated as the flashlight will be automatically disabled (as the phone’s safety feature) if the phone becomes too hot. Also, make sure nothing (like a phone’s cover/case or protector) is blocking the camera’s lens (or flashlight) as it can create the non-working of the flashlight.
Update the iPhone’s iOS to the Latest Build
The flashlight of your iPhone might not work if an iOS bug is causing the issue, which might have been fixed in the latest iOS. Moreover, an outdated iOS of the phone might also cause the issue as it can lead to incompatibility between different OS modules. Here, updating your iPhone to the latest iOS may solve the problem. Before proceeding, make sure the iPhone is connected to a Wi-Fi network (if you are on a limited data plan) and its battery is fully charged.
- Now open iPhone Settings and select General.
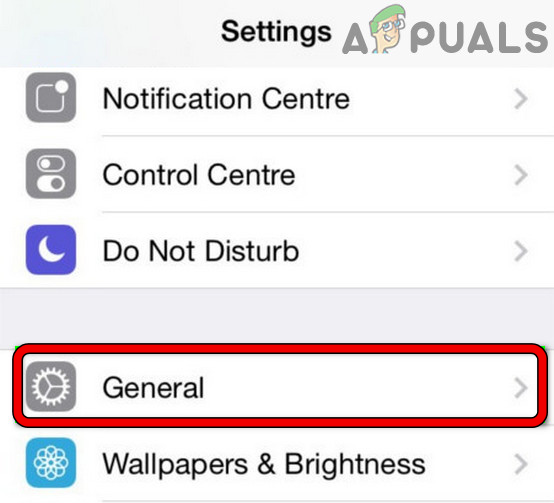
Open General Settings of iPhone - Then open Software Update and if an update of the phone’s OS is available, install the update.
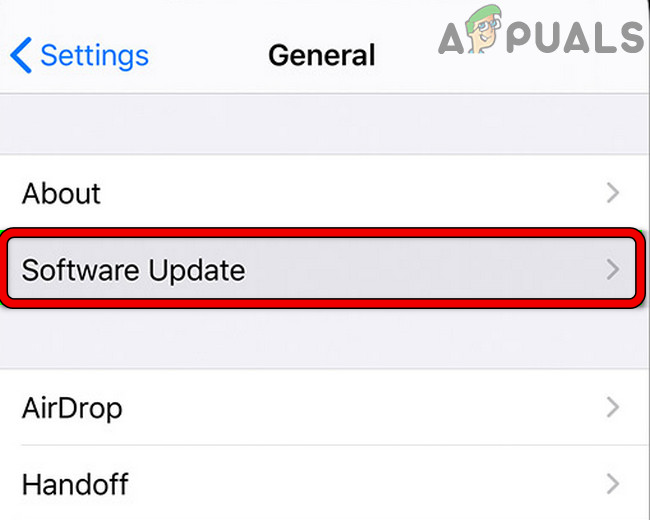
Tap on Software Update - Once updated, restart the iPhone, and upon restart, check if the flashlight of the iPhone is operating normally.
If that did not work, check if pressing lightly around the rear camera and flashlight of the iPhone solves the flashlight problem (as it may reseat a loose connection).
Re-enable Flash Light in the Control Center Settings of the iPhone
A temporary glitch of the iPhone Control Center modules may lead to issues in the flashlight of your iPhone. In this context, disabling and enabling the flashlight in the Control Center settings of the iPhone may resolve the issue.
- Launch iPhone Settings and open Control Center.
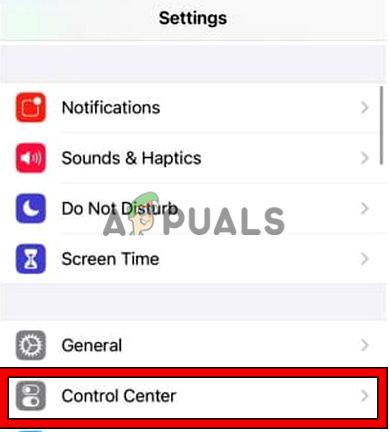
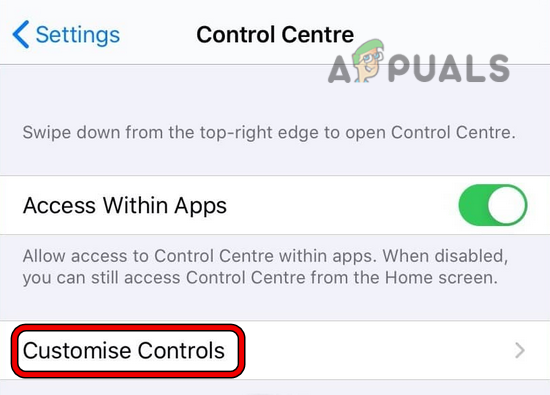
Open Control Center in iPhone Settings - Now tap on Customize Controls and tap on the minus sign to remove the Flashlight from the include list of the control center.
Open Customize Control in the Control Center Settings - Then perform a hard restart of the iPhone (as discussed earlier) and upon restart, steer to the control center settings of the iPhone.
- Now, in the More Controls section, tap on the plus sign to enable flashlight.
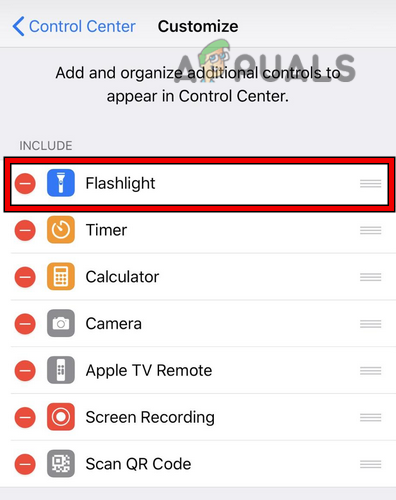
Remove Flashlight in the Control Center Settings of iPhone - Afterward, check if the iPhone’s flashlight is working.
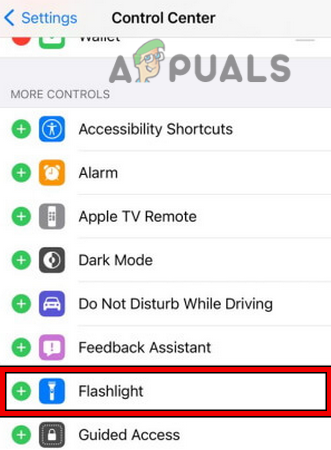
Open Flashlight in the Control Center Settings - If that did not work, check if removing the NFC tag in the iPhone’s Control Center settings and force restarting the phone resolves the flashlight issue.
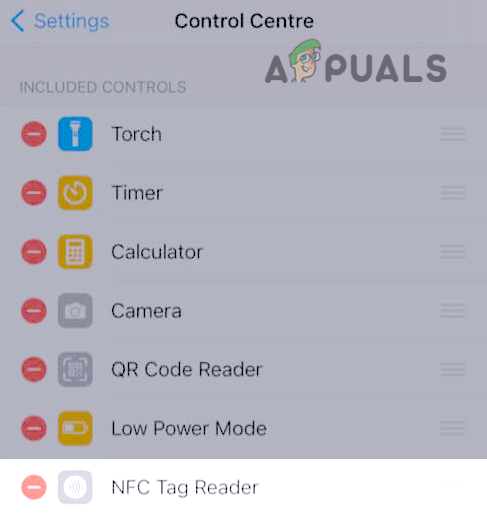
Remove NFC Tag Reader from the Control Center Settings of the iPhone
Disable Camera Access of the Third-Party Apps
Your flashlight on iPhone might not work if another app like Snapchat on the phone is in operation (although, in the background) and is restricting the camera/flashlight’s access to other apps or OS modules. Here, disabling the camera access of the third-party apps may solve the problem. This is because the flashlight’s permissions are bundled with the camera.
- Launch the iPhone Settings and select Privacy.
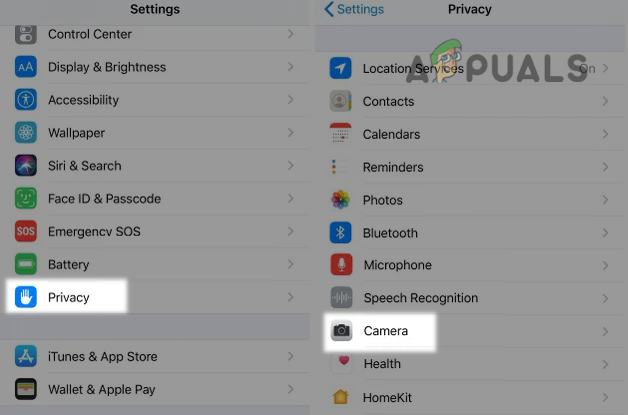
Open Camera Settings in the Privacy Settings of iPhone - Now open the Camera and disable access of the problematic apps (like Snapchat, Instagram, etc.) to the camera.

Disable Camera Access for 3rd Party Apps - Then check if the phone’s flashlight is working fine.
Edit Camera Settings of the iPhone
Your phone’s flashlight may also stop working if a camera setting is hindering the flashlight operation and editing the camera settings of the iPhone may solve the problem.
- Launch the iPhone’s camera app (not a 3rd party camera app) and tap on the flash button (near the top left in the vertical position of the iPhone).
- Now, in the menu shown, select Off.

Turn Off Flash in the Camera App of the iPhone - Then enable the flash in the camera (it may not turn on) and afterward, check if the iPhone flashlight can be turned on from the iPhone’s control center.
- If not, check if enabling the flash in the video mode of the camera app, closing the camera from the app switcher, and tapping on the flashlight icon in the iPhone’s control center solves the problem.
- If that did not work, check if using the double zoom in the iPhone’s camera app lets your turn on the flash in the camera. If so, close the camera from the app switcher, and then turn on the flashlight from the iPhone’s control center to clear the issue.
- If the issue persists, check if repeating step 5 with a 0.5 camera zoom resolves the iPhone flashlight issue.
Reset iPhone Settings to the Defaults
The iPhone flashlight might not work if any of the phone’s configurations are corrupt or not compatible with the flashlight modules. Here, resetting the iPhone Settings to their defaults may reset the iPhone flashlight. Do not forget to backup info (Wi-Fi passwords, etc.) that may be required after resetting the iPhone settings to the defaults.
- Launch the Settings of your iPhone and open Reset (or Back-Up & Reset).
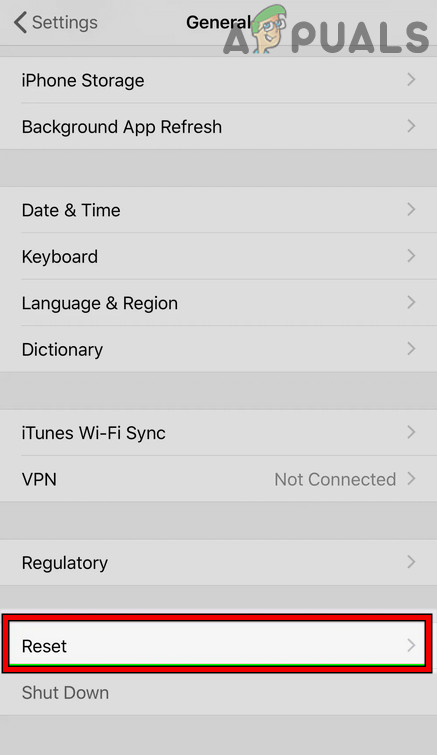
Open Reset in General Settings of Your iPhone - Now tap on Reset All Settings and afterward, confirm to Reset the iPhone Settings.
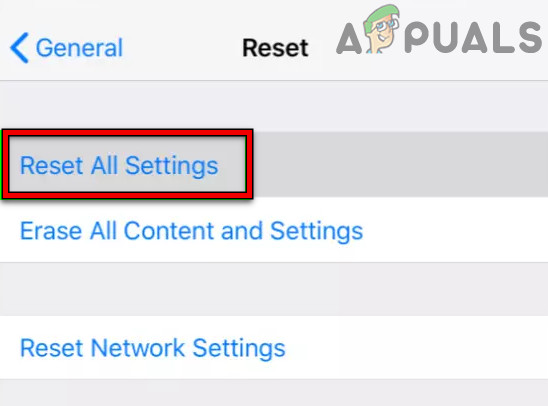
Reset All Settings on Your iPhone - Once the iPhone settings are reverted to defaults, check if the iPhone’s flashlight has started to work.
- If not, check if the camera and flashlight are working fine in a 3rd party camera app (like WhatsApp), otherwise, the issue may be hardware related.
Perform a Factory Reset of the iPhone
The iPhone’s flashlight might not work if its OS is corrupt and performing a factory reset of the iPhone may clear the flashlight issue. Before moving on, make sure to create a backup of your iPhone’s data.
- Open the iPhone Settings and open General.
- Then select Reset and tap on Erase All Contents and Settings.
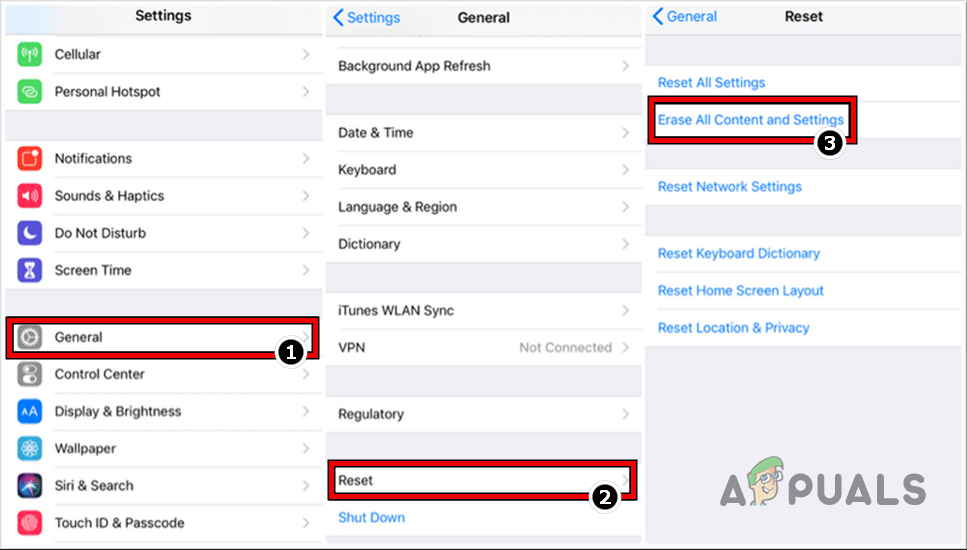
Reset iPhone to the Factory Defaults - Now confirm to factory reset the iPhone by tapping on Erase Everything and keep waiting till the iPhone’s reset process completes.
- Once done, re-setup your iPhone, and afterward, hopefully, it will be clear of the flashlight
If none of the above worked and the flashlight was working fine (before the iOS upgrade), then check if downgrading the iOS of the iPhone (strictly not recommended) solves the problem. If not, then get your iPhone replaced, if under warranty. If that is not an option, then get the iPhone checked for a hardware error (from an authorized service center).