How to Fix iPhone’s Camera Not Working? [Top 10 Solutions]
Your iPhone’s camera may not work due to issues with the camera itself or because of a misconfiguration in your Settings. The following camera problem is reported on nearly all the versions and generations of the iPhone, usually reported to be triggered by an iOS update.
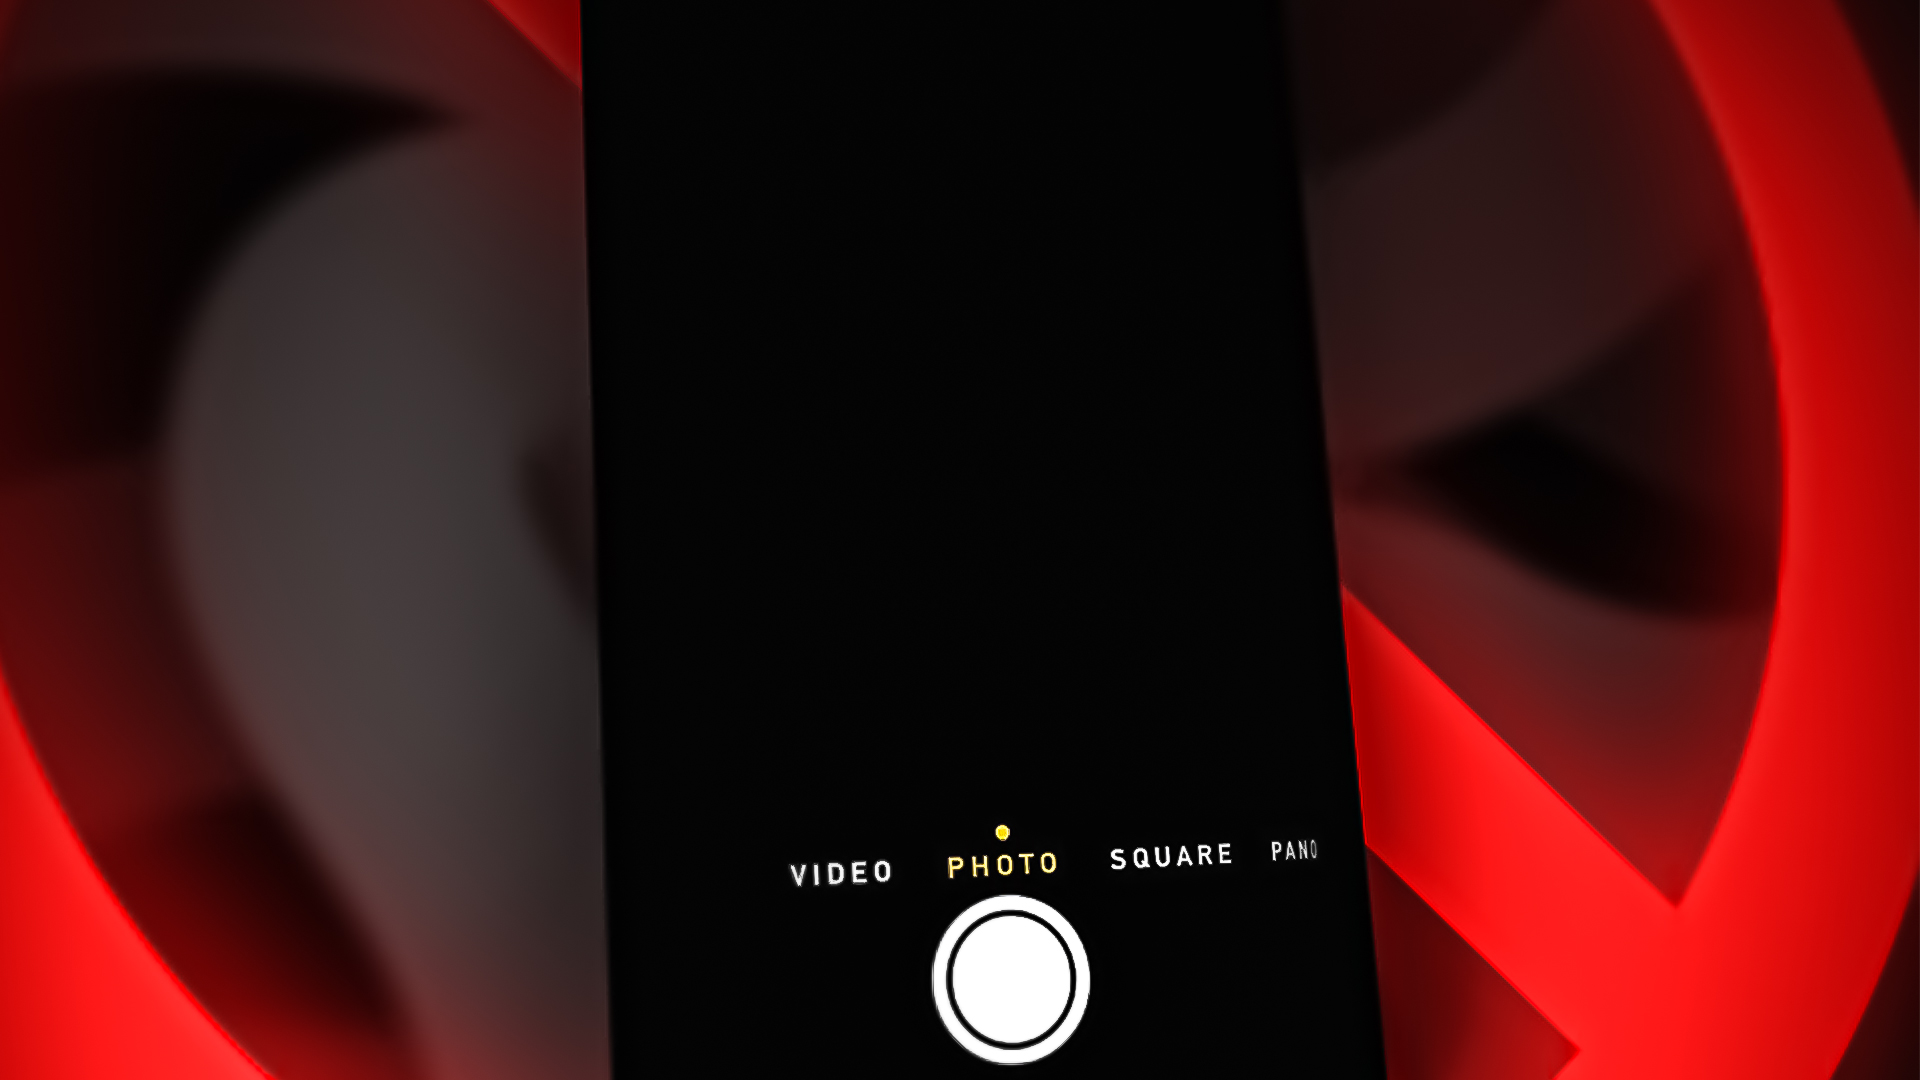
For some users, the error occurs with the front or back camera, but there are also unlucky ones where both cameras don’t work. The problem occurs when you launch the camera app, but either the app does not launch, crashes instantly, or shows a black/blurry screen with the camera controls.
1. Force Restart Your iPhone
Before we start the troubleshooting process, check if your iPhone is not hot or cold, otherwise, bring it to normal room temperature as extreme temperatures have adverse effects on the delicate electronics (including the camera) in your phone. Moreover, if your iPhone has a cover, then remove the cover and make sure nothing is blocking the camera lens or flashlight.
- Firstly, force quit all the running apps on your iPhone.
- Now press and hold the iPhone’s volume up button.
- Now quickly tap on your iPhone’s volume down button.
- Then press and hold the iPhone’s power or side button and keep holding until the Apple logo is shown on the screen (do not release the button when the iPhone’s power menu is shown).
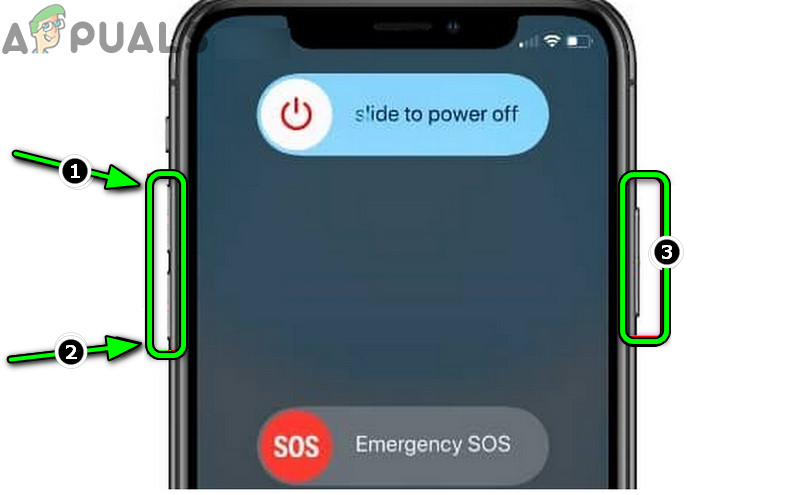
Force Restart the iPhone - Once the iPhone is properly powered on, launch the Camera and check if it is operating fine.
- If that did not work, on your iPhone’s home screen, press and hold the Camera icon till all the items on the screen start wiggling.
- Now, while keep holding the camera icon, press and hold the volume down along with the power button.
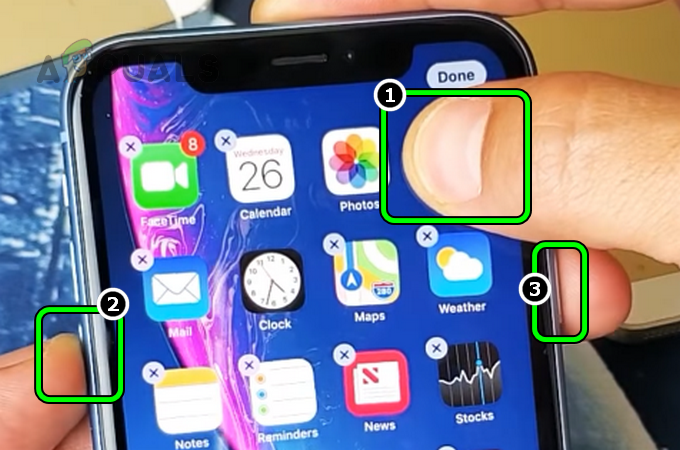
Press and Hold the Camera Icon, Volume Down, and the Power Buttons of Your iPhone - When the iPhone’s power menu is shown, release all three buttons and then slide the slider to power off the iPhone.
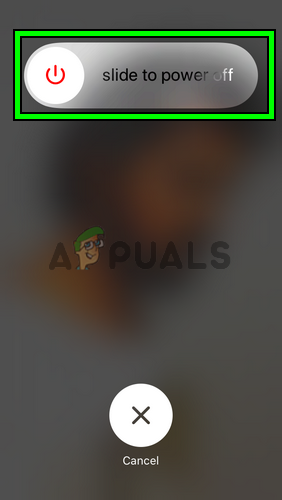
Slide to Power Off the iPhone - Now, wait for 10 seconds and then power on the iPhone to check if its camera issue is resolved.
- If the issue persists, open the iPhone’s Control Center and check if launching the camera from there clears the problem.
2. Enable Camera in the Screen Time Settings
If your camera is disabled in the Screen Time settings of your iPhone, then that could cause your camera not to work. If your daily time is up, the Screen Time module will not let the camera application run. Here, enabling the camera in the Screen Time Settings of your iPhone may clear the issue.
- Launch Settings of the iPhone and open Screen Time.
Open Screen Time in the iPhone’s Settings - Now select Content & Privacy Restrictions.
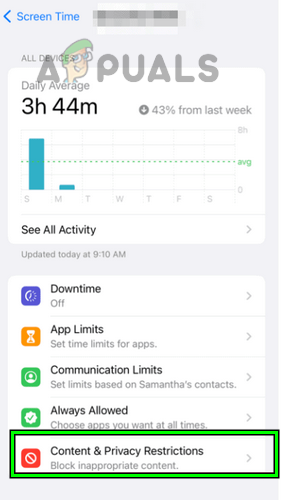
Open Content & Privacy Restrictions in the iPhone’s Screen Time Settings - Then open Allowed Apps and enable Camera by toggling its switch to the on position.
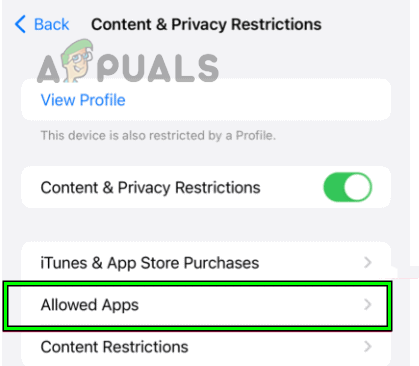
Open Allowed Apps in the Content & Privacy Restrictions of the Screen Time Settings - Now launch the Camera and check if it is working fine.
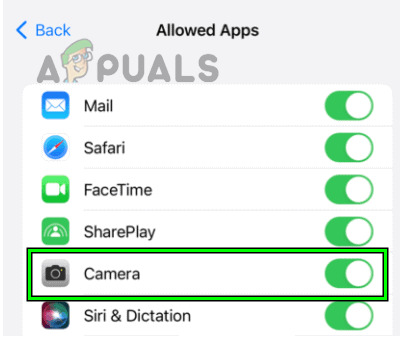
Enable Camera in the Screen Time Settings
3. Update the iPhone’s iOS to the Latest Build
If the camera isn’t working due to a software bug in the iPhone’s OS, then updating it to the latest build may patch the bug and thus solve the problem. Before proceeding, make sure to fully charge the iPhone, and do not forget to back it up.
- Connect your iPhone to a Wi-Fi network and then launch iPhone Settings.
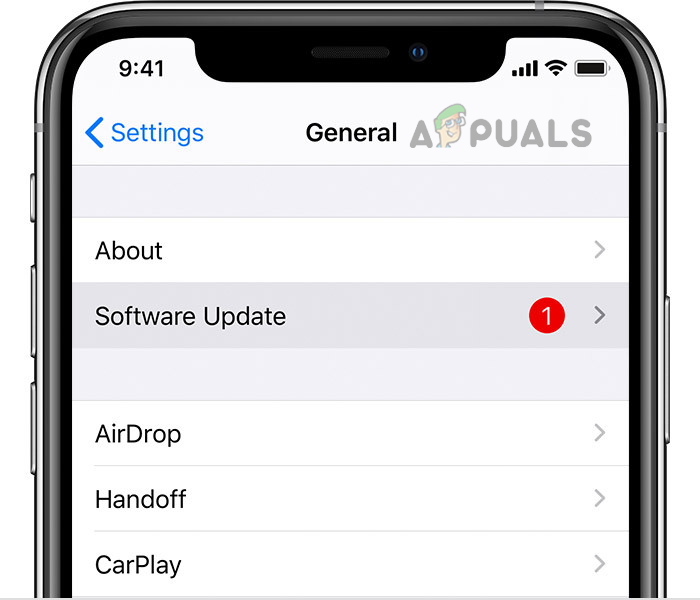
- Now select General and open Software Update.
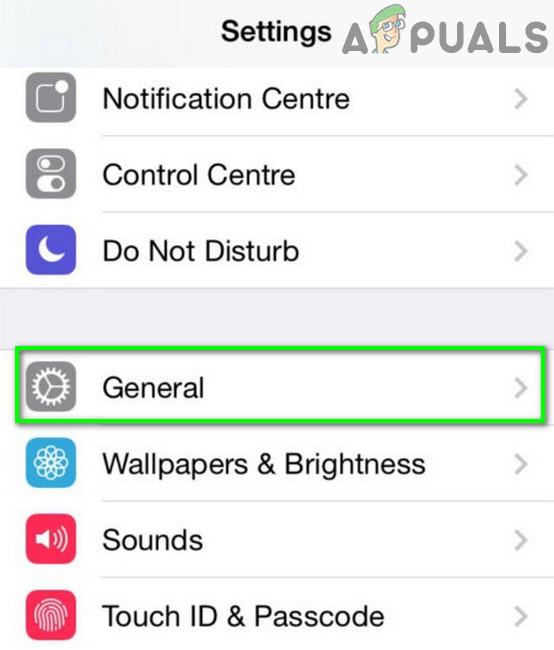
Open General Settings of iPhone - If an iOS update is available for your iPhone, download the update, and once downloaded, install it.
Update Software of iPhone - Once installed, restart your iPhone, and upon restart, launch your iPhone Camera to check if it has started to work fine.
- If not, and you are a beta tester of the iOS, check if installing the latest beta profile on your iPhone resolves the issue.
4. Enable Flash and Lanch Camera
Flash is an integral part of the camera, and if the camera is failing to access the iPhone’s flash, it may fail to work. Here, manually enabling the flash and then opening the camera may resolve the issue.
- Open your iPhone’s Control Center and enable flash. The flash may not turn on but the control center may show it as enabled.
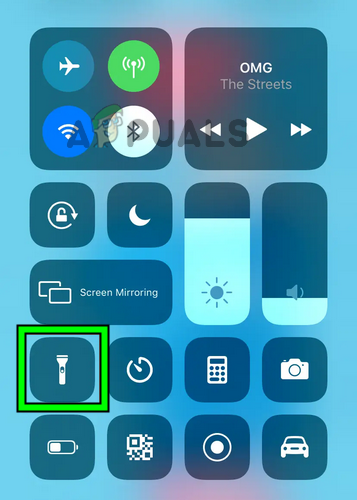
Enable Flash Light in the iPhone’s Control Center - Now launch the Camera app from the Home screen (not from the control center) and wait for 15 seconds to check if the camera has started to work.
- If that did not work but the camera app is showing a black or blurry screen, check if pressing the flash button repeatedly (flash on and off) on the camera screen resolves the issue.
- If the issue persists, put the iPhone on charging and repeat steps 1 to 2 to check if the camera is working fine.
- If this did not clear the problem, check if disabling the Auto Flash in the camera’s settings clears the error.
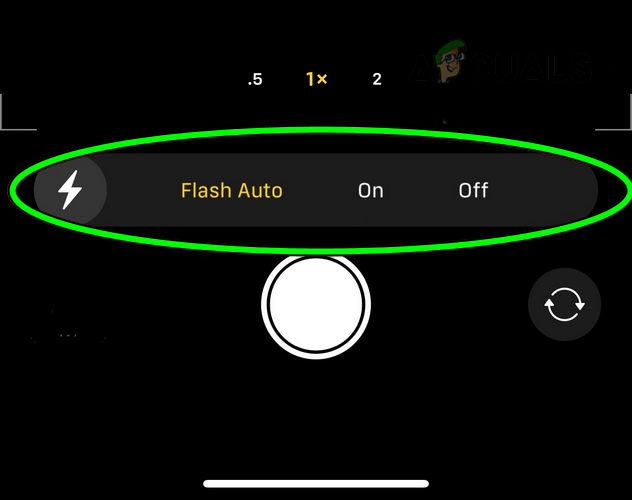
Disable Auto Flash in the Camera Settings of Your iPhone
5. Disable the NFC Tag Reader
The NFC tag reader uses your iPhone’s camera to complete its process. If due to a software bug, it is failing to release the iPhone camera for other OS modules, then that could stop the camera from working. Here, disabling the NFC Tag Reader of your iPhone may clear the issue.
- Launch your iPhone Settings and open Control Center.
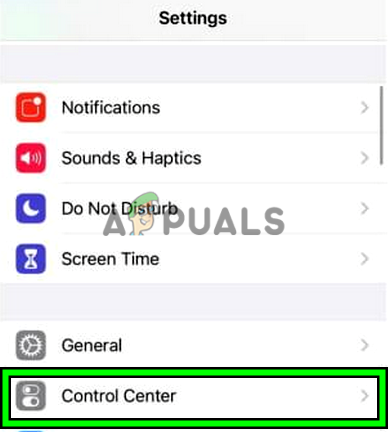
Open Control Center in iPhone Settings - Then tap on Customise Controls.
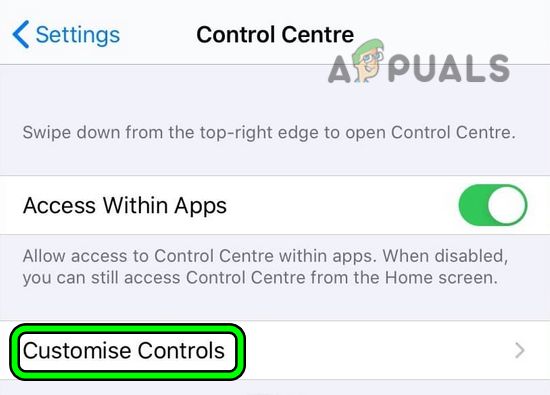
Open Customise Control in the Control Center Settings - Now, in the Included Controls, look for NFC Tag Reader, and once found, tap on the minus (-) sign in front of it.
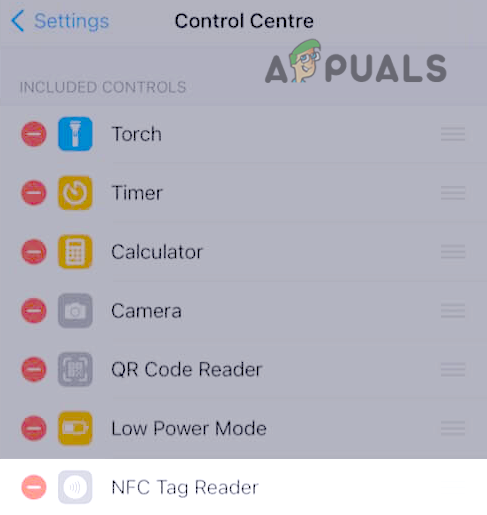
Remove NFC Tag Reader from the Control Center Settings of the iPhone - Then tap on Remove and afterward, check if the iPhone camera is working fine.
- If not, perform a force restart of the iPhone (discussed earlier) and then check if the camera has started to work.
6. Disable the Dark Mode
Your iPhone’s dark mode plays a vital role in the execution of the OS modules and adjusts modules outputs according to the dark mode. If the dark mode is interfering with the proper execution of the camera-related modules, then the camera may fail to operate or show a black screen. Here, disabling the iPhone’s dark mode may clear the camera issue.
- Launch your iPhone’s Settings and open Display & Brightness.
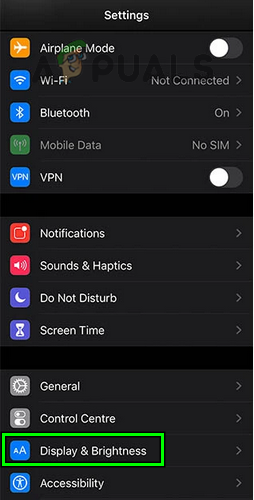
Open Display & Brightness in the iPhone Settings - Now select Light and then check if the camera is working fine.
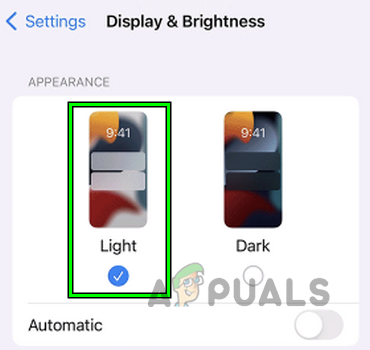
Disable Dark Mode on Your iPhone
If your iPhone’s dark mode is already disabled, check if enabling it clears the issue.
7. Try Another Camera App on the iPhone
The camera issue might be a result of corruption in the installation of the stock iPhone camera app and using another camera app may resolve the issue.
- Launch another camera app (if you do not have one, then you may install one) and check if the camera is working fine in the other app. Here are a few examples reported to make the camera work and you may try them one by one:
- 9 Cam
- Camera in the eBay app
- Camera in the WhatsApp app
- QR code Scanning through the PayPal app
- Taking Pictures through the Apple Messages
- If the camera works fine in another app, switch to the default iPhone camera app and check if it is working fine.
8. Try Different Camera Configurations and Settings
Your iPhone’s camera may fail to work if a bug in a particular camera configuration or iPhone Settings is restricting the proper execution of the camera. Here, trying different camera configurations may resolve the issue.
- Check if force closing and relaunching the camera app resolves the issue.
- If not, check if the camera starts to work fine when switched between the front and back cameras.
- If the issue persists, check if switching between photo and video modes allows the camera to work.
- If that did not work, check if using 0.5x zoom lets you use the camera. You may also try 1x or 2x zoom.
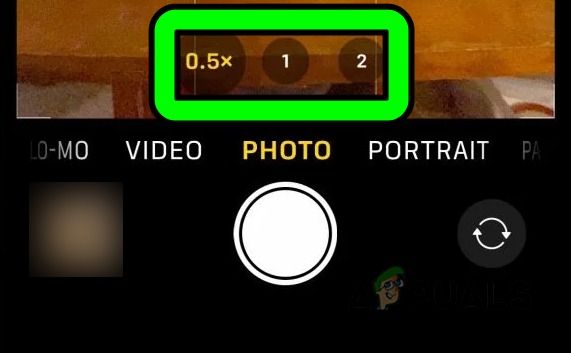
Try Different Zoom Levels in the iPhone’s Camera - If the problem is still there, check if disabling 60FPS in the iPhone settings (Settings>> Camera>> Record Video) clears the problem.
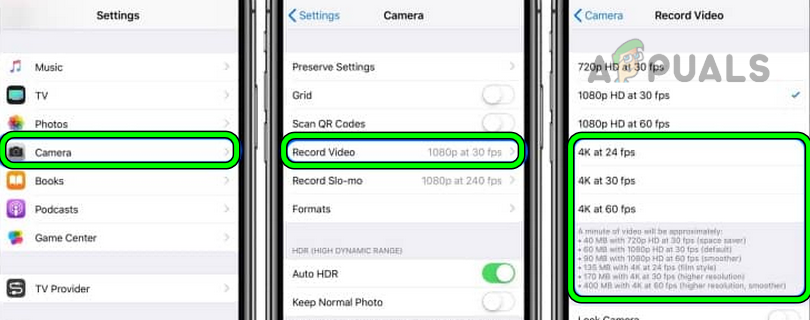
Disable 60 FPS in the Camera Settings of Your iPhone - If the camera is still not working, restart your iPhone and then launch Camera.
- Now immediately change the camera to portrait mode and then check if it is operating fine.
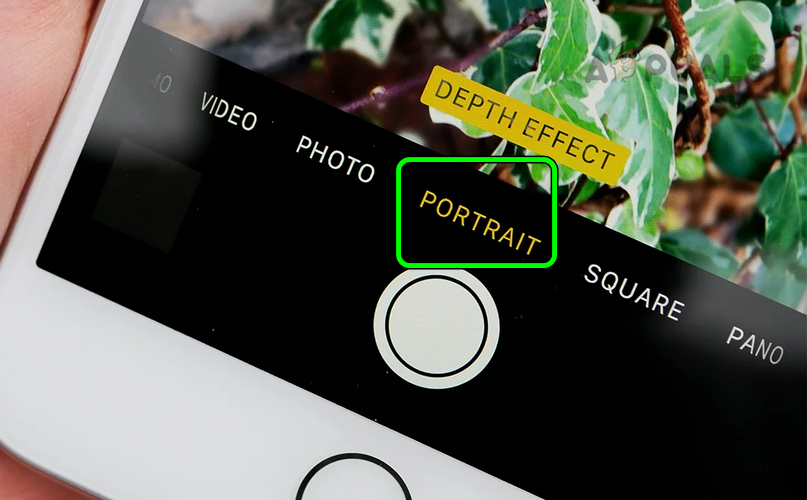
Change iPhone’s Camera Mode to Portrait - If not, check if enabling or disabling the Live Photos (iPhone Settings>> Camera>> Preserve Settings>> Live Photo) clears the problem.
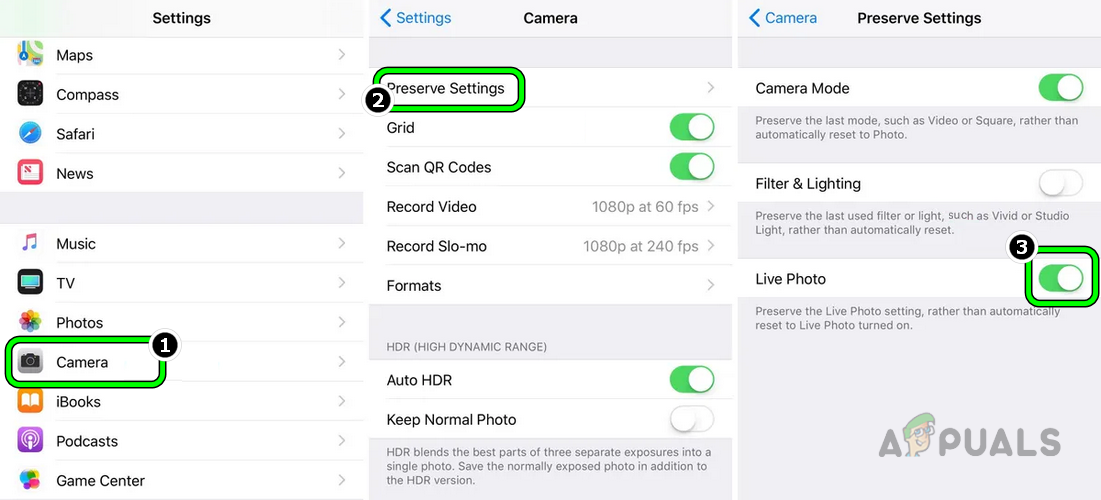
Disable Live Photo in the iPhone Camera Settings - If that did not resolve the issue, launch the iPhone’s Camera app and set the timer to 3 seconds.
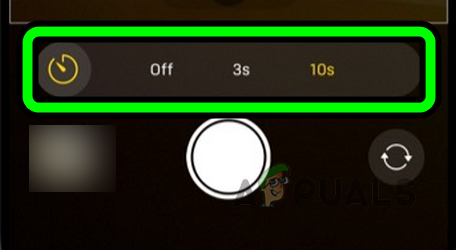
Set a 3s Timer on the iPhone Camera - Now tap on the capture button and wait for 30 seconds.
- Then check if the camera has started to work.
- If the issue persists, remove the camera app from the home screen and restart your phone.
- Upon restart, tap and hold the home screen’s background till the icons on the screen start jiggling.
- Now tap on the plus (+) icon near the top of the screen to open the widget gallery and add the camera back to your iPhone’s Home Screen.
- Then, on the Home Screen, tap on the Camera icon and check if it has started to work fine.
- If that did not work, check if disabling the iPhone’s Voice Over (Settings > Accessibility > Voice Over) feature resolves the issue.
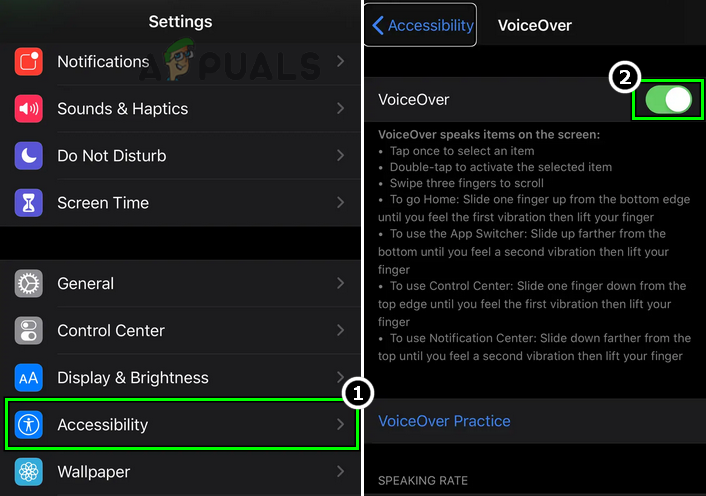
Disable Voice-Over in the iPhone Settings
9. Reset All Settings of Your iPhone to the Defaults
If any of the settings on your iPhone are hindering the execution of a component essential for the camera’s operation, then that could result in your camera not working. In this case, resetting all settings of your iPhone to the defaults may clear the camera issue. Before proceeding, make sure to note down the settings (like Wi-Fi credentials, etc.) that you may require later.
- Launch your iPhone Settings and select General.
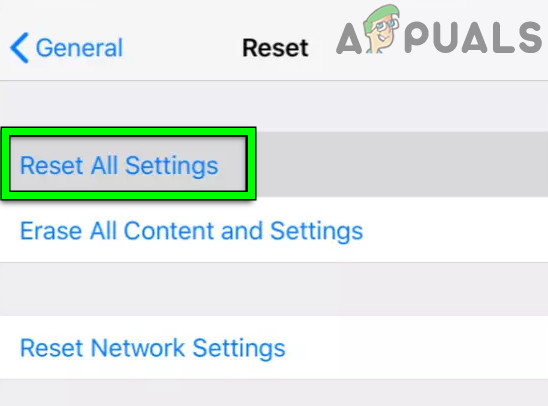
- Now open the Reset option and tap on Reset All Settings.

Open Reset in General Settings of Your iPhone - Then confirm to reset all the iPhone settings and afterward, force restart your iPhone.
Reset All Settings on Your iPhone - Upon restart, remove the NFC Tag Reader from the iPhone’s Control Center (discussed earlier) and then check if the iPhone camera is working normally.
- If that did not work, repeat the above steps 1 to 4 to reset all the iPhone Settings and remove the NFC Reader.
- Now enable the iPhone’s flashlight and launch the Camera.
- Then wait for 10 seconds and afterward, press the 1x button.
- Now enter into 2x zoom and then check if the iPhone’s camera working problem is cleared.
10. Reset Your iPhone to the Factory Defaults
If none of the above worked, then a corrupt OS could be the reason for the non-working of your iPhone’s camera. In such a case, resetting your iPhone to the factory defaults may resolve the issue.
Before moving on, make sure to create a backup on iCloud and iTunes. Also, fully charge your iPhone as the last thing you may want to happen to your handset is that it runs out of battery during the reset process.
- Launch your iPhone Settings and open General.
- Now select Reset and in the menu shown, tap on Erase All Content and Settings.
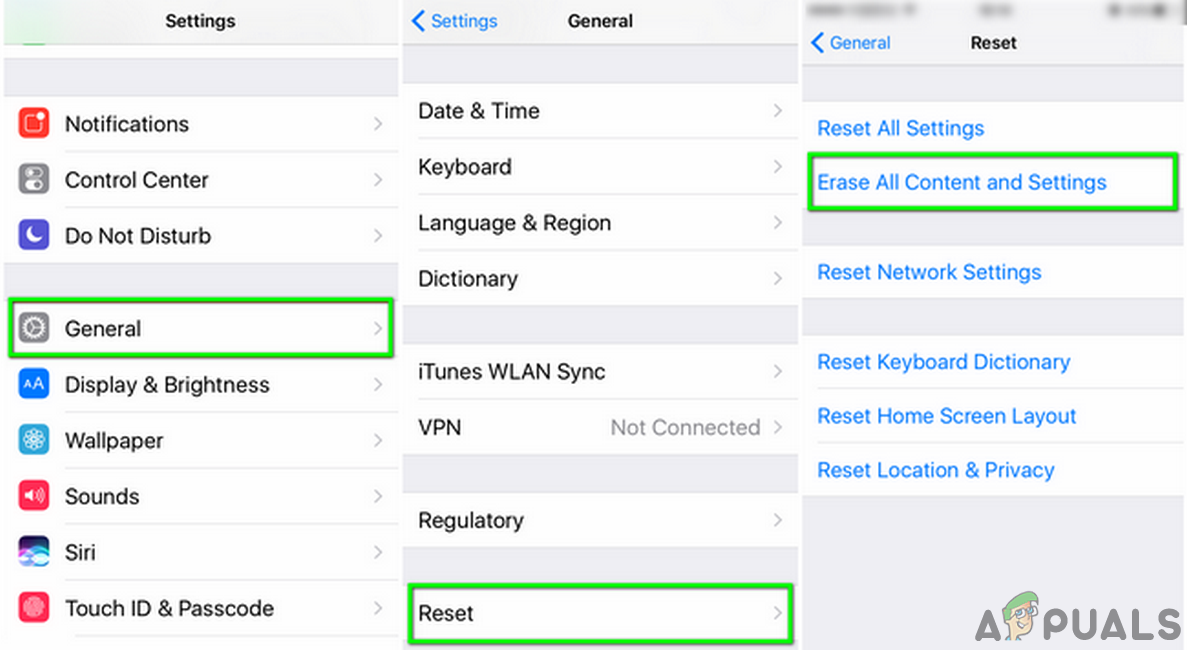
Erase All Content and Settings of the iPhone - Then confirm to factory reset your iPhone and wait till the reset process finishes.
- Once done, set up your device as a new device (without recovering from a backup or syncing to iCloud) and then check if the camera is working fine. If so, then you may restore from the backup or use iCloud sync.
If resetting the iPhone did not work, then check if slightly pushing (but not with enough force to damage any part of your phone) around the camera (to reseat a dislodged component) resolves the issue, especially, if there is a slight bend (some people termed it as bendgate) in your iPhone due to the continuous pressure in your pockets.
If the issue is still there, either you may downgrade your phone’s iOS or restore through an older backup when the camera was working fine. If that did not work or is not an option, then you may contact Apple Support to have a replacement under warranty or get it repaired.
If you are still not sure that the issue is hardware-based, then keep in mind that if an update has broken hardware in your iPhone (if your iPhone was working fine before the update), there is no way to recover it through software means. Also, if, in a quiet room, you bring your iPhone near to your ear and shake it, you may hear a rattling sound which means your camera or another hardware component has broken and needs replacement.