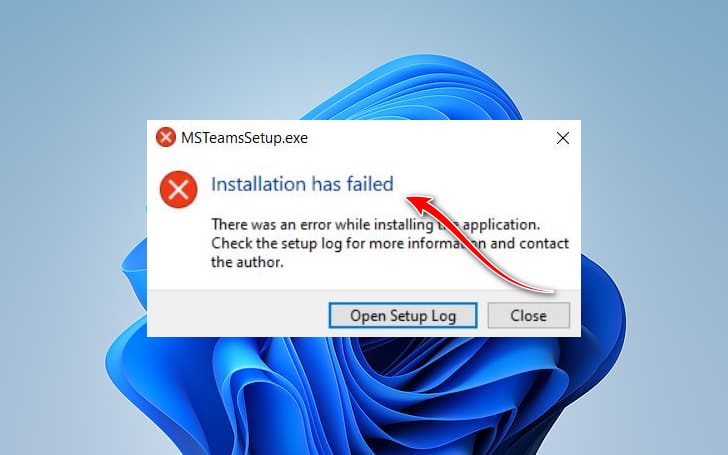
How to Fix “Installation has failed” Microsoft Teams Error?
The Microsoft Teams error message “Installation has failed” typically occurs when the installation process is interrupted by antivirus software or other programs blocking it. This error indicates that the installer encountered an issue it couldn’t resolve automatically. Other potential causes include corrupted installation files or insufficient system permissions.
Regardless of the cause, we’ve compiled several proven methods to resolve this issue. Follow the steps below to troubleshoot the problem.
1. Disable Third-Party Antivirus Temporarily
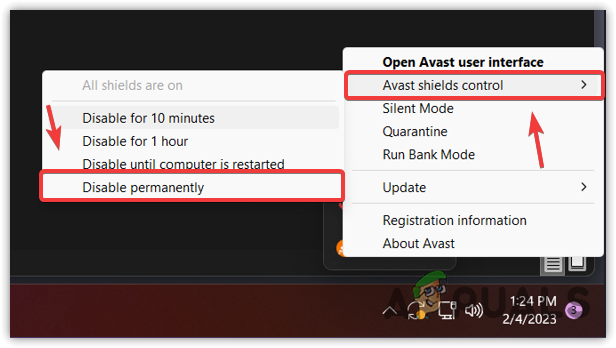
Antivirus programs are designed to block viruses and potential threats to your computer. However, they can sometimes mistakenly flag legitimate installations as suspicious, preventing them from completing. Temporarily disabling your antivirus software can stop them from interfering with the installation process, allowing the Microsoft Teams setup to proceed without being blocked.
- Locate the antivirus icon in the system tray (bottom-right corner of the screen).
- Right-click on the icon and look for an option such as:
- Disable Protection
- Turn Off Antivirus
- Pause Protection
- Select a temporary duration (e.g., 10 minutes, 1 hour, or permanently) to disable the antivirus.
- Once done, try installing Microsoft Teams.
After completing the installation, ensure you re-enable your antivirus protection immediately to keep your system secure.
2. Run Installer as Administrator
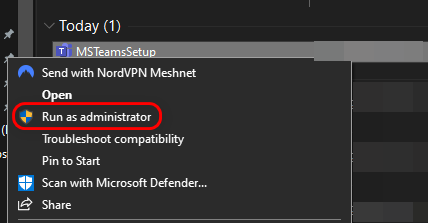
Windows restricts installers from modifying system files or performing certain actions without proper permissions for security reasons. By running the Microsoft Teams installer as an administrator, you grant it the necessary privileges to create directories, install dependencies, and modify the registry without being blocked by system restrictions.
- Open File Explorer.
- Locate your installer where you downloaded it (usually in Downloads).
- Right-click on the MSTeamsSetup (or similar) setup file.
- Click on Run as administrator from the menu.
- If prompted, click on Yes to allow the installer to make changes.
- Proceed with the installation as usual and check if it completes without errors.
- If the installation succeeds, restart your computer to apply changes.
3. Use the MS Teams MSIX Version
The MSIX Version from the Microsoft Store provides an alternative installation method that bypasses common setup issues. This version is particularly useful if the standard installer fails. The MSIX package includes built-in security and dependency management, which helps reduce conflicts with antivirus software, missing system components, and permission restrictions.
Note: This method may not work on certain Windows versions, such as the LTSC (Long-Term Servicing Channel) edition of Windows 10. However, it should work seamlessly on other Windows versions.
- Open your browser and navigate to “Bulk deploy the new Microsoft Teams client” page.
- Scroll down and locate Option 1B.
- Download the .exe installer provided in the link.
- Next, download the appropriate MSIX version for your system (i.e., MSIX x86 for 32-bit or MSIX x64 for 64-bit).

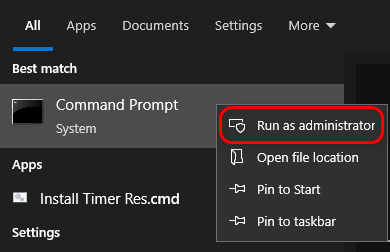
- Open the search bar, type cmd, right-click on it, and select Run as administrator.
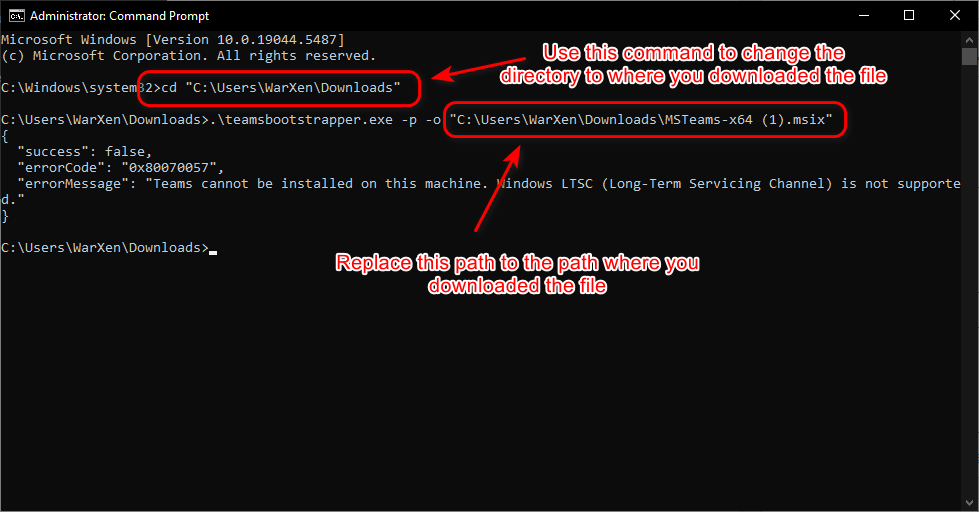
- Depending on where your MSIX file is located, type the following commands in the Command Prompt:
cd "c:\path\to\downloadfolder"
.\teamsbootstrapper.exe -p -o "c:\path\to\teams.msix"
4. Clean Previous Installations
Residual files from previous or failed installations of Microsoft Teams can cause conflicts, preventing the new installation from completing successfully. These leftover files are often stored in directories like SquirrelTemp or as registry entries, which can interfere with the setup process. Removing these files can help resolve permission issues, eliminate potential corruption, and clear conflicting system paths.
Uninstall Microsoft Team
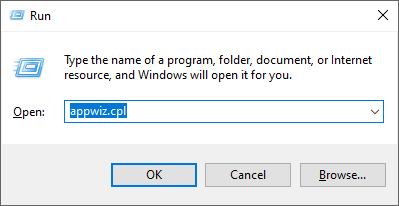
- Press the Windows + R keys to open the Run dialog box.
- Type appwiz.cpl and press Enter.
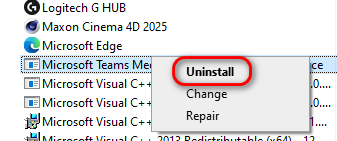
- Locate Microsoft Teams in the list of installed programs, right-click on it, and select Uninstall.
- Follow the on-screen instructions to complete the uninstallation process.
Delete Leftover Files
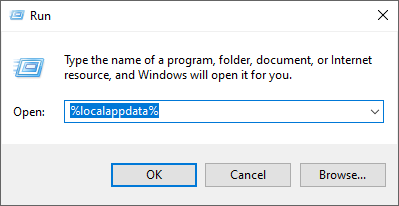
- Press the Windows + R keys to open the Run dialog box.
- Type %localappdata% and press Enter.
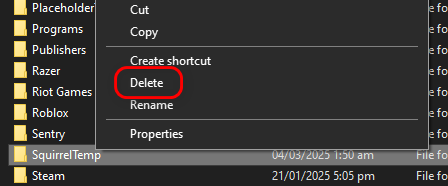
- Locate the Teams and SquirrelTemp folders.
- Right-click on both folders and select Delete.
- Once done, restart your computer.
- Now, try downloading and installing Microsoft Teams again.
5. Perform a Clean Boot
The installation of Microsoft Teams can fail if third-party services or background applications interfere with the process. Performing a clean boot starts Windows with only essential services and drivers, eliminating potential software conflicts and allowing the installation to proceed smoothly.
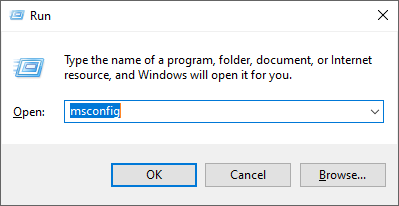
- Press Windows + R to open the Run dialog box.
- Type msconfig and press Enter.
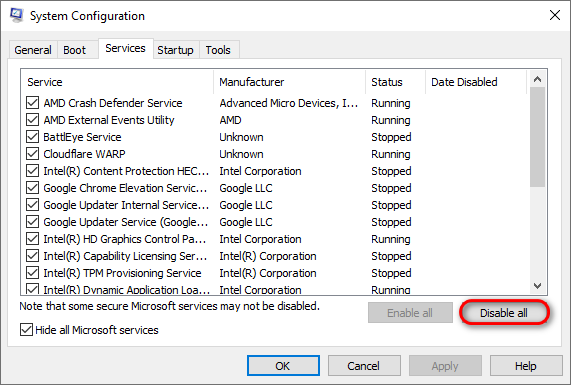
- In the System Configuration window, navigate to the Services tab.
- Check the box for Hide all Microsoft services.
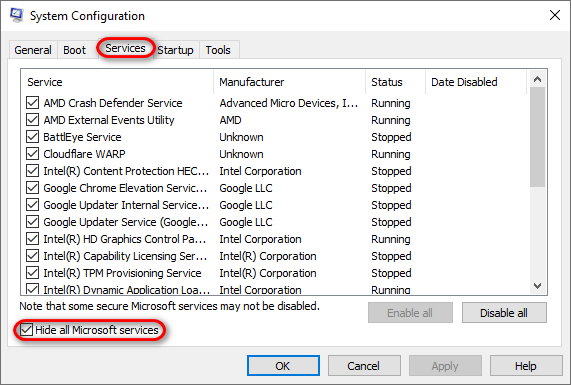
- Click Disable all to turn off all third-party services.
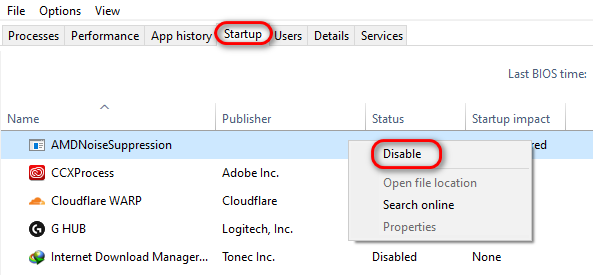
- Open Task Manager by pressing Ctrl + Shift + Esc.
- Go to the Startup tab, right-click on each enabled program, and select Disable.
- Close all windows and restart your computer to apply the clean boot settings.
- Finally, run the Teams installer as an administrator and check if the installation completes successfully.