How to Fix I2C HID Driver Touchpad Not Working?
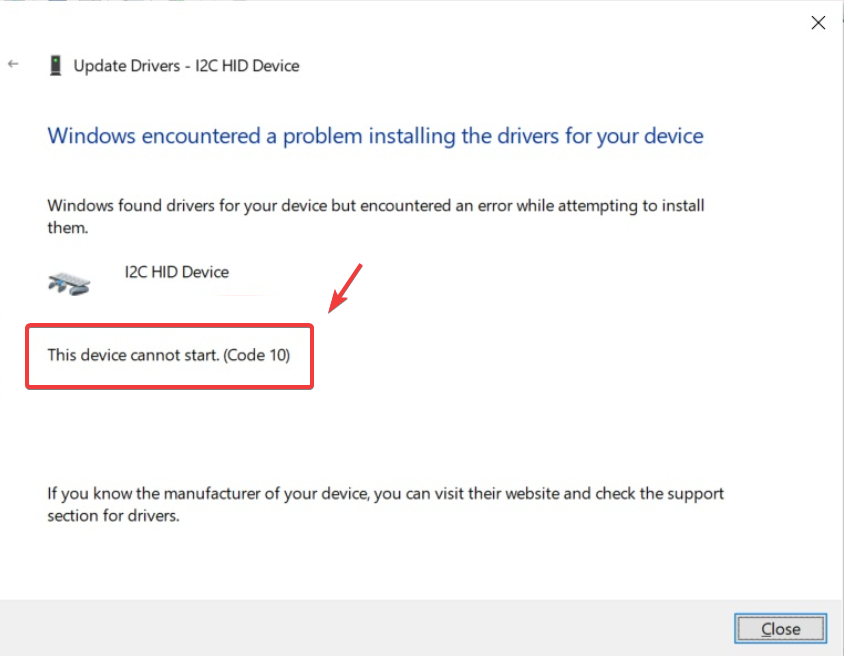
The I2C HID driver failure occurs when the system fails to initiate the device, commonly due to a failed request for an HID descriptor. This often happens for two main reasons:
- A corrupted or incompatible driver – Outdated or damaged software can disrupt communication with the device.
- Power management conflicts – Settings intended to conserve battery life may inadvertently disable the touchpad.
A faulty touchpad driver can cause your cursor to be jumpy, unresponsive, or even freeze entirely. Before we dive into troubleshooting, here’s a quick tip: restart your computer. It sounds simple, but this often clears temporary glitches that might be causing the issue.
1. Reinstall the Touchpad Driver
A corrupted or outdated touchpad driver is one of the most common causes of this issue. Reinstalling it ensures you’re working with a fresh, stable version, often resolving problems like unresponsiveness or erratic cursor behavior.
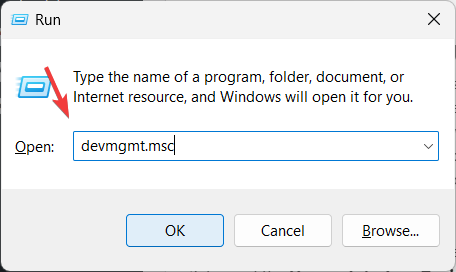
- Press Win + R, type devmgmt.msc, and hit Enter to open Device Manager.
- Expand Human Interface Devices, right-click your touchpad driver, and select Uninstall Device.
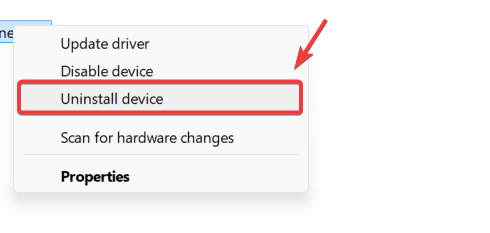
- Repeat the uninstall process for all HID-compliant devices in the same category.
- Restart your computer to automatically reinstall the drivers.
- Test the touchpad. If it’s still not working, move to the next method.
2. Disable Power Saving Features
Power management helps devices enter idle mode when inactive, conserving energy, which is especially useful for laptops. However, this feature may cause malfunctioning, resulting in devices like the touchpad to stop working unexpectedly. Disabling this feature ensures the touchpad stays active and responsive.
- Right-click the Start Menu and open Device Manager.
- Expand Human Interface Devices, right-click your touchpad driver, and select Properties.
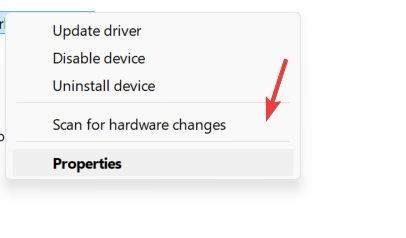
- Switch to the Power Management tab and uncheck Allow the computer to turn off this device to save power.
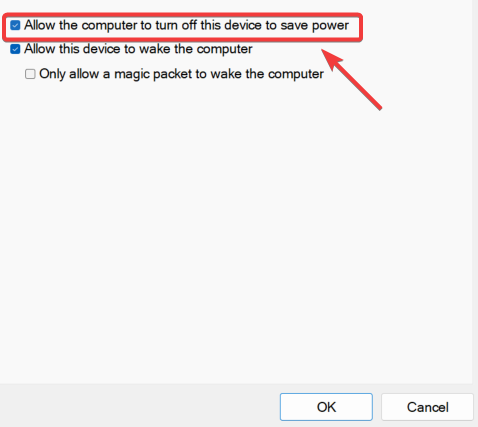
- Click OK and test your touchpad.
3. Update the Touchpad Driver
Updating the driver can resolve compatibility issues and improve your device’s functionality.
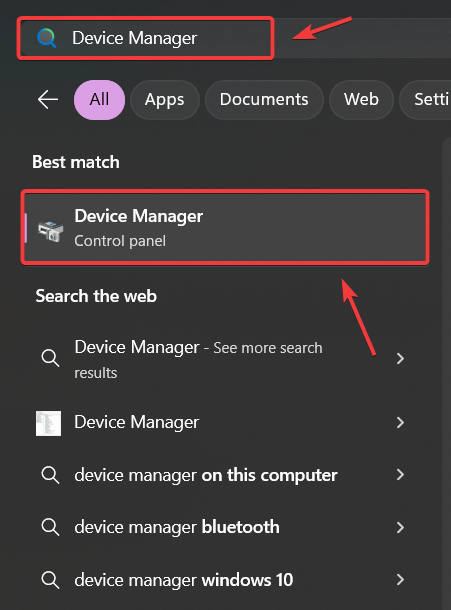
- Press Win, type Device Manager, and press Enter to open it.
- Expand Human Interface Devices or Mice and other pointing devices, right-click your touchpad driver, and select Uninstall Device.
- Confirm by clicking Uninstall.
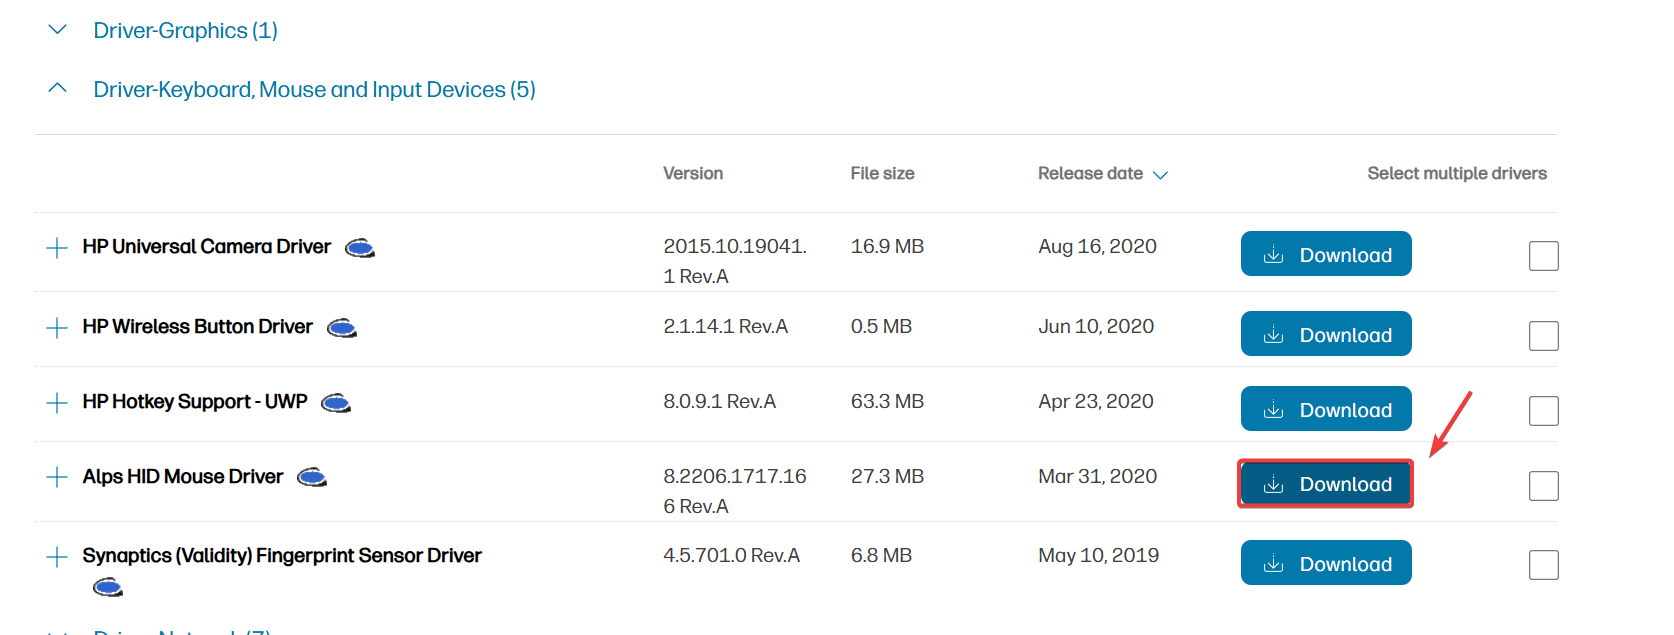
- Visit your laptop manufacturer’s website, go to the Drivers section, and download the latest touchpad driver for your model.
- Run the downloaded installer and follow the on-screen instructions to complete the installation.
4. Perform a System Restore
System Restore allows you to revert Windows to a previous, stable state using a restore point, which is a snapshot of system files, registry settings, and drivers. To utilize System Restore, ensure you have a restore point created.
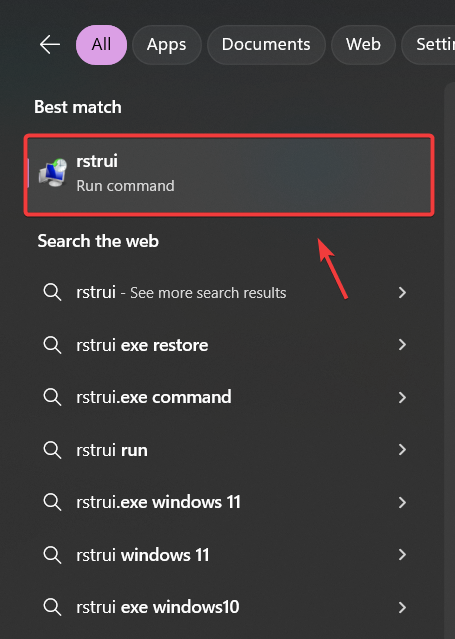
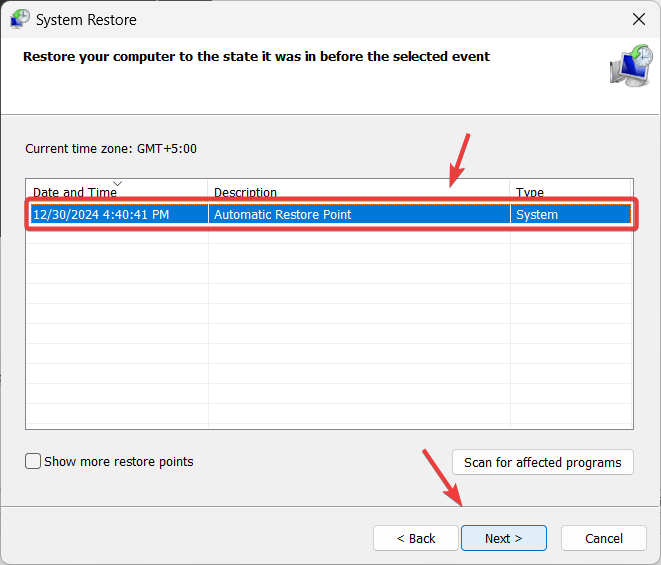
- Press Win + R, type rstrui, and press Enter to launch System Restore.
- Click Next, choose a restore point from before the issue started, and click Next again.
- Click Finish to confirm and start the restore process.
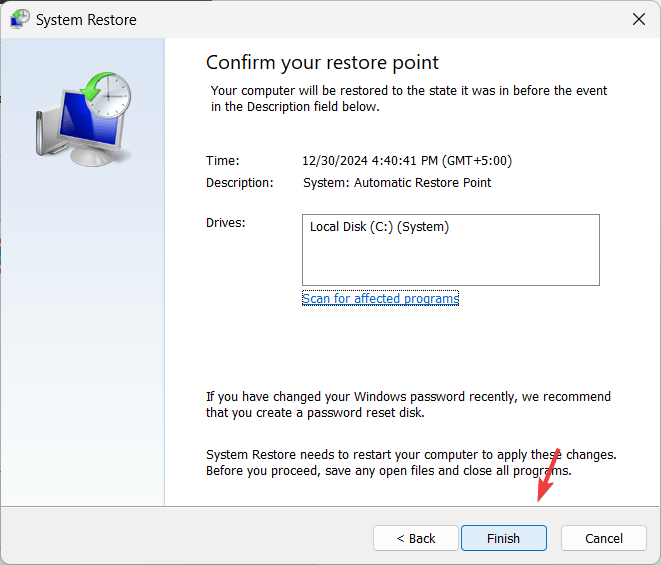
- Once complete, check if the touchpad is working.


