How to Uninstall Skype for Business
The folks at Microsoft caught on to the fact that Skype was used as a mode of internal coammunication by businesses across the globe, and in doing so developed and released a Skype variant designed specifically to be used to by large businesses and corporations. This Skype variant is commonly known as Skype for Business. Skype for Business adds a steaming pile of amazing features, features designed specifically to benefit businesses, on to the already amazing communication platform that we knew as Skype. Normal Skype has all the features a small business of, say, 25 people could possibly require. However, large businesses used to find Skype a bit constricting and lacking.
Skype for Business has everything a large business could possibly require – from the ability to have communication sessions with up to 250 people at a time and enterprise-grade security and encryption to the ability to create and manage employee accounts. Skype for Business also seamlessly integrates itself with all other Office apps. This Skype variant for businesses and corporations does cost $2 per month, per user, but it’s more than worth it.
Getting Skype for Business is pretty easy – it’s removing Skype for Business from a computer that most users find quite complex and sophisticated. In addition, there are an array of different ways to acquire Skype for Business – you can get it as a standalone application or as a part of a version of Microsoft Office, which is why not every process designed to remove Skype for Business from a computer applies in every case. The following are the absolute most effective methods that can be used to remove Skype for Business from a computer:
Method 1: Uninstall Skype for Business from the Control Panel
The simplest way to uninstall Skype for Business would obviously be to uninstall it from the Control Panel like you would any other program installed on your computer. There’s a catch, however – this method can only be used to uninstall Skype for Business if you have a standalone version of the program. If the Skype for Business you have is a part of Microsoft Office or is the Office 365 Skype for Business, Skype for Business won’t even show up as a program you can uninstall in the Control Panel as it is integrated into all of your other Office applications. If you do have a standalone version of Skype for Business, however, you can uninstall it if you simply:
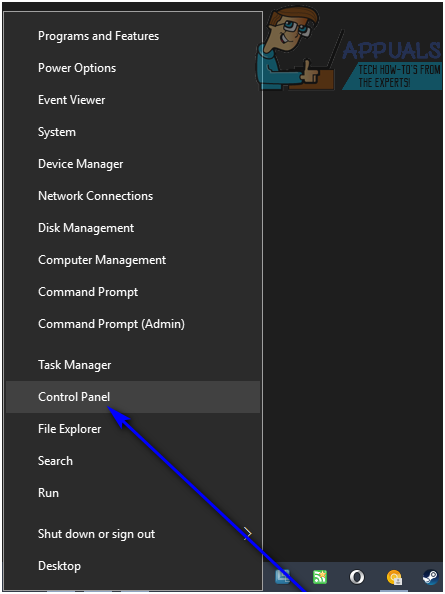
- Right-click on the Start Menu button or press the Windows Logo key + X to open the WinX Menu.
- Click on Control Panel in the WinX Menu.
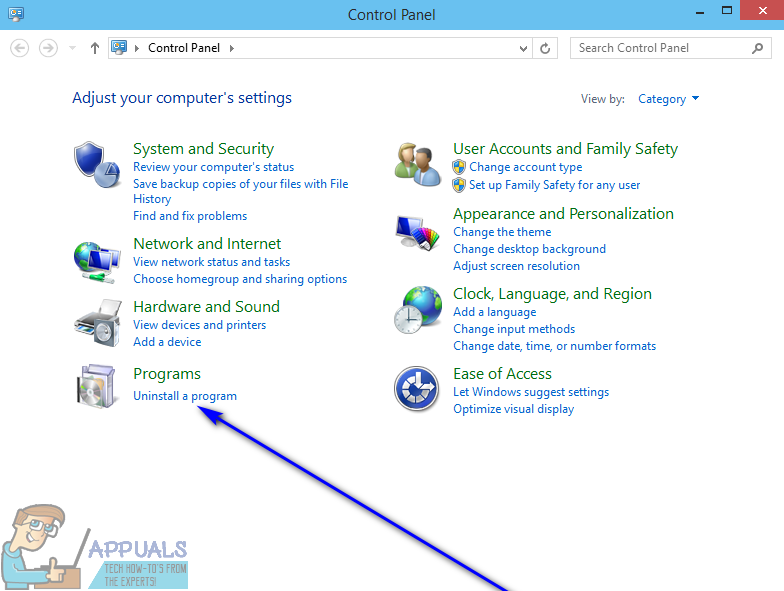
- With the Control Panel in Category view, click on Uninstall a program under the Programs section.
- Wait for the list of programs installed on your computer to be populated.
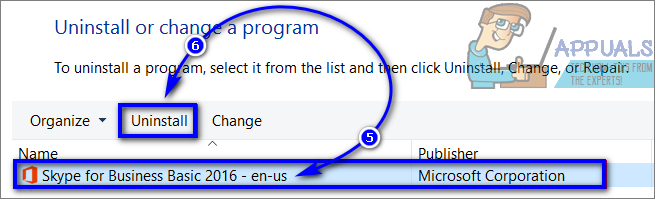
- Locate and click on the listing for Skype for Business to select it.
- Click on Uninstall.
- Confirm the action if required to do so, and follow the onscreen instructions and prompts to get through the uninstallation wizard and uninstall the program.
- Once the uninstallation is complete, click on Close.
Method 2: Remove Skype for Business from your installation of Office
If you acquired Skype for Business as part of a Microsoft Office suite of applications (Microsoft Office Professional Plus 2013, for example), you can remove Skype for Business from your computer if you simply remove the application from the Office installation. However, there’s a catch here as well – this method will only work if you have an MSI-based installation of Office, not a Click-to-Run version. MSI-based Office installations are those what were actually installed on computers using a Microsoft Installer for the respective version of Office. If you do have an MSI-based Office installation, you can remove Skype for Business from it – all you need to do is:
- Right-click on the Start Menu button or press the Windows Logo key + X to open the WinX Menu.
- Click on Control Panel in the WinX Menu.
- With the Control Panel in Category view, click on Uninstall a program under the Programs section.
- Wait for the list of programs installed on your computer to be populated.
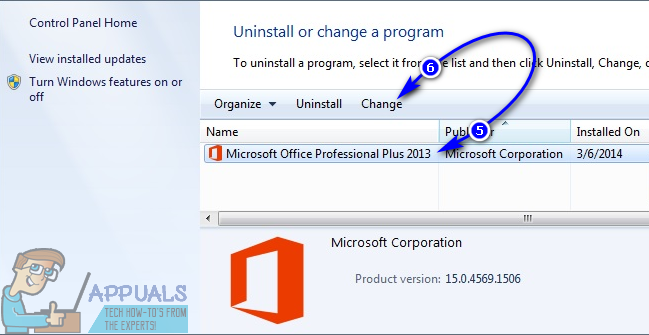
- Locate and click on the listing for Microsoft Office to select it.
- Click on Change.
- In the Installation Options window, scroll down to the listing for Skype for Business (or Microsoft Lync, as it is known on some versions of Microsoft Office), open the dropdown menu located directly next to it and click on Not Available to select it.
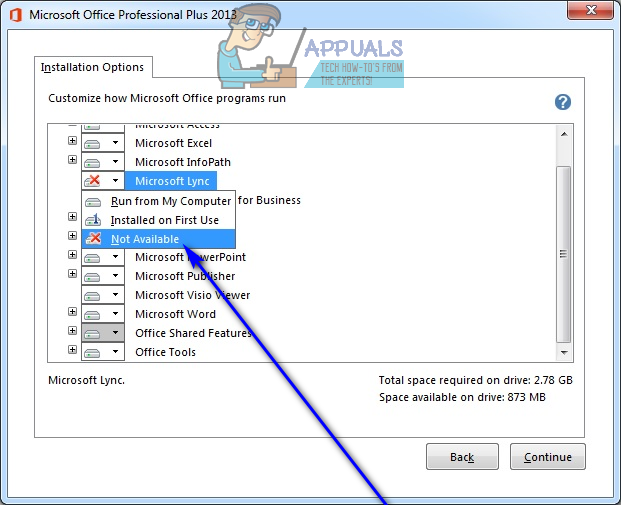
- Click on Continue and go through the rest of the wizard.
- Once done, close the Control Panel and check to make sure that Skype for Business actually has been uninstalled.
Method 3: Exclude Skype for Business from your Office 2016 installation
If you have a Click-to-Run version of Microsoft Office 2016 and Skype for Business is a part of it, you can simply exclude Skype for Business from Microsoft Office using the Office 2016 Deployment Tool. Understandably, this option is only viable for users with Click-to-Run versions of Microsoft Office 2016. If you would like to use this option to get rid of Skype for Business, you need to:
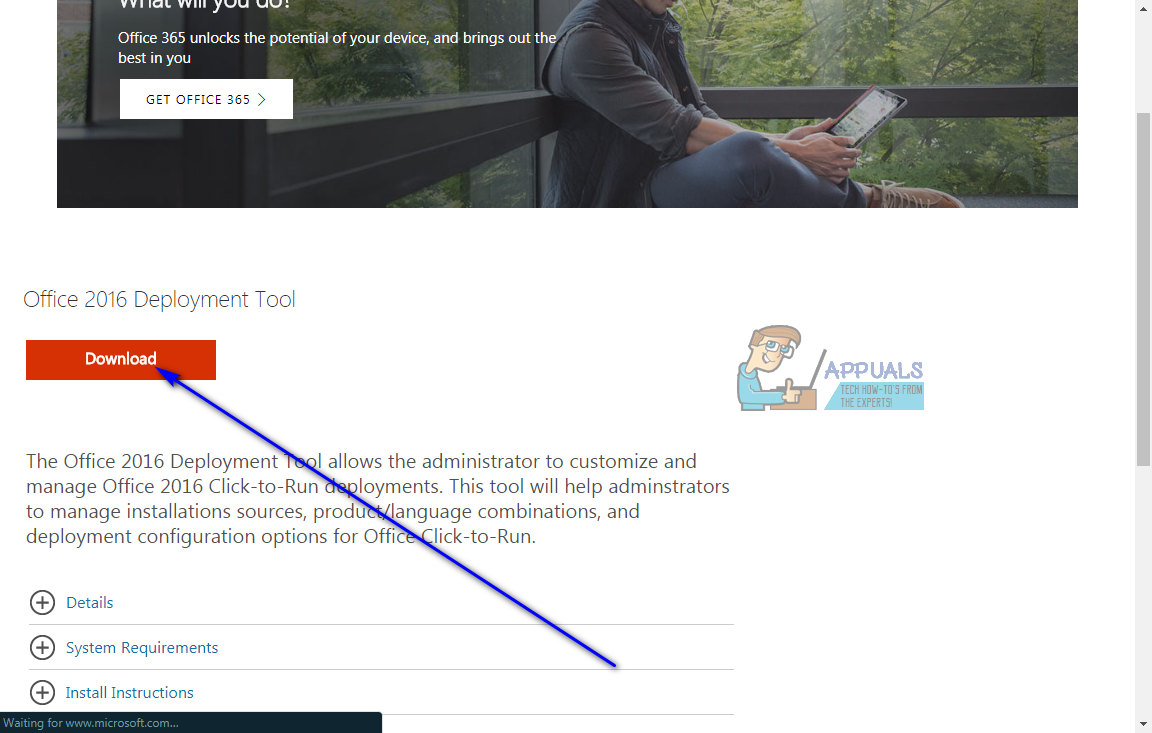
- Go here and click on Download to start downloading the Office 2016 Deployment Tool.
- Run the executable file for the Office 2016 Deployment Tool once it has been downloaded, and navigate to and select a directory on your computer you want to have the Office 2016 Deployment Tool‘s files extracted to. You can create an entirely new folder on your computer (C:\ODT2016) for example, and two files named setup.exe and configuration.xml will be extracted to the folder you select.
- Navigate to the folder you selected, locate the configuration.xml file and open it in a text editor (Notepad will work fine).
- Replace the contents of the configuration.xml file with the following text:
<Configuration>
<Add SourcePath=”C:\ODT2016″ OfficeClientEdition=”32″>
<Product ID=”O365ProPlusRetail”>
<Language ID=”en-us” />
<ExcludeApp ID=”Lync” />
</Product>
</Add><Display Level=”Full” AcceptEULA=”TRUE” />
</Configuration> - If you’re using a 64-bit version of Windows, replace OfficeClientEdition=”32″ in the text specified above with OfficeClientEdition=”64″. Press Ctrl + S to save the changes you made to the file.
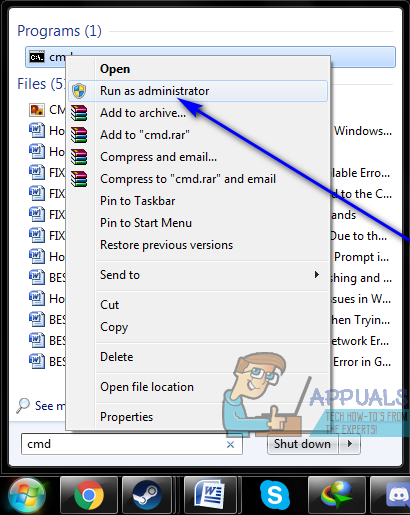
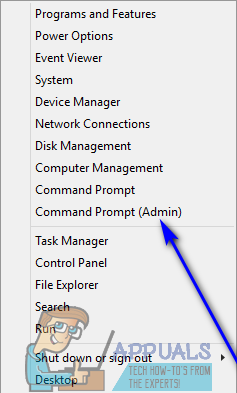
- Launch an elevated Command Prompt that has administrative privileges. If you’re using Windows 7, open the Start Menu, search for “cmd“, right-click on the search result titled cmd and click on Run as administrator. If you’re using Windows 8. 8.1 or 10, simply right-click on the Start Menu to open the WinX Menu and click on Command Prompt (Admin).
- Type the following into the elevated Command Prompt and press Enter, replacing X:XXXX\XXXX with the exact directory on your computer the setup.exe and configuration.xml files were extracted to:
cd X:\XXXX\XXXX - Type the following into the elevated Command Prompt and press Enter:
setup.exe /download configuration.xml - Wait for the previous command to be executed successfully. Once the last command has been executed, type the following into the elevated Command Prompt and press Enter:
setup.exe /configure configuration.xml - If asked if you would like to close Skype for Business, confirm the action.
- Wait for the setup to finish, and close the elevated Command Prompt once the setup finishes.
- You are, at this point, free to delete the setup.exe and configuration.exe files, as well as the folder they were located in if you created that folder specifically to house these files. Restart your computer and check to see if you really did manage to get rid of Skype for Business when it boots up.
Method 4: Stop Skype for Business from starting automatically
Most users want to uninstall Skype for Business because they see it as a nuisance and it simply bothers them when they see it because they don’t need it. Well, you don’t necessarily have to uninstall Skype for Business for that, you just need to make sure you don’t see it. You can stop Skype for Business from starting automatically if you can’t, for whatever reason, uninstall it – doing so will not remove the application from your computer but you will no longer see it. To stop Skype for Business from starting automatically, simply:
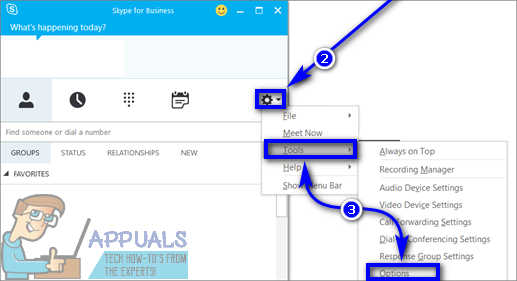
- Launch Skype for Business.
- Click on the Tools button (represented by a gear).
- Hover over Tools and click on Options.
- In the left pane of the window, click on Personal.
- In the right pane of the window, uncheck the checkboxes next to both the Automatically start the app when I log on to Windows and Start the app in the foreground options to disable them.
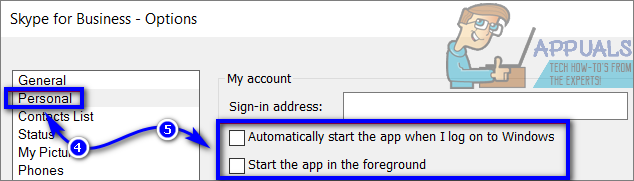
- Click on OK.
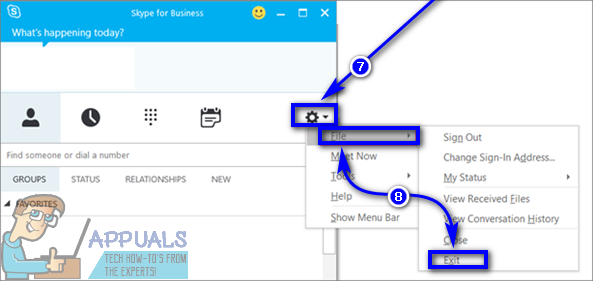
- Click on the Tools button (represented by a gear).
- Hover over File and click on Exit to close Skype for Business.
You will no longer be bothered by Skype for Business on your computer even though it will still be there.
Method 5: Uninstall Microsoft Office
If you are dead set on uninstalling Skype for Business from your computer, the Skype for Business you have on your computer is a part of your installation of Microsoft Office and is not a standalone version, your installation of Office is a Click-to-Run installation and not an MSI-based installation and Method 3 didn’t work or doesn’t apply to you either, there is only one way you can remove Skype for Business on your computer – uninstall Microsoft Office.
If all of the previously described conditions are present, your installation of Skype for Business is tethered to your installation of Microsoft Office – the former cannot be removed unless you uninstall the latter. If you can make peace with uninstalling Microsoft Office to get rid of Skype for Business, simply open the Control Panel, click on Uninstall a program under Programs (with the Control Panel in Category view), locate and click on the listing for Microsoft Office, click on Uninstall and follow the onscreen instructions and prompts to go through the uninstallation wizard and uninstall Microsoft Office. Once Microsoft Office has been successfully uninstalled, Skype for Business won’t exist on your computer either.