How to Transfer Steam Games to Another PC
While upgrading your PC, it is not necessary to delete your existing Steam and reinstall all the games from zero. You can transfer your games to another PC through different methods available.
Solution: Using Official Steam method (reinstalling client)
Please make sure that you have your Steam credentials at hand before starting this method. In the case of any problem with your password, we also advise you to double check if Steam is linked to any of your email addresses. Furthermore, we also advise that you don’t install Steam to an external hard drive because of the potential problems you may face.
Step 1: Backing up game files
Before we start moving Steam to your new PC, we will make a backup of each of your Steam games. If anything goes wrong with the installation, we can always restore your downloaded games.
Another thing to keep in mind is that many games use third party applications/downloaders. They will not work with Steam’s backup feature. These games include many third party free to play as well as MMO games. Only the games which are completely downloaded, installed and patched through Steam can use the backup feature correctly.
The backup created by Steam will not include your custom maps, saved games, or configuration files. In order to back them up too, you will have to browse to your Steam directory (C:\Program Files\Steam\SteamApps\common\<game name>) and copy the files located in these folders:
/cfg/ (Configuration files)
/downloads/ (This includes custom content used by multiplayer games)
/maps/ (Custom maps are found here which are downloaded on multiplayer games)
/materials/ (This includes custom skins and even textures)
/SAVE/ (You find your single player saved games in this folder.
After you copy these files, after restoring back up, you will need to paste them again in their corresponding folders.
- Open your Steam client and head over to the “Library” section. Here all of your games are listed.
- Right click on the game you want to back up and select the option “Backup game files”.

- In the next window, select all the games you want to back up.
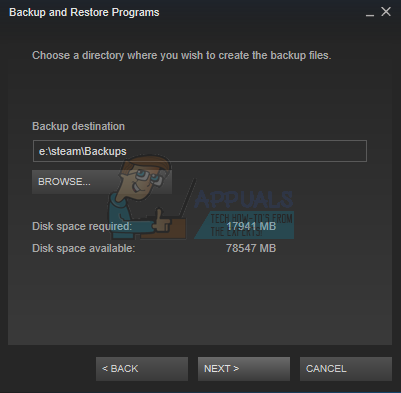
- Now you will be prompted where you want to store your backup. You should select a place where you can easily access the files and copy them to your external storage.
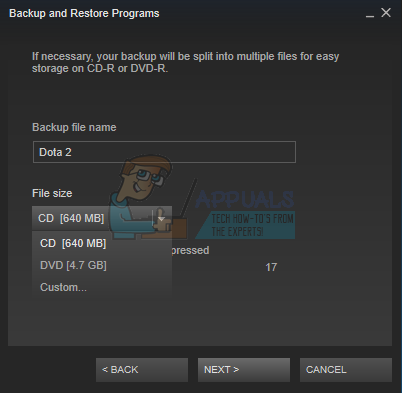
- Now Steam will prompt you whether you want to you want to make CD copies or DVD ones. If you have an external hard drive or a USB, it is advised that you use the DVD.
- After your backup is done, browse to the location you selected and copy all the files to your external storage. Proceed with step 2 of the solution.
Step 2: Relocating Steam files
Since we have backed up all the games in case anything goes wrong, we can proceed with moving your Steam to another PC.
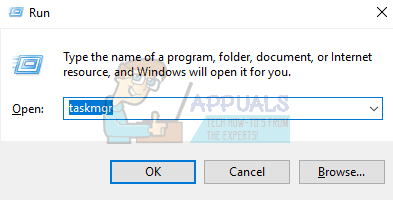
- Press Windows + R button and in the dialogue box type “taskmgr”. This will bring up the task manager.
- End all Steam related processes starting from Steam Client Bootstrapper.
- Once all the processes are terminated, browse to your Steam directory. The default location is (C:\Program Files\Steam).
- Locate the following files and folders:
SteamApps (Folder)
Userdata (Folder)
Steam.exe (Application)
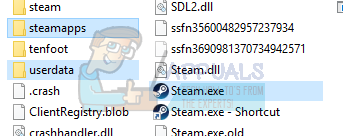
- Except the files/folders listed above, delete all other ones.
- Copy these folders/files to an external storage and move them to the new computer you wish to install Steam on.
- Launch Steam using Administrator privileges and log in using your credentials.
Now Steam will briefly update before the client comes up. Now we need to verify the game cache before you are ready to use Steam.
- Head over to the Library section and right click on the game.
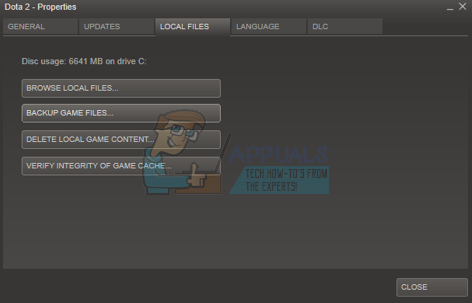
- Click on its Properties and select the Local Files
- Click the Verify Integrity of Game Files button and Steam will verify that game in a few minutes.
- Once the game files are verified, you are free to play whichever game you want.
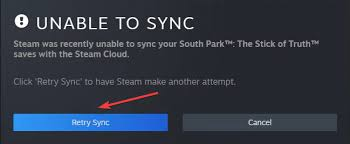
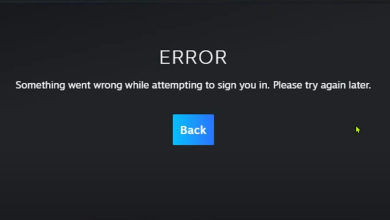
What to do if you encounter an error?
You may experience an error from Steam if the moving process encountered a hurdle due to some technical issue. No need to worry, just follow the steps listed below and you will be back gaming in no time. First, we have to completely uninstall Steam before we can reinstall it again. There are two ways to uninstall Steam, you can either remove it from the control panel or you can remove it by altering the registry.
It is advised to try removing it from the control panel. If there is some error involved, you can follow the method of altering the registry.
Uninstalling through Control Panel
- Press Windows + R button and in the dialogue box type “taskmgr”. This will bring up the task manager.

- End all Steam related processes starting from Steam Client Bootstrapper.
- Browse to your Steam directory like we did in the earlier steps.
- Move the folder “SteamApps” to your desktop or any other accessible location and delete it from the Steam directory.
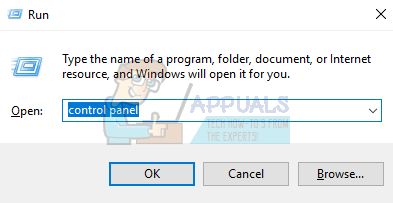
- Now we will uninstall Steam using the control panel. Press Windows + R to bring up the Run window. Type “control panel” in the dialogue box and hit Ok.
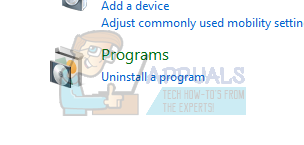
- Once you have opened the control panel, select “Uninstall a program” seen under the tab of Programs.
- Select Steam from the list of options and uninstall.
- Press Finish to complete the uninstall process.
Uninstalling manually
When we deal with the registry, we have to be extra careful not to tamper other registries. Doing so can result on major technical problems in your PC. Always follow the steps very carefully and only do what is mentioned.
- Navigate to your Steam directory. You can copy the folder “Steamapps” if you wish to save the game files for future use.
- Delete all the Steam files in your directory.
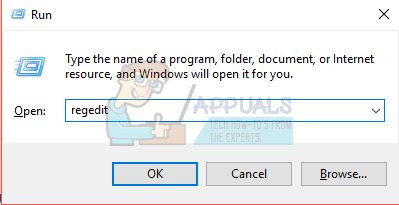
- Press Windows + R button and in the dialogue box type “regedit”. This will bring up the registry editor.
- For 32 bit computers, navigate to : HKEY_LOCAL_MACHINE\SOFTWARE\Valve\
Right click on Valve and select the option delete.
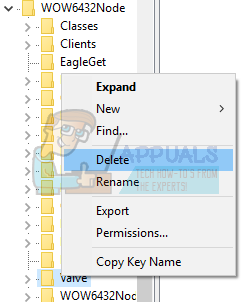
For 64 bit computers, navigate to: HKEY_LOCAL_MACHINE\SOFTWARE\Wow6432Node\Valve\
Right click on Valve and select the option delete.
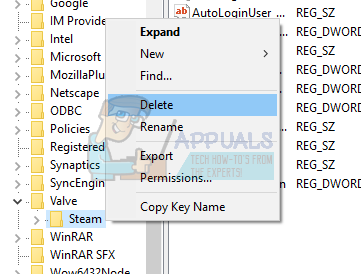
- Navigate to: HKEY_CURRENT_USER\Software\Valve\Steam
Right click on Steam and press delete.
- Close your registry editor.
Installing Steam
Since we have uninstalled Steam again, we can start the installation process. You can get the Steam installation files from here. Click on “Install Steam Now”. Your computer will download the required files and upon opening, ask for the install location you wish to choose.
If you backed up your games in the method listed above, you can restore them to avoid downloading the games all over again.
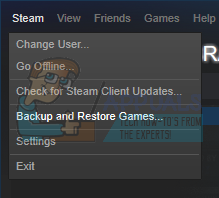
- Open the Steam client and on the upper left corner, click the button which says “Steam”.
- From the drop down menu, click the option which says “Backup and restore games”.
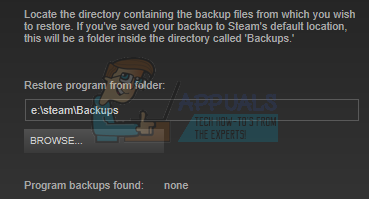
- Now you will be given two options. Select the one which says “Restore a previous backup”.
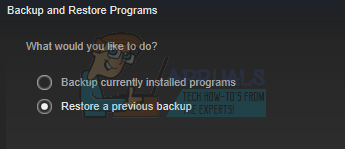
- Steam will ask you to browse to the directory where the existing backup is located. After you pin point the backup, it will automatically detect the game and start restoring the backup. Do note that Steam may download minor files and folders in order to complete the installation process. It is advised you have a good working internet connection.


Thnks bro…