How to Transfer PicsArt Stickers from Android to PC
PicsArt is one of the most popular apps for photo editing on mobile devices, as it offers a huge library of filters and effects to apply to your photographs. It also offers high-quality clipart, frames, and backgrounds to create really amazing artwork with your photos. The best part about PicsArt stickers is that they’re high-resolution, high-quality .PNG files, they’ve just been renamed to a filetype that PicsArt opens.
Of course, sometimes using a mobile device just doesn’t cut it when wanting to do something extraordinarily fancy to your photographs, and something like PhotoShop with a mouse will be infinitely more useful than trying to brush and erase on a touchscreen. And because we’ve paid for all those packs of stickers and frames from PicsArt (unless you use the #freetoedit community stickers), why shouldn’t we be able to transfer them to PC? Well actually, we can. This guide will show you how.
(Note: You can also transfer bought / downloaded fonts to PC as well, and they’re in .TTF format.)
So let’s assume you want to transfer the PicsArt sticker pack ‘After Dark’ from my device to my PC. Or any other sticker pack or resource you’ve downloaded in the app.
- First connect your device to your PC via USB.
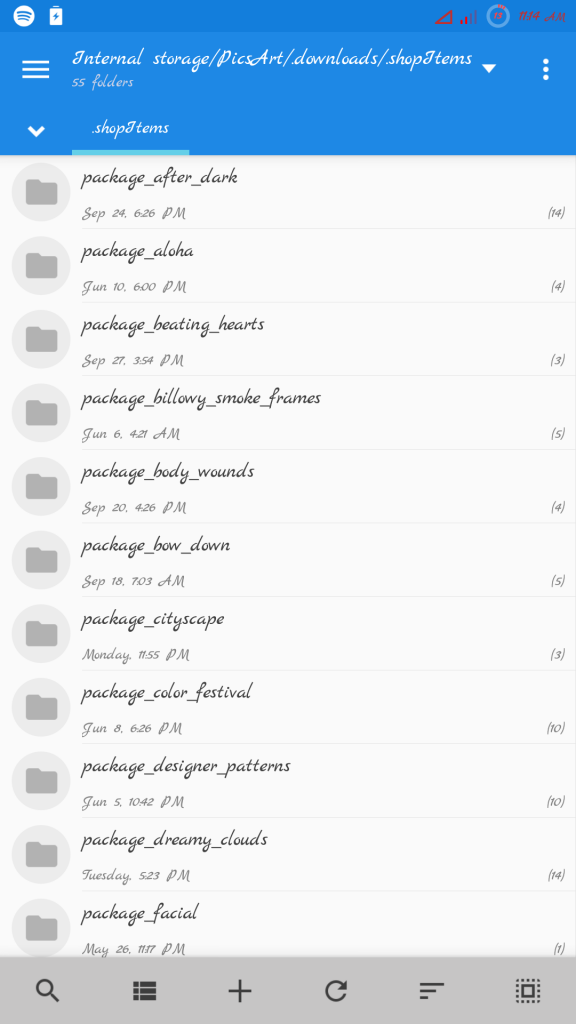
- Now open a file explorer on your device, and navigate to where PicsArt has been installing resource packs on your device. It should typically be /Internal storage/PicsArt/.downloads/.shopItems
- Now just copy the entire folder of the resource pack you want over to your PC.
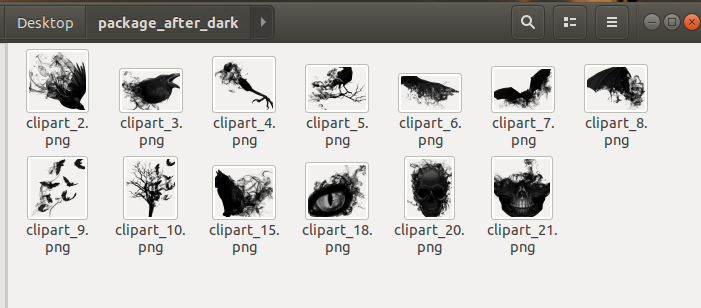
- Now if we open the folder on your PC and look inside, you’ll see that we cannot open the files. If its a sticker pack you’ve transferred to your PC, all the files inside the folder will be named ‘clipart_1’, ‘clipart_2’, etc, with no file extension. They cannot be opened by any software.
- So now we’re going to batch-rename the files to have a .PNG file extension. It’s as simple as that.
For Windows Users
- Hold Shift + right click inside the folder containing all the stickers, and choose ‘Open a command prompt here’.
- Type the following command into the command prompt: ren *.* *.png
Remember that * is a wildcard, meaning you do not need to specify the file-name. So what we just basically did, as you can probably see on your computer screen, is add the .PNG extension to every file in that folder. Now they can all be opened in any image editing software that can handle .PNG!
For MacOS Users
- From the Finder of the Mac, pull down the “Finder” menu and go to “Preferences” and then go to “Advanced”
- Check the box for “Show all filename extensions” and then uncheck the box for “Show warning before changing an extension”, then close out of Finder preferences
- Now select all the files in the folder, and right click on them. Select Rename Items
- Choose ‘Add Text’ from the drop down menu of the rename tools, and enter .png as the text to add, and set it to add the text to the end of the filename. Finally, click Rename!