How to Stop Microphone from Auto Adjusting Windows?
Microphone adjusting on its own can cause sudden volume changes, leading to uneven audio during calls or recordings. This usually happens when programs like Skype, Steam, or other communication software change the microphone volume automatically without user input. The primary reason is the “Allow applications to take exclusive control of this device” setting being turned on, which lets apps change volume levels on their own.
Other reasons include tools like Skype that have their own auto-adjustment features, like automatic gain control.
Now that you know the causes, lets discuss the solutions.
1. Stop Skype from Automatically Adjusting the Microphone (if applicable)
When Skype controls your microphone, it often changes the volume automatically based on background noise or call quality, causing uneven audio levels. By turning off Skype’s automatic gain control, you stop it from changing your microphone settings. This keeps your audio levels steady, providing stable input for all apps.
- Open Skype UWP, click the action button in the top-left corner, and then click the three-dot icon. From the context menu, click on Settings.
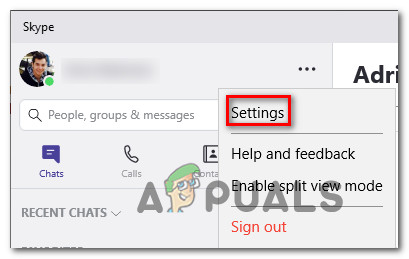
Accessing the settings menu of Skype Note: For the desktop version of Skype, use the ribbon bar at the top to go to Tools > Options.
- In the Settings tab, select Audio & Video from the menu on the left.
- In the Audio & Video tab, scroll down to the Microphone section and uncheck Automatically adjust microphone settings.
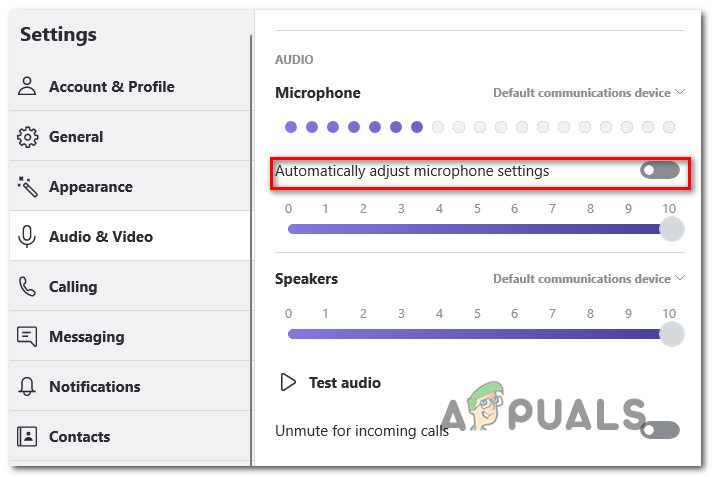
Preventing Skype from adjusting the microphone Note: For the desktop version of Skype, go to Audio Settings and uncheck Automatically adjust microphone settings.
- Use your computer normally to check if the microphone settings still auto-adjust. If the issue persists, proceed to the next method below.
2. Stop Steam from Automatically Adjusting the Microphone Level (if applicable)
If you notice your microphone volume changing on its own, stopping Steam from adjusting it might fix the problem. Steam’s voice chat has a feature that automatically changes microphone volume levels during conversations. By turning off this feature, Steam won’t mess with your computer’s audio settings, helping to keep the volume steady during games or voice chats.
- Open the Steam client, log in, and click the Friends & Chat icon at the bottom-right corner.
- In the Friends & Chat window, click the gear icon in the top-right corner to open Settings.
- In Friends List Settings, select the Voice tab from the left menu, then go to the right pane, and scroll down to click Show Advanced Settings at the bottom.
- In the Advanced settings menu, turn off the toggle for Automatic volume/gain control.
- Restart Steam and check if the automatic volume adjustments continue.
If this method wasn’t applicable to your current situation, move down to the next method below.
3. Stop Applications From Taking Exclusive Control of the Microphone
When Skype or Steam controls your microphone, it can change the volume automatically, leading to unpredictable audio levels during calls or recordings. By turning off these apps’ ability to change microphone settings, you can keep the volume stable.
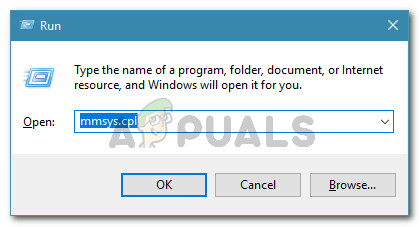
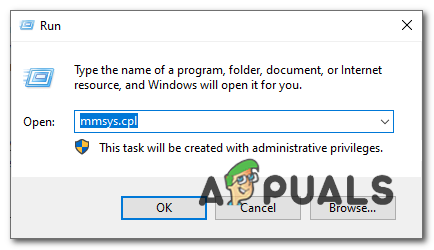
- Press Windows + R, type “mmsys.cpl“, and press Enter.
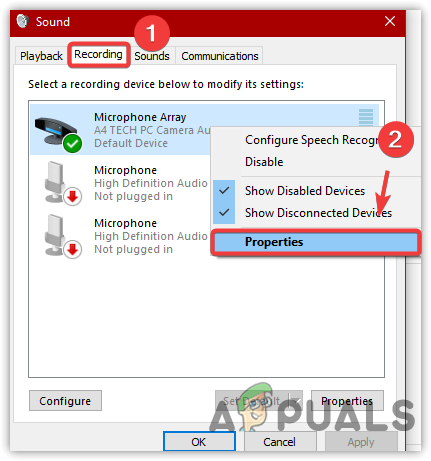
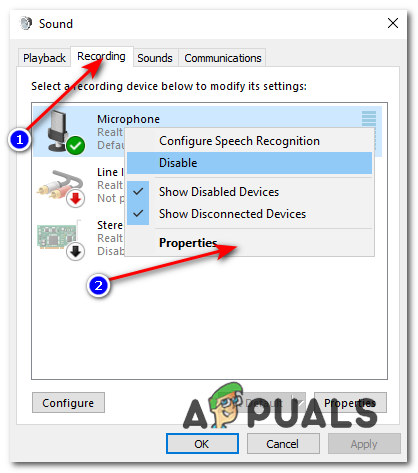
- Click the Recording tab.
- Select the microphone you’re having issues with, and click Properties.
- Go to the Advanced tab and uncheck Allow applications to take exclusive control of this device.
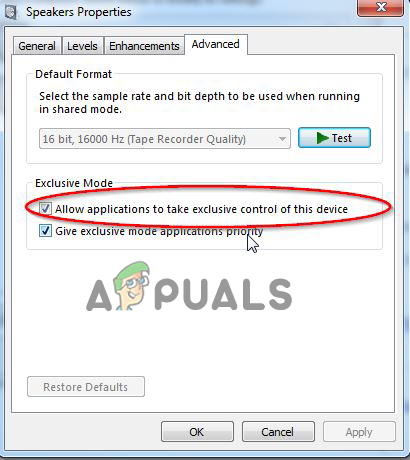
Click on Allow applications to take exclusive control of this device. - Click Apply to save the changes, then restart your computer and check if the issue is resolved at the next startup.
4. Change the Microphone Value Manually
Manually setting your microphone’s volume gives you control over its sensitivity, stopping other apps from changing the settings. This avoids the software adjustments that often make the volume change automatically when apps like Skype or Zoom try to fix background noise.
- Press Windows + R to open a Run dialog box. Type “control” in the text box and press Enter to open the Control Panel.
- In the Control Panel, use the search function in the top-right corner to find ‘sound’.
- Click on Sound from the search results.
- In the Sound window, select the Recording tab, choose the active microphone or headset, and click Properties.
- In the Properties window, go to the Levels tab and adjust the microphone level using the slider. Click Apply to save the changes.
- This should keep the microphone level steady, regardless of any changes third-party programs try to make in the future.
If this procedure wasn’t applicable to your current situation or you’re looking for a different approach, move down to the next method below.
5. Update your Microphone Driver
If your drivers are outdated, your microphone may not work properly with the system. Updating the driver ensures that your microphone functions smoothly with Windows, fixing any compatibility issues that can cause problems like auto-adjusting volume.
- Press Windows key + R to open a Run dialog box. Type “devmgmt.msc” and press Enter to open Device Manager.
- In Device Manager, expand the Sound, video, and game controllers section.
- Right-click the recording device you’re having issues with and select Properties from the context menu.
- In the properties screen, go to the Driver tab and click Update Driver.
- Click Search automatically for updated driver software and wait to see if a new driver is found.
- Once complete, restart your computer and check if the microphone level adjustments persist. If they do, or if no new driver is found, proceed to the next steps.
- Repeat steps 1 to 3 to return to the Driver tab of your recording device, but click Uninstall Device instead of Update Driver. Confirm the uninstallation and wait for it to finish.
- Restart your computer to allow Windows Update to install a clean driver.
- After the restart, check if the microphone auto adjustments continue.
6. Perform a Clean Boot
By turning off unnecessary startup programs and services, a clean boot helps find out if a background process is changing your microphone’s settings. Since volume changes can be caused by third-party software, this step finds the problem by running only important services. Once the system is steady with a clean boot, it’s easier to find the app that’s adjusting the microphone settings.
- Press Windows + R, type ‘msconfig‘, and hit Enter.

Running MSCONFIG from a Run dialog box - Navigate to the Services tab.
- Check Hide all Microsoft services.
- Click Disable all.
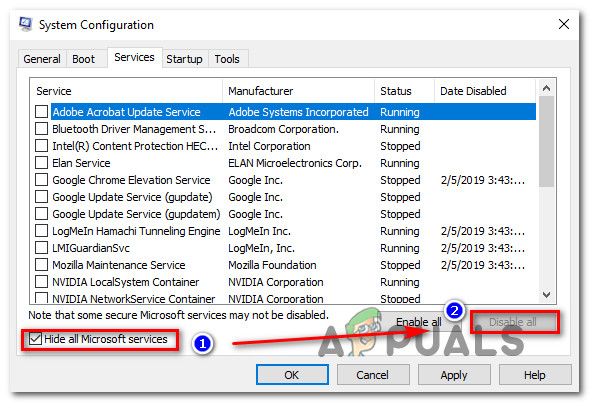 Disabling all Windows services
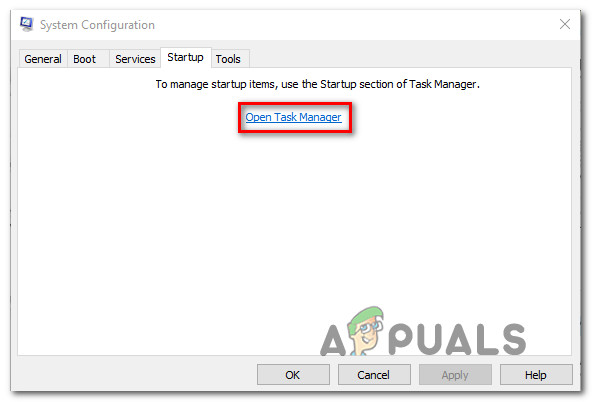
 - Click Apply, then go to the Startup tab and click Open Task Manager.
Opening the Task Manager via System Configuration - Select each service individually and click Disable to stop it from running at startup.
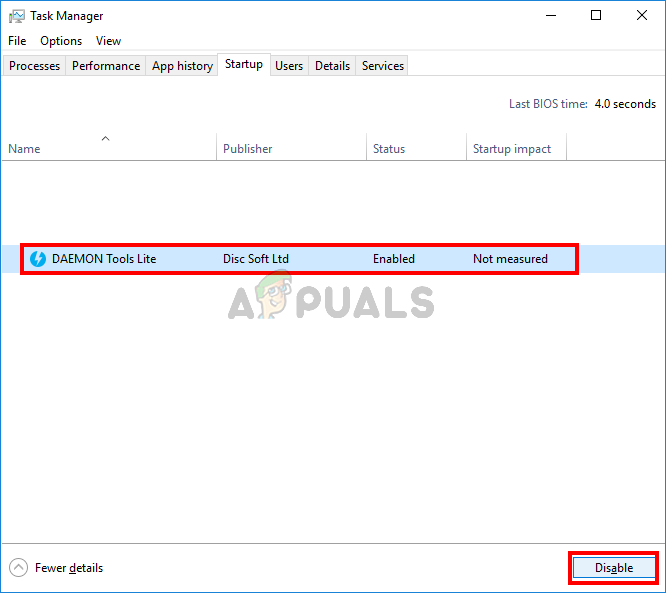
Disabling Apps from Startup - Restart your PC.
7. Disable Microphone Enhancements
Audio enhancements, meant to improve sound, can sometimes cause problems with the microphone, like changing its volume on its own. Turning off these enhancements lets the microphone work naturally, without extra processing that might clash with app settings or how the system works.
- Press Windows + R to open the Run dialog.
- Type mmsys.cpl and press Enter.
Opening Microphone Properties - Go to the Recording tab, right-click your microphone, and select Properties.
Opening the Microphone properties - Select the Enhancements tab in the Microphone Properties.
- Check the Disable all enhancements option.
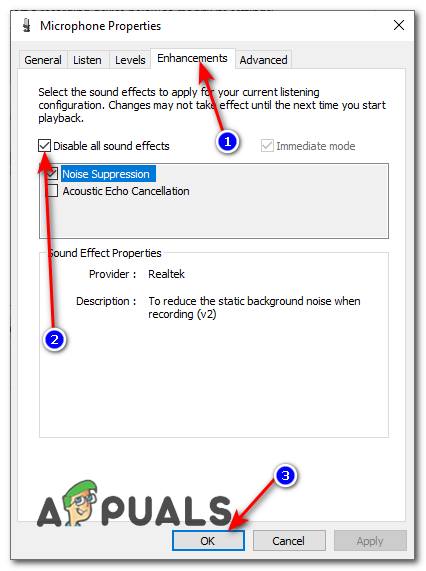
Disabling all microphone enhancements
8. Edit Registry
Sometimes, the issue lies with the registry configuration of the microphone level. Windows might have stored a value in the registry for your microphone level which might receive precedence over the manual value that you select from the Sound Control Panel. You can adjust this value by:
- Press Windows + R to open the run prompt. Type regedit and press Enter.
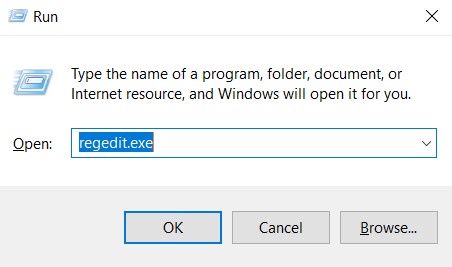
regedit.exe - Navigate to the following location:
HKEY_CURRENT_USER\Software\Microsoft\Speech\RecoProfiles\Tokens\{95CF724E-B3B5-4D94-A4FB-36AE77A88FE0}\{DAC9F469-0C67-4643-9258-87EC128C5941}\Volume - Double click on the following value:
HKEY_LOCAL_MACHINE\SOFTWARE\Microsoft\Speech\AudioInput\TokenEnums\MMAudioIn\{0.0.1.00000000}.{e4e24557-c9f8-46f6-8486-50981fcf3cc5} - Set its value to the Microphone level that you want. For example, 8888 for 88% and 2222 for 22%.
- Check to see if the issue persists.


Subject: A registry ‘fix’ to override the speech recognition engines mic level settingsMicrosoft Speech recognition will set mic level in the registry when a microphone is set up in control panel.Afterwards Windows will reset to this level whenever the microphone is used, over-riding the level that the user sets.
Probably resulting in being reset to 100% making voice recognition not work very well.There is a registry key that can be updated to set the level that Windows will use as the mic level setting.For those who are unaware its the level that is set when you use the set up microphone thing for speech recognition, and every time it starts it sets your mic levels to this setting.
Mine always defaulted to 100% which caused voice attack to go into some interesting loops in Elite Dangerous. I would say ‘lights’ and the lady in my spaceship in Elite would tell me the lights were on/off then VA would listen to the her and repeat over and over and over, this is thru a headset not speakers, so its very sensitive.Anyway I tried and tried to get the default volume just right by talking very loudly during the setup, but its very hard to get it just right.So I thought this value must be stored somewhere for Windows to know what it is, and its in the registry.HKEY_CURRENT_USERSoftwareMicrosoftSpeechRecoProfilesTokens{95CF724E-B3B5-4D94-A4FB-36AE77A88FE0}{DAC9F469-0C67-4643-9258-87EC128C5941}VolumeThere are two values stored in this folder, well there are on my PC, the one that set the mic levels was this oneHKEY_LOCAL_MACHINESOFTWAREMicrosoftSpeechAudioInputTokenEnumsMMAudioIn{0.0.1.00000000}.{e4e24557-c9f8-46f6-8486-50981fcf3cc5}It was set to 8104 and my mic levels were at 81%Just double click on it to edit, click the Decimal radio button and put the value you find works best for your microphone.50% would be 5000
33% would be 3333 etc.https://groups.google.com/f…