How to Setup and Configure TFTP Server on Windows
A TFTP (Trivial File Transfer Protocol) server helps move files between computers on a network, making it handy for managing files on different devices. TFTP is a basic tool with limited security, best used in safe settings where security isn’t a big concern.
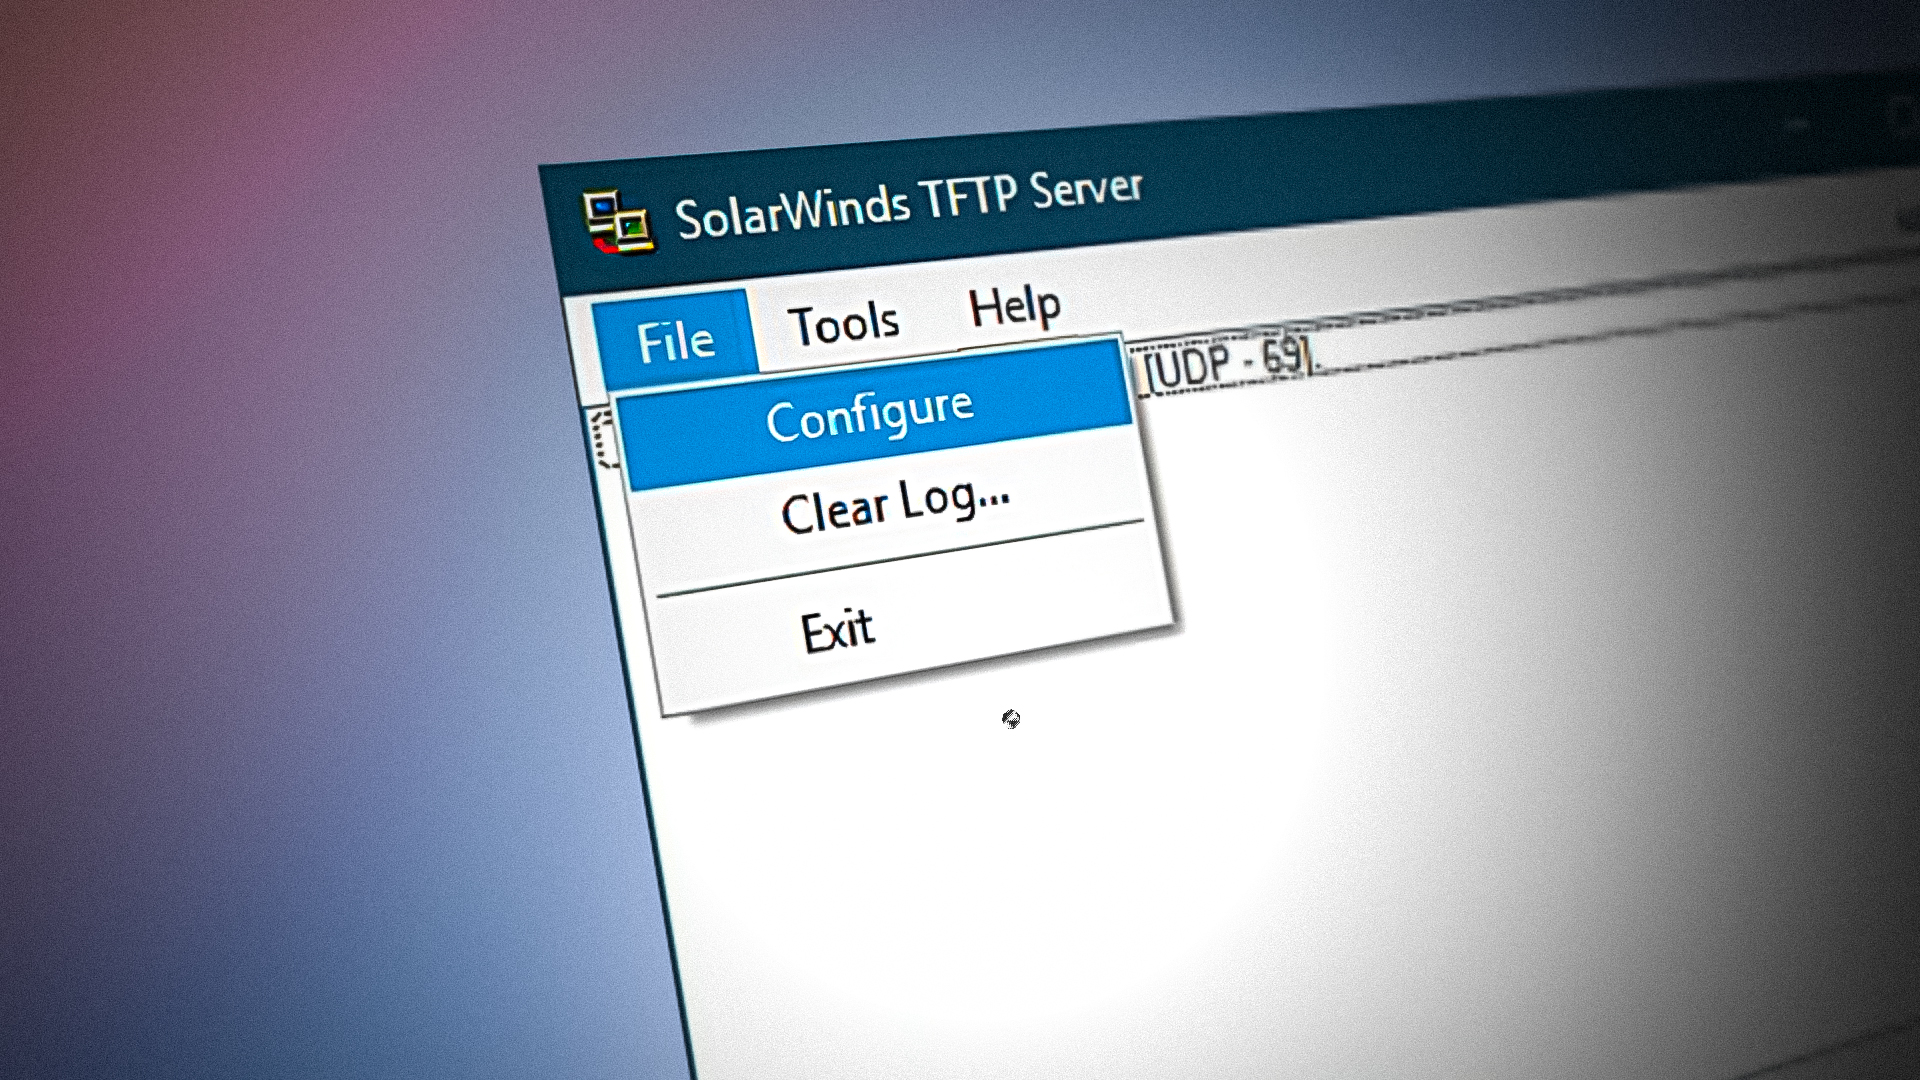
After Windows removed the Homegroup feature in version 1803, many people started using TFTP servers for easier file sharing. SolarWinds TFTP Server is a popular option because it’s easy to set up and works well for moving files across networks.
Requirements:
Before you set up your TFTP server, ensure the following requirements are met:
- Administrator Account: You need to be logged in as an administrator to set up a TFTP server on your system.
- SolarWinds TFTP Server: Download the SolarWinds TFTP Server utility from here. Extract the .zip file to your desktop and follow the installation instructions.
- Port Forwarding: To allow remote access, forward UDP Port 69 to your network’s IP address using your router, if needed. A remote connection is unnecessary if you don’t require file transfer access from outside your network.
Once you meet all the requirements, you can set up the server.
Remote Access or Local Access
To allow access from outside your local network, use a static IP or whitelist your dynamic IP. By default, the TFTP server allows all IP addresses, but with port forwarding, you can define a specific IP range for access.

Set up the TFTP Server
Follow these instructions to set up the server:
- Run the SolarWinds TFTP Server utility by searching for TFTP Server in the Start Menu.
- Select File, then choose Configure.
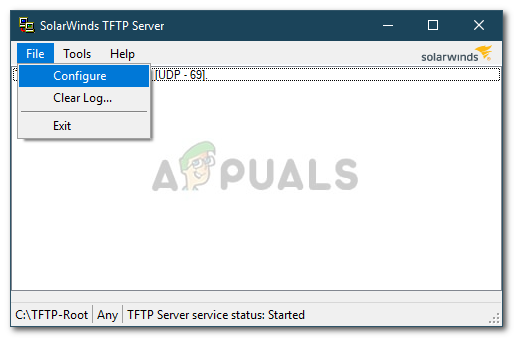
SolarWinds TFTP Server File Menu - To display the server in the System Tray, select ‘Add TFTP Server to Windows System Tray‘.
- Choose the Server Root Directory to save received files. To send files, copy them to this directory first. Click Browse to select a location.
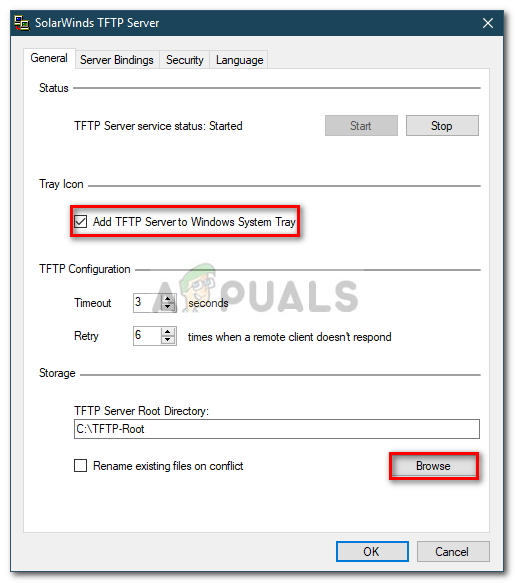
Changing the Server Root Directory - Switch to the Security tab to set restrictions.
- Select Send files or Receive files as needed. To enable both, check the ‘Send and Receive files‘ box.
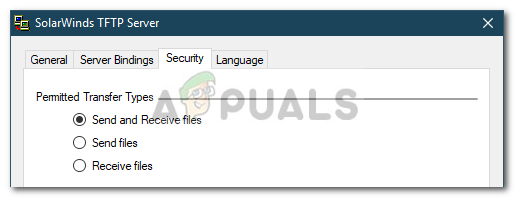
Selecting Transfer Types - To enhance security, allow specific IP addresses by checking ‘Only allow the following IP address to send/receive files‘ and clicking Add.
- Enter the IP address range and click OK.
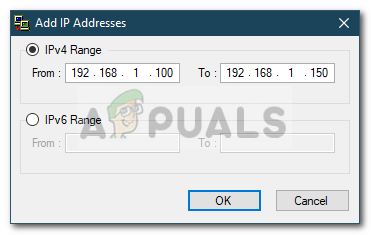
Allowed Range of IP Addresses - Click OK to finish configuration.
Your TFTP Server is now set up successfully.
Use the TFTP Server
After setting up a TFTP server, here’s how to send or receive files:
Port Forward – If you need remote access, forward port 69. Access your router’s control panel, go to Advanced Setup, locate NAT or Port Forward, and enter UDP port 69 on your IPv4 address. Note, port forwarding isn’t required for local transfers.
Install TFTP Client
To install the TFTP Client on a remote or local system:
- Open the Start Menu and go to Control Panel.
- Navigate to Programs and Features and select ‘Turn Windows features on or off‘.
- Locate and check TFTP Client.
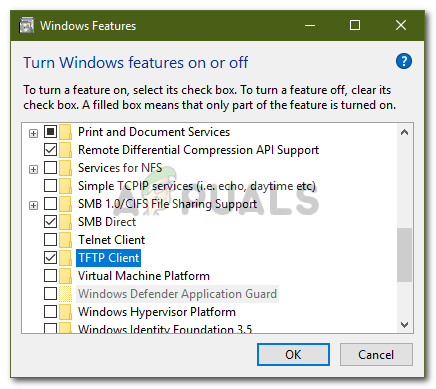
Installing TFTP Client - Click OK to install.
- Wait for the installation to finish.
This should be installed on systems not hosting the server.
Configure the Firewall to Allow TFTP
After installing the TFTP client, either disable Windows Firewall or add an exception for TFTP connections:
- Open Control Panel from the Start Menu.
- Set View by to Large Icons and select Windows Defender Firewall.
- Click ‘Turn Windows Defender on or off‘ to disable the firewall.
- Select ‘Turn off Windows Defender Firewall‘ for both settings and click OK.
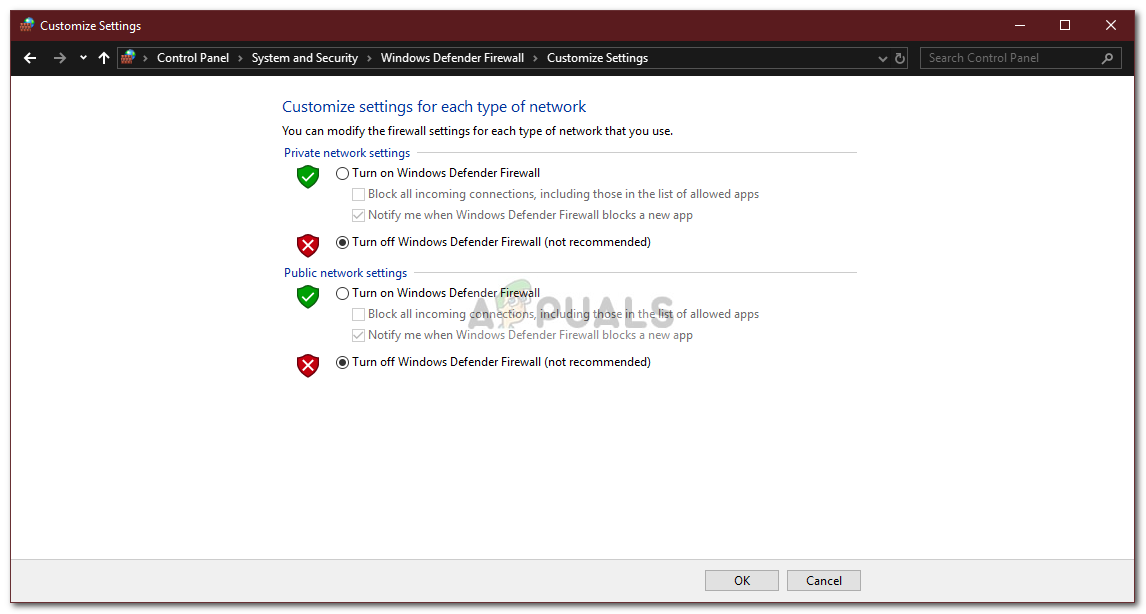
Turning off Windows Defender Firewall - To keep the firewall on, add an exception by clicking ‘Allow an app or feature through Windows Defender Firewall‘.
- Click ‘Change settings‘, then ‘Allow another app‘ and click Browse.
- Find TFTP.exe in the Windows system32 directory, select it, and click Open.
- Check the Private and Public boxes and click OK.
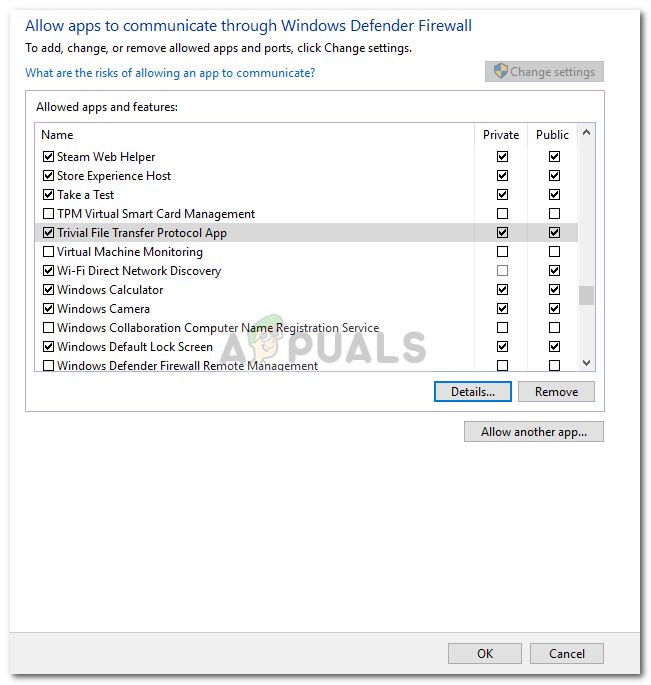
Allowing TFTP Through Firewall
Transfer Files using TFTP
To transfer files after installing the TFTP client and forwarding UDP port 69:
- Press Windows Key + R, type ‘cmd‘, and press Enter to open the Command Prompt.
- Ensure the files to be sent are in the Server Root Directory.
- Use the following command format to send or receive files:
Tftp -i [server IP address] [GET or PUT] [path of file]
- Example to send a file:
Tftp -i 192.168.10.8 put E:\hello.txt

Sending a File Using TFTP - Example to receive a file:
Tftp -i 192.168.10.8 get hello.txt

Note:
For remote file transfers, use this format:
Tftp -i [public IP]:[port] [PUT or GET] [path of file]
Example:
Tftp -i 39.43.126.2:69 put E:\hello.txt


