How to Screenshot on a Toshiba
A screenshot is an image of whatever is on your screen (barring your mouse pointer, of course). The ability to create screenshots, although not directly, has been available on the Windows Operating System for basically as long as the Operating System has existed. On any version of the Windows Operating System, you can simply press the Print Screen key on your keyboard to capture whatever is on your screen and save the image captured to your computer’s clipboard, after which you can simply paste the image into an image processor such as Paint to save it in the form of an actual file or into an email or social media post to add it as an attachment. Alternatively, you can also press Alt + Print Screen to only capture whatever is in the active window on your screen.
The process of capturing a screenshot of whatever is on your screen is the same across all versions of Windows. However, what can bring variations to this process is actually the kind of computer you have. On a Toshiba laptop, taking a screenshot is not done the same way as you would do it on, say, a desktop Windows computer. Why is that so? Well, for starters, it’s a laptop, and the keyboard layouts on laptops are slightly different as compared to the layouts of the keyboard people normally use with desktop computers. To top it off, they are also laptops manufactured and distributed by Toshiba.
Thankfully, though, taking a screenshot on a Toshiba laptop is not all that complicated. If you would like to take a screenshot of whatever is on your screen on a Toshiba laptop, here’s what you need to do:
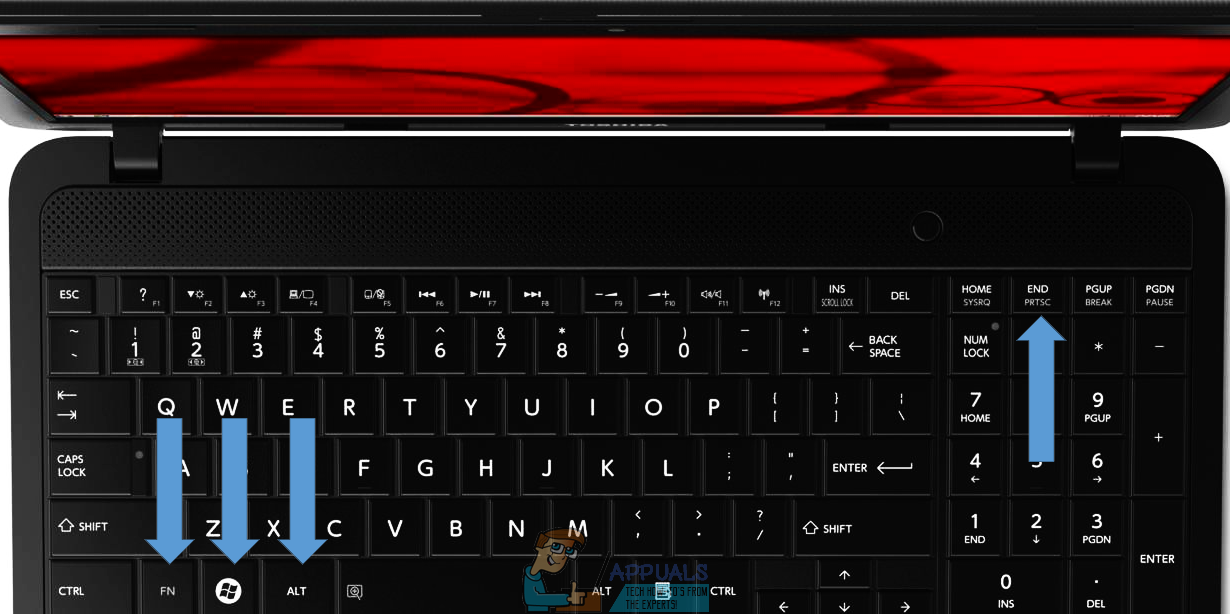
- Locate the Print Screen key on your laptop’s keyboard. It will probably be located in the top right of the keyboard, and Print Screen might be abbreviated to PRTSC or something similar. In addition, there is a pretty good chance that Print Screen is not the primary function of the key that says Print Screen or PRTSC or whatever applies on it, and is instead the secondary one.
- Press and hold the Fn (Function) key. Doing so causes your laptop to register the secondary functions of any key you press instead of their primary ones.
- With the Fn key held, press the Print Screen or PRTSC key. As soon as you do so, a screenshot of everything on your screen apart from your mouse pointer at the exact moment you pressed the Print Screen key will be taken and saved to your computer’s clipboard.
- You can now paste the screenshot you captured (by simply pressing Ctrl + V) in any place that supports the pasting of images. If you would like to turn the screenshot saved only to your computer’s clipboard into an actual image file, you can paste it into an image processing application such as Paint (or something more advanced) and save it as an actual image file. If you simply want to attach the screenshot to an email message or a social media post, you can paste it into the email or the social media post dialog to add it as an attachment.
It does not work on my Toshiba a665