How to Screen Record on iPhone in 4 Easy Steps
Screen recording on an iPhone is a handy feature that lets you capture anything happening on your screen. It’s perfect for making tutorials, showing how to use an app, documenting software issues, or recording your gameplay.

Although it’s very useful, many people aren’t sure how to make the most of this feature, especially when it comes to recording with sound or exploring extra options. In this guide, you’ll find easy, step-by-step instructions to help you master screen recording on your iPhone, understand its limitations, and try out some third-party apps that offer advanced features.
The screen recording feature on the iPhone is built into the iOS operating system, so you don’t need to install anything extra. You can quickly access it from the Control Center, making it easy to start recording with just a couple of taps.
When you turn on screen recording, your iPhone will capture everything you see on your screen in real time, whether you’re using apps, watching videos, or browsing. You can choose to record with or without sound, and once you’re done, your video is saved automatically in the Photos app, where you can view, edit, and share it right away.
This feature is especially helpful for making tutorials, recording games, or showing software glitches. You can keep using your phone as usual while it records in the background.
Because it’s built into iOS, the screen recorder is designed to work smoothly without draining too much battery. It also adjusts the video quality to match your device’s current performance.
How to Screen Record on an iPhone?
Screen recording on your iPhone can be helpful for many different reasons.
Step 1: Enable Screen Recording
Before you can use screen recording, make sure it’s added to your Control Center for quick access.
- Open the Settings app on your iPhone.

Open Settings app - Scroll down and tap on “Control Center.”

Tap Control Center. - Find “Screen Recording” in the list of additional controls and tap the green plus icon next to Screen Recording. This adds it to your included controls in the Control Center.

Tap plus icon
Now, you’ll see the screen recording icon whenever you open your Control Center.
Step 2: Start recording
Once you’ve added screen recording to your Control Center, you can start your recording in just a few seconds.
- Swipe down from the top-right corner of your screen to open the Control Center (or swipe up from the bottom on iPhones with a Home button).
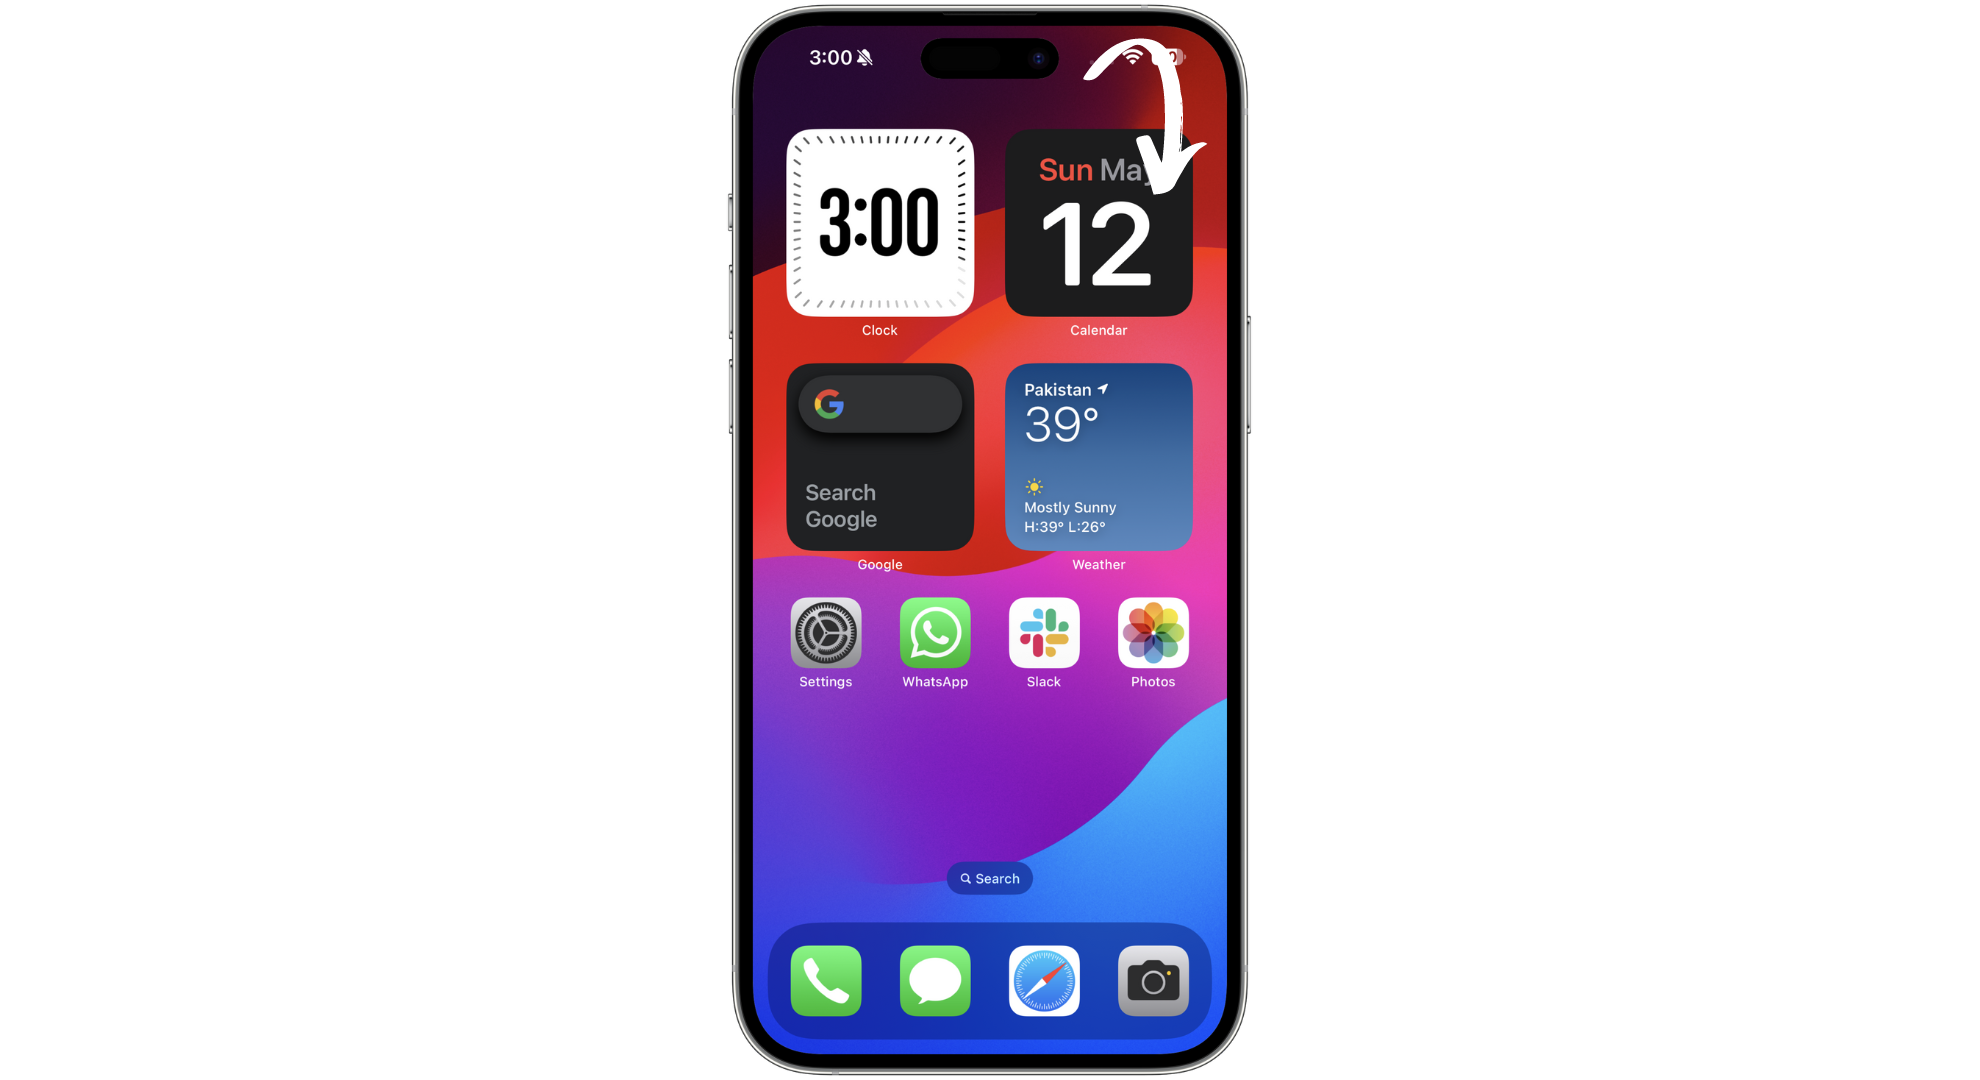
Access the Control Center - Tap the circular Screen Recording icon. After a 3-second countdown, your iPhone will begin recording your screen.

Tap on Recording icon
↪ Recording with sound
If you want your screen recording to include audio from your microphone (like your voice).
- Press and hold the Screen Recording icon in the Control Center.
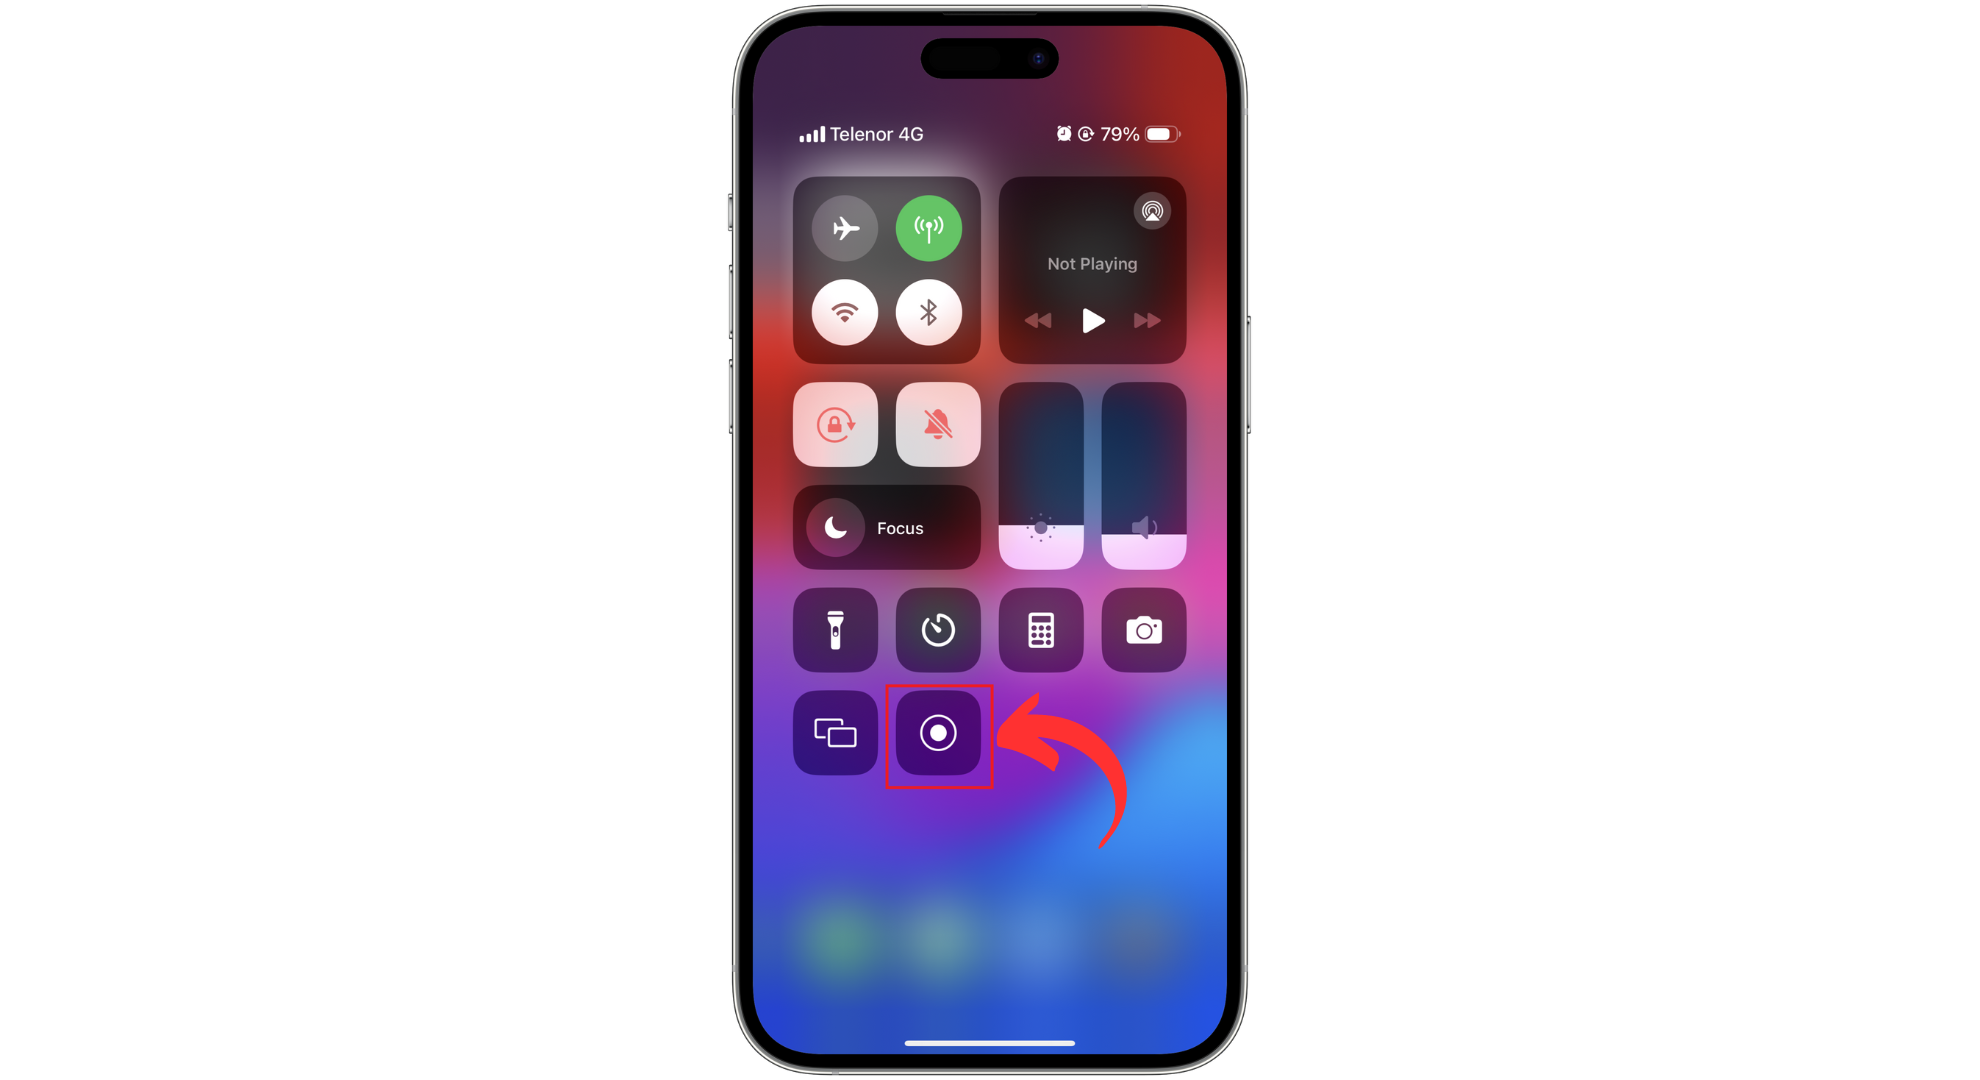
Tap and hold the recording icon - Tap “Microphone Audio” to turn it on. It should light up red. Then tap Start Recording.
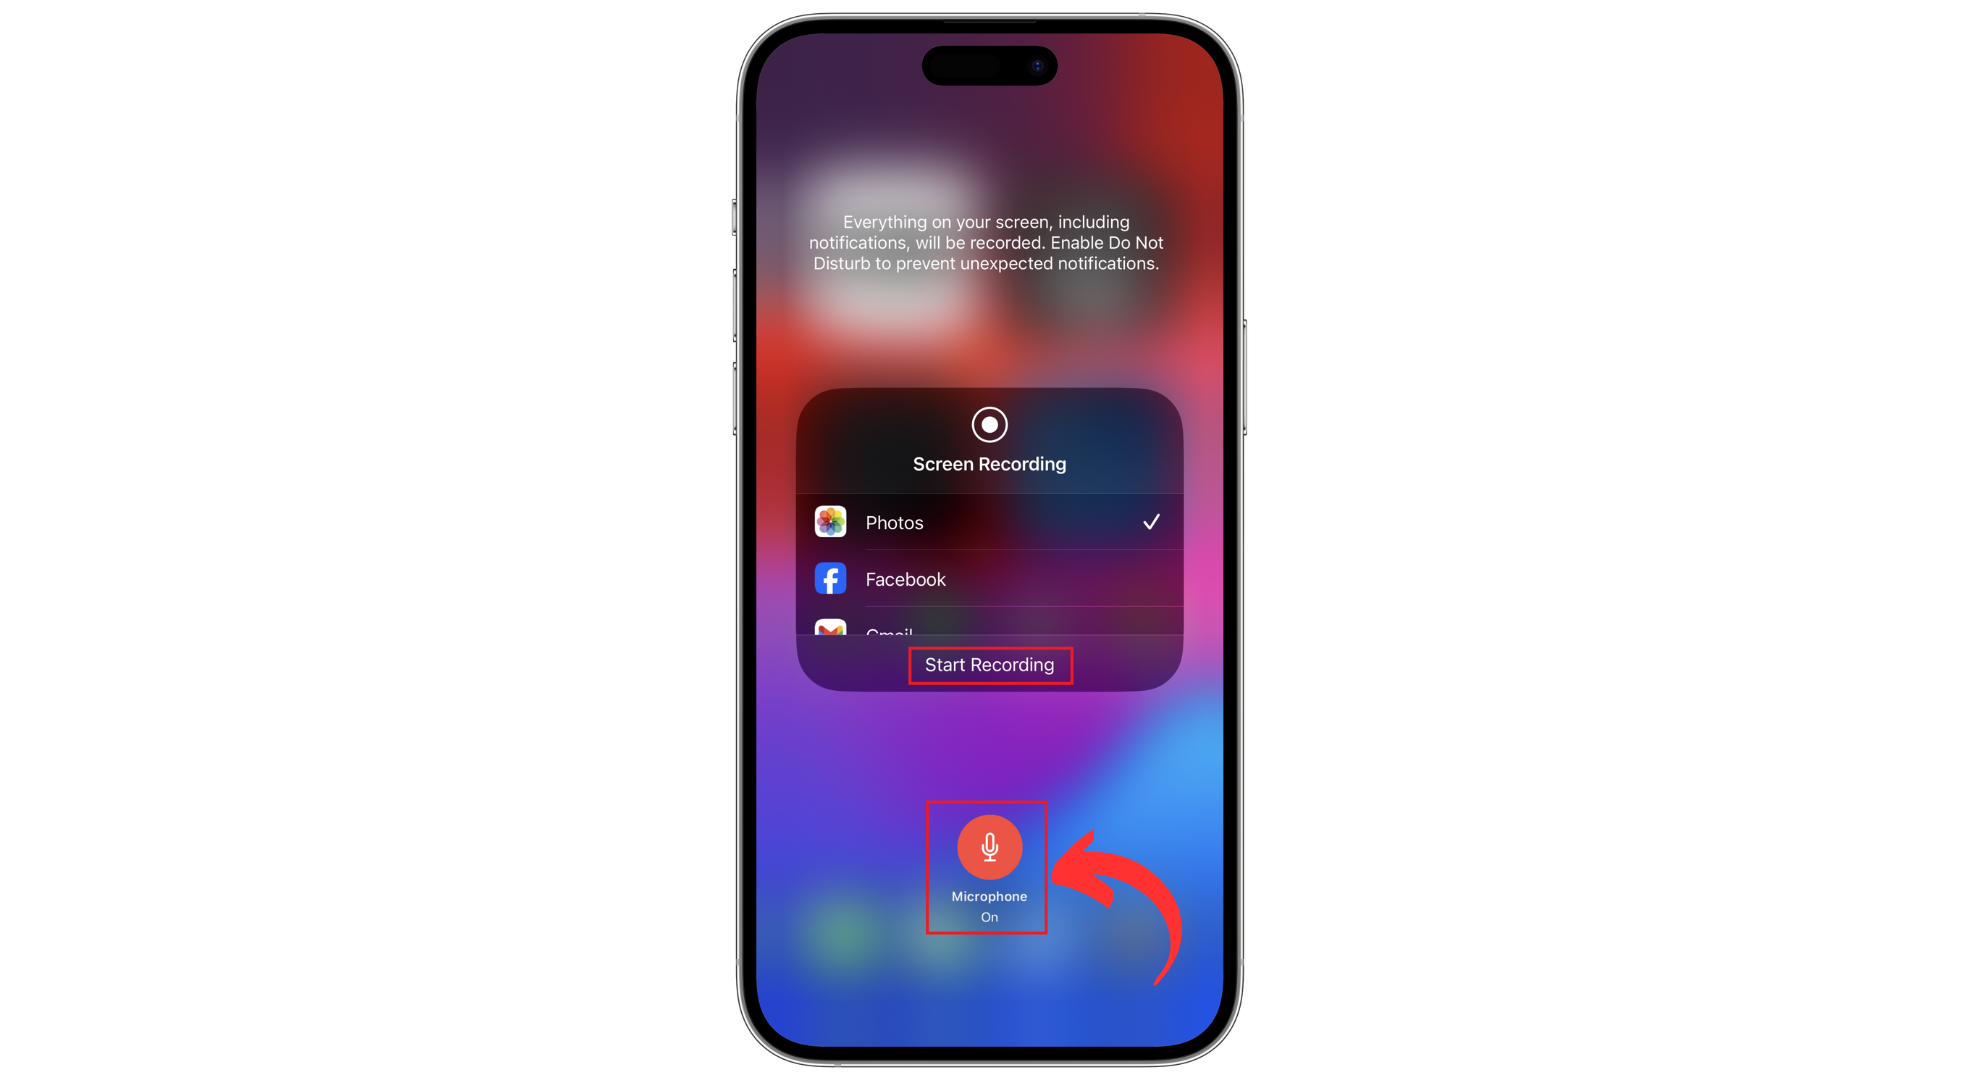
Tap on Microphone icon
Step 3: Capture your Activity and Stop the Recording
While the recording is running, just use your iPhone normally to capture what you need.
- Do whatever you want to record, and when you’re ready to stop, tap the red status bar at the top of your screen.

Tap the Recording bar - Then, tap the red “stop” icon in the pop-up.

Tap the stop icon - You can also open the Control Center again and tap the Screen Recording icon to stop the recording.
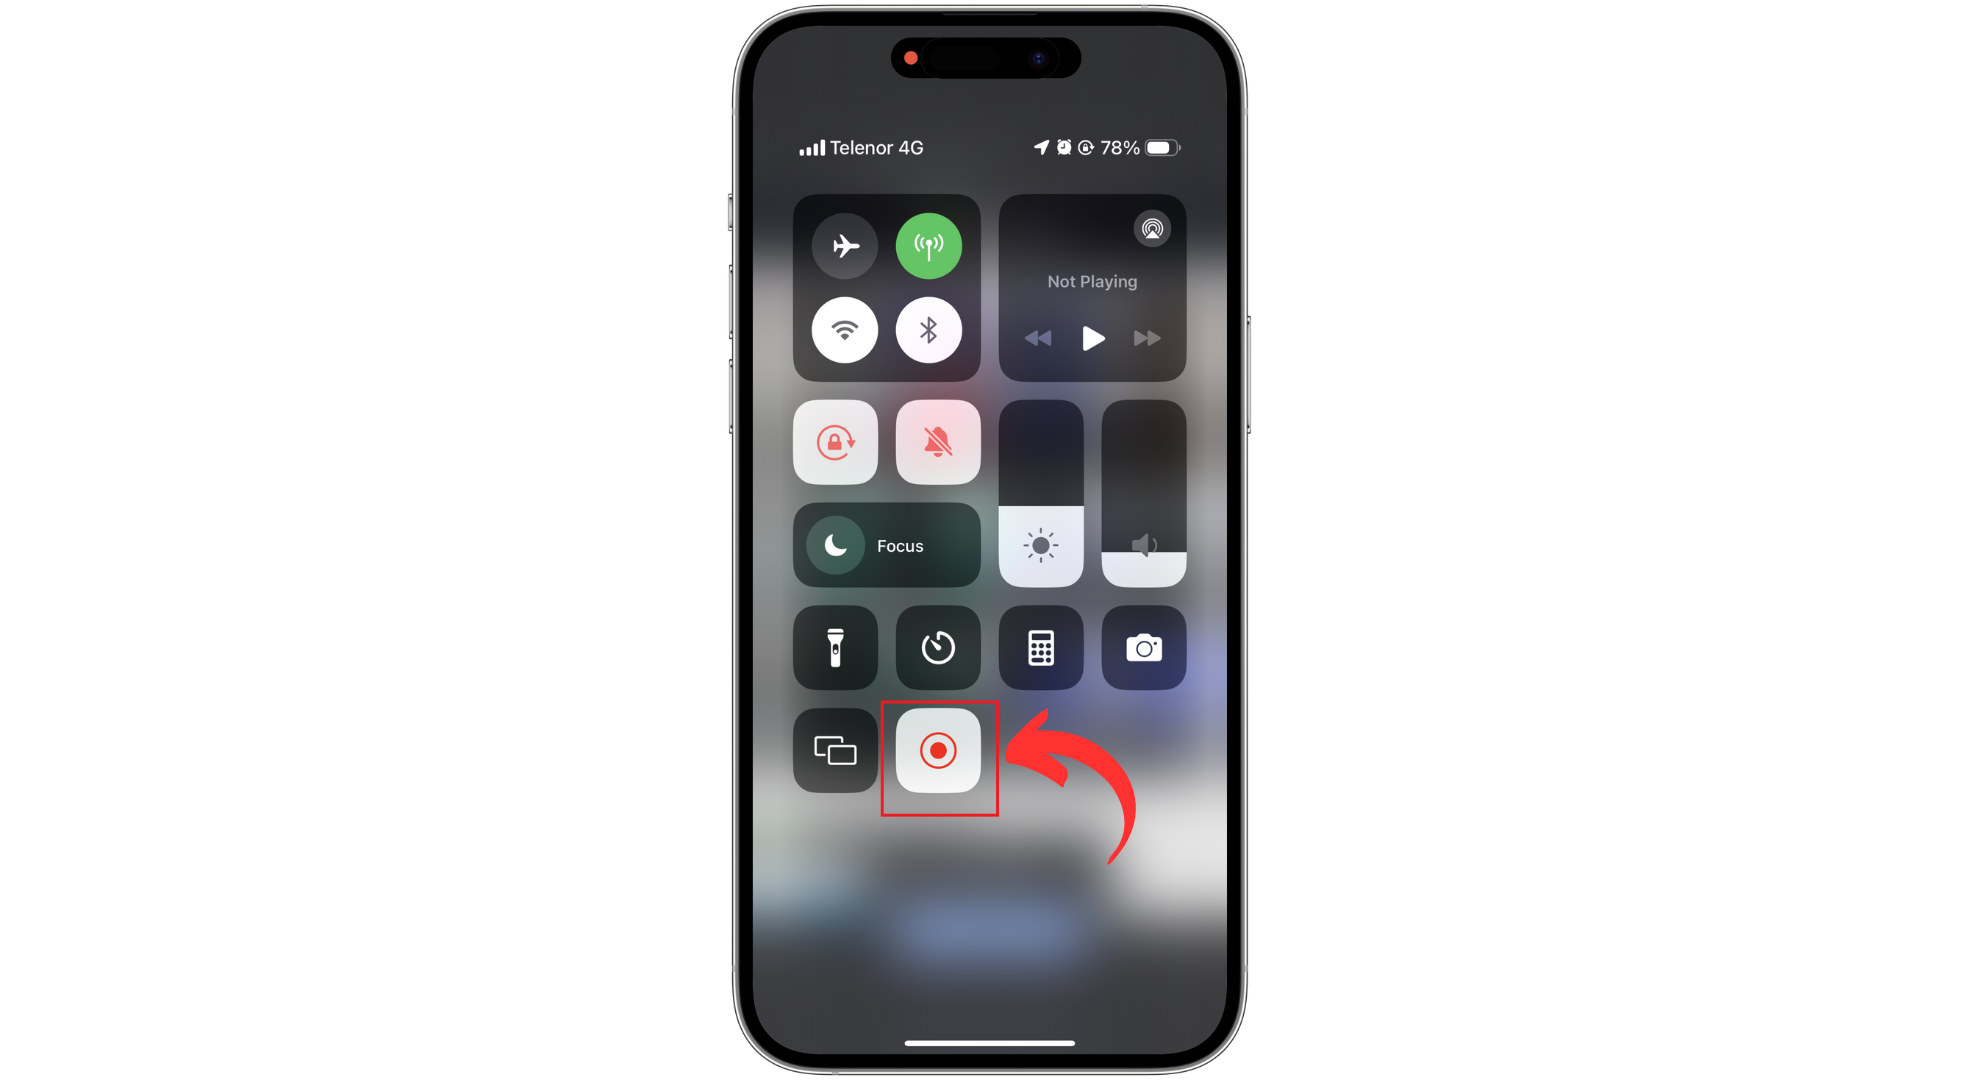
Tap the recording icon
Step 4: Access, edit, and share your recording
After you stop recording, the video will be automatically saved to your Photos app.
- Open the “Photos” app.

Open Photos app - Tap on the “Albums” tab, scroll to “Media Types,” and select “Videos” or “Screen Recordings” if you see it.
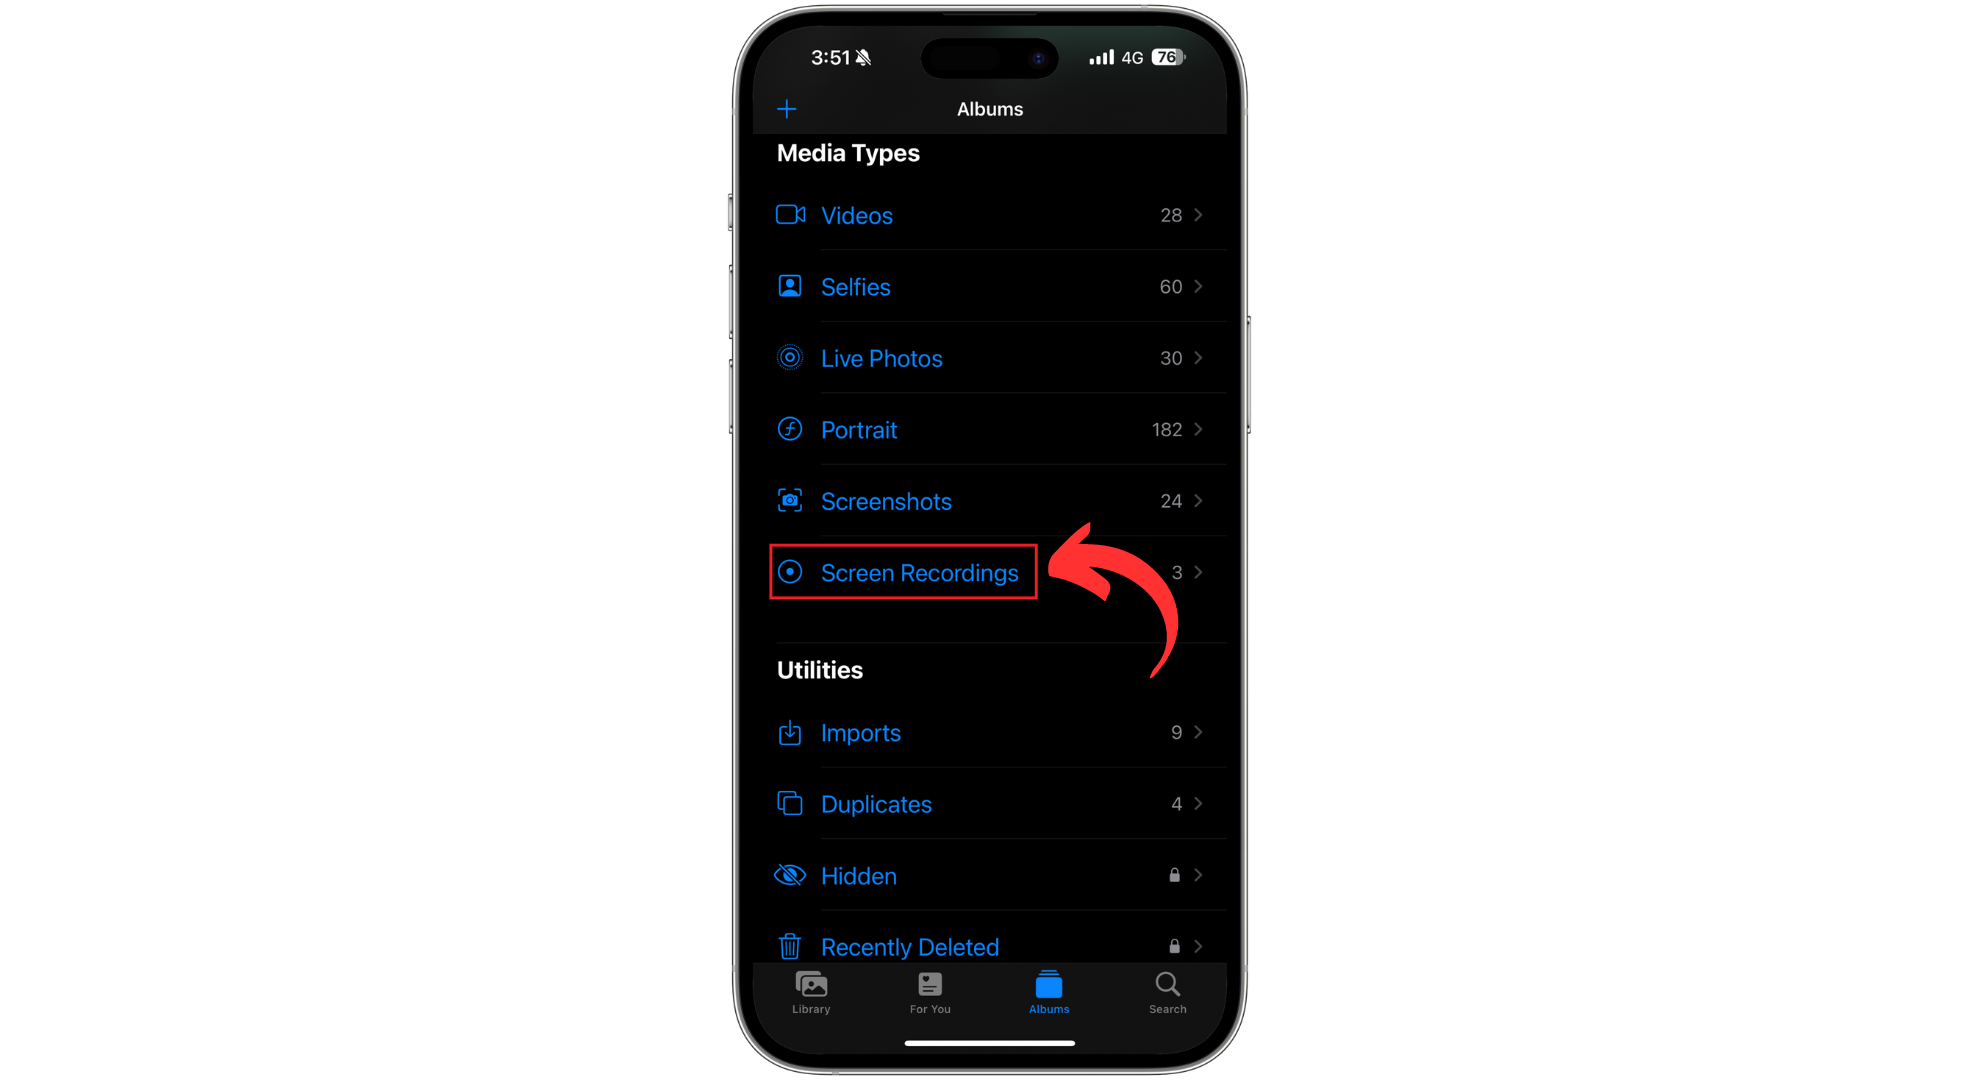
Tap Screen Recordings - Choose your recording to watch, edit (like trimming or adding filters), or share it using your iPhone’s sharing options.

Edit and share the video
Using Third-Party Apps for Enhanced Features
While Apple’s built-in screen recording is great for most everyday needs, apps like Record It! and V Recorder can give you more control and features for your recordings.
These apps offer extra options you won’t find in the regular iOS screen recorder, and might be better for people with specific requirements.
1. Record It

Record It! Screen Recorder is an easy-to-use app that combines screen recording with editing tools. It’s a good choice if you want to create polished videos. You can add your reactions directly on the screen using the Face Cam feature, which is great for tutorial or reaction videos.
The app comes with built-in editing tools to trim your videos, change the playback speed, and add filters. Record It! also lets you add your voice to videos, making it simple to explain what’s happening on screen or give extra commentary.
2. V Recorder

V Recorder gives you high-quality screen recordings and lets you set things like video resolution and frame rate. It comes with a set of editing tools that let you add text, stickers, and music to your recordings for a more personalized or fun video.
V Recorder also supports live streaming, so you can share your screen with others directly to platforms like YouTube, Facebook, and X (formerly called Twitter). The app’s voice changer and different music options make it a popular choice for users who want to make creative or entertaining content.
 Reviewed by


