How to Scan To Email On A Epson WF-3540
The Epson WF-3540 is an all-in-one solution to all of your printing, scanning and copying needs. The Epson WF-3540 is a wireless all-in-one printer that can not only print and scan documents but can also copy them – all while being connected to computers wirelessly. The Epson WF-3540 is capable of scanning documents and then directly e-mailing them to a valid email address, but most people have trouble with this specific feature as it needs to be configured. By default, the WF-3540’s touch-screen control panel only displays an option for the user to scan a document to a computer via a hardwired USB connection.
The Epson WF-3540 is certainly capable of scanning documents and then sending them in the form of emails to valid email address, but in order for a user to be able to scan documents directly to email on an Epson WF-3540, they need to first set this feature up. If you want to “scan to email” on an Epson WF-3540, here’s what you need to do:
Phase 1: Find your printer’s IP address
In order to setup the “scan to email” feature on a WF-3540, you need to be able to access the printer’s web-based configuration page, the address for which is the printer’s IP address. That being the case, you need to first find your printer’s IP address. In order to do so, you need to:
On the printer’s touch-screen control panel, tap on Home.
Tap on WiFi Setup.
Tap on Setup.
Tap on WiFi/NetworkSettings.
Tap on WiFi/NetworkConnectionCheck.
Tap on the B&W This will print out a test page containing all of your WF-3540’s configurations and specifications, including the printer’s IP address.
Phase 2: Navigate to the printer’s web-based configuration page and set the “Scan to Email” feature up
Once you have found your printer’s IP address, you need to navigate to its web-based configuration page where you will then be able to set the “scan to email” feature up. In order to do so, you need to:
On a computer that is connected to the printer (over wireless or wired lan), launch a fresh instance of a web browser of your choice.
Type your printer’s IP address into the URL field and press Enter. Doing so will take you to your printer’s web-based configuration page.
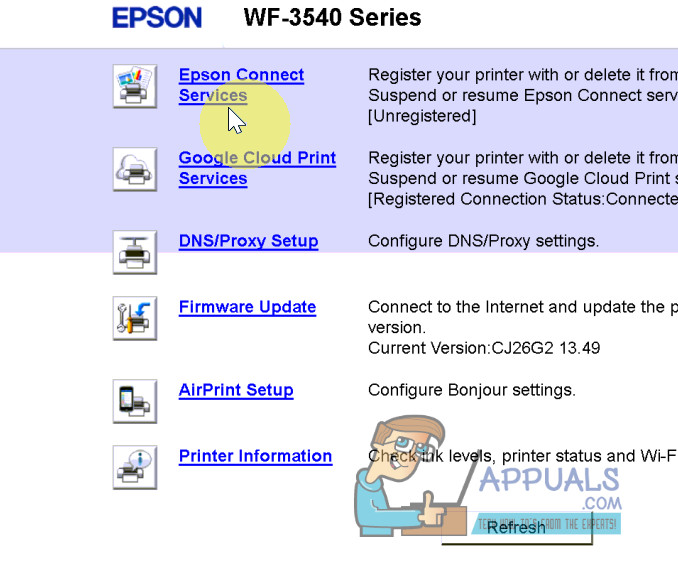
On your printer’s configuration page, click on the Epson Connect Services.
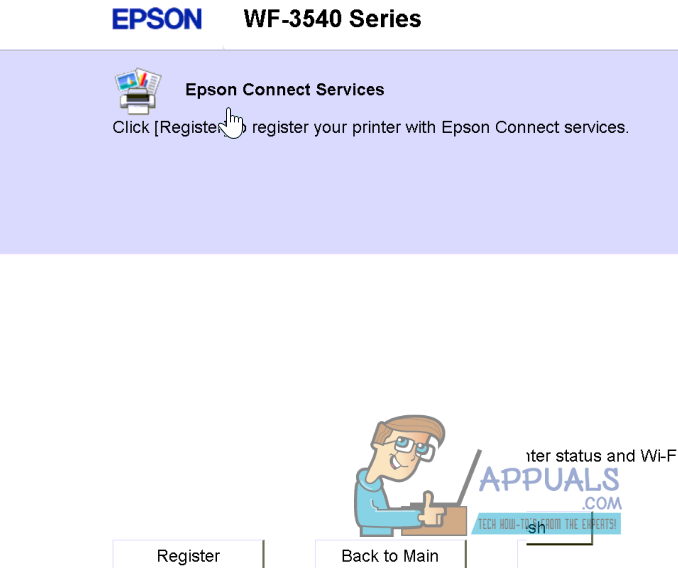
You will be asked to register with Epson Connect Service. Click on it, to register with Epson Connect Service.
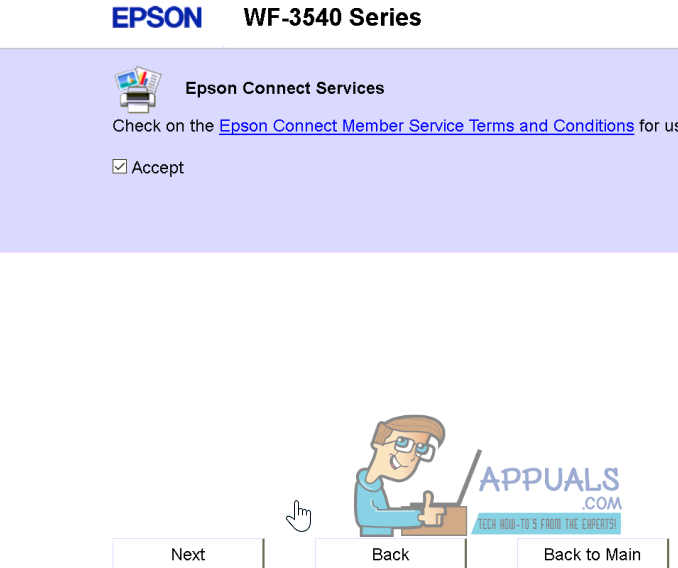
Once done, the next screen will ask you to accept choose accept and click next.
After you accept and hit next, create an account.
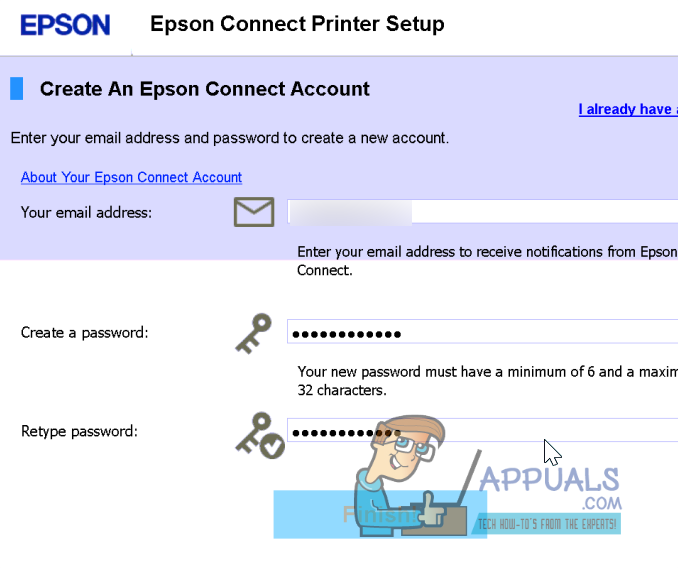
You will now be provided with a randomly generated email address for your printer (something along the lines of xxxxxxxx@print.epsonconnect.com). You can change the randomly generated email address to one of your choosing in the future.
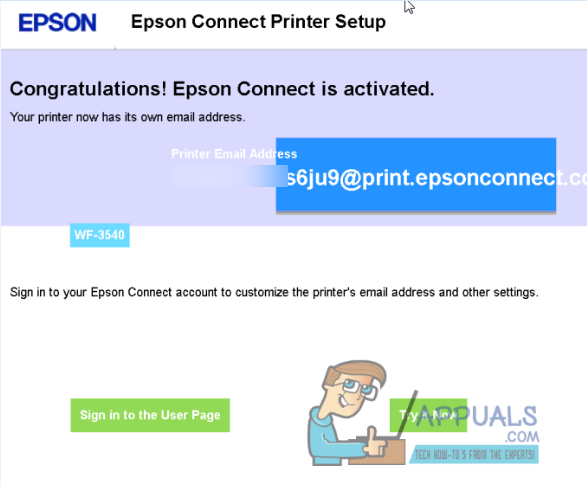
Note: Be sure to save your printer’s email ID and password and the login URL so that you can circle back here in the future when you want to tinker around with the available settings and preferences. Choose Sign in to the User Page, and use the account credentials you created to sign in.
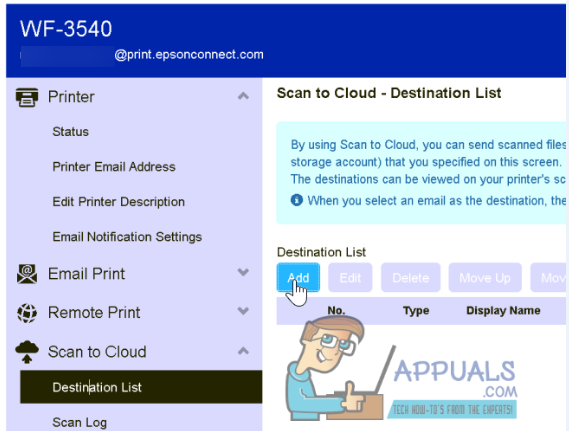
Click on Destination List under Scan to Cloud.

In the Destination List, click on Add from the right pane.
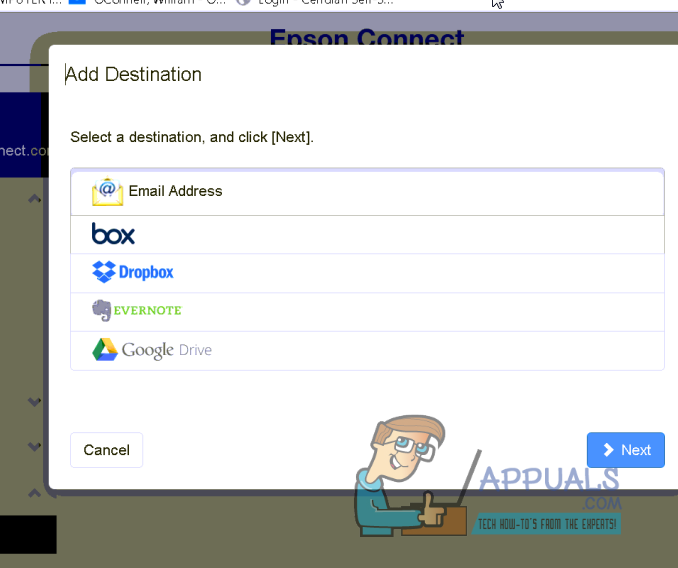
and then add the email addresses that you will be scanning documents to often. You are free to add as many valid email addresses as you like – just go through the wizard with all the default settings and preferences and add your desired email addresses. Choose the Email Address option when doing this.
Save the changes that you have made and then exit your WF-3540’s web-based configuration page.
Once you have successfully gone through both Phase 1 and Phase 2, you should be able to scan documents to any of the email addresses that you have added to your printer’s Destination List. In order to test the “scan to email” feature of your Epson WF-3540, you need to:
On the printer’s touch-screen control panel, tap on Scan.
Tap on Scan to Cloud.
The printer will scan for and then display all available destination email addresses that you have set up. Select your desired destination email address – this is the email address that the printer will email the scanned document to.
Load up the document that you want to scan and then have email to the selected destination email address.
Press the B&W or Color button, depending on whether you want to scan to be colored or black & white, to begin the scan.
Once the printer is done scanning the document, it will be sent to the destination email address you specified as an attachment to an email within a few minutes.
Kevin – great write up – Thanks so much.