How to Remove Xbox App in Windows
We saw the introduction of many new features in Windows 10. The reintroduction of the start menu and of many new apps that came preloaded on the operating system. One such app was the Xbox App, the app allows PC users to pair with their Xbox one consoles remotely in order to play games, access gameplay capture and much more. Although it can be of use to some people the app is quite useless for the majority of PC gamers who want to squeeze the most out of their CPU and internet connection.

In this article, we will guide you on the path to completely disable or uninstall the app from Windows 10 so that it does not take up useful resources that might otherwise be used in the background while you use your computer.
Uninstalling Xbox App
In this step, we will be completely uninstalling the app from windows 10 using PowerShell commands as an administrator.
- Click on the search bar and type “Powershell”
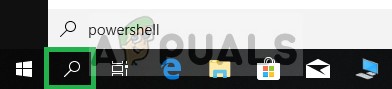
Opening the windows search bar and typing Powershell - Right-Click on the Powershell icon and Click on “Run as Administrator”
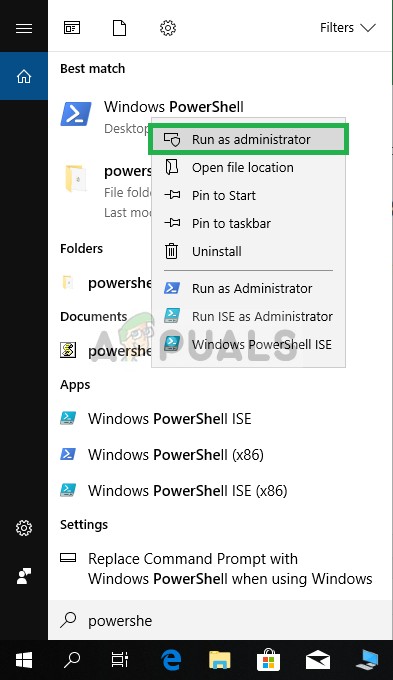
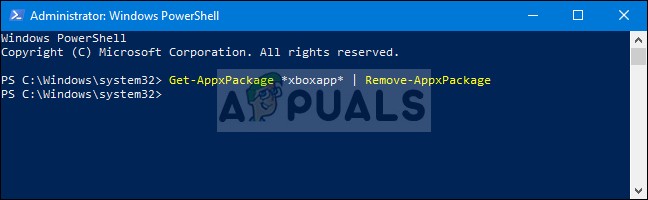
Right-Clicking on Powershell and clicking Run as administrator option - Type in the Following command.
Get-AppxPackage *xboxapp* | Remove-AppxPackage
After typing in this command press the Enter key on your keyboard
- Wait until the process is finished and close the PowerShell
Uninstalling the Xbox app
This process will completely uninstall the Xbox App from your computer however if you don’t want to completely uninstall it in the next method we will show you how to disable it.
Disabling Xbox App
If you don’t want to completely uninstall the Xbox app from windows in this step we will be disabling it until you choose to manually enable it
- Open the search bar and type in “Services”
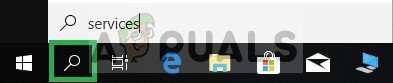
Typing in Services in the search bar - Right-Click on the services icon and select the “Run as Administrator” option.
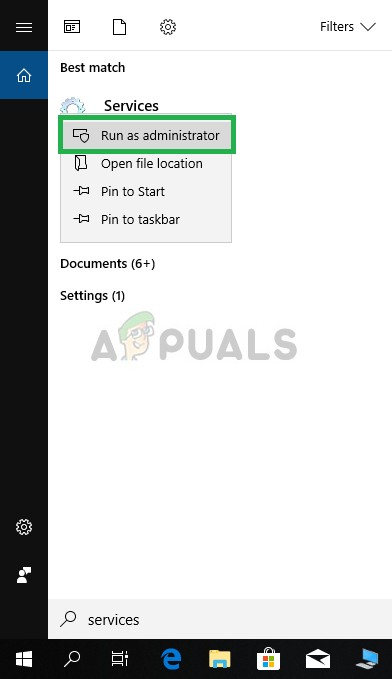
Right-Clicking on Services and selecting the Run as Administrator Option - Once in there, Scroll down to the bottom of the list and you will see options related to Xbox Live.
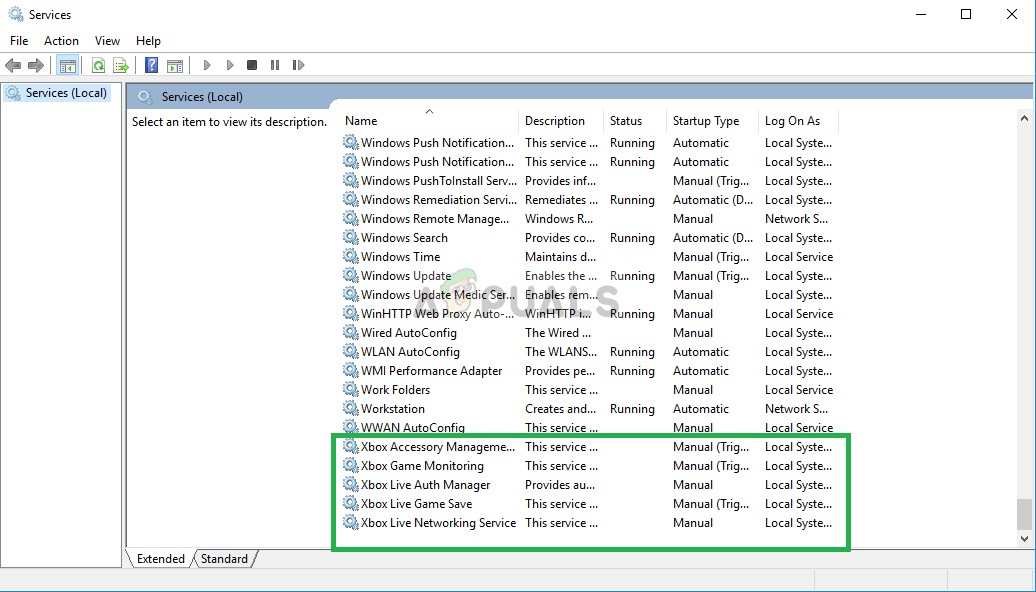
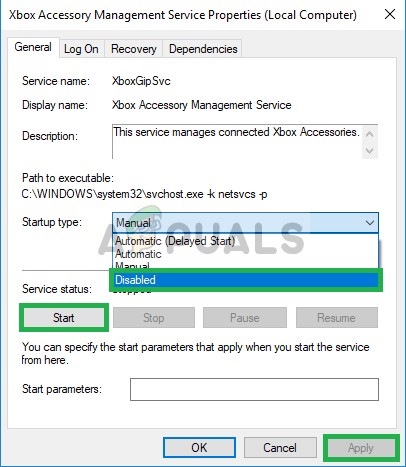
The options related to Xbox Live on the bottom of the list - Double Click on the “Xbox Accessory Management Service“
- In the popup click on the “Stop” button

Selecting stop in the popup - After this Click on the Startup type option and in the dropdown select Disabled and apply the settings
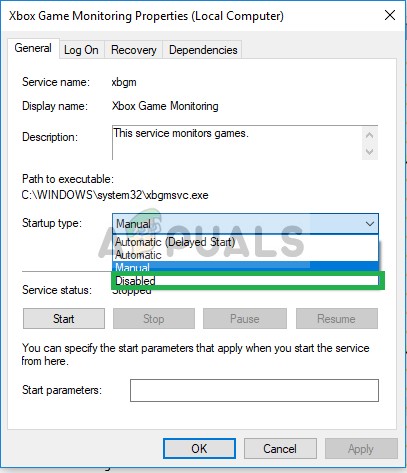
Selecting Disabled in the Dropdown - Similarly, double click on the “Xbox Game monitoring” option.
- Click on “Stop” in the popup
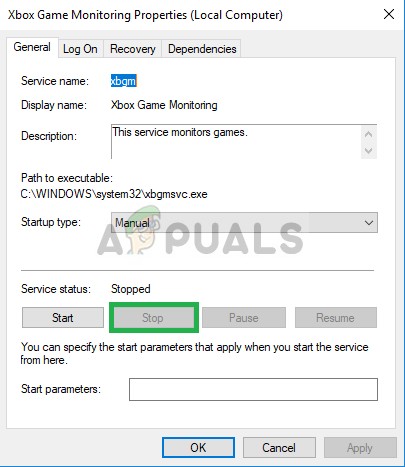
Clicking on Stop in the popup - Click on the Dropdown by the Startup type and select Disabled
Selecting Disabled in the Dropdown - Similarly, double click on the “Xbox Live Auth Manager” and click on Stop in the popup
- After that in the Dropdown select Disabled and Apply the settings
- Also, double click on the “Xbox Live Game Save” option and click on Stop in the popup
- After that in the Dropdown select Disabled and Apply the settings
- Lastly, double click on the “Xbox Live Networking Service” option and click on Stop in the popup
- After that in the Dropdown select Disabled and Apply the settings
This method will completely prohibit the Xbox app from using any kind of resource (except storage) on your computer.


