How to Remove the Background of an Image in Paint 3D
Many people nowadays are familiar with the art of editing the pictures and videos and the demand for this skill is also very high. We come across so many tools in our daily life with the help of which we can crop our images. However, when it comes to cropping the background out of an image, then it sounds a little bit tricky. Paint 3D allows you to accomplish this task very easily. In this article, we will explain to you the method through which you can remove the background of an image in Paint 3D.
How to Remove the Background of an Image in Paint 3D?
In this method, we will explain to you how you can remove the background of an image in Paint 3D using the Magic Select tool. For doing this, you will need to perform the following steps:
- Type Paint 3D in the search section of your taskbar and click on the search result to launch a new Paint 3D project. The newly opened Paint 3D window is shown in the following image:

- Click on the New icon located below the Welcome heading in order to create a new Paint 3D project as highlighted in the image shown above.
- Select the folder icon labeled as Menu located on the Menu Bar of the Paint 3D project window as highlighted in the image shown below:

- As soon as you will click on it, a menu will appear on your screen as shown in the following image:
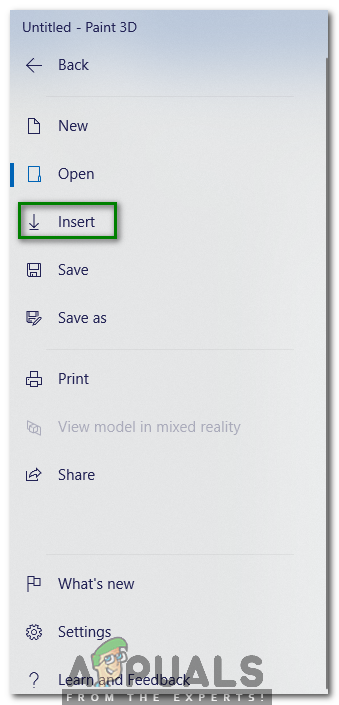
- Click on the Insert option from this menu as highlighted in the image shown above.
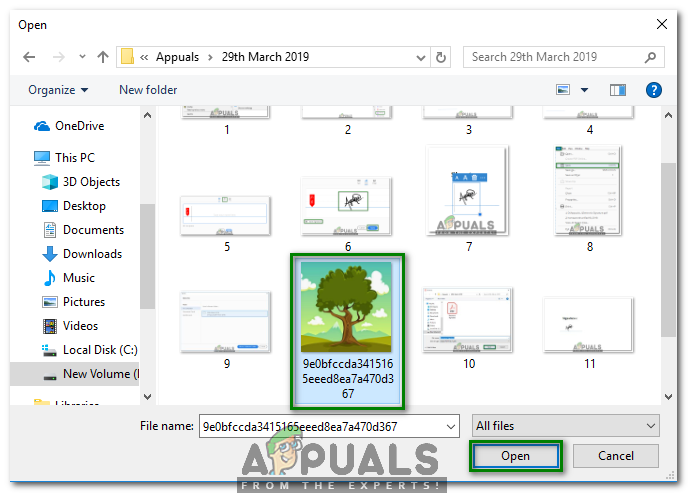
- Now search for the image that you want to insert and then click on the Open button as highlighted in the image shown below:
- As soon as you will click on it, your desired image will appear on your Paint 3D canvas as shown in the following image:
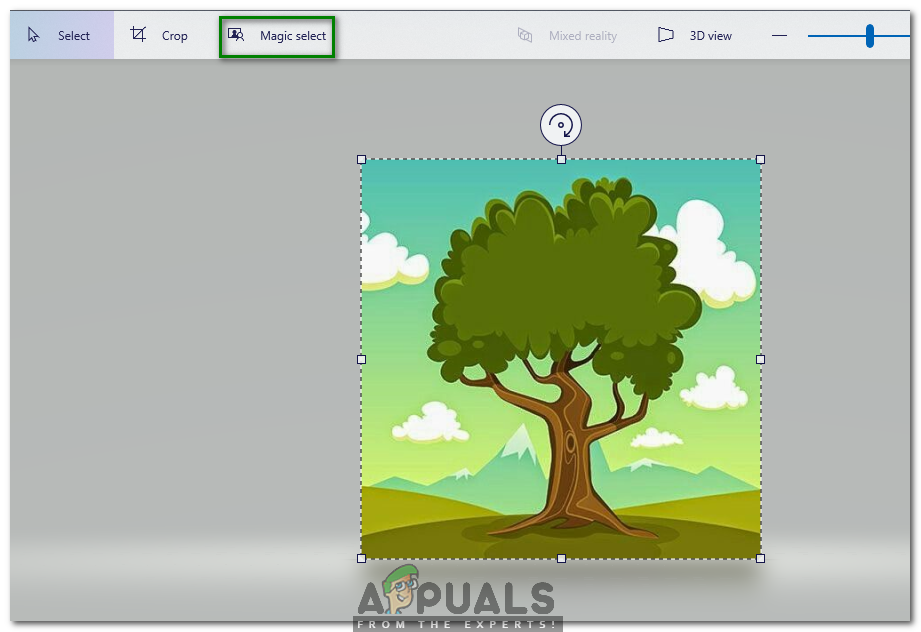
- Now click on the Magic Select tool as highlighted in the image shown above.
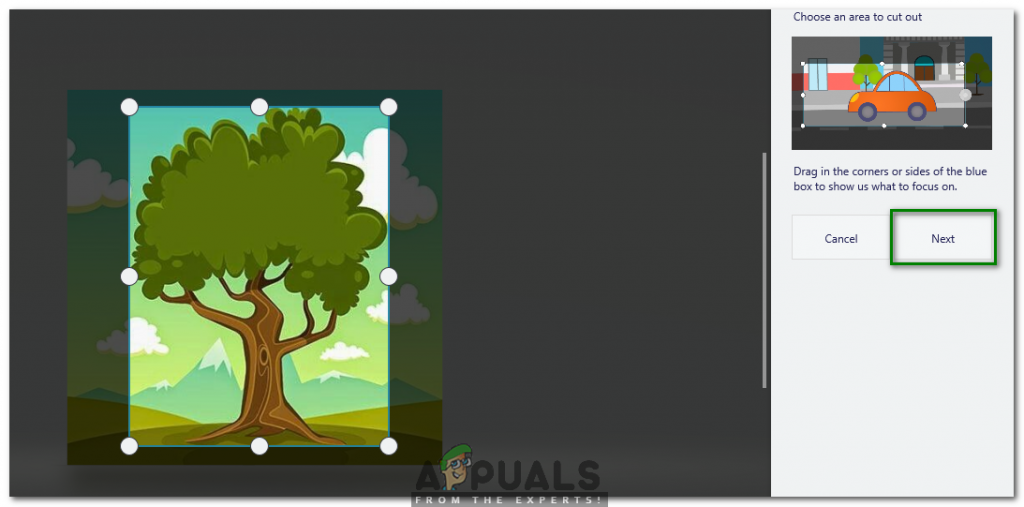
- Move the corners or sides of the blue colored box as much inwards as you want in order to crop out the background and then click on the Next button in order to continue as highlighted in the image shown below:
- After clicking on the Next button, if you find the need of adding or removing anything else, then you can make use of the Add or Remove buttons in order to make your cutouts look more refined as shown in the following image:
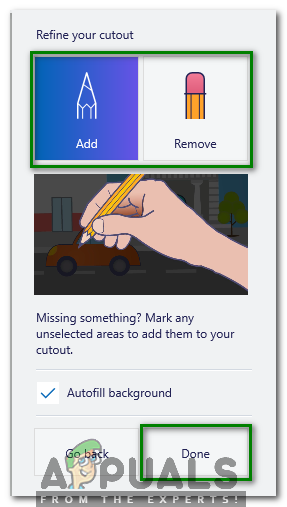
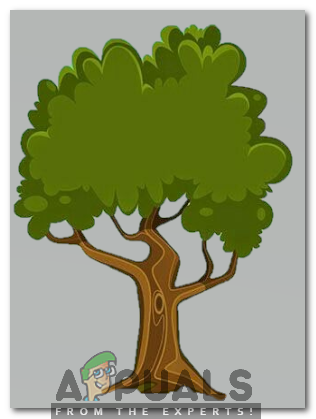
- Finally, click on the Done button in order to save your newly cropped picture as highlighted in the image shown above. As soon as you will click on this button, your image with a cropped background will appear on your screen as shown in the image below:
By following the method discussed in this article, removing the background of an image will no longer be a problem for you now and you can get this work done just in a matter of a few seconds.


