How to Remove Padlock or Lock Icon from Files on Windows?
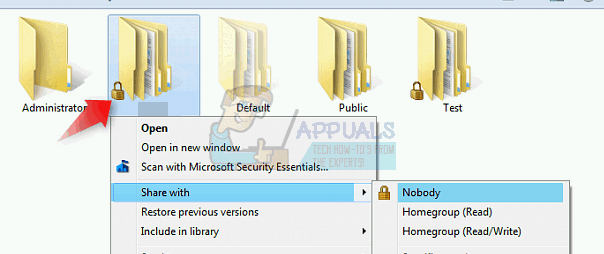
The padlock or lock icon on files in Windows typically indicates that the files or folders are private, restricting access to specific user accounts. The padlock restricts access to specific user accounts. It’s usually caused by modifying sharing permissions. Other possible triggers include changes in HomeGroup settings or accidental enabling of file encryption.

If the padlock appeared after a Windows update, it’s likely due to ownership or permissions changes. This can also happen with unfinished Encrypting File System (EFS) encryption.
Method 1: Take Ownership of the Folder
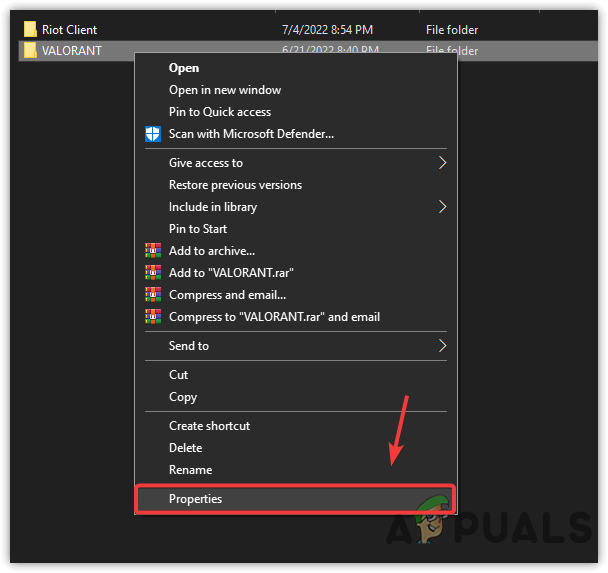
- Right-click the folder and select Properties.

- In the Properties window, select the Security tab and click Advanced.

- Click Add (if you’re not listed), then Select a principal. Type your user or group, click Check Names, and press OK.

- Check Full control, enable Replace all child object permissions…, and click OK. Confirm ownership if prompted, and click OK.
Method 2: Change Permissions
- Right-click the file/folder and select Properties.
- Go to the Security tab and click Edit.
- If “Everyone” or your user/group is not listed, click Add. Otherwise, select your user/group, check Allow Full Control, and press OK.
- Type your user/group in the field and click Check Names. If found, click OK. If not, correct any errors and try again.
- Select the added user/group, check Full Control, and click OK.
Method 3: Reset Permissions Using the Reset Utility
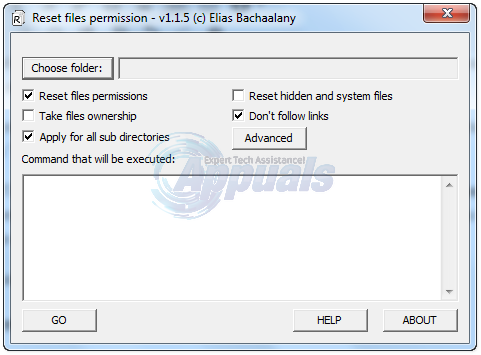
If you are resetting a folder and you find the steps above difficult or lengthy to follow, you can use a Reset Utility. Click (here) to download. After it has been downloaded, open and run it. You will see a small window pop-up as shown below. The password to extract the app is lallouslab.

From here, choose the folder or the drive and click GO. Once done, check again to see if you can now access the folders or the drive. If not, then run the utility again with the “Take files ownership” option checked.