How to Rasterize a Layer in Photoshop
Working with Adobe Photoshop can be more fun when you understand the tools it has to offer to its users. Some of the effects include strokes, adding shadows to the object you just drew, and rasterize. When you work on a layer in Adobe Photoshop, there are a number of tools which can be used on one certain layer to make your work look even better and to bring out the best of your work.
How Does ‘Rasterizing’ an Image or a Shape Help the Designer?
Designers, who work with Adobe Photoshop or are new to designing must know that in Adobe Photoshop, whatever you create, whether it is typography or a shape/image, it is formed in a vector layer. This means that if you take a close look at these vector layers, the edges of the object would be clear and very sharp.
By rasterizing a certain layer, you make the image/shape editable in a pixel format. Now, if you take a closer look at the image or shape, you will notice the small box-like edges to the shape. And once you have chosen to rasterize a layer, there are chances you might lose the quality if you continue to edit it. So make sure that you always keep the original layer saved, and work on a duplicate instead of such quality errors. And being a designer myself, working with layers is much easier as you can always duplicate the original layer and keep making the changes until you get the output you have been expecting.
How to Rasterize a Layer?
There are two ways to access the option for ‘rasterize’ when working on Adobe Photoshop.
- Open your already existing work on Adobe Photoshop, or open a new artboard.
Opening your Adobe Photoshop file. I am using the Adobe Photoshop CC 2018 version - Draw the shape as you wish. Or Type. Design as you have planned.
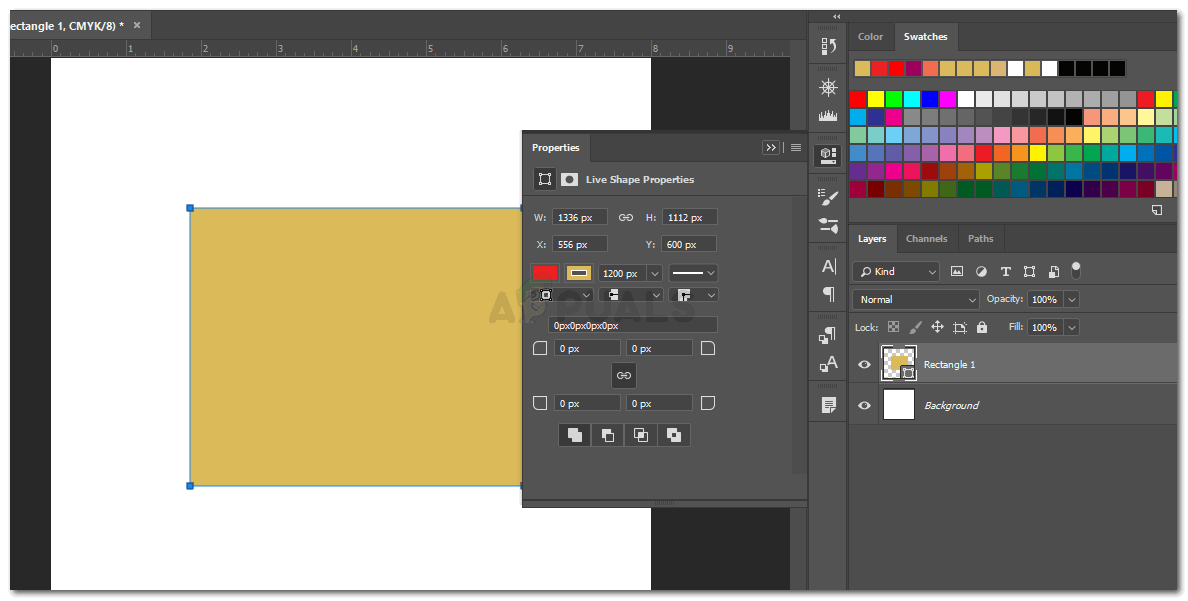
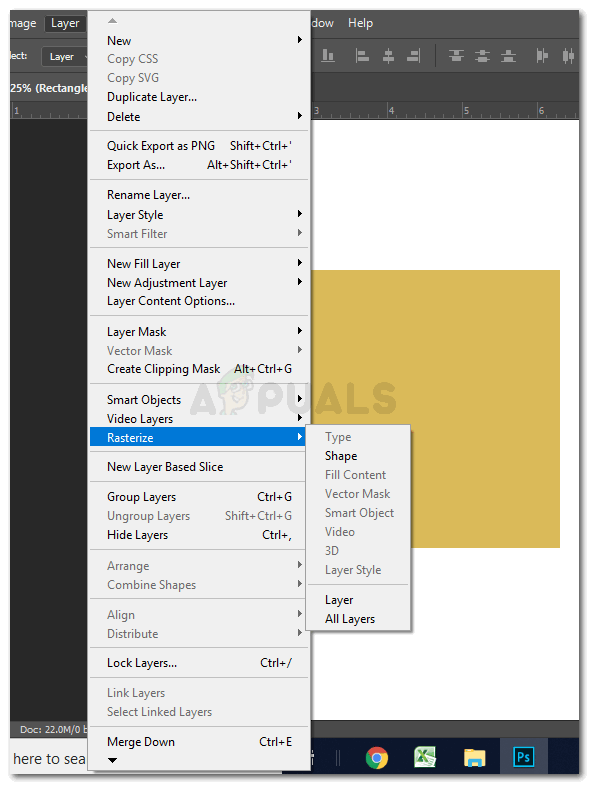
Draw an object. write some text, or even import a smart object - Now on the right, where you can see all the layers. Right click on the layer you want to rasterize. This will open a dropdown list of all the settings and options for effects you can implement on your design. This is where you will find the option for rasterizing. Click on that to rasterize a layer.

Method 1 for rasterizing a layer in Adobe Photoshop - The second way of accessing is by selecting the layer on the right panel, and then clicking on the ‘Layer’ option on the top toolbar. A dropdown list will appear which will show you the option for ‘rasterize’. Click on that for more rasterize settings, and you are good to go.
Method 2 to access the option to ‘rasterize’ a layer
Why Do You Need to Rasterize a Layer?
As I mentioned earlier, when you rasterize a layer, you change the format from a vector layer to a pixel layer. Since everything in a vector is clear when you zoom in, this sometimes might not be the preferred effect that a designer wants. To play with their design, to make the design a bit more arty, pixel layers is what some designers need.
For instance, you drew a shape on Adobe Photoshop and wanted to add the ‘distort’ effect over the shape. But when you try to add this effect on the design that you created, a dialogue box appears which asks you to rasterize the layer. So for similar effects on Adobe Photoshop, ‘rasterizing’ the layer becomes a compulsory action for the designer. Some of the filters might not work if you don’t rasterize the layer. You can always try all the different filters and effects available in the program and experience the difference in the shape before and after you rasterize it.
Should You Rasterize a Layer Before or After Adding Filters?
The requirements of every designer vary from one another. But you should understand the effect rasterizing a layer before and after adding a filter would have on the image/shape or text that you just added.
Say for example that you added a shape to your artboard, added an effect over the shape, and then rasterized the layer. This would keep the effects that you just added, and the shape that you added, as separate objects of your work, and still make the effects editable for you. While on the other hand, if you add some filters after rasterizing a layer, the filters will only be applied on the text and the shape that you added, and not the effects, which can turn out to be a disaster for you.
Using Smart Objects
Smart Objects, make a layer editable while keeping the quality of the layer intact. The option for converting an image to a Smart Object often appears when a specific filter has to be applied. You can choose the option ‘convert to smart object’ instead of clicking on rasterize.


