How to Quickly Make a TeamSpeak 3 Server
TeamSpeak is an application developed for audio communication between several users instantaneously. It follows the analogy of a conference call with one administrator (who is hosting the server) and users (who connect to the server). The main users of TeamSpeak are gamers who like to chat while playing games together.

For gamers to use TeamSpeak, one individual needs to host a server on his machine which others can connect to. It may seem intimidating or difficult but it is not. You can get your server up and running within no time given that you have an active internet connection along with an administrator account on your machine. Follow the steps listed below:
How to make a TeamSpeak 3 server?
Making a TeamSpeak 3 server comprises of different steps. Here they are listed in order:
- Downloading the application on your computer and installing it.
- Start the server on your computer and make sure it is running.
- Enable Port forwarding on your computer using the default gateway.
- Login to your server and set a password.
- Connect to the server and join the call.
Pretty simple right? Here are the steps listed below in detail.
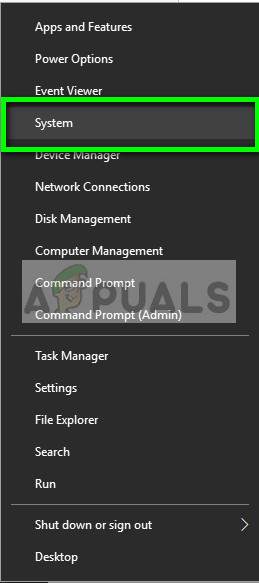
- First, we will find out your version of Windows so we can install the server-client accordingly. Right-click on the Windows icon and select System.
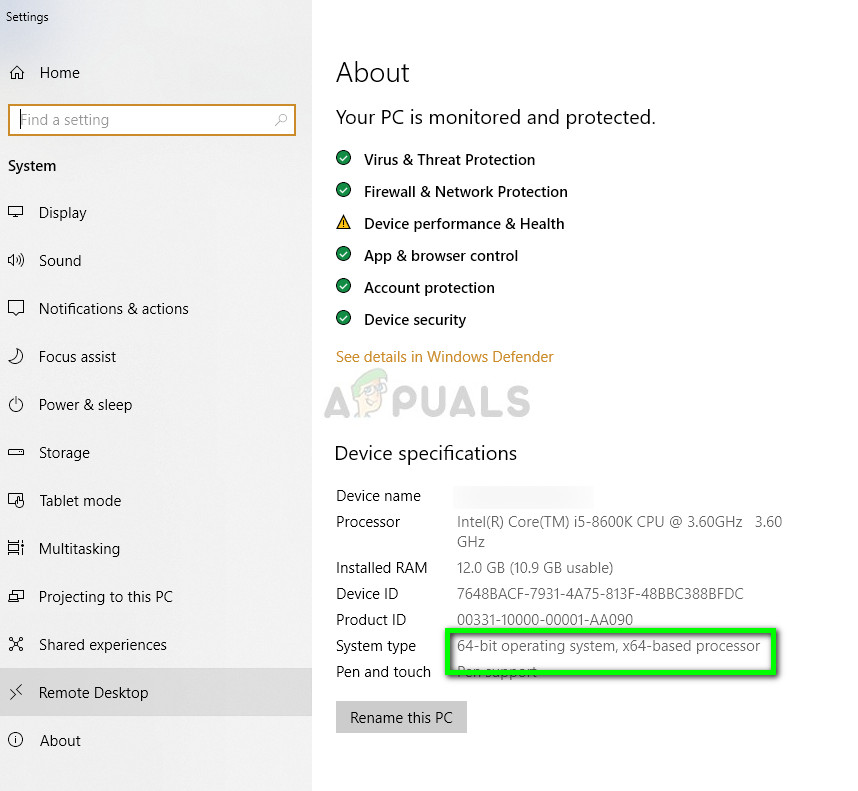
- Now under the Device Specifications, note your version of Windows. It will either be 64-bit or 32-bit.
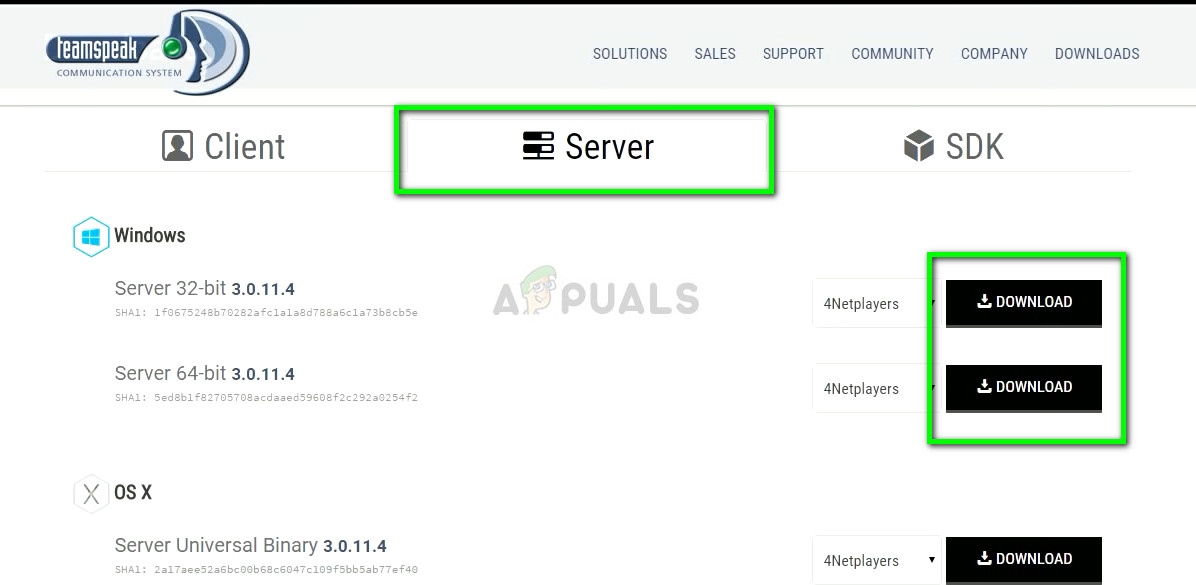
- Once you have noted your version of Windows, navigate to the official website of TeamSpeak and download its server client on your computer according to the version of operating which we just found out.
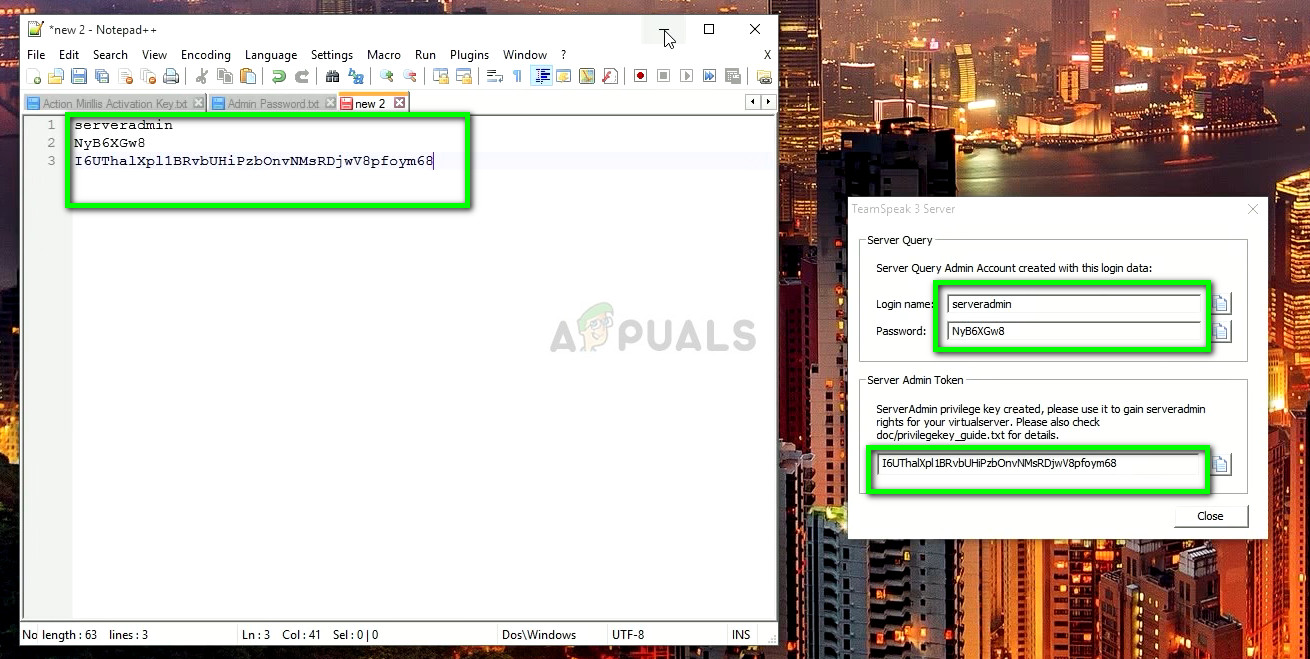
- After downloading the server and extracting, open its application. Once the application launched, you will see your server login credentials along with a Server Admin Token. Copy all these fields to an empty notepad. This is a vital step as we will need these details later on.
- Now you will see a TeamSpeak icon running on your taskbar. This means that the TeamSpeak server is now running.
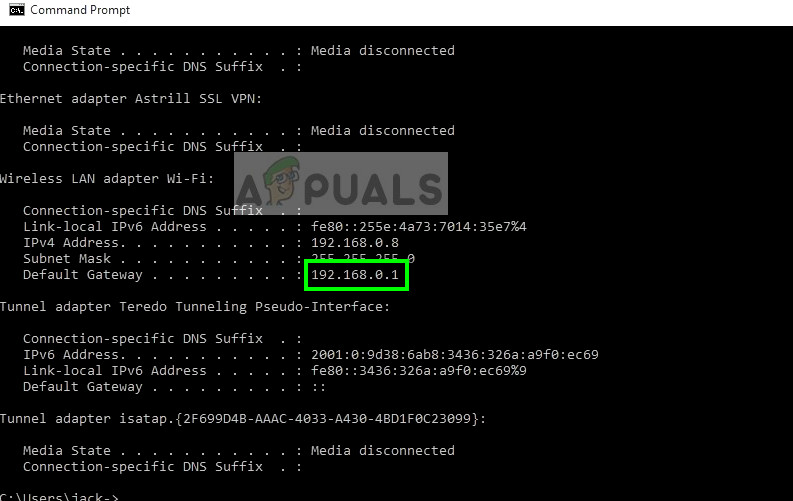
- Press Windows + R, type “ipconfig” in the dialogue box and press Enter. Once all your network details are shown, copy your default gateway and paste the address into your browser.
- We will access your router’s page so we can set up port forwarding for TeamSpeak. Once you have opened the router page using the default gateway,
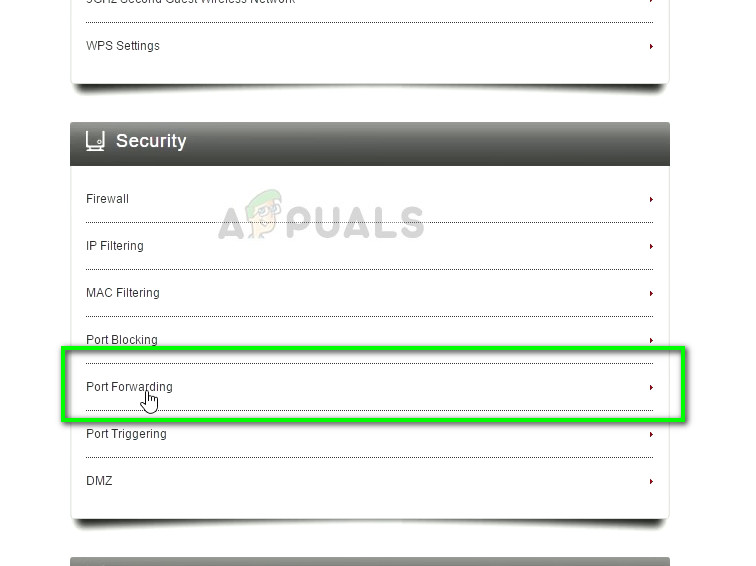
- Once in the router’s administrator page, open the page of port forwarding. The menu will be different according to different manufacturers.
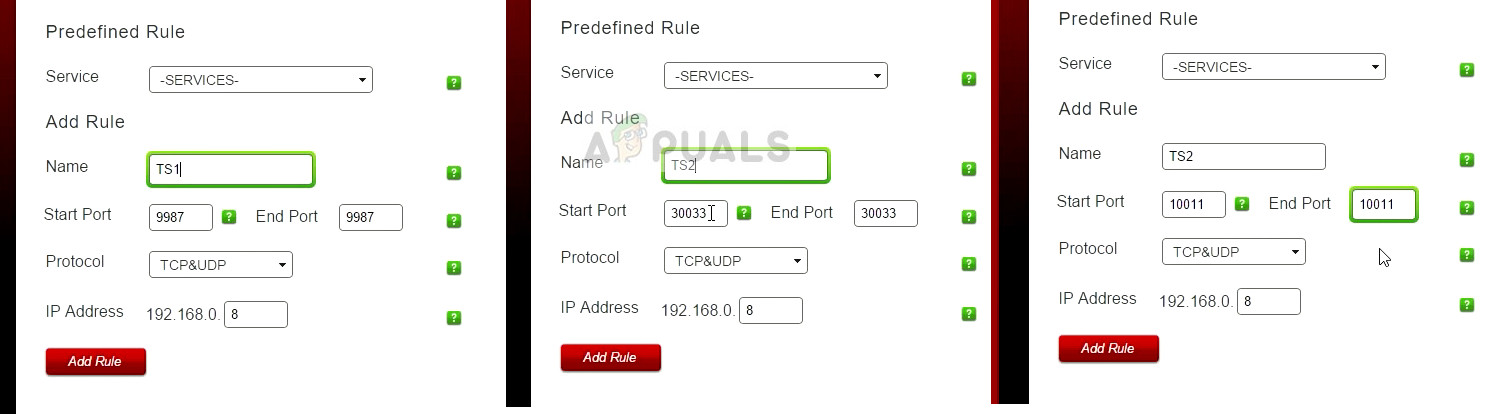
- Now go back to the command prompt which we opened in the earlier steps and copy the IPv4 address. Navigate back to the port forwarding window and make the following entries:
Name: TS

Start port: 9987

Ending port: 9987

IP Address: 192.168.0.8 (Your IPv4 address)
Name: TS1

Start port: 30033

Ending port: 30033

IP Address: 192.168.0.8 (Your IPv4 address)
Name: TS2

Start port: 10011

Ending port: 10011

IP Address: 192.168.0.8 (Your IPv4 address)
Note: It is essential that you have the correct IP Address in your port forwarding table. IPv4 change all the time and if it does, make sure that you replace the new address here.
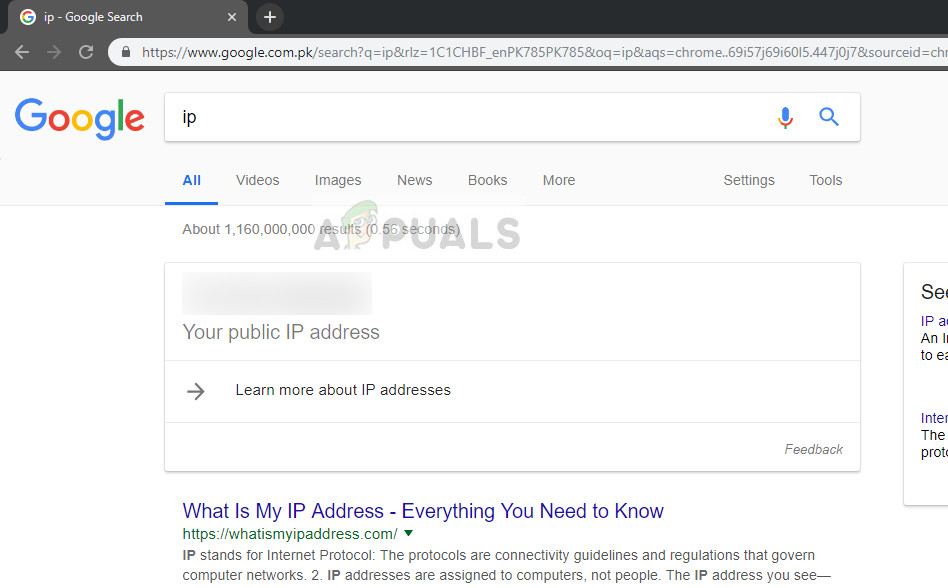
- Now open your web browser and type “IP” in the dialogue box and press Enter. The IP displayed here will be your public IP. Make sure that you only communicate this IP to selected individuals only who want to join the server.
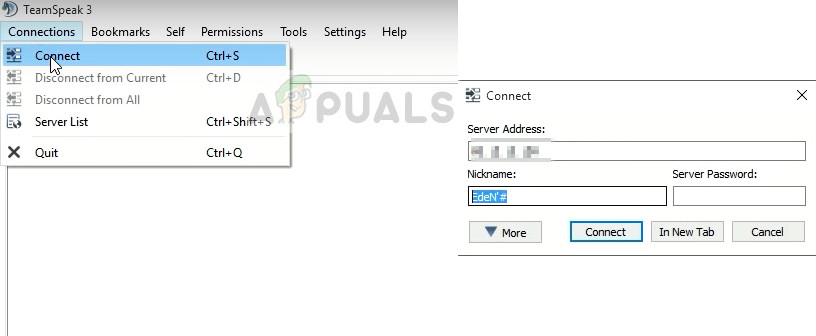
- Launch TeamSpeak and click Connections > Connect. Now enter your Public IP Address which we just copied into the server address. You can also set your nickname here. Press Connect.
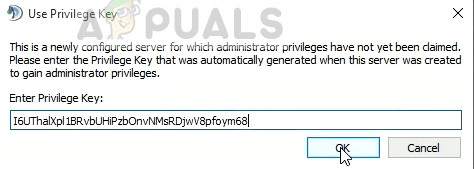
- Now you will be asked to enter your Privilege key which we just noted. Paste it here and press OK.
- Right-click on your TeamSpeak server and select Edit Virtual Server. Here you can change the settings of the server and even add a password if needed. Change the name, the icons of the user etc.

- Your server is now up and running. Other members of your party can join the server at the given IP and chat. Make sure that you have an active internet connection and keep a lookout if your IPv4 changes.


