How to Prevent High Disk Usage by ‘SedLauncher’?
There have been many inquiries by users who have been observing “SedSvc.exe” or “SedLauncher.exe” in the task manager. In this article, we will discuss the function of the launcher and also try to solve the High Disk usage by the ‘SedLauncher’.
What is ‘SedLauncher’?
As described by many users the “SedSvc.exe” and “SedLauncher.exe” can often be observed in the Task Manager, these services are responsible for downloading and installing Windows’ Feature Updates. The “SedLauncher.exe” is stored in the “Rempl” folder inside Program Files. Both the service and the launcher are associated with the “Windows Remediation Service“.
The Windows Remediation Service is responsible for installing Windows 10’s feature updates. These updates aren’t that big and mostly only include small patches. The service is installed on the system in the form of an application and can be viewed in the “Apps & Features” option inside Settings.
Should it be Stopped?
The answer to this depends on the user’s needs. If you want to have the latest security patch and want the additional features that a certain update brings, you shouldn’t stop this service or launcher and let it download and install the latest feature update. However, if you don’t care about the new security patches or features, the update can easily be stopped.
High Disk Usage by SedLauncher
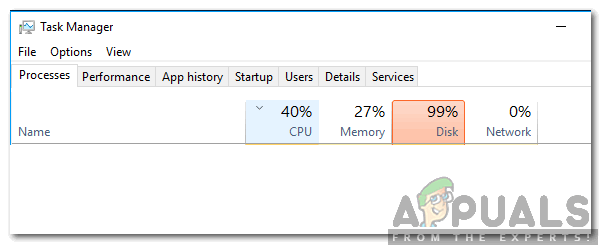
There have been numerous reports from a lot of users who have been complaining about the high disk usage by the ‘SedLauncher‘ and ‘SedSvc.exe‘. The High Disk Usage can sometimes occur if the service/launcher is downloading a huge feature update or if it is installing it. The issue can also arise if the service is facing a problem during the process. The only solution to the high disk usage is to stop the service and the process or wait for the high disk usage to go away automatically.
How to Fix High Disk Usage by SedLauncher/Windows Remediation Service?
There are only two solutions to the High Disk Usage caused by SedLauncher/Windows Remediation Service, either to wait for the High Disk Usage to stop automatically after the feature update has been downloaded/installed or to stop it manually. In this step, we will be teaching you some methods to stop the service permanently to bring down the Disk Usage.
Method 1: Uninstalling Service
Since the service is installed on the computer as an application, in this step, we will be uninstalling it completely. For that:
- Press “Windows” + “I” to open Settings.
- Click on the “Apps” button and select “Apps & Features” from the left pane.
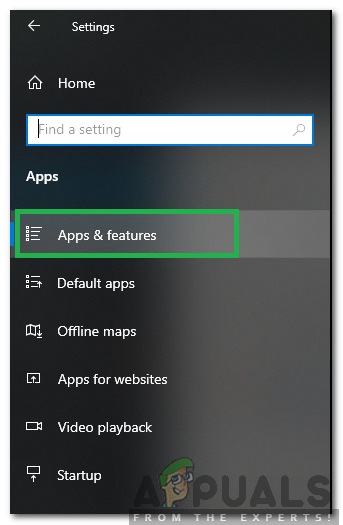
Clicking on “Apps & Features” - Scroll down and click on the “Windows Setup Remediation” or the “Update for Windows 10” option.
Note: One of them will be present depending upon the type of update. - Click on “Uninstall” and follow the onscreen instructions to delete it completely.
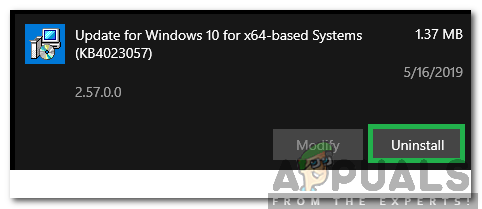
Clicking on “Uninstall”
Method 2: Disabling the Service
Another method to prevent the service from using High Disk Space is by disabling it from the service management menu. For that:
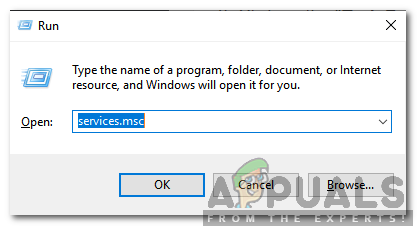
- Press “Windows” + “R” to open the Run prompt.
- Type in “Services.msc” and press “Enter“.
Typing in “Services.msc” and pressing “Enter” - Double Click on the “Windows Mediation Service” option and click on the “Stop” button.

Double-clicking on “Windows Mediation Service” - Select the “Startup Type” dropdown and click on “Disable“.
- Click on “Apply” and select “OK“.
Method 3: Deleting Task Schedule
Windows schedules the update, maintenance, downloading and installing process through the Windows Task Scheduler. Therefore, in this step, we will be deleting the scheduled task from it. For that:
- Press “Windows” + “R” to open the Run prompt.
- Type in “taskschd.msc” and press “Enter“.

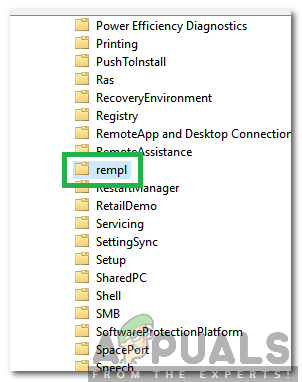
Typing in “Taskschd.msx” and press Enter - Double click on the “Task Scheduler Library” in the left pane.
- Navigate to the following address
Microsoft>Windows>Rempl
Navigating to the address - Click on the “Shell” task on the right side and press the “Delete” key on the keyboard.
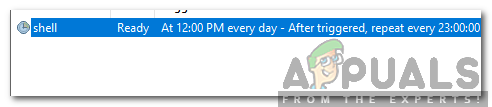
Clicking on “Shell” and pressing “Delete” - Click on “Yes” in the prompt to confirm the action.
Method 4: Uninstalling Updates
SedLauncher.exe although crucial for installing some updates, it can sometimes continue to run in the background even after the completion of the update. Sadly, the only way around it sometimes is to uninstall the said update and wait for a more stable version to come out. In order to uninstall the Update:
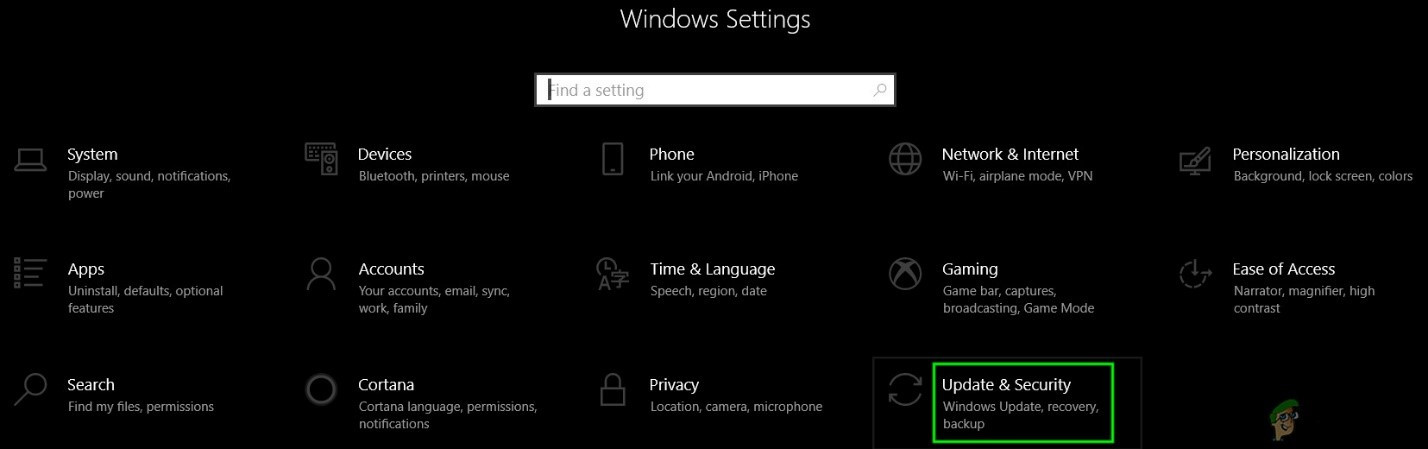
- Press “Windows” + “I” buttons to open the settings.
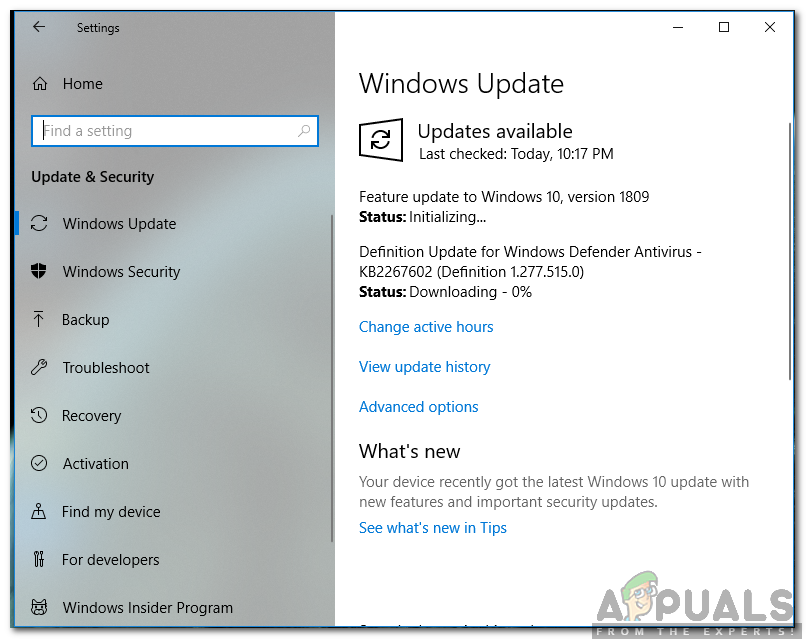
- In settings, click on the “Update and Security” option and then select the “Windows Update” button from the left pane.
Open Update & Security in Windows Settings - In the Windows Update, click on the “View Update History” option.
- In the update History, click on the “Uninstall Updates” option and it should take you to the uninstallation screen where all the recently installed updates will be listed.
- From the list, right-click on the update that was installed recently and gave way to the high CPU usage by sedlauncher.exe.
- Right-click on this update and select the “Uninstall” button to remove it completely from the computer.
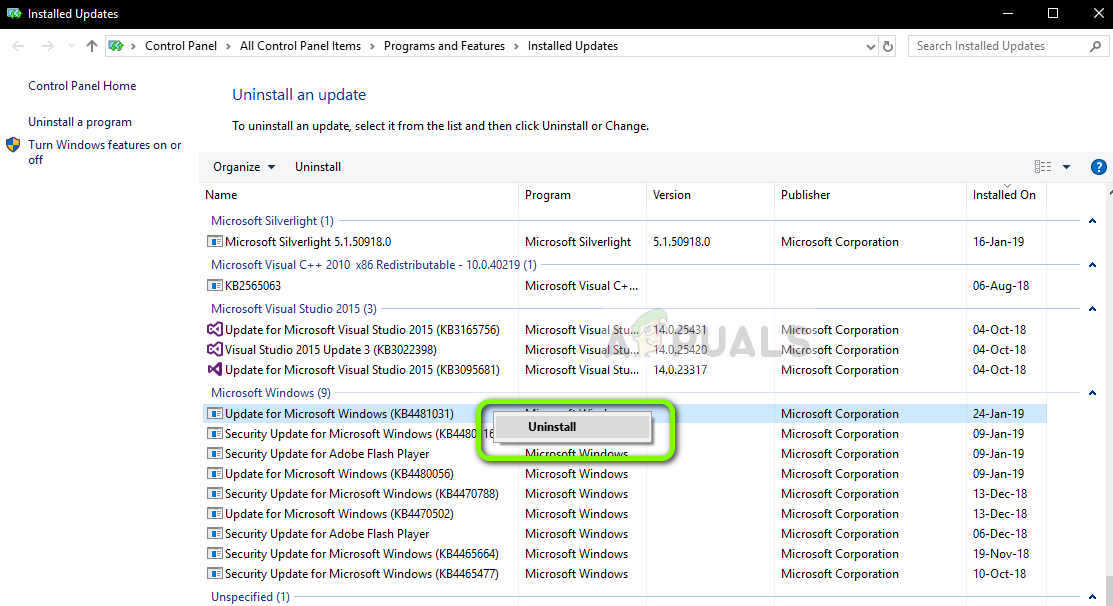
Uninstalling Microsoft Updates - Follow through with the on-screen instructions and check to see if uninstalling fixes this issue.
Method 5: Performing System Restore
In some situations, you might need to perform a System Restore in order to get rid of the high CPU usage from the SedLauncher.exe because it will sometimes continue to run in the background in spite of the completion of the process. Therefore, in this step, we will be running a system restore. For that:
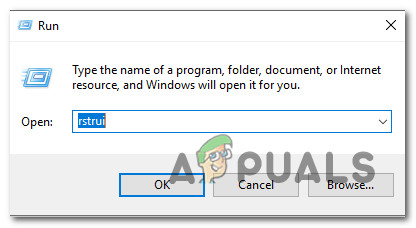
- Press “Windows” + “R” to open the Run prompt.
- Type in “rstrui” and press “Enter” to open the restore management window.
Opening the System Restore wizard via Run box - Click on “Next” and check the “Show more Restore Points” option.
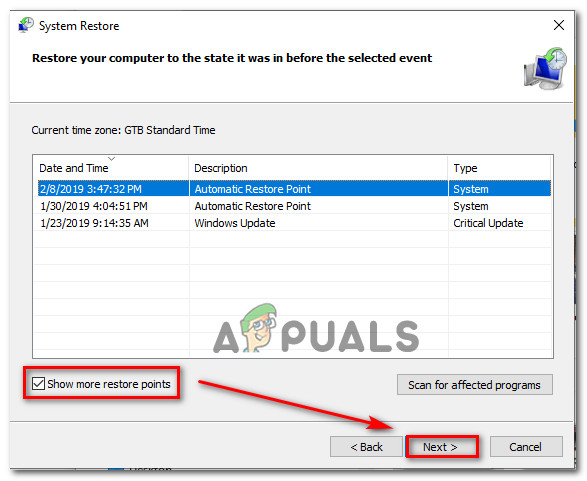
Restoring your system to a previous point in time - Select a restore point from the list that is before the date on which this issue started occurring.
- Click on “Next” again and follow the on-screen instructions to go take everything to the said date.
- Check to see if doing so has fixed the issues with the high resource usage by sedlauncher.


