How to Optimize Windows 10 For Gaming and Best Performance
Very recently, I was reading numerous guides on how you can improve your FPS in major games. In those guides, I noticed that the game themselves do not have a lot of things to work with. Instead, Windows 10 has dozens of problems and requires tons of optimization to increase its performance.
In this guide, I’ll breakdown nearly every feature in Windows 10, and we will optimize its settings for our purpose, which is gaming and performance. All settings are quite safe, as they are done within Windows 10 itself. Moreover, we are going to avoid third-party Softwares, for security purposes.
Make sure you are following all the steps correctly and not messing around with irrelevant settings.
Enable Ultimate Performance In Windows 10
By default, Windows 10 has a really Balanced Power Plan. This default plan is never meant to give you 100% Performance, and instead, it focuses on a really balanced tweak. On the bright side, Windows 10 does allow users to completely enhance the settings for ultimate performance. However, these options aren’t entirely visible, and one has to perform several actions before getting access to those privileges.
- Go To Start > Command Prompt > Open it with Administrative Privileges.
- Under Command Prompt > Paste the code given below.
powercfg -duplicatescheme e9a42b02-d5df-448d-aa00-03f14749eb61
- Once Entered, you will see a message like this mentioning Ultimate Performance.

- Now go to start again > search power plan > Click on Choose Power Plan.
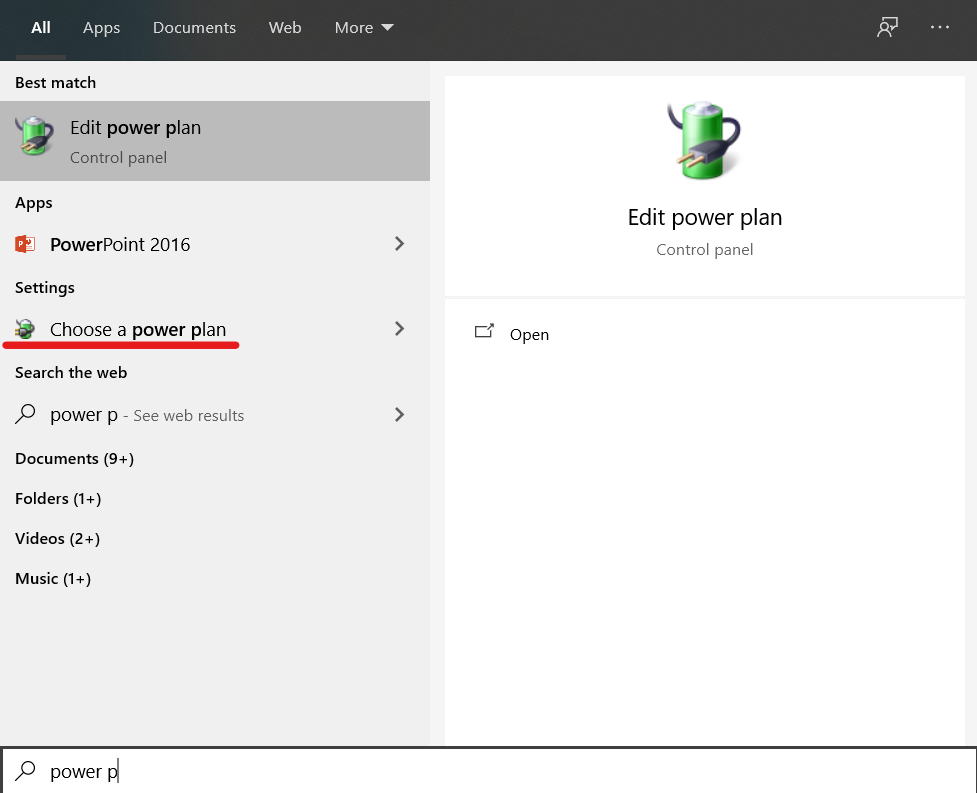
- Once Opened, Switch from Balanced to Ultimate Performance. If you were unable to find Ultimate Performance, click on the arrow highlighted in Red.

- Afterward, Click on Change Plan Settings, and choose never in all four options.
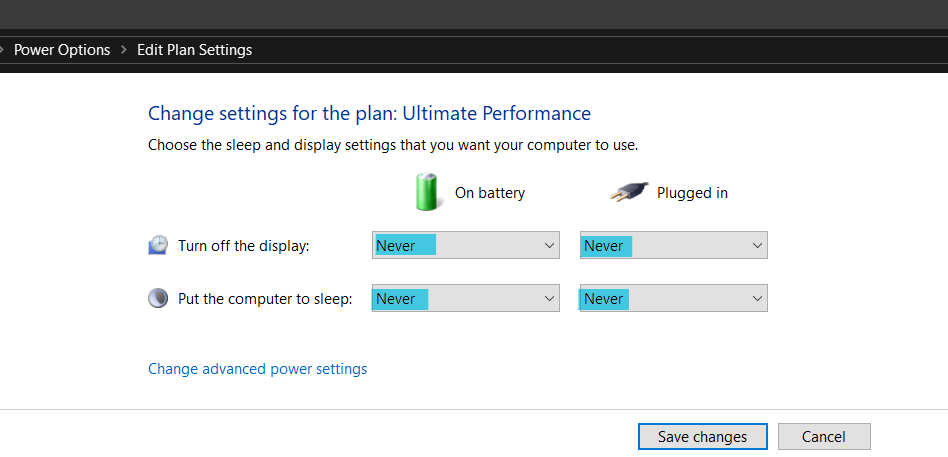
- Once done, hit the “Change Advanced Power Settings”.
- Under the settings, head over to Wireless Adapter Settings > Power Saving Mode > and change on battery and Plugged in option to Maximum Performance.

- Likewise, make sure everything is 100% under Minimum Processor State and Maximum Processor State.
- Once Done, simply Apply and Click Ok.
Disabling Unnecessary Animations To Reduce CPU & Memory Usage
Like I previously said, Windows 10 provides a very basic and balanced system. Therefore, there are things like smooth animations and extra features that have quite a huge impact on your loading and processing times. Disabling these animations can completely transform your experience, and the increase in speed is incredible.
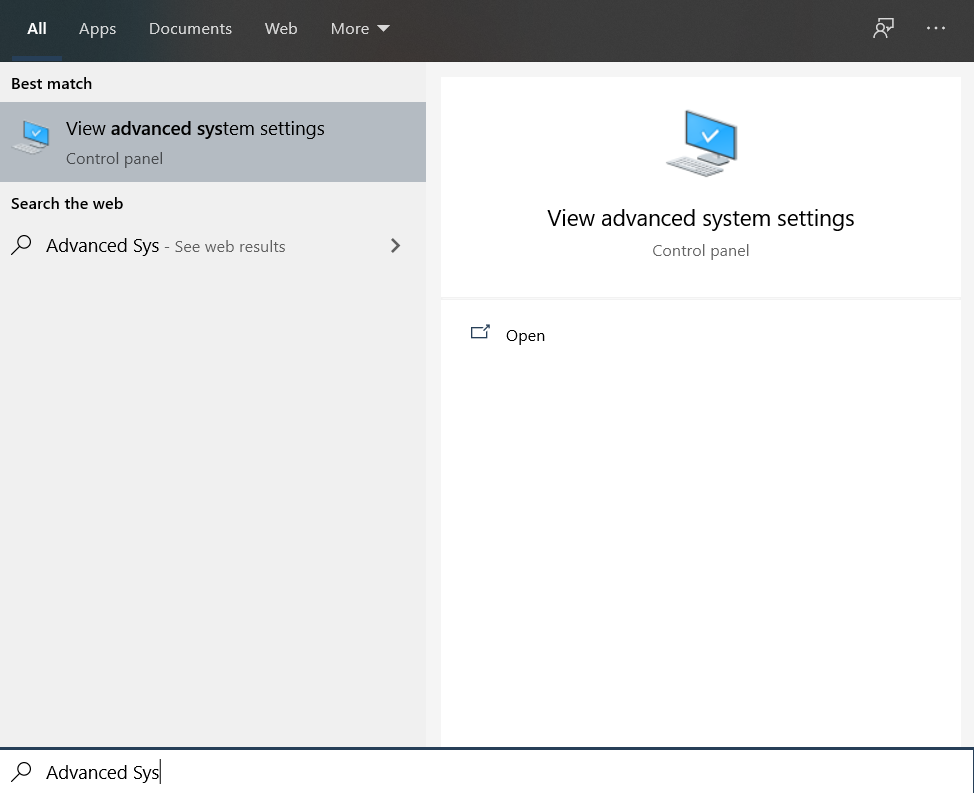
- Open Start > Type Advanced Settings and Click on First Result.
One Opened, Click Settings under Advanced Tab > Visuals Effects > Custom, and Only Select these two options.
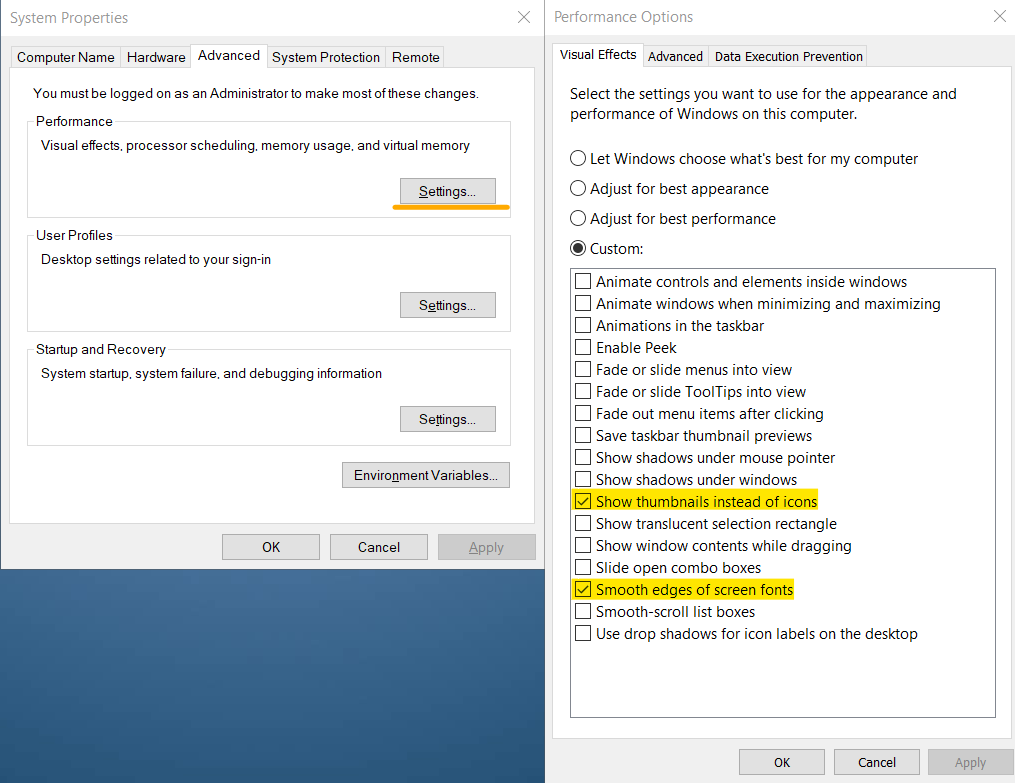
- Afterward, Click on Apply and Ok.
Now go the Advanced tab next to Visual Effects
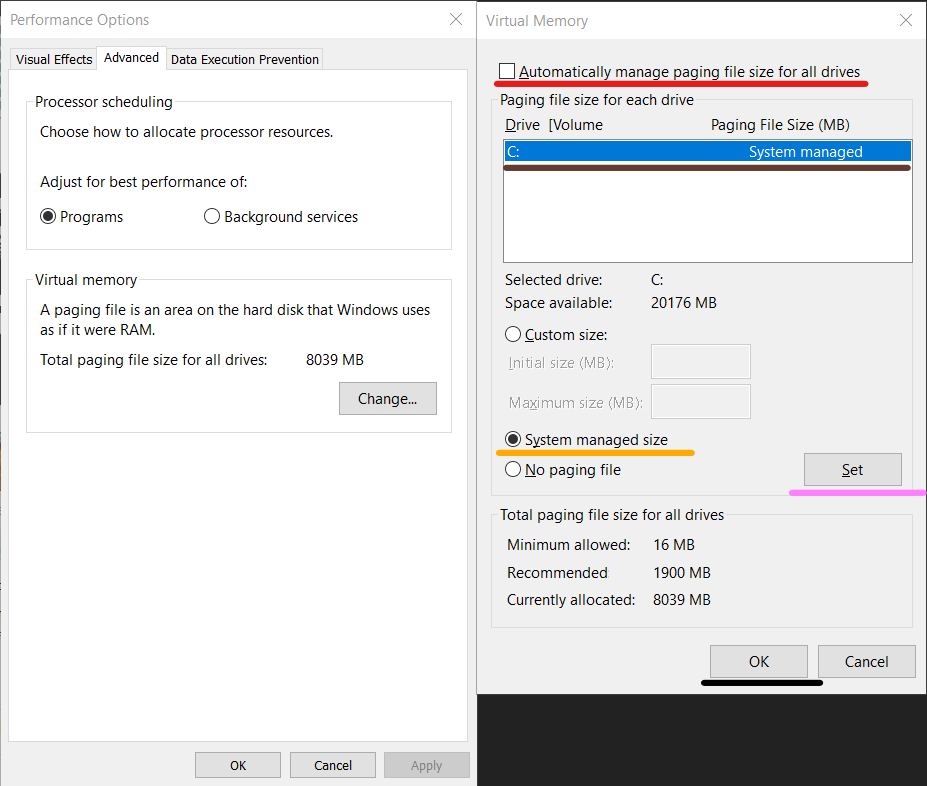
Click on Change under Virtual Memory, and do the following
- Untick Automatically manage paging file size for all drivers highlighted in Red
- Select your SSD Drive, in my case, it is the C Drive, Highlighted in Brown.
- Check System Managed Size Highlighted in Yellow.
- And Finally Click on Set, which I’ve highlighted in Pink.
- Once Done, Repetitively hit Ok under Virtual Memory and Performance Options. If you followed the steps correctly, it’ll ask your permission to restart the PC.
Manually Choosing Ultimate Performance for Games
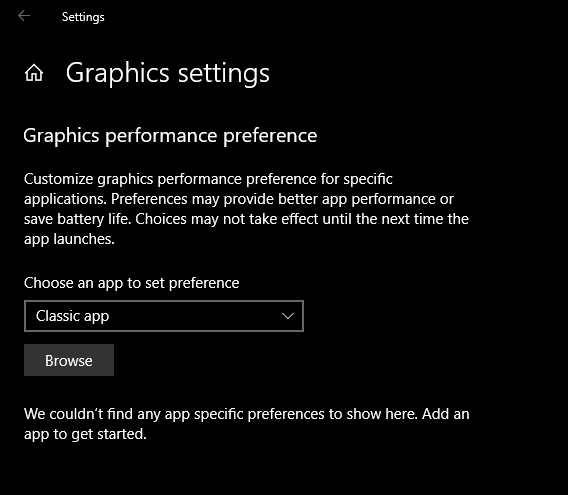
Apart from the usual enhancement. Windows 10 also allows you to change Graphics Performance for any game you want. The built-in feature called Graphics Performance Preference allows you to browse through any game or program, and then choose the suitable power option for that application. You can add any application in the list and choose its power plan. Anyhow, we aren’t going to do that for every game. But, I can show you how it is done.
- Go To Start > Graphics Settings.
- Once Opened, choose the Classic App under app preference.
Now Click on Browse, and select any game that you regularly play. For its FIFA 18, so I browsed through the PC and added it.
- Now you will get various options to choose from, and make sure you click on High performance and hit save.
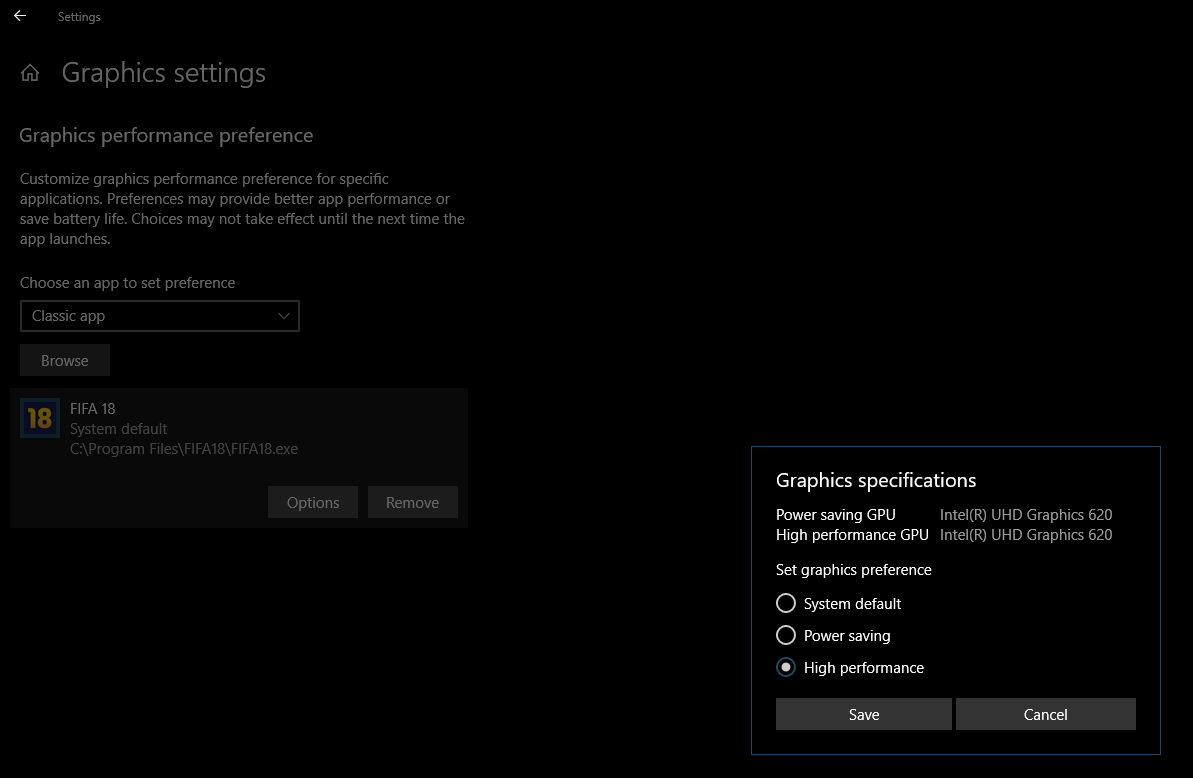
Windows 10 will now enhance FIFA 18 Settings for higher performance.
This feature allows you to add an incredible amount of applications. However, do not overburden it with useless applications like discord, and setting their priority really high. Just add those games that you play regularly, and never add programs that are consistently running in the background.
Turning off Notification, Focus, and Multi-Tasking
Some Apps instantly open when their notifications are enabled. I know it sounds weird, but this is the problem with some Apps. Once opened, they run continuously in the background sucking most of your CPU and Memory Usage. Subsequently, if notifications aren’t opening any Apps in Background. They are simply getting piled in your Windows 10 sidebar.
Here is you can disable these excessive notifications.
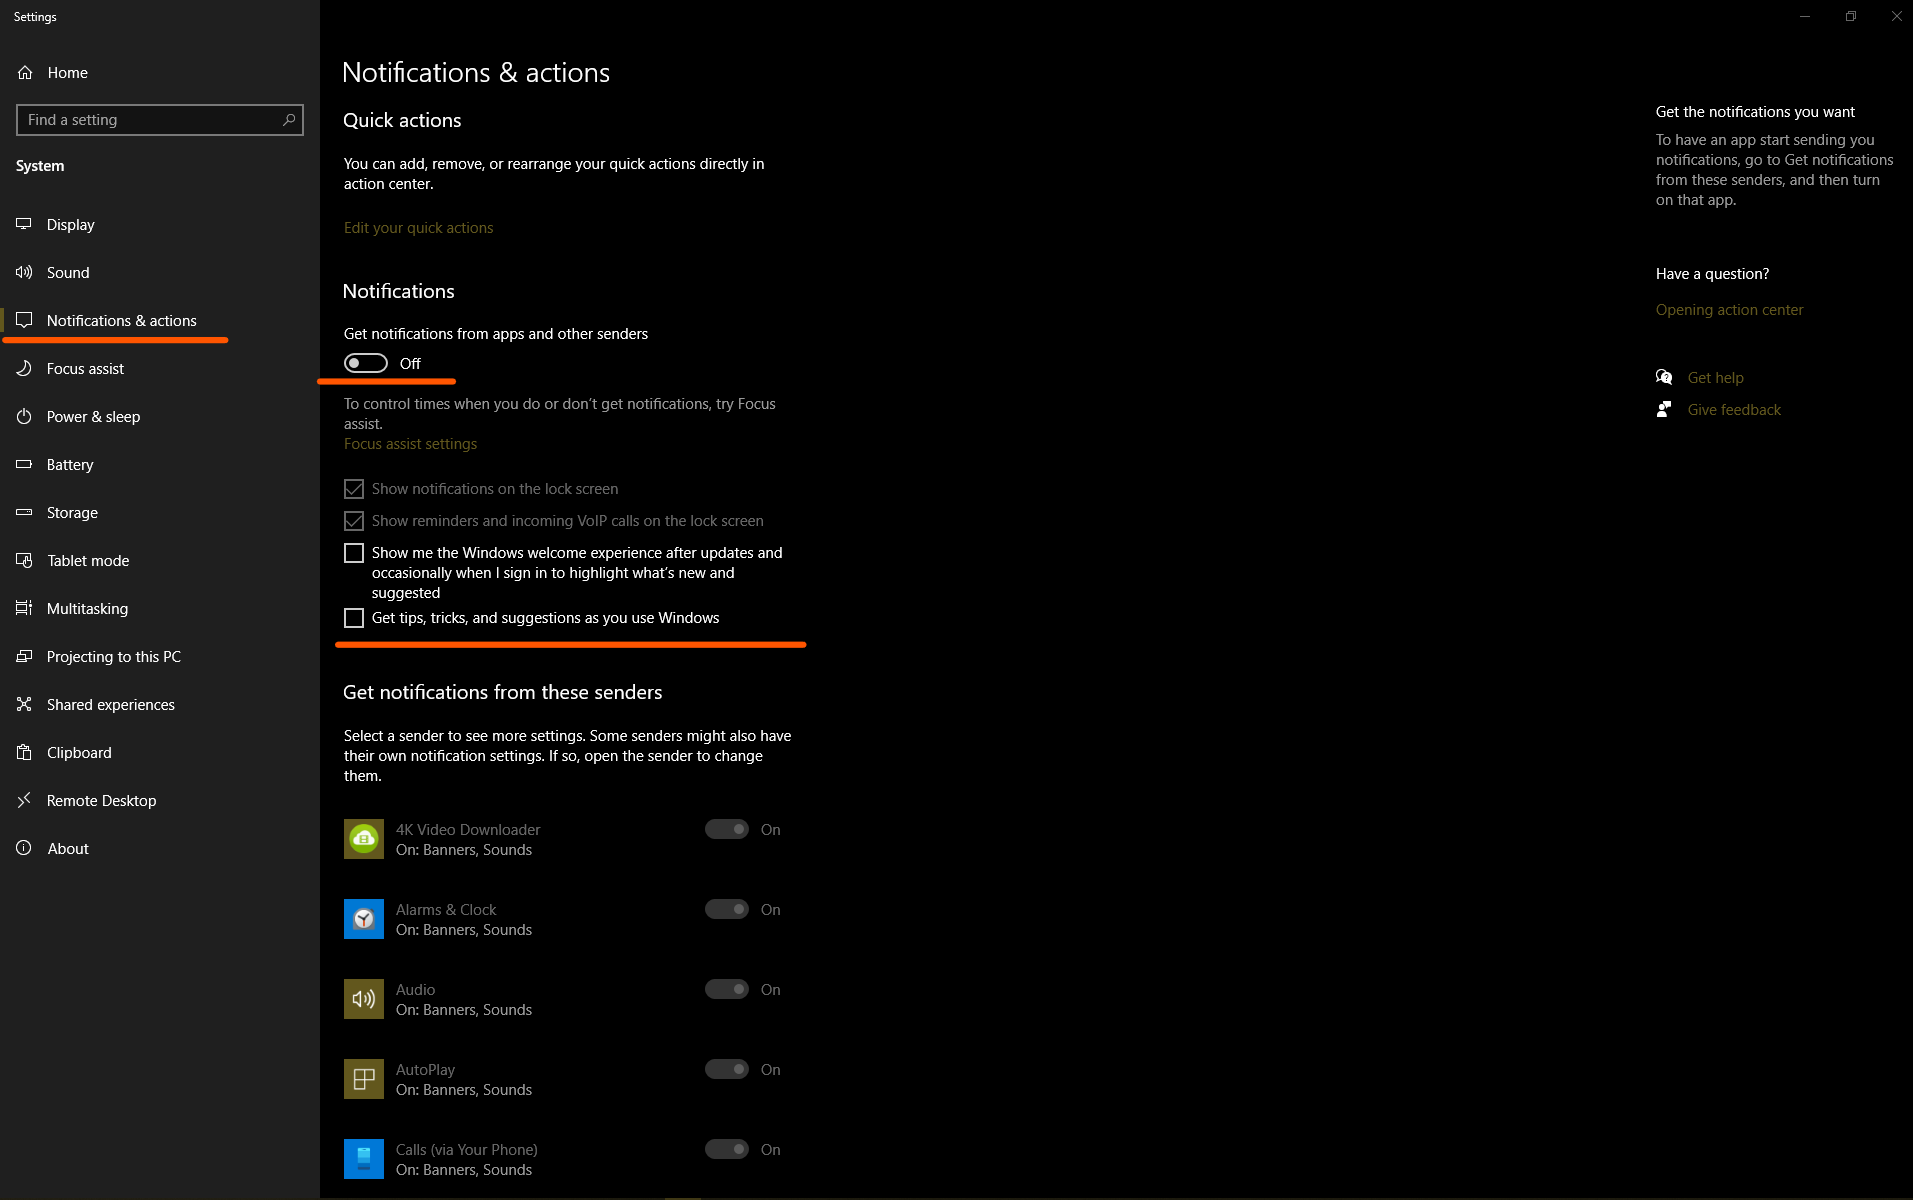
- Open Search > Type Notifications > Click on “Notification & Action Settings”.
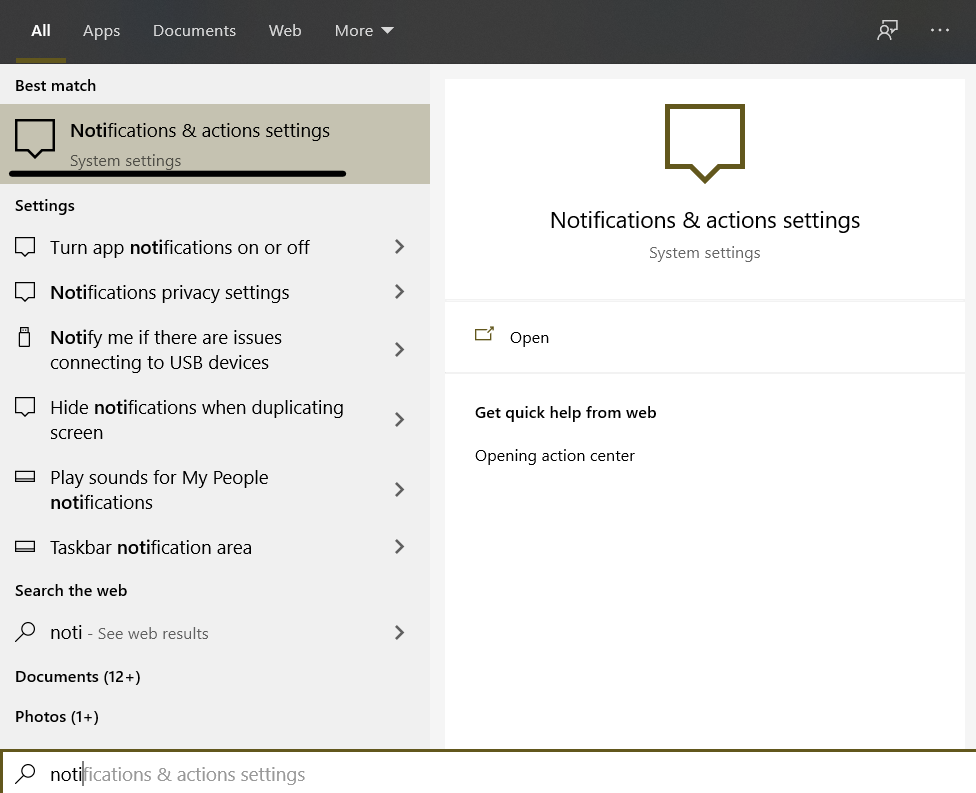
- Now Disable Everything under the Notifications and Actions Tab. Follow the picture below.
Afterward, go to the Focus Assist Tab, and Disable everything there as well.
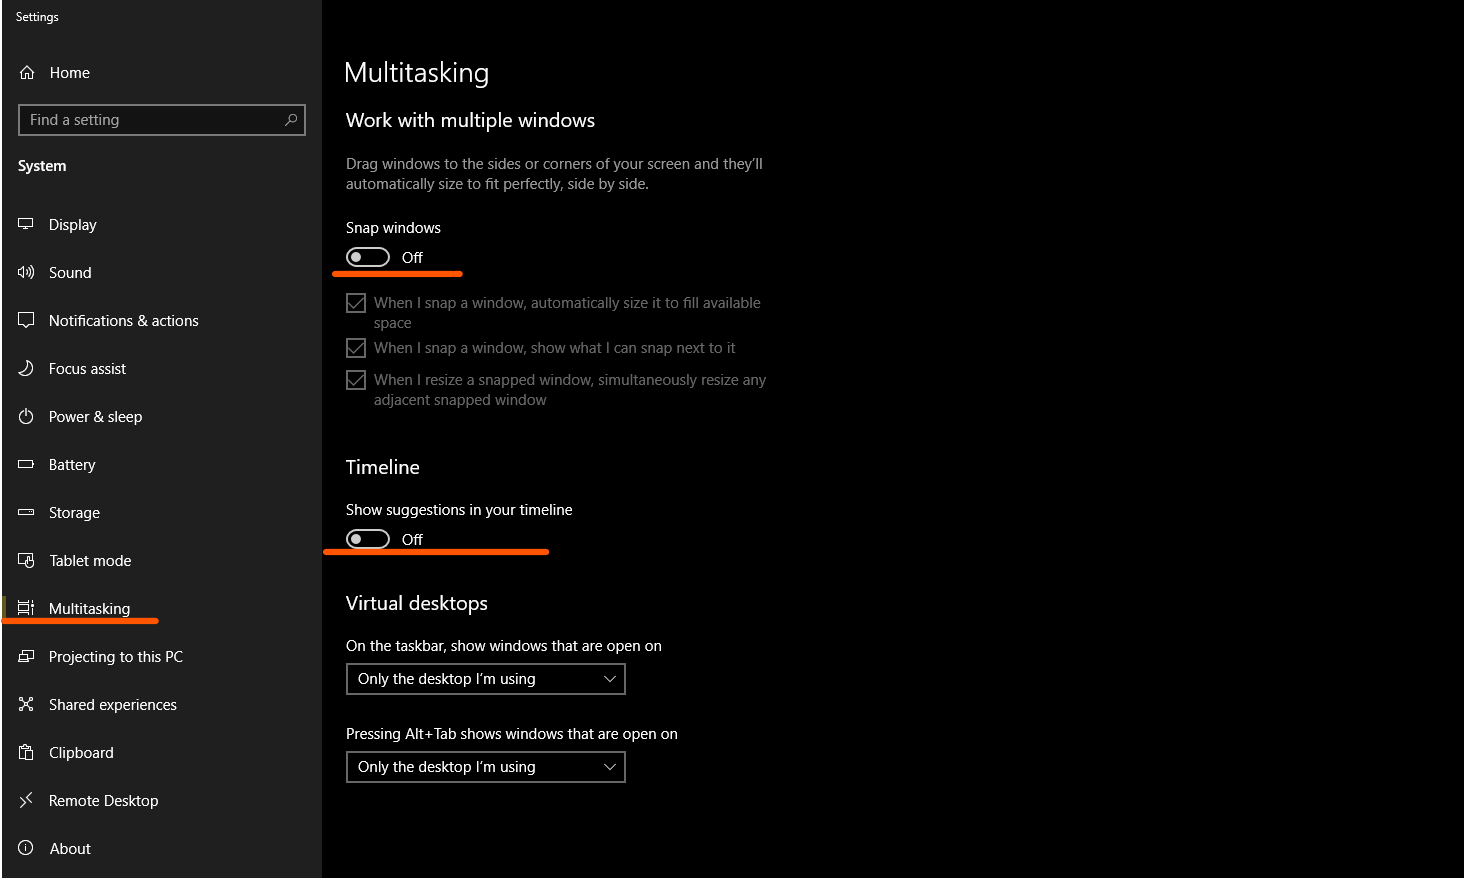
- Do the same in every tab and every setting you can find. Most importantly, ensure that everything in the Multitasking Tab is disabled.
Once done, now go start again and search for “Privacy Settings”
Pump to the App Permissions section, and disable everything in the location, camera, microphone, email, phone calls, contacts, and voice activation tab. These are like other apps I mentioned, running in the background continuously, without providing any value. You can also leave some apps enabled like Skype depending on how often you use some of them. But it is recommended to disable most of them.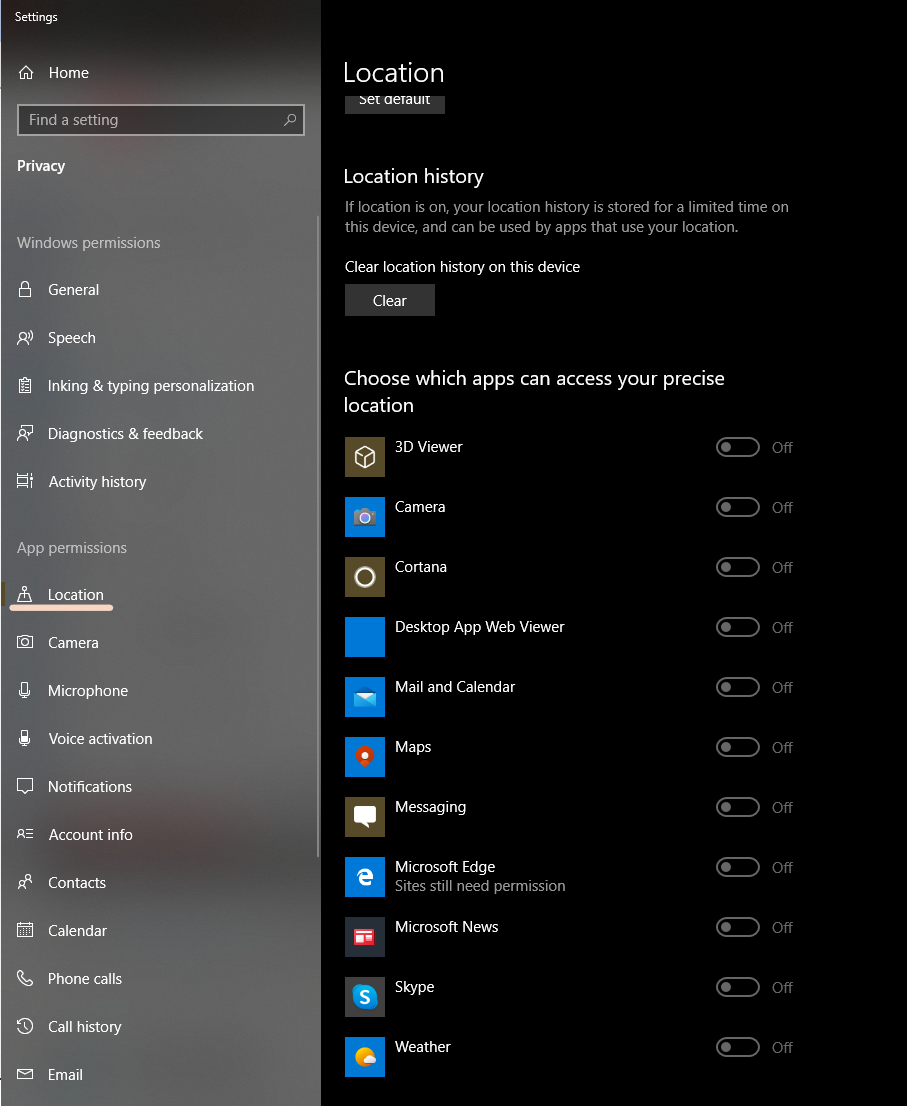
Disable High Priority Application
I cannot explain this time and time again, on how Important disabling high priority applications really are. In short, when you turn on your PC, some applications automatically start in the background along with your PC. Some of these applications are really powered consuming and require tons of resources. Therefore, we have to make sure these are never running in the background. Moreover, these are startup applications, thus, disabling them will also significantly improve your Boot-up Speed.
- Right Click Taskbar > Task Manager
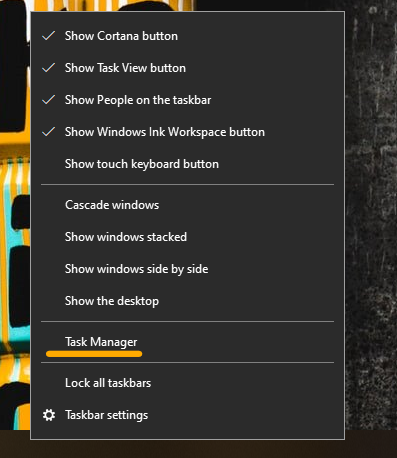
- Go To The Startup Tab, and Disable all high priority applications. You can do this by right-clicking on them, and then choose disable. If done correctly, their status will automatically change.

Some people like me ignore Low Priority applications like Evernote. However, if you have a Budget PC and you want to get Max out of your Windows 10. Make sure all of them are disabled. Anyway, once changes are made, simply exit.
Disabling Unnecessary Sound Hardware Running in Background
While we think that our PC is only using one Sound Hardware this is not entirely true. Whenever you plug a sound device in your PC. It atomically enables it, and thus the device keeps running despite not being used by the user. We can easily disable these useless sound devices, and by doing this sound quality and overall performance will improve.
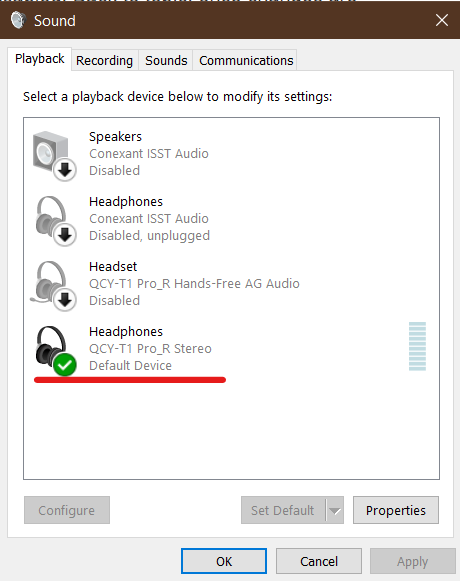
- Go To Start > Type Change System Sounds.
- Once opened, head over to the Playback tab and disable all the irrelevant Sound Devices. Make sure your default sound device is enabled.
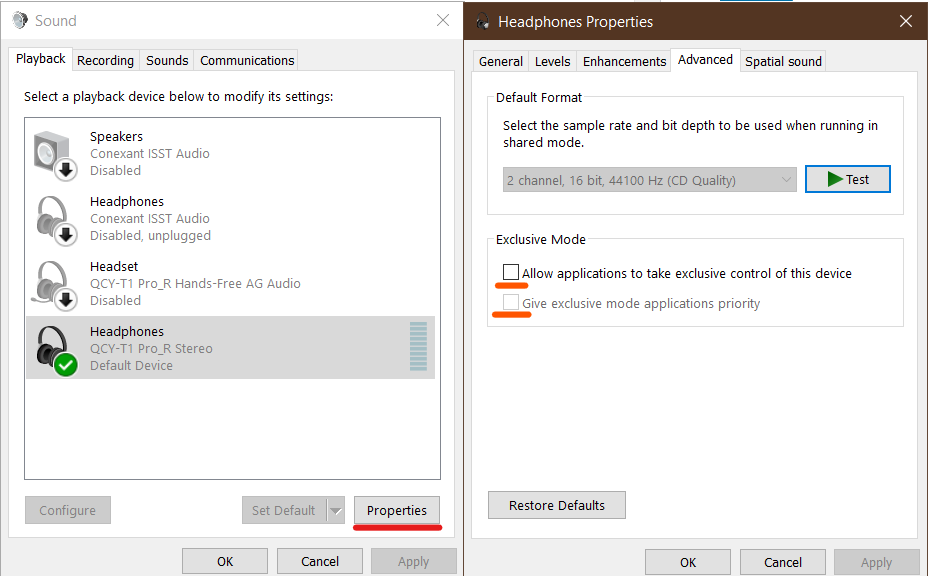
- Afterward, hit properties above the Apply button.
- Now Go The Advanced Tab, and disable both options highlighted in Red under the Exclusive Mode.
- Open the Default Format slide, and choose the highest option available. In my case, I’m using Bluetooth headsets, so I cant see the option.
We are not done yet. Once you have made these two changes. Head over to the Spatial Sound tab, and make sure it is disabled.

After you have made all these changes to Headphones Properties. We have to now replicate the exact same steps in the Microphone Properties.
- Disable all the irrelevant Microphone Devices.
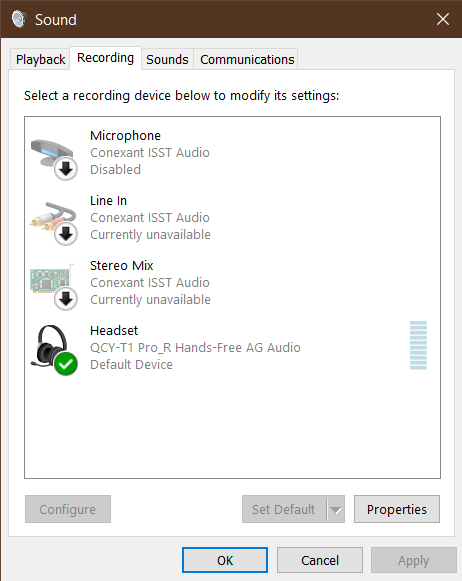
- Select the default Recording Device, and click on Properties.
Under the Advanced tab, make sure these three options are disabled. Further, select the highest available value under Default Format.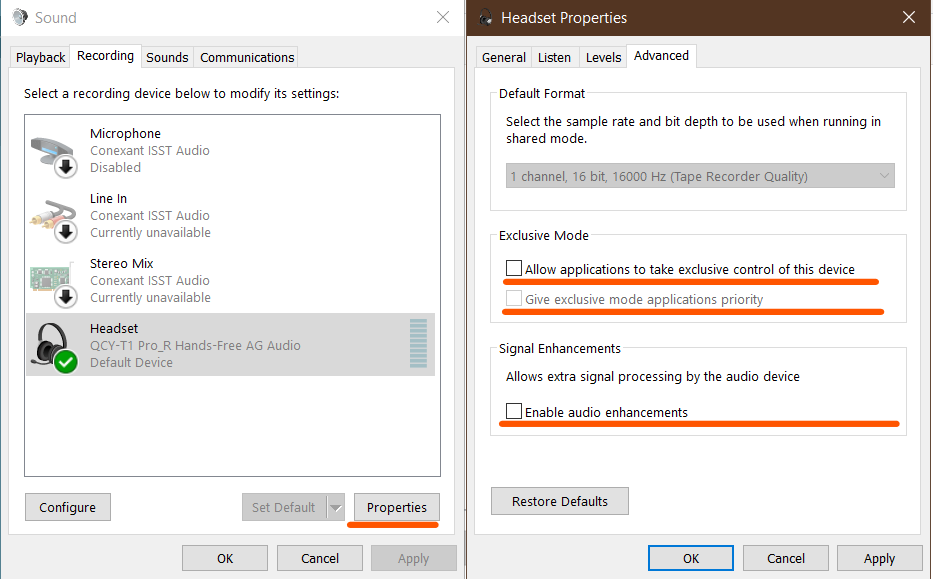
- Now hit Apply and Ok for Audio Settings as well.
Speeding up Windows 10 by deleting useless files
All the processes mentioned above will speed up and optimize your Windows 10. However, I wanted to grab your attention by mentioning speed specifically, because this step requires you to constantly keep an eye for trash and then delete them. Anyway, follow the steps below and clear all the useless files from your system.
- Open Run through Windows + R Key.
- Type %appdata%, and now head back to the AppData Folder.
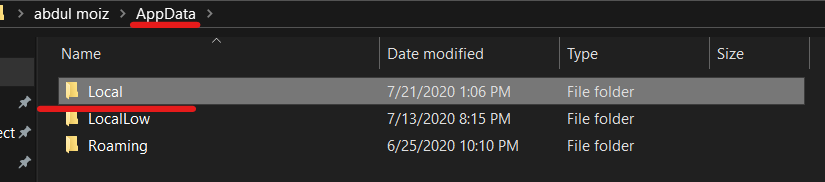
- In AppData Folder, Proceed to Local and then Temp.
- Once opened, make sure you delete everything under the Temp Folder. In my case, there aren’t a lot of files, because I constantly keep an eye for it and delete them on a regular basis.
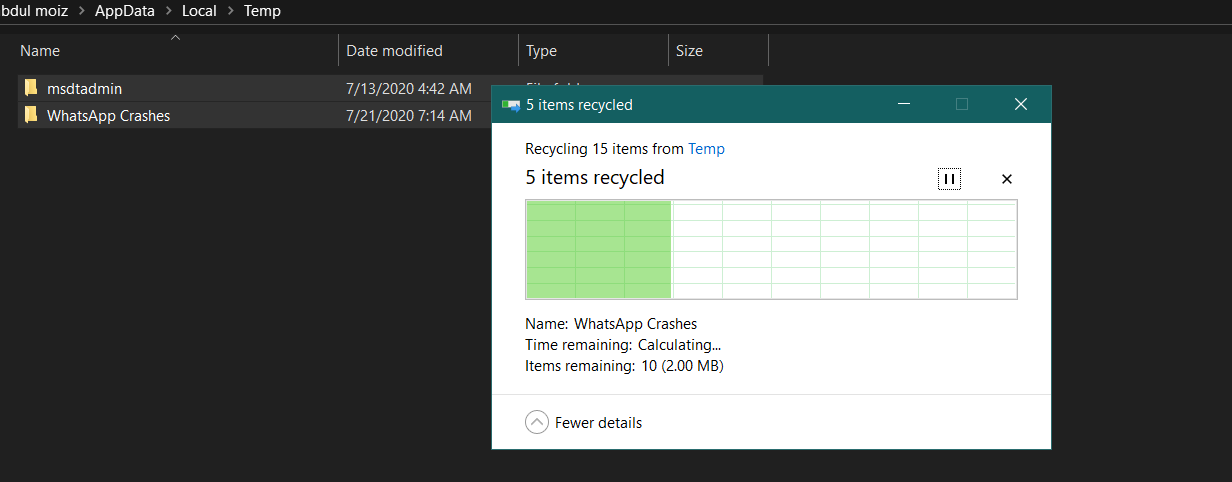
Once you are done emptying this. Now make sure you empty the recycle bin as well. These files reserve a huge chunk of space in your hard drives, therefore consuming a percentage of power. When deleted, you are left with more space, and hard drives or SSD perform better.
Make Sure Windows 10 is Updated
If you have applied all the changes suggested above, and you are still struggling with performance. Then, you might want to take a look at your Windows 10 Version. Some Windows 10 CD Keys come with the base version, which is unreliable and filled with bugs. Microsoft consistently releases new Updates for Windows 10, focusing on speed, optimization, and more options to choose from.
- Head Over to Start, Type “Check For Updates”.
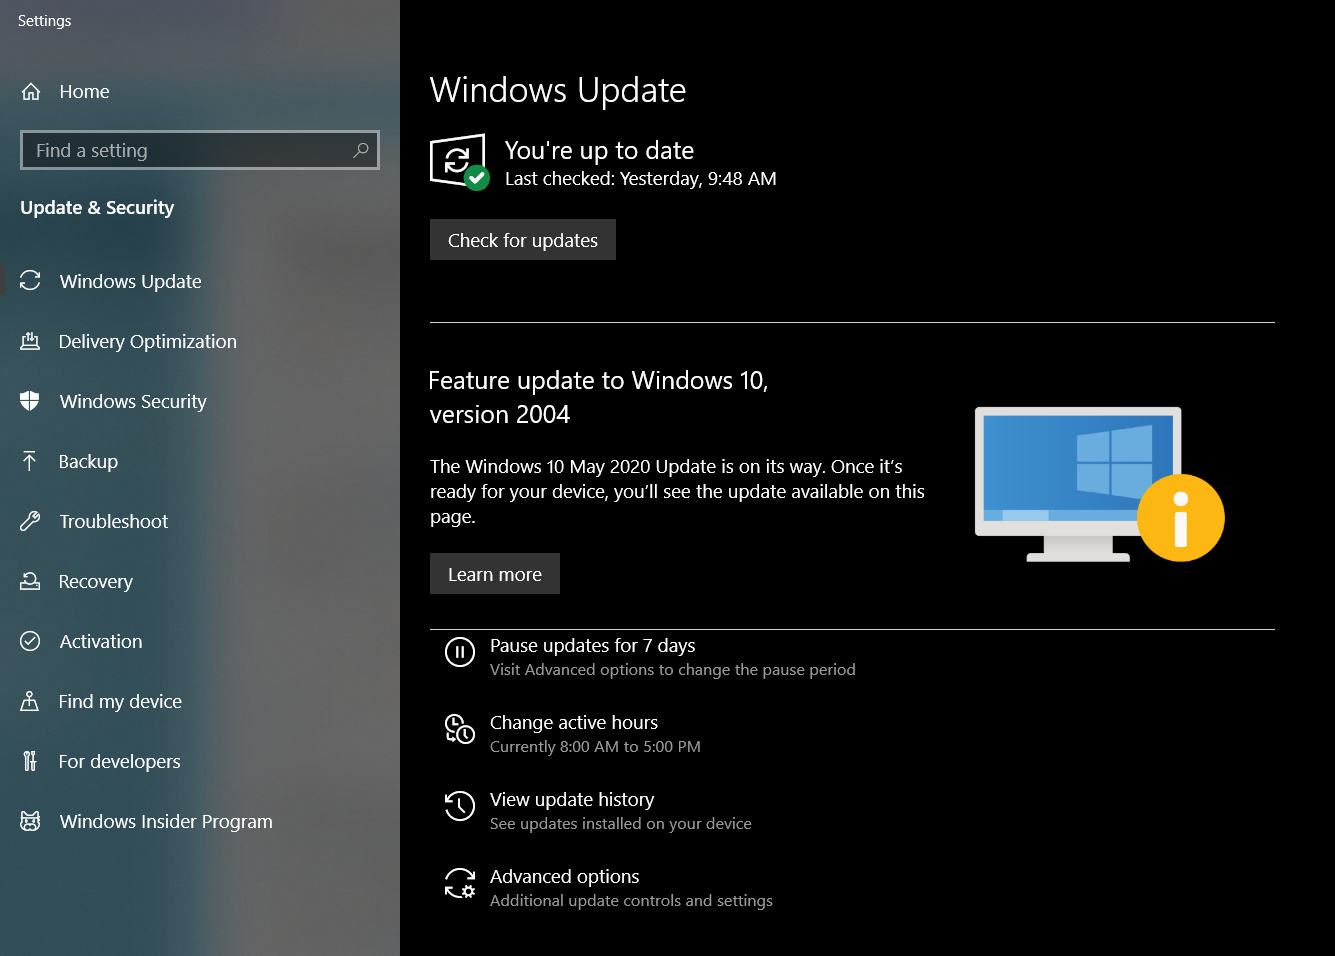
Here is my Windows 10, Updated to the latest version. Afterward, see if there is a new Windows 10 Version Available. If not, it’ll tell you your windows 10 is up to date.
Windows 10 Specific Gaming Settings
Windows 10 comes with several features that completely focuses on gaming. By default, most of these tweaks like other Windows 10 settings are optimized for balanced power. Now there are a bunch of settings to tweak, but don’t worry though, because I’ll take you through every setting, and make sure they are providing 100% performance while gaming.
Enabling Game Mode
- Hit Start > Search Game Mode > Open First Result.
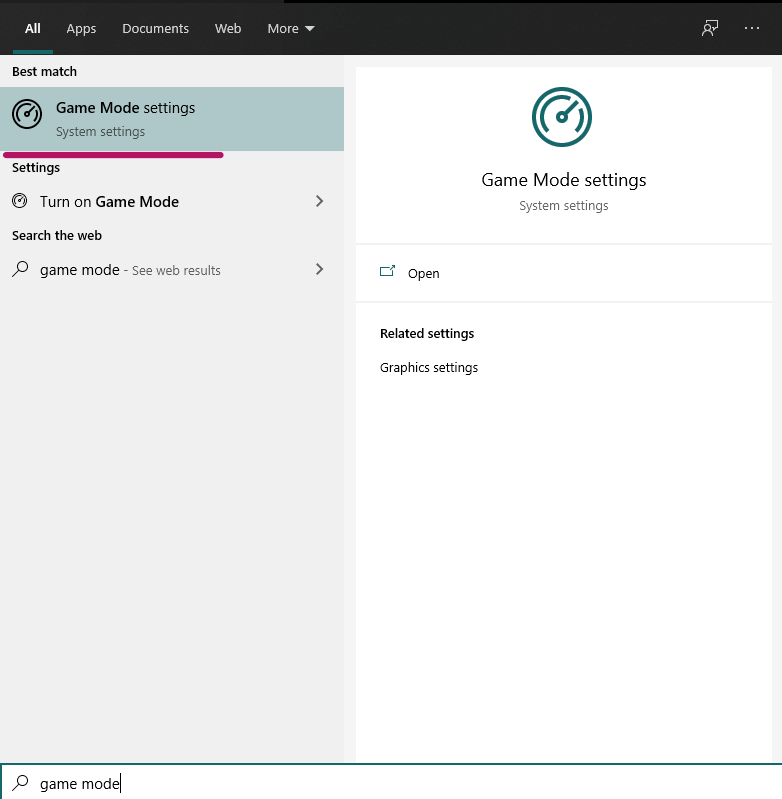
- Once Opened, make sure Game Mode is enabled.
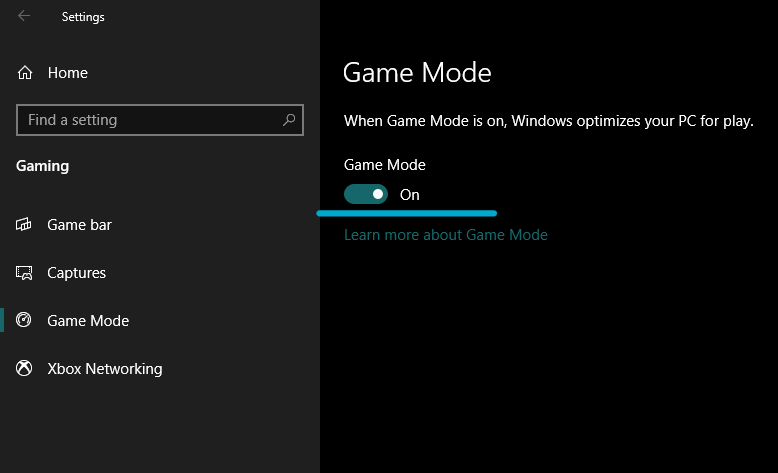
As I explained before, Game Mode significantly optimizes your PC to give 100% performance while gaming. What it exactly does is quite simple. Game Mode sets your application priority high, disable pop-ups, notifications, and kills all other useless applications running in the background. In short, Game Mode ensures that your application is getting the most out of the PC.
Disable Game Notifications
We already went through some Windows 10 notifications and disabled them. Now its time to disable game only notifications as well. When enabled, these notifications start recording, take screenshots, and enable dozens of pop-ups. We have to make sure, none of these types of applications are running in the background, while gaming.
- Open Start > Game Mode > Open First Result.
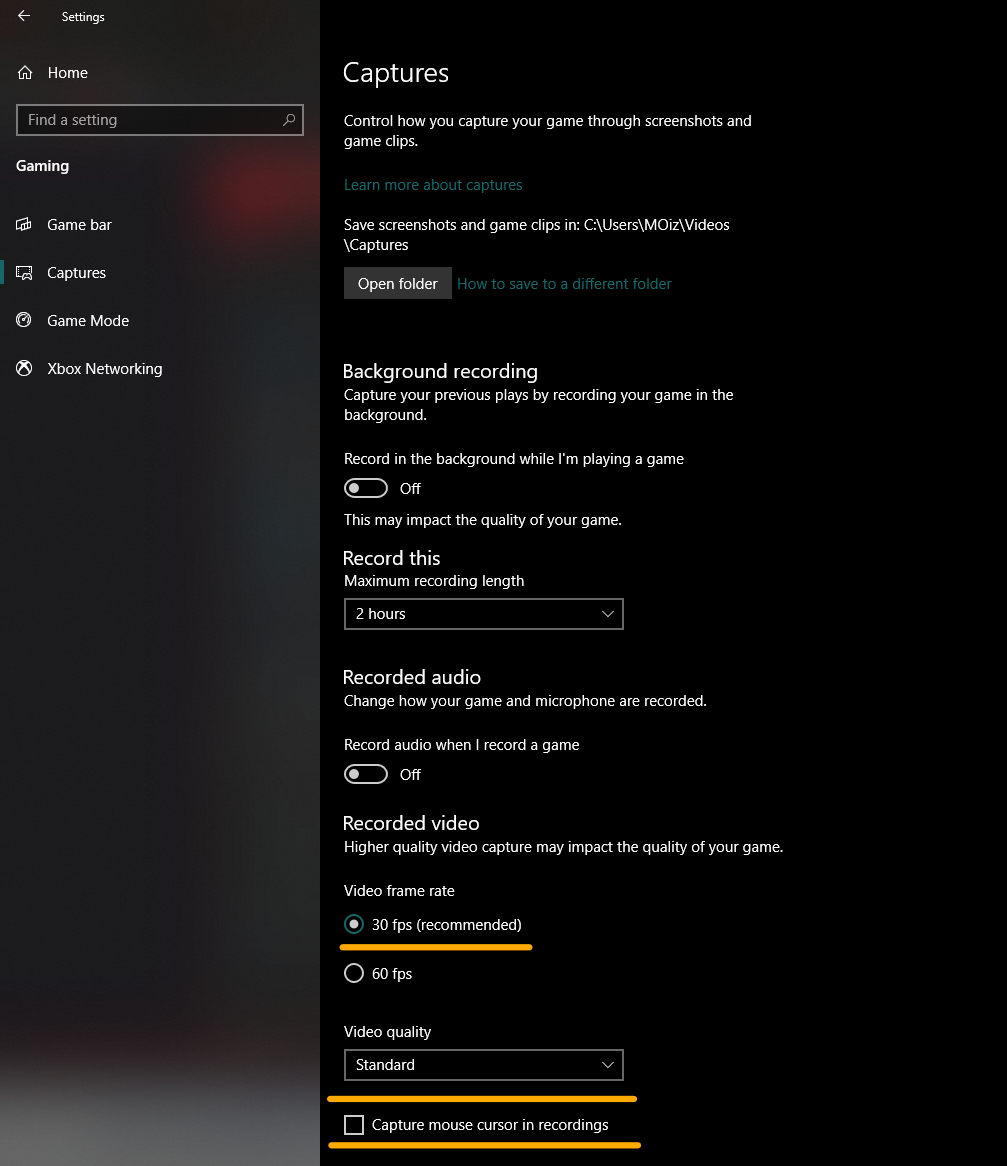
Now Go to the Captures Tab, and make sure everything is disabled. Also, select 30 FPS for Video Frame Rate, and make sure Video Quality is Standard.
Disabling Mouse Pointer Precision
Another important feature I’m going to highlight is Mouse Pointer Precision. When this feature is enabled, it automatically changes your DPI based on your mouse movement. In other words, it has a significant impact on your aim and can cause inconsistency. Most importantly, it also consumes a significant portion of power. We can disable it through the following steps.
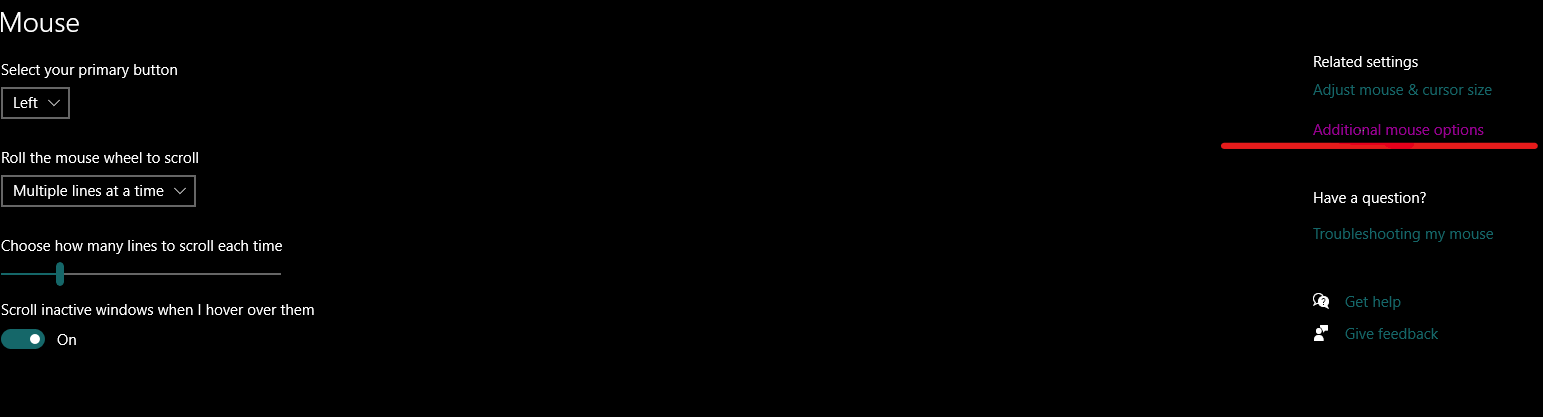
- Open Start > Type “Mouse Settings” > Click on Mouse Settings.
- Now Go The Aditional Mouse Options.
- Once Opened, Head over to the Pointer Options Tab, and Disable “Enhance Pointer Precision”
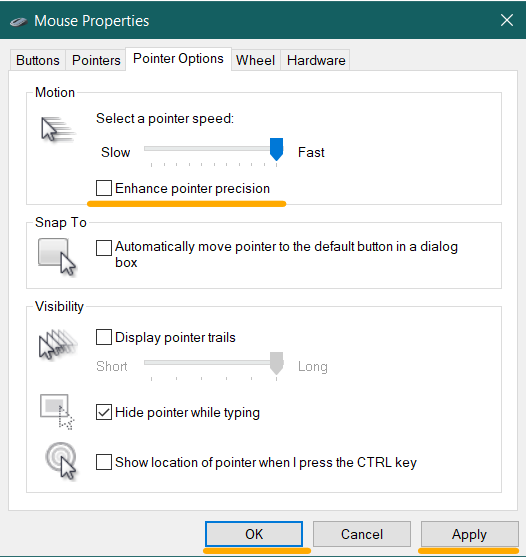
- Afterward, Hit Apply and Ok.
Takeaways
Ending this guide, I’d like to say with confidence, that if you have applied all these changes to your System. You will without a doubt see a massive improvement in performance. Other than that, games won’t stutter anymore and frame rates will significantly improve. Just make sure, that you are following all the steps mentioned in this guide properly. Do not mess with irrelevant settings that you are unaware of. The settings mentioned in this guide are completely safe and do not have any major drawbacks, other than compromising on animations and visuals. Ultimately even after implementing these steps, if your system is lacking in performance then consider upgrading to a whole new PC.


