How to Open Local Group Policy Editor on Windows?
The Local Group Policy Editor is a tool in Windows that helps manage and set up various settings for your computer and its users. Here’s a simpler explanation of what it does and how it works:

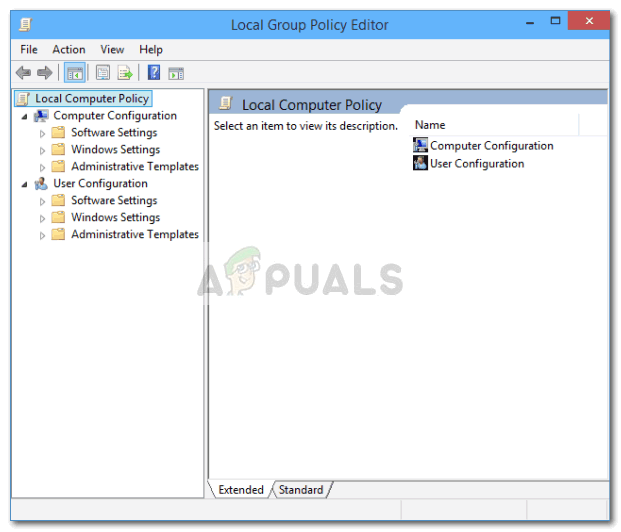
What is Local Group Policy Editor? Local Group Policy Editor (gpedit.msc) is like a control panel for admins. It lets them set rules and policies for how the computer and the user accounts work. There are two main parts of a Group Policy Editor:
- Computer Configuration: Settings here apply to the whole computer. It doesn’t matter who logs in; these settings affect everyone using the computer.
- User Configuration: Settings here apply only to specific users. No matter which computer they log into, these settings follow the user.
In simple terms, think of the Local Group Policy Editor as a way to set rules and guidelines that either impact every user of the computer or target specific users, depending on how it’s set up. This helps in managing and securing the system more effectively.
Note: The Local Group Policy Editor (gpedit.msc) is not available in some editions of Windows, like the Home edition. It is available in Professional, Enterprise, and Education editions. If you’re using a Home edition, you might need a workaround to enable it or consider upgrading to a version that supports it. We have a guide on how to enable it on Windows Home edition. Check this guide: How to Install gpedit.msc on Home Edition of Windows 10/11
Note: You need to be signed in with an admin account to open and use the Local Group Policy Editor.
Method 1: Using the Run Dialog
- Press Win + R on your keyboard to open the Run dialog.
- Type gpedit.msc and press Enter or click OK.

Method 2: Using the Search Box
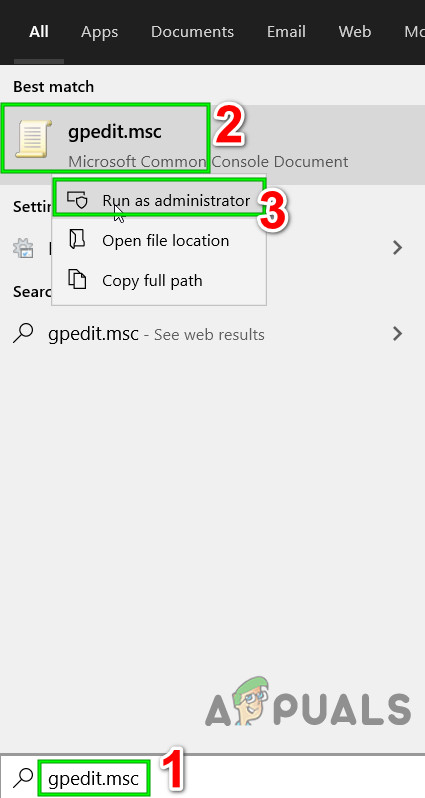
- Click on the Start menu or press the Windows key to open the Start Screen.
- Type gpedit.msc into the search bar.
- Click on the gpedit.msc result from the list.

Method 3: Using Command Prompt or PowerShell
- Press Win + X and select Command Prompt or Windows PowerShell.
- Type gpedit.msc and press Enter.

Method 4: Using Task Manager
- Press Ctrl + Shift + Esc to open Task Manager directly.
- In Task Manager, go to the File menu and select Run new task.
- In the Create new task dialog that appears, type gpedit.msc and check the box that says Create this task with admin privileges. Then, click OK.


