How to Move an Outlook Offline Data File (OST) in 2010, 2013 and 2016
There aren’t a lot of scenarios where you’ll need to move your Outlook Offline Data File (OST). But what if you’re working with limited storage in your C drive the OST file is huge. In this case, it makes sense to try and move it to another drive where you have more space.
The OST File is basically a folder that Microsoft Outlook uses to hold offline copies of various mailbox items found on the Exchange server. The OST file proves most useful when users have to work in Outlook without the means of connecting to the Exchange server. The OST file will hold the data before passing it along to the Exchange server when the connection is available.
But the problem is, the procedure of moving Outlook offline data files is not as easy as advertised. If you already tried to change the location of your OST file in Outlook 2013 or Outlook 2016, you noticed that the Browse button in Outlook Data File Settings is disabled. This happens because the classic offline mode in Outlook 2013 and later has been deprecated.
However, there are workarounds to move your OST file, but you’ll need to do some tweaking. Below you have a collection of methods that will help you move the OST file. Please follow a method compatible with your Outlook version.
Note: If you have Outlook 2010 or older, follow the very last guide to change the .ost location.
Moving the Outlook Offline Data File in Outlook 2013, 2016
If you have Outlook 2013 or Outlook 2016, there are three different methods that will enable you to move your OST file.
If you don’t want to risk anything, you can either add a ForceOSTPath registry key or create a new Outlook Profile and set the new .ost location from there.
There’s also a 3rd method that implies creating a dummy OST file that will trick Outlook into making you select a new location for your OST file. But this method might potentially temper with your Address book, so avoid using it unless you don’t have another choice.
For the sake of keeping things as simple as possible, well start with the most simple solution and work our way downwards. Let’s begin.
Method 1: Creating a new Profile and changing the OST file location
- Navigate to the location of your OST file and copy it to the new location. Skip this step if you want a completely new OST file.
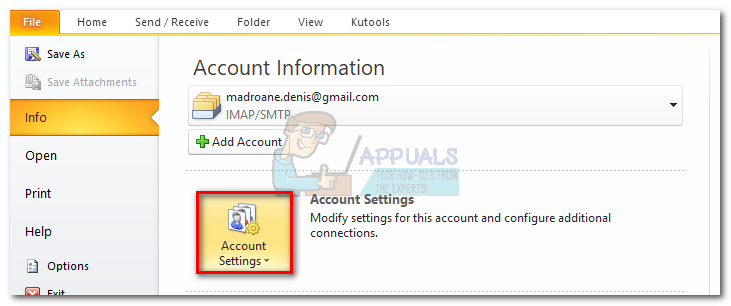
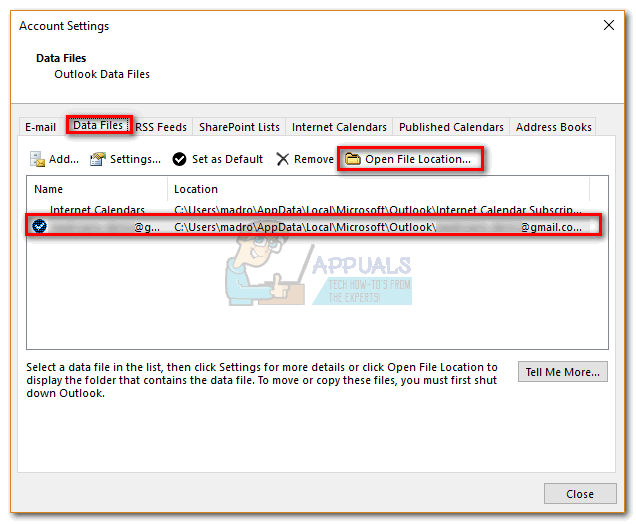 Note: To find out the location of your OST file, navigate to File > Account Settings and click the Data Files tab. From there, select your email and click on Open File Location.
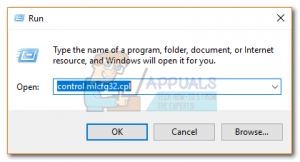
 - Press Windows key + R, then type “control mlcfg32.cpl“.
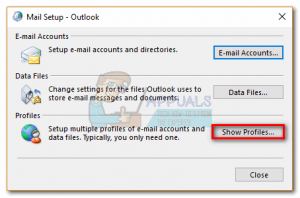
- Click on Show Profiles from the Mail Setup window.
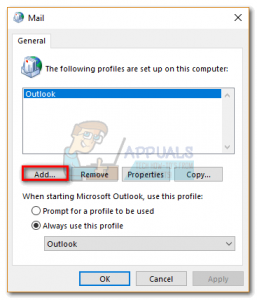
- Click the Add button and type a new name for your profile.
- Now click on E-mail Account and insert your name, email and password before clicking Next.
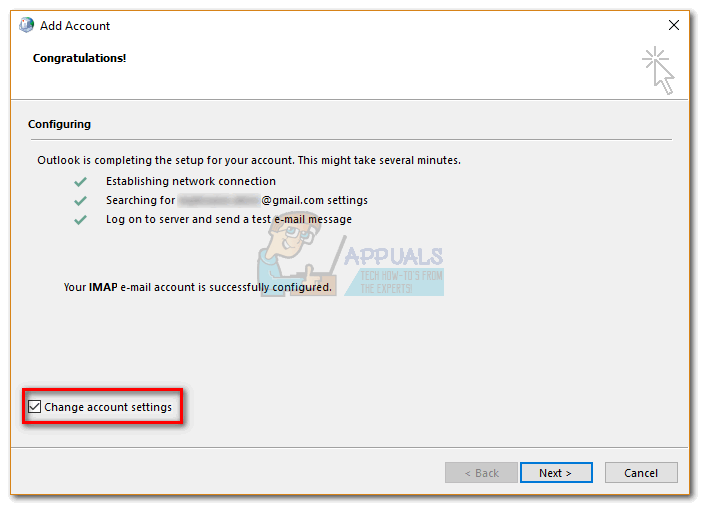
- When the setup is complete, make sure to check the box next to Change account settings, before clicking Next.
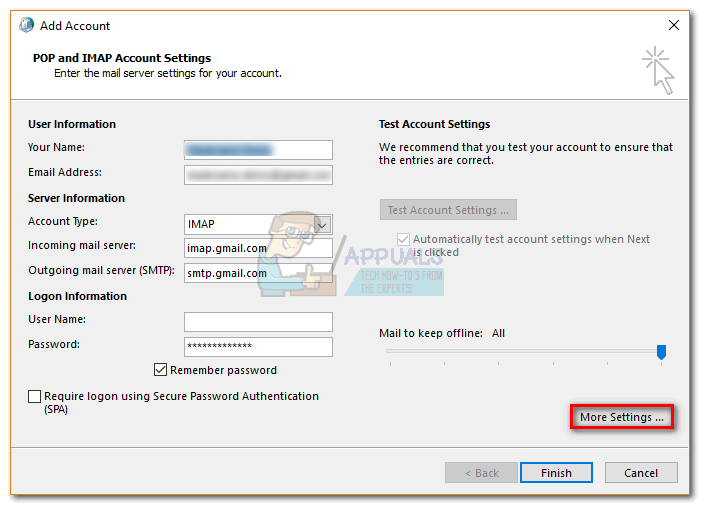
- Leave the server settings untouched and click on More Settings.
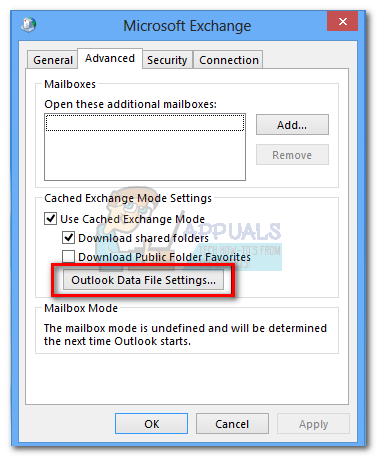
- Select the Advanced tab and click on Outlook Data File Settings.
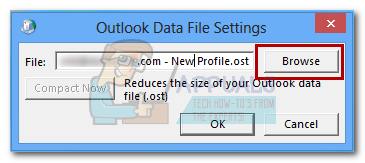
- If you want to use an existing OST file, navigate to the path to where you moved it and hit Open. In the event that you want a completely new OST file, navigate to the location where you want to save the new offline folder file.
- Once the OST path is set, hit Finish, wait for the tests to complete and hit Close.
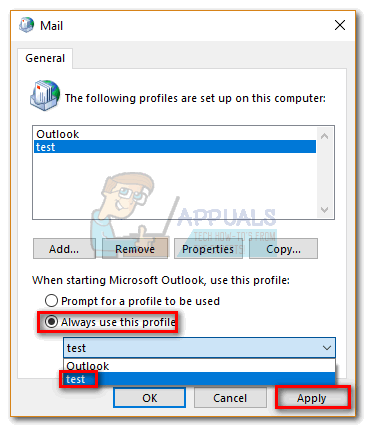
- Return to the initial Mail window and make sure the profile you’ve just created is being used by default. Click on Apply to save your selection.
Method 2: Setting the ForceOSTPath registry key
Before we begin, you should be aware that conducting wrongful modification in the registry can completely break your Outlook. Please follow the steps below carefully to ensure that nothing is done incorrectly. Here’s how to set the ForceOSTPath registry entry so that it changes the location of the OST file.
Note: This method only works for a new Outlook profile.
- Close Outlook and all associated dialog boxes.
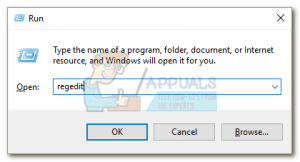
- Press Windows key + R and type “regedit” in the box. Hit Enter to launch the Registry Editor.
- Navigate to the following subkey :
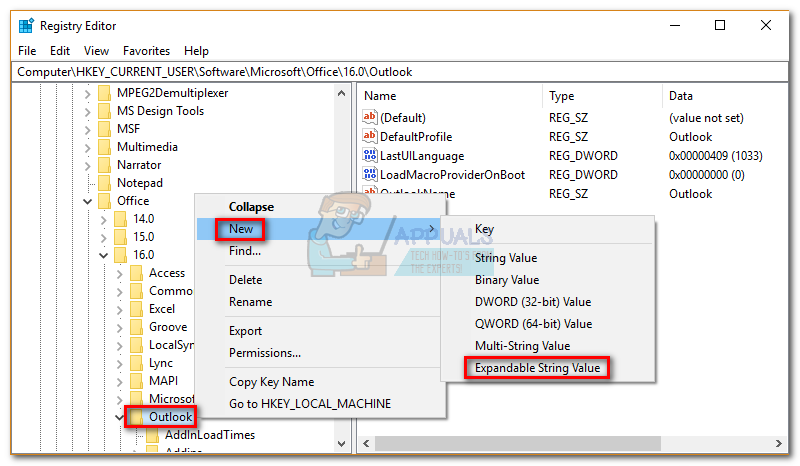
HKEY_CURRENT_USER \ Software \ Microsoft \Office \ xx.0 \ Outlook
 Note: The xx.0 placeholder is an indication of your Office version. Office 2016 is 16.0 and Office 2013 is 15.0.
 - Right-click the Outlook folder and select New, then Expandable String Value.
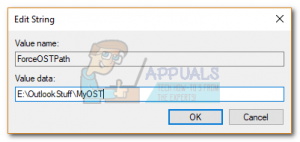
- Type in ForceOSTPath, then press Enter to confirm.
- Right-click on ForceOSTPath and click on Modify.

- Now insert the full path where you want Outlook to store the OST file. In my case, that path was E:\OutlookStuff\MyOST. Click Ok to confirm.
- That’s it. You can close the Registry Editor. Open Outlook and see if the location for your OST file has been modified.
Method 3: Using a dummy PDF file to change the OST location (Outlook 2013 and older)
If you decide to use this method, just keep in mind that it might temper with your address book. By tricking Outlook into opening a broken file, you’ll force it to prompt you for a new location for your offline data file. Outlook will then create a new OST file and sync it with your mailbox. Here’s what you need to do:
Note: This method is no longer working with Outlook 2016
- Close Outlook completely and any associated dialog box.
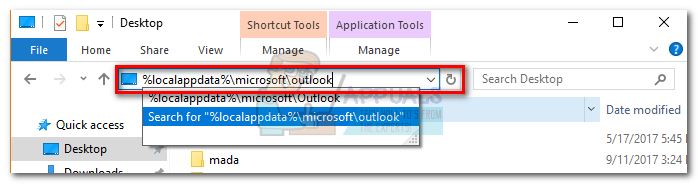
- Open a File Explorer window and paste “%localappdata%\microsoft\outlook” into the address bar at the top of the screen. This should take you to the location of your OST file.
 Note: If you can’t access this location, click the View tab in File Explorer and check the box next to Hidden Items.

- Paste any PDF file into that location. If you don’t have one at the ready, you can create a blank PDF file move it here.

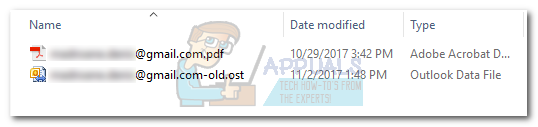
- Copy the OST name from your OST file and rename the PDF file with it. Then, modify the name of the actual OST file with an -old at the end.
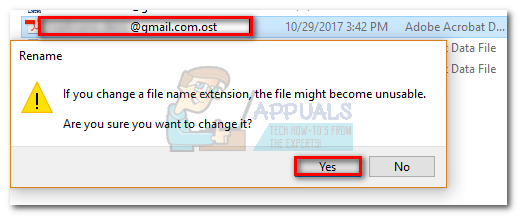
- Change the extension of the PDF file to .ost. Click Yes when Windows asks you to confirm.
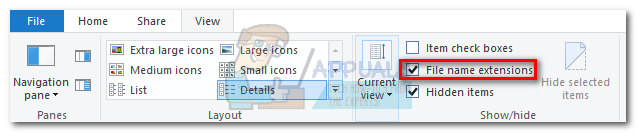
 Note: If you’re unable to see the extensions, click the View tab and check the box next to File name extensions.
- Open Outlook. You should be prompted with a message saying that the OST file can’t be used. Click Ok to bring out the Outlook Data File Settings.

- Use the new window to change the location of your OST file.
Note: If you want to revert to the old behavior before changing the location, delete the dummy file and remove -old from the real OST file.
Moving the Outlook Offline Data File in Outlook 2010 or older
If you’re still on Outlook 2010 or older, you can move the OST files by disabling offline mode and changing the OST path in the Advanced tab. But it only works with offline data files used by Exchange.
- Open Outlook and navigate to Account Settings > Account Settings > More Settings.
- Deselect the box next to Use Cached Mode and click Apply.
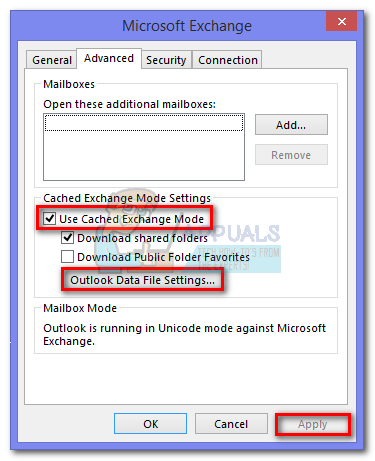
- Now click on Outlook Data File settings and use the Browse button to select the new location of your OST file.

None of this is working for me (Outlook 2013).
Method 1: stuck at step 8, there’s no “Outlook Data File Settings” button.
Method 2: the registry key seems to be simply ignored, it still uses .ost files in their original destination
Method 3: Outlook indeed says it cannot open an .ost file but it doesn’t ask me to choose a replacement file. It just closes.
A good ol’ symbolic link will probably work just fine…