How to Move a Track in Audacity
Audacity is a free to use audio editing application that is available across multiple platforms and also has the ability to record audio. It has won many awards for its simple interface and countless features. More than 7 million people have downloaded the application. Many users have requested a tutorial on moving a track in the application and that is exactly what we are going to be teaching you today.
How to Move a Track in Audacity?
Audacity features multiple ways through which you can move a track, some are more convenient than others while others are more accurate. We have gathered some of the most convenient and popular ones and listed them below.
Method 1: Through Audio Track Configurations
This method entails the most basic way to move a track in Audacity. It includes changing the Audio Track configuration for the specific track that you want to move. In order to do that:
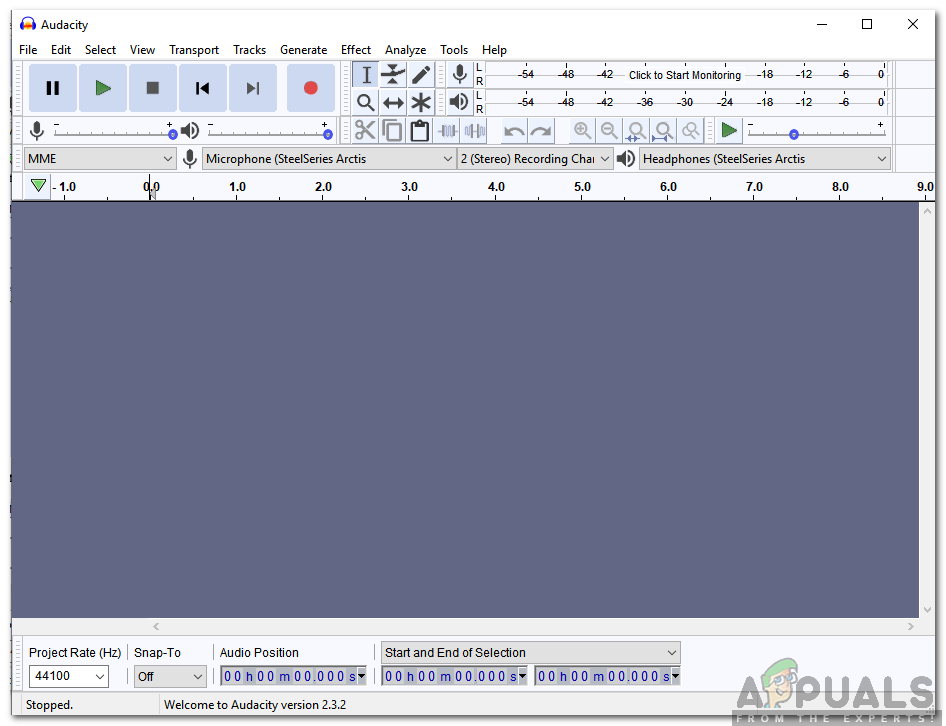
- Launch Audacity and make sure that you have added all the tracks.
- On your timeline, click on the track that you want to move.
- Click on the “Audio Track Name” option in the left pane and select “Move Track Up” or “Move Track Down” to move the track
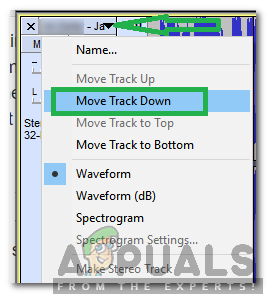
Clicking on the “Move Track Down” option - This will move the track across the timeline depending on the position of the track
Method 2: Dragging the Track
When working with a lot of tracks in the same timeline it gets a bit frustrating having to configure each track through the settings. That too only moves it across the timeline by a factor of 1. Therefore, in this method, we will show you one of the easiest ways of moving the track without having to change any configurations. For that:
- Open Audacity and make sure that you have added all the tracks.
- On your timeline, click on the track that needs to be moved.
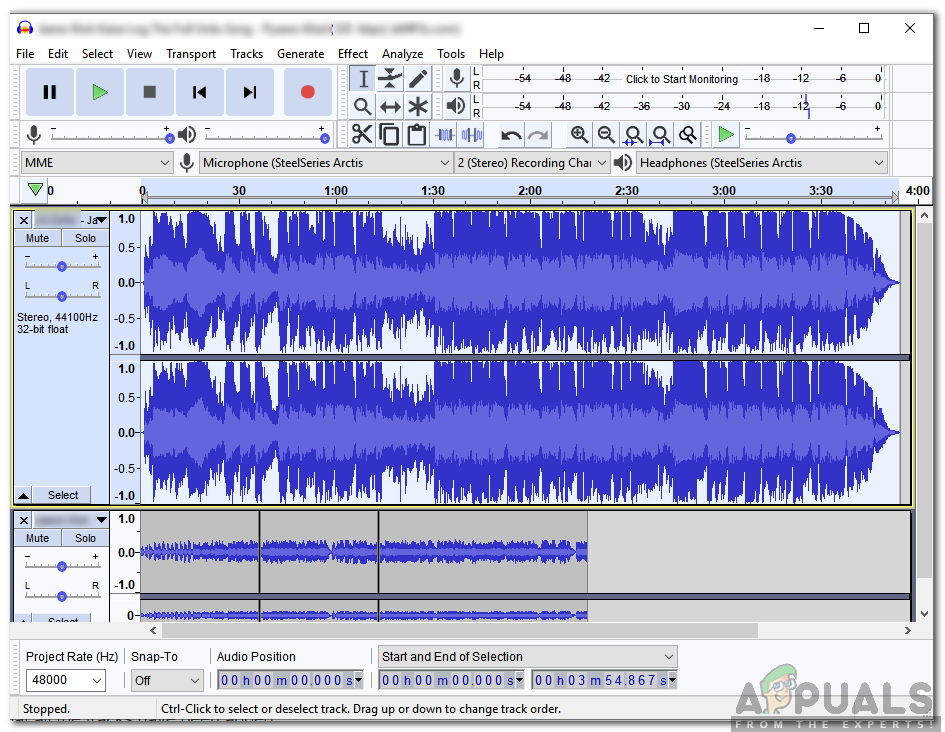
Pressing on the blank space in the left pane for the track that needs to be moved - In the left pane, click on a blank space and wait for the cursor to turn into a hand instead of a pointer.
- Drag the track across the timeline to move it up or down.
The above two methods indicate the ways to move whole tracks across the timeline. However, if you want to move a specific part of the track that requires a different trick. Below is indicated the method to move a specific part of a track across the timeline.
Method 3: Through Key Combination
We can use a specific key combination on our keyboard to move a specific part of the track across the timeline. This can be done after selecting the part and it helps in gettings a specific part out of the track. In order to do that:
- Open Audacity and make sure that all the tracks have been added.
- On your timeline, select the track that you want to move by clicking on the right–pane with your cursor and then dragging to select a part of the track.
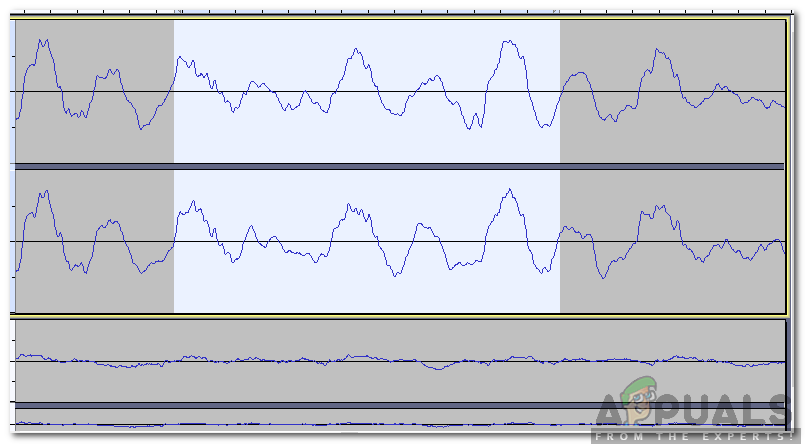
Selecting a particular part of the track - Once the part of the track has been selected, press “Ctrl” + “Alt” + “I” keys simultaneously to move that part down the timeline.


