How to Make Files/Folders Undeletable in Windows?
Several users are wondering how to create files/folders that are unable to delete by anyone or by mistake. Sometimes we want to save our data in a place which doesn’t get the delete option unless we modify it. In this article, we will tell you about how to create folders/files that will be undeletable to keep the data safe.
Method 1: Changing the Permission of the Folder/File
By changing the permission of a folder/file, you can disable the access for any function over that. This can be done for any file/folder in Windows by changing the permissions through the properties. This is also the best option for changing the permission for standard users and can be reverted only by the administrator.
- Right-click on the File/Folder that you want to change permission for and choose the Properties option.
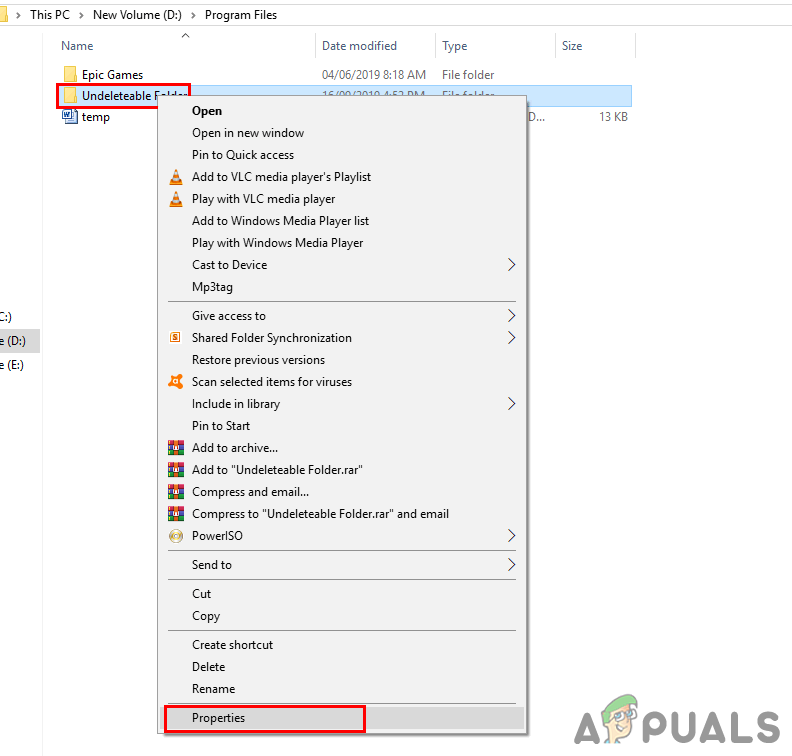
Opening properties of the folder - Select the Security tab and click the Edit button. A new permission Window will appear with options enabled.
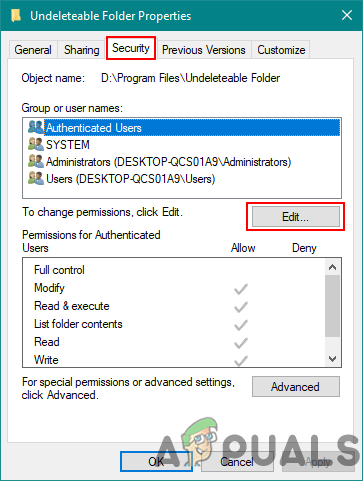
Opening security permission - You can select each group that is available in the list and choose Deny Full Control box for every group.
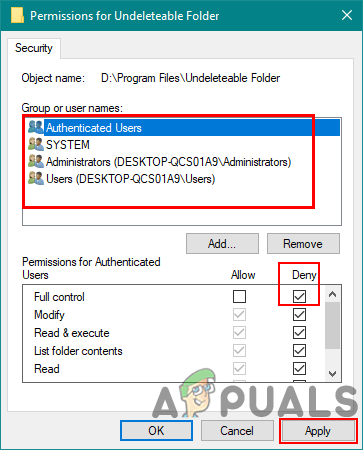
Deny all groups - Once you are done, click Apply, Click Ok for both windows and you are done.
- Now you or any other user cannot delete that file/folder without turning back the permissions to how it was.
Method 2: Creating Undeletable File/Folder with the Name of Windows Reserved Keywords
You cannot use a few keywords for creating files and folders. These keywords are reserved for Windows functions use. However, there is still a method where you can create folders with a name similar to these keywords. You can create a folder that can’t be controlled without a command prompt.
Warning: Creating a folder/file with one of the keywords may confuse system default functions.
Reserved Keywords: CON, PRN, AUX, CLOCK$, NUL, COM1, COM2, COM3, COM4, COM5, COM6, COM7, COM8, COM9, LPT1, LPT2, LPT3, LPT4, LPT5, LPT6, LPT7, LPT8, and LPT9
- Hold the Windows key and press S to open the search function. Type cmd, hold CTRL+SHIFT and press Enter altogether to open it as an administrator. You can also right-click and choose Run as administrator option.

Opening command prompt as an administrator - By default, the directory will be C. You can change drive by typing “D:” or any letter that you want. For folders you need to type “cd” then folder name with spaces between as shown below:
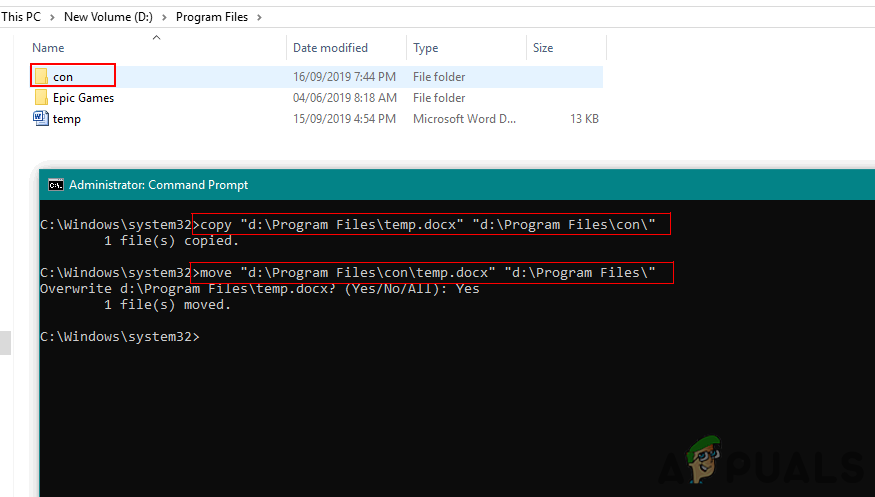
- To create the folder, type “md con\” and press Enter. You can choose any of the keywords listed above instead of con.

Creating a folder con - You can try renaming or deleting the con folder and the system won’t allow it. You can also not open the folder without cmd commands.
- To copy/move files to/from the folder you created, you need to use the following commands:
copy "d:\Program Files\temp.docx" "d:\Program Files\con\"
Note: The first location is for the file that you want to move/copy. The second location is for where you want to copy/move that file.
Copy and move commands - Finally, this folder may confuse your system. So to delete it you need to type the following command:
rd /s /q con\
Note: Make sure you are in the directory where the file is located.
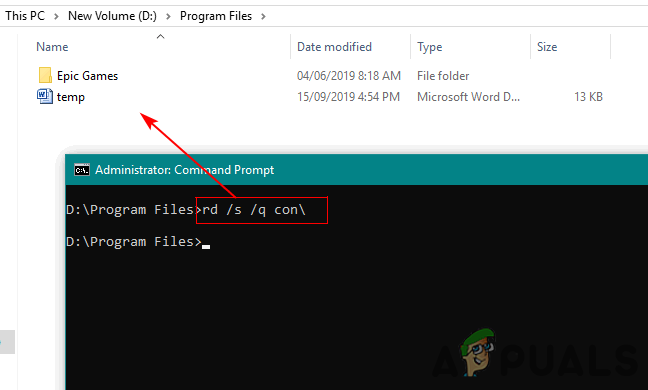
Delete command


