How To Make A Smart Trashcan Using Arduino?
The world is moving fast, and technology is also moving with it in the field of electronics. Everything in this modern era is getting smart. Why don’t we make the trashcans smart? It is a common problem that is seen in our surroundings that most of the trashcans are covered from the top. People feel uncomfortable to touch the lid and open it to throw their rash in it. We can solve this problem of some people by automating the lid of the trashcan.
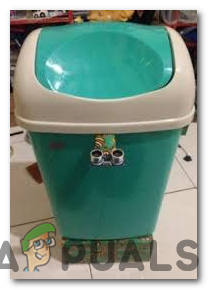
An Arduino and an ultrasonic sensor along with the servo motor can be integrated to make a smart trashcan. If the bin detects some trash in front of it, it will open its lid automatically and the lid will be closed after a delay of some seconds.
How to Automatically Open and Close the Lid of Dustbin Using Arduino?
Now as we know the abstract of the project, let us move forward and start collecting more information about the components, working and the circuit diagram to immediately start working on the project.
Step 1: Collecting The Components
If you want to avoid any inconvenience in the middle of any project, the best approach is to make a complete list of all the components that we are going to use. The second step, before starting to make the circuit, is to go through a brief study of all these components. A list of all the components that we need in this project is given below.
- [Amazon Link=”B07QTQ72GJ” title=”Arduino Nano”/]
- [Amazon Link=”B07JJSGL5S” title=”Ultrasonic Sensor”/]
- [Amazon Link=”B07D3L25H3″ title=”Servo Motor”/]
- [Amazon Link=”B07PPP185M” title=”Breadboard”/]
- [Amazon Link=”B01D9ZM6LS” title=”Breadboard Jumper Wires”/]
- [Amazon Link=”B07QNTF9G8″ title=”5V Power Adapter For Arduino”/]
Step 2: Studying The Components
Now, as we have a complete list of all the components, let us move one step forward and go through a brief study of the working of every component.
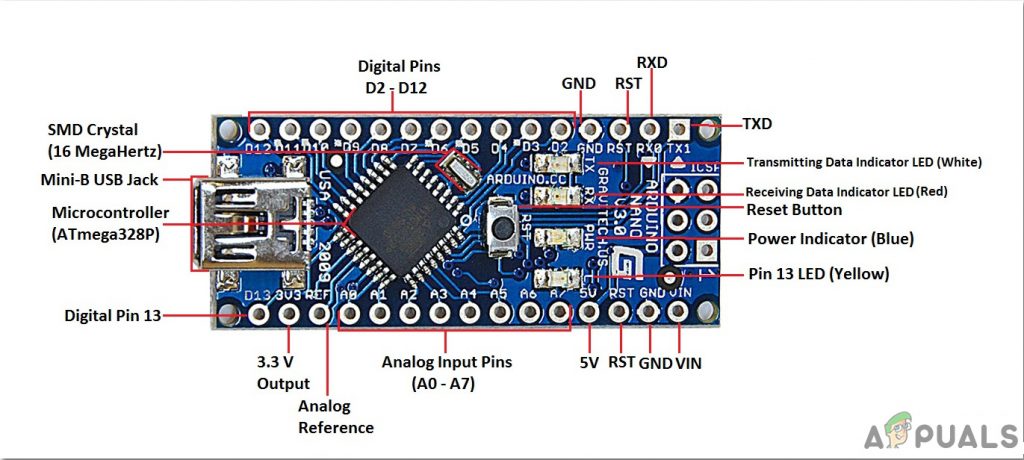
Arduino Nano is a breadboard-friendly microcontroller board that is used to control or carry out different tasks in a circuit. We burn a C Code on Arduino Nano to tell the microcontroller board how and what operations to perform. Arduino Nano has exactly the same functionality as Arduino Uno but in quite a small size. The microcontroller on the Arduino Nano board is ATmega328p. if you don’t have an Arduino Nano, you can also use Arduino Uno or Arduino Maga.
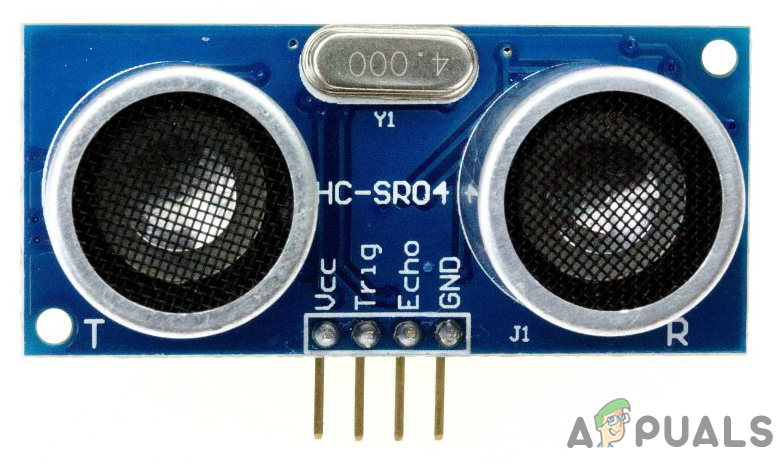
HC-SR04 board is an ultrasonic sensor which is used to determine the distance between two objects. It consists of a transmitter and a receiver. The transmitter converts the electrical signal into an ultrasonic signal and the receiver converts the ultrasonic signal back to the electrical signal. When the transmitter sends an ultrasonic wave, it reflects after colliding with a certain object. The distance is calculated by using the time, that ultrasonic signal takes to go from the transmitter and come back to the receiver.
A Servo Motor is a rotatory or a linear actuator which can be controlled and moved in exact increment. These motors are different from DC motors. These motors allow the precise control of angular or rotatory motion. This motor is coupled to a sensor which is sending feedback about its motion.

Step 3: Understanding The Working
We are making a dustbin whose lid will automatically open and close and there will be no need to touch it physically. We will just have to take the trash in front of the trashcan. The Ultrasonic sensor will automatically detect the trash and will open the lid with the help of a servo motor. When the lid is open, we will throw the trash in the bin and when we are done, the lid will be closed automatically after a delay of some seconds. This is the simple working principle behind this project.
Step 4: Assembling The Components
- Attach a breadboard on the side of a bin. Insert an Arduino Nano board in it.
- Attach an Ultrasonic sensor in front of the bin. the sensor should be facing slightly upwards with a little angle of elevation.
- Take the servo motor and fix a servo arm in it. Attach the servo motor on the joint of the bin and the lid with the help of hot glue.
- Now make all the connections through connecting wires. Connect the Vin and the ground of the motor and the ultrasonic sensor to the 5V and ground of Arduino. Connect the trigger pin of the sensor to the pin2 and the echo pin to the pin3 of the Arduino. Connect the PWM pin of the servo motor to the pin5 of the Arduino.
- Now as all the connections of the circuit are made, it should look like this:

Circuit Diagram
Step 5: Getting Started With Arduino
If you are not already familiar with the Arduino IDE, don’t worry because a step by step procedure to set-up and use Arduino IDE with a microcontroller board is explained below.
- Download the latest version of Arduino IDE from Arduino.
- Connect your Arduino Nano board to your laptop and open the control panel. in the control panel, click on Hardware and Sound. Now click on Devices and Printers. Here, find the port to which your microcontroller board is connected. In my case it is COM14 but it is different on different computers.

Finding Port - Click on the Tool menu. and set the board to Arduino Nano from the drop-down menu.

Setting Board - In the same Tool menu, set the port to the port number that you observed before in the Devices and Printers.

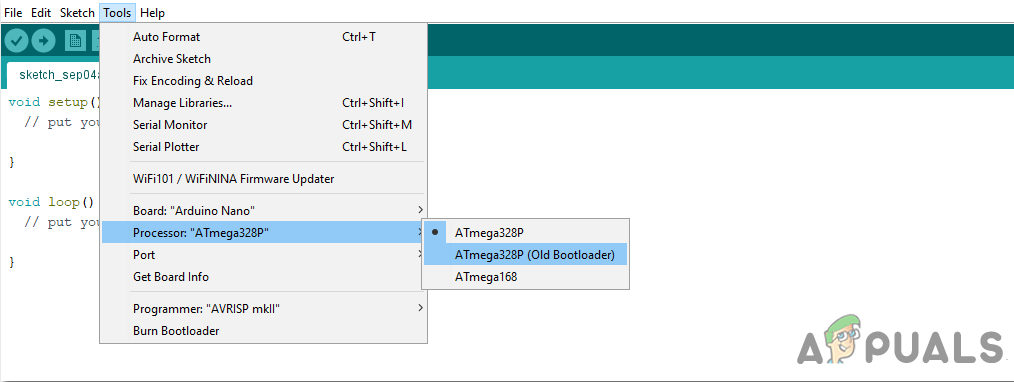
Setting Port - In the same Tool menu, Set the Processor to ATmega328P (Old Bootloader).
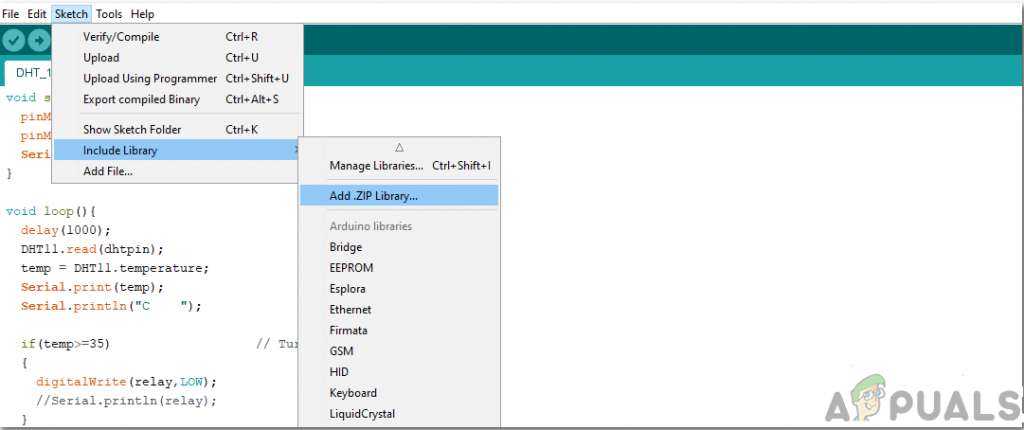
Processor - To write code to operate the servo motors, we need special library that will help us to write several functions for servo motors. This library is attached along with the code, in the link below. To include the library, click on Sketch > Include Library > Add ZIP. Library.
Include Library - Download the code attached below and paste it into your Arduino IDE. Click on the upload button to burn the code on your microcontroller board.
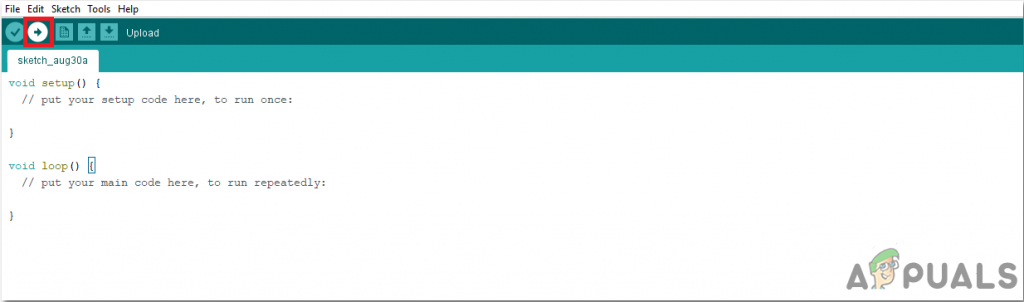
Upload
To download the code, click here.
Step 6: Understanding The Code
The code is pretty well commented but still, it is briefly explained below.
1. At the start, a library is included so that we can use built-in functions to operate the servo motor. Two pins of the Arduino Nano board are also initialized so that they can be used for the trigger and echo pin of the ultrasonic sensor. An object is also made so that it can be used to set values for the servo motors. Two variables are also declared so that the value of the distance and time of the ultrasonic signal can be saved and then used in the formula.
#include<Servo.h>       //Include Library for Servo Motor
Servo servo;            // Declare an object for servo motor
int const trigPin = 2;  // Connect pin2 of arduino with trig of ultrasonic sensor
int const echoPin = 3;  // Connect pin3 of arduino with echo of ultrasonic sensor
int duration, distance; // Declare variables to store distance and type of the ultrasonic signal
2. void setup() is a function in which we initialize the pins of the Arduino board to be used as INPUT or OUTPUT. Trigger pin will be used as output and an echo pin will be used as input. We have used the object servo, to connect the motor to pin 5 of the Arduino nano. Pin5 can be used to send the PWM signal. Baud rate is also set in this function. Baud rate is the bits per second speed by which the microcontroller communicates with the external devices.
void setup()
{
Serial.begin(9600);        // setting the baud rate of the microcontroller
pinMode(trigPin, OUTPUT);  // trig pin will be used as output
pinMode(echoPin, INPUT);   // echo pin will be used as input
servo.attach(5);           // Cnnect the servo motor to pin5 of arduino
}
3. void loop() is a function that runs again and again in a loop. In this loop, an ultrasonic wave is sent in the surrounding and received back. The distance covered is measured by using the time taken by the signal to leave the sensor and come back to it. Then the condition is applied to the distance accordingly.
void loop()
{
digitalWrite(trigPin, HIGH);         // sending an ultrasonic signal in the surrounding
delay(1);
digitalWrite(trigPin, LOW);         // Measure the pulse input in echo pin
duration = pulseIn(echoPin, HIGH);  // Distance is half the duration devided by 29.1 (from datasheet)
distance = (duration/2) / 29.1;     // if distance less than 0.5 meter and more than 0 (0 or less means over range)
if (distance <= 50 && distance >= 0)
{
servo.write(50); delay(3000);
}
else
{
servo.write(160);
}
}
Now as we know all the steps to go through to make this amazing project, hurry up and enjoy making your smart trashcan.


