How to Make a Heart Shape on Adobe Illustrator
Adobe Illustrator is one of my personal favorites and is what many Graphic Designers use to make some amazing graphics for print and digital media. You can make some really amazing stuff on this program, with the simple yet very helpful tools. You can even make a simple shape like a heart, by creating a simple stroke, and just editing the format of that stroke, to transform it into an amazing heart shape which you can later use in your designing projects. You can also save the shape in png, to use it as it is or over other projects when designing on Adobe Illustrator, or other designing programs.
- Open Adobe Illustrator to a blank artboard. The size of the artboard really doesn’t matter, but if you want the heart shape to be of a specific size, then you might want to keep the dimensions of the artboard accordingly.
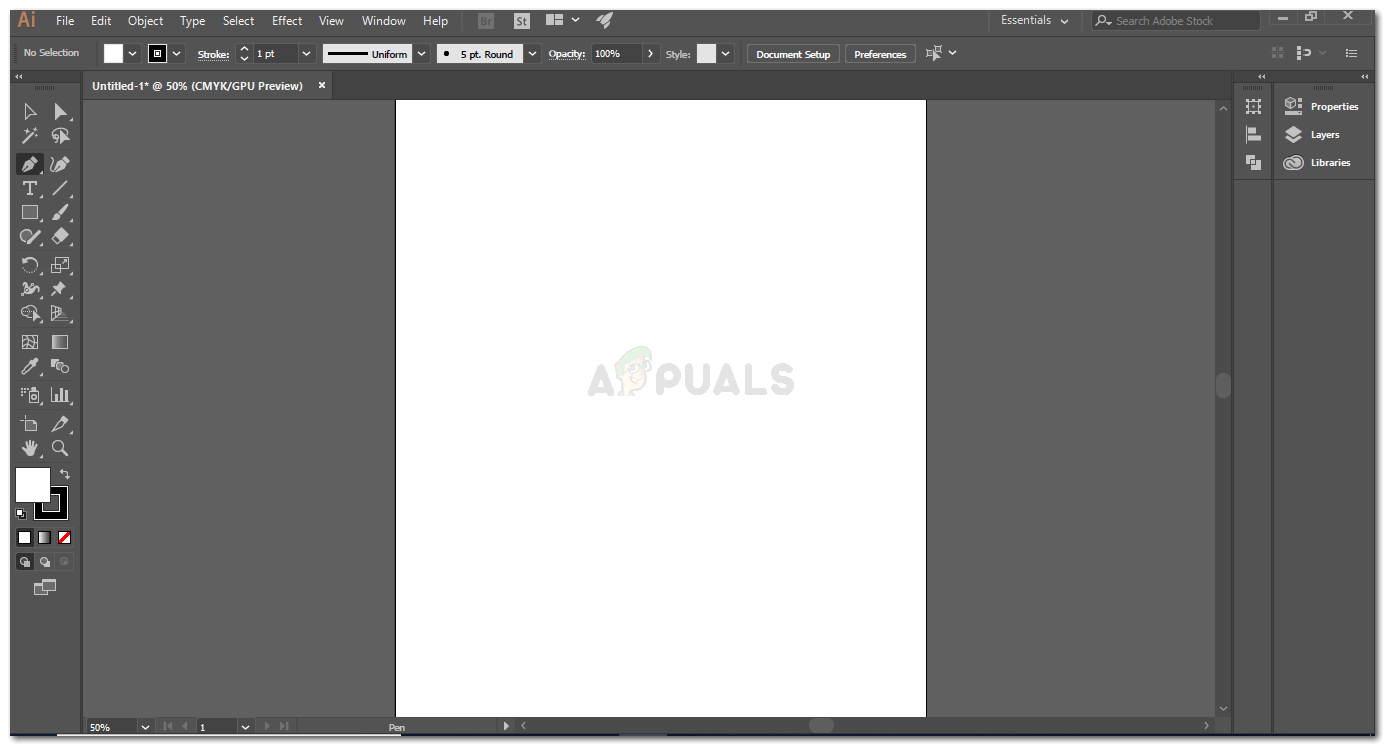
Open Illustrator to an empty artboard. The size of the artboard depends on how big you want the shape to be. - To make the perfect stroke, you need to have the guides and the grid showing on the artboard so that the distance of each side is symmetrical. To switch the grid on, you can go to View on the top toolbar, and scroll down to find the option for ‘Show Grid’. This is the same place where you can come back to hide the grid.
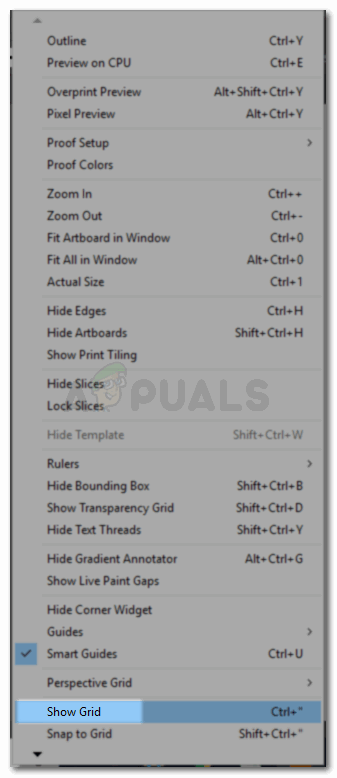
show grid. A grid will show you exactly where on the page your shape will be placed. A grid is very helpful when you have to make something very symmetrical and also when you want everything on your artboard to be balanced. - This is how your artboard will appear now.
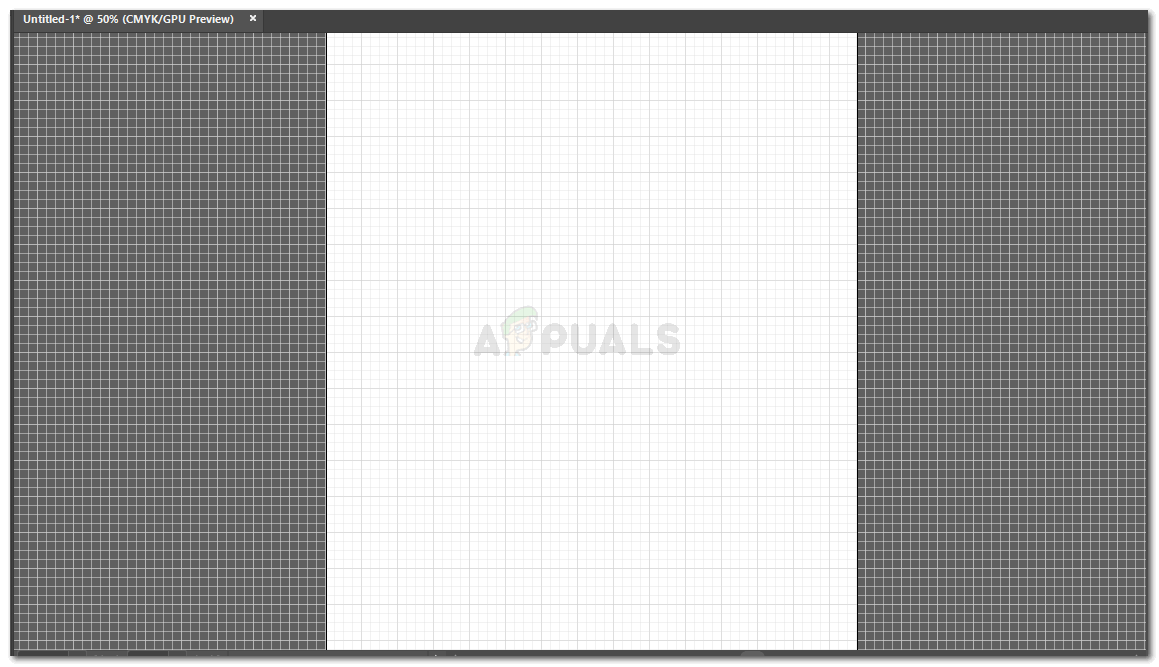
your artboard is grid-ready - Pick the pen tool from the left side toolbar, where all the amazing tools for designing are placed. Pick the one that looks like a pen as shown in the picture. You can also access the pen tool by pressing ‘CTRL’ and ‘p’, on your keyboard, both at the same time.
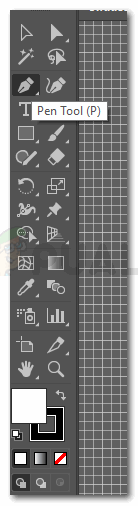
Pick the pen tool. If you want to use the line shape tool for this, you can do that too. But I would suggest you use the pen tool to create one single stroke The default settings for the stoke will be as shown in the image below. And this is the main trick to changing a simple stroke into a heart shape, without much work.
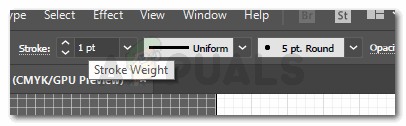
The default settings for the pen tool stroke will appear like this. You can change these. But to make the stroke visible to the eye, keep the color to black, or red - You need to create three anchor points using your Pen Tool. Here is how I drew mine. Keeping symmetry in mind, I started the shape at point 1, extended it to point 2 and then 3, and pressed enter. Even if I don’t press the enter key, and after making the 3rd anchor point, if I click on the general selection tool which is the first one on the left toolbar, the stroke that I just created will be made.
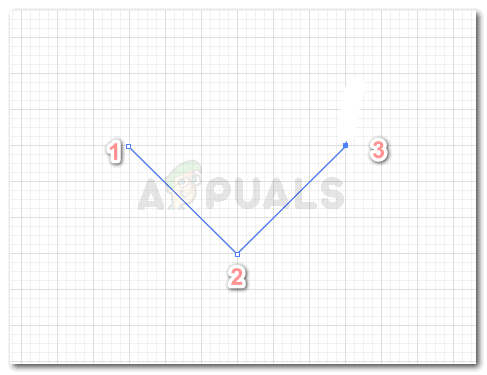
This is how the stroke will appear in blue when working with the pen tool. Keep the weight for the stroke at a weight that will make it more visible for you to see it easily.
pressing enter, or clicking the selection tool, will make the stroke more prominent. - Now, the stroke panel on the top toolbar is what we need to access. Click on the word stroke with the cursor, and more options for strokes will appear in front of you. Caps, corners, align strokes, dashed lines and other formatting for the strokes can be edited through these options. To make this simple stroke to change into a heart shape, you need to increase the weight of the stroke, and change the caps from the first option to the second one which is like a curve. The way you change each section, you can preview the changes on the stroke.
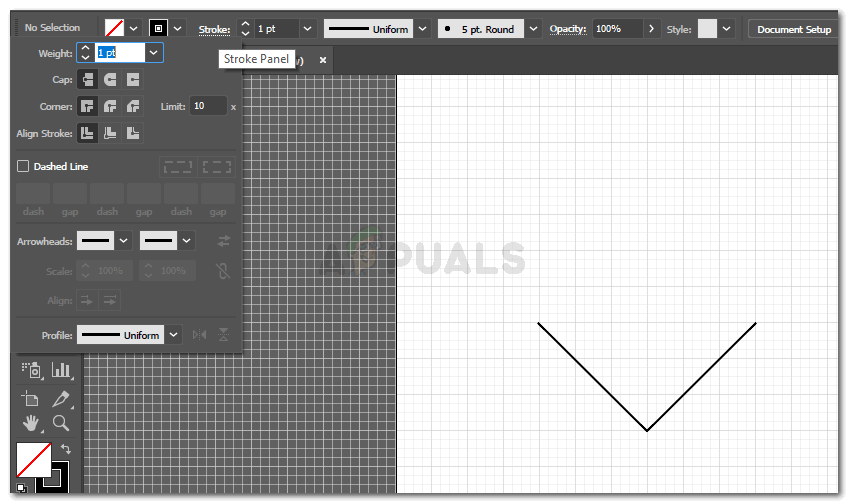
Clicking on Stroke is what will show you this extended toolbar for stroke and other related editing that you can make. 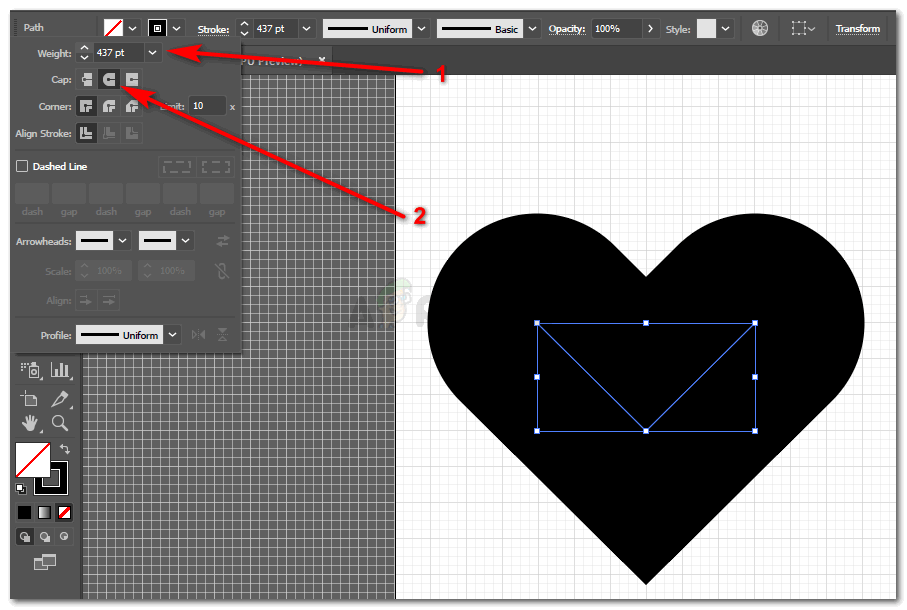
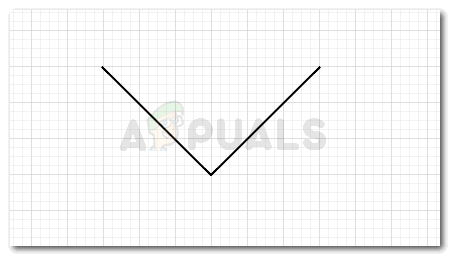
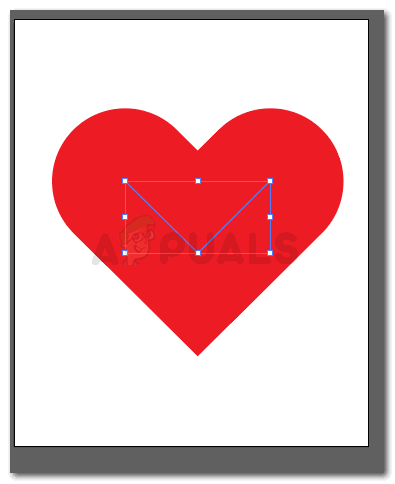
For creating this shape, the weight, and caps is what you need to alter - The heart shape has been created successfully. You can notice the shape/stroke is selected here, and it was a simple V that we transformed into a heart shape.
- You can change the color for the stroke by accessing the color panel form the left toolbar for the stroke. Remember: you are not going to add or change the color for the fill, because what we created here was not a shape, but a stroke. So, you will change the color for the stroke if you want the stroke to be red or any other color, or even a pattern. It is the color of the stroke that you are editing, so use the outline color tab for this.
Change Color 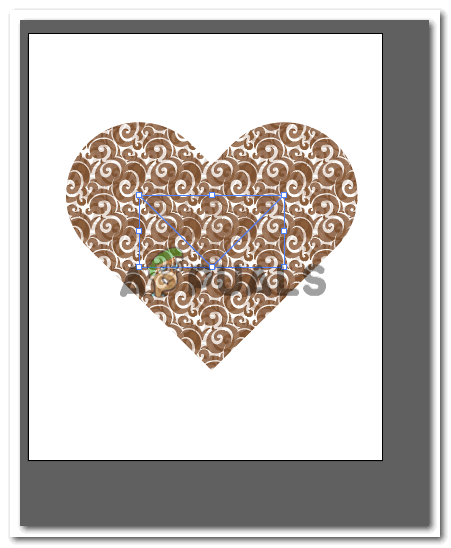
Add pattern


